Locking images in PowerPoint is essential for maintaining the integrity of your presentation. When you create a slide, you want your images to stay exactly where you placed them. If they shift or get accidentally resized, it can disrupt the flow of your message. Locking
Here are a few reasons why locking images is important:
- Stability: Images remain fixed in position and size.
- Professionalism: A well-structured presentation appears more polished.
- Focus: Viewers can concentrate on the content without distractions.
Steps to Lock Images in PowerPoint

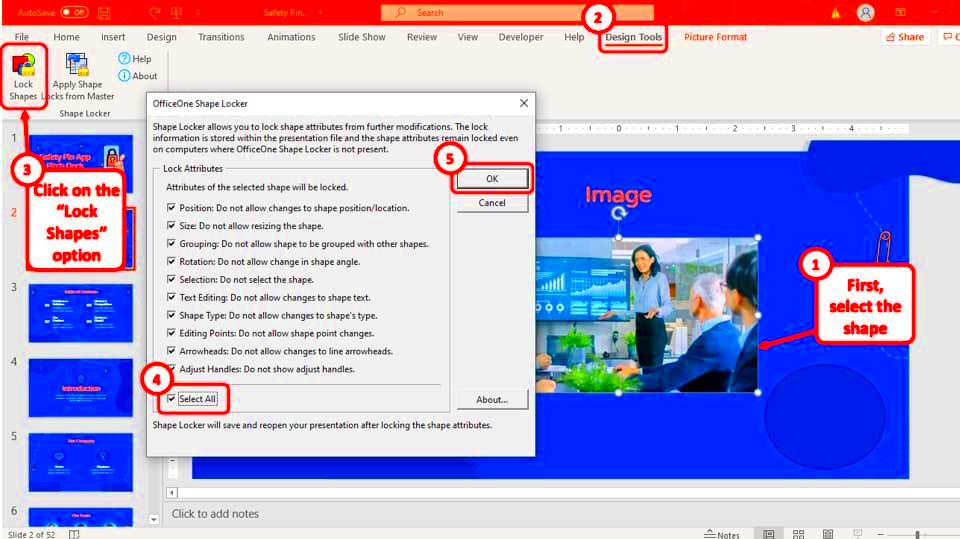
Locking images in PowerPoint is a straightforward process. Follow these steps to ensure your images stay put:
- Select the image you want to lock.
- Right-click on the image and choose Format Picture from the context menu.
- In the Format Picture pane, go to the Size & Properties section.
- Look for the option labeled Lock aspect ratio and check this box to maintain the image’s proportions.
- To prevent the image from being moved, click on Protection and check the Locked box.
Now your image is locked, ensuring it won’t be accidentally altered during your editing process.
Also Read This: How to Sell Your Photos to Getty Images and Earn Money as a Contributor
Benefits of Locking Images

Locking images in PowerPoint offers several advantages that enhance your overall presentation experience. Here are some key benefits:
- Prevents Accidental Changes: Once locked, images won’t move or resize, saving you time in rearranging slides.
- Enhanced Visual Consistency: Keeps your design uniform across all slides, providing a cohesive look.
- Increased Efficiency: Focus on content creation instead of worrying about misplaced images.
- Better Collaboration: When working in teams, locked images reduce confusion and maintain the original design intent.
By locking images, you ensure a smoother presentation process and a more professional final product.
Also Read This: Exploring OK.ru’s Photo Sharing and Editing Features for Creative Expression
Common Issues When Locking Images
Locking images in PowerPoint can significantly enhance your presentation, but there are some common issues you might encounter along the way. Understanding these challenges can help you navigate them smoothly and ensure your images serve their purpose effectively.
Here are a few issues users commonly face:
- Inability to Edit: Once an image is locked, you may forget that it’s locked and struggle to make changes. Always check the lock status if something doesn’t seem right.
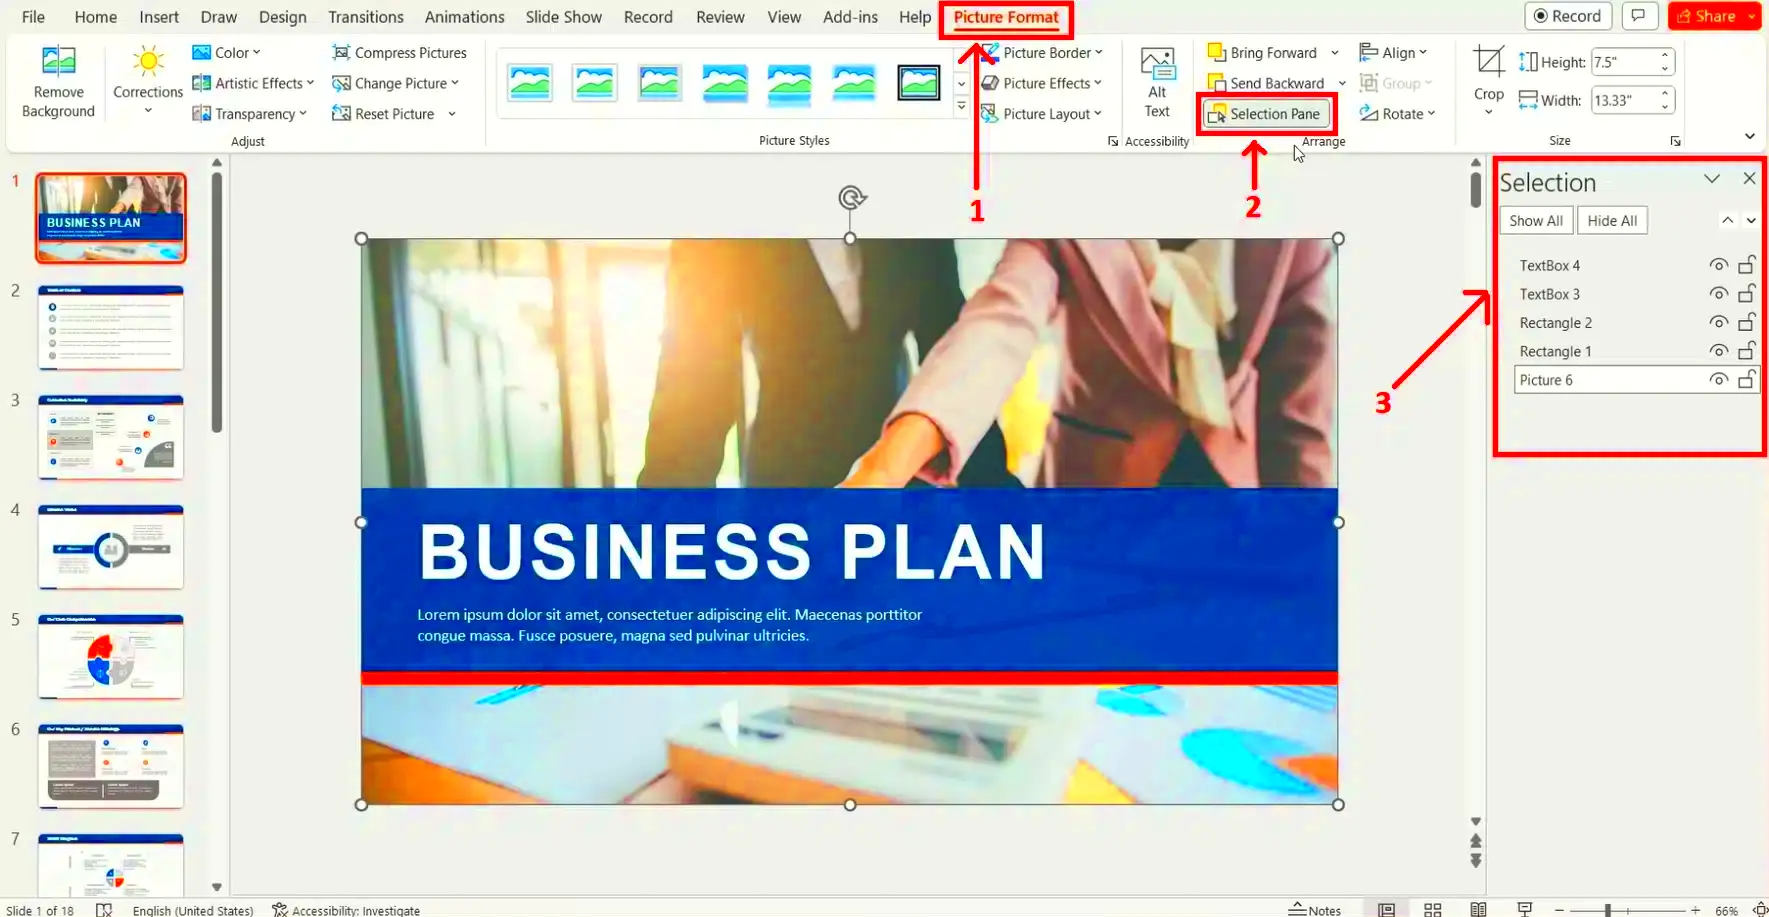
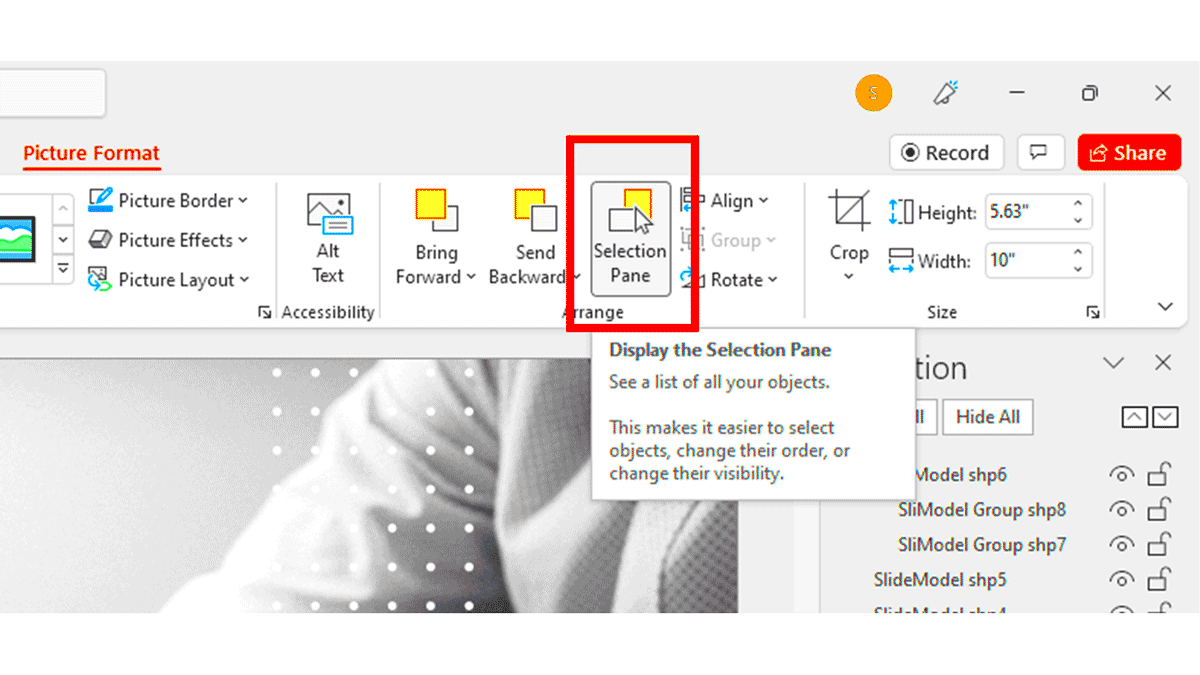
- Layering Problems: Sometimes, locked images can overlap with other elements. This can create confusion about which image is in front or behind, impacting your layout.
- Undo Limitations: If you accidentally lock an image, undoing the lock can be less intuitive than expected. Make sure to familiarize yourself with the undo options in PowerPoint.
- Not Saving Changes: Sometimes, after locking an image, users may forget to save their changes, leading to frustration when they reopen the presentation.
By being aware of these issues, you can take proactive steps to prevent them and enjoy a seamless presentation experience.
Also Read This: How to Make Dailymotion Video Public Step-by-Step Guide on Dailymotion
Tips for Managing Locked Images
Managing locked images effectively can greatly improve your workflow in PowerPoint. Here are some tips to help you make the most of locked images:
- Label Your Images: If you have multiple images, use clear names or labels for each. This will help you remember which images are locked and which can be edited.
- Group Images: Consider grouping images together if they are part of the same visual concept. Locking the group can help keep everything organized.
- Use Guides and Grids: Enable gridlines or guides to help position images correctly before locking them. This ensures a cleaner look in your presentation.
- Regularly Review Locked Elements: Check the status of locked images periodically, especially when making major changes to your presentation layout.
These tips will help you navigate the process of managing locked images, making your presentation design more efficient and effective.
Alternatives to Locking Images
If locking images isn’t the best solution for your PowerPoint needs, there are several alternatives you can consider. These options can help maintain control over your images without locking them permanently.
- Using Layers: Instead of locking images, layer them strategically. Place important images at the back and foreground to maintain focus on key elements.
- Group Elements: Group images with text boxes or shapes. This allows you to move and resize them together without needing to lock each element individually.
- Hide Images Temporarily: If you need to work on other aspects of your presentation, consider hiding images instead of locking them. Right-click the image and choose to hide it until needed.
- Using Slide Masters: For recurring images, place them on the Slide Master. This way, they remain consistent throughout the presentation without needing to lock them individually.
These alternatives provide flexibility while still giving you control over your images, ensuring that your presentation remains visually appealing and cohesive.

 admin
admin


