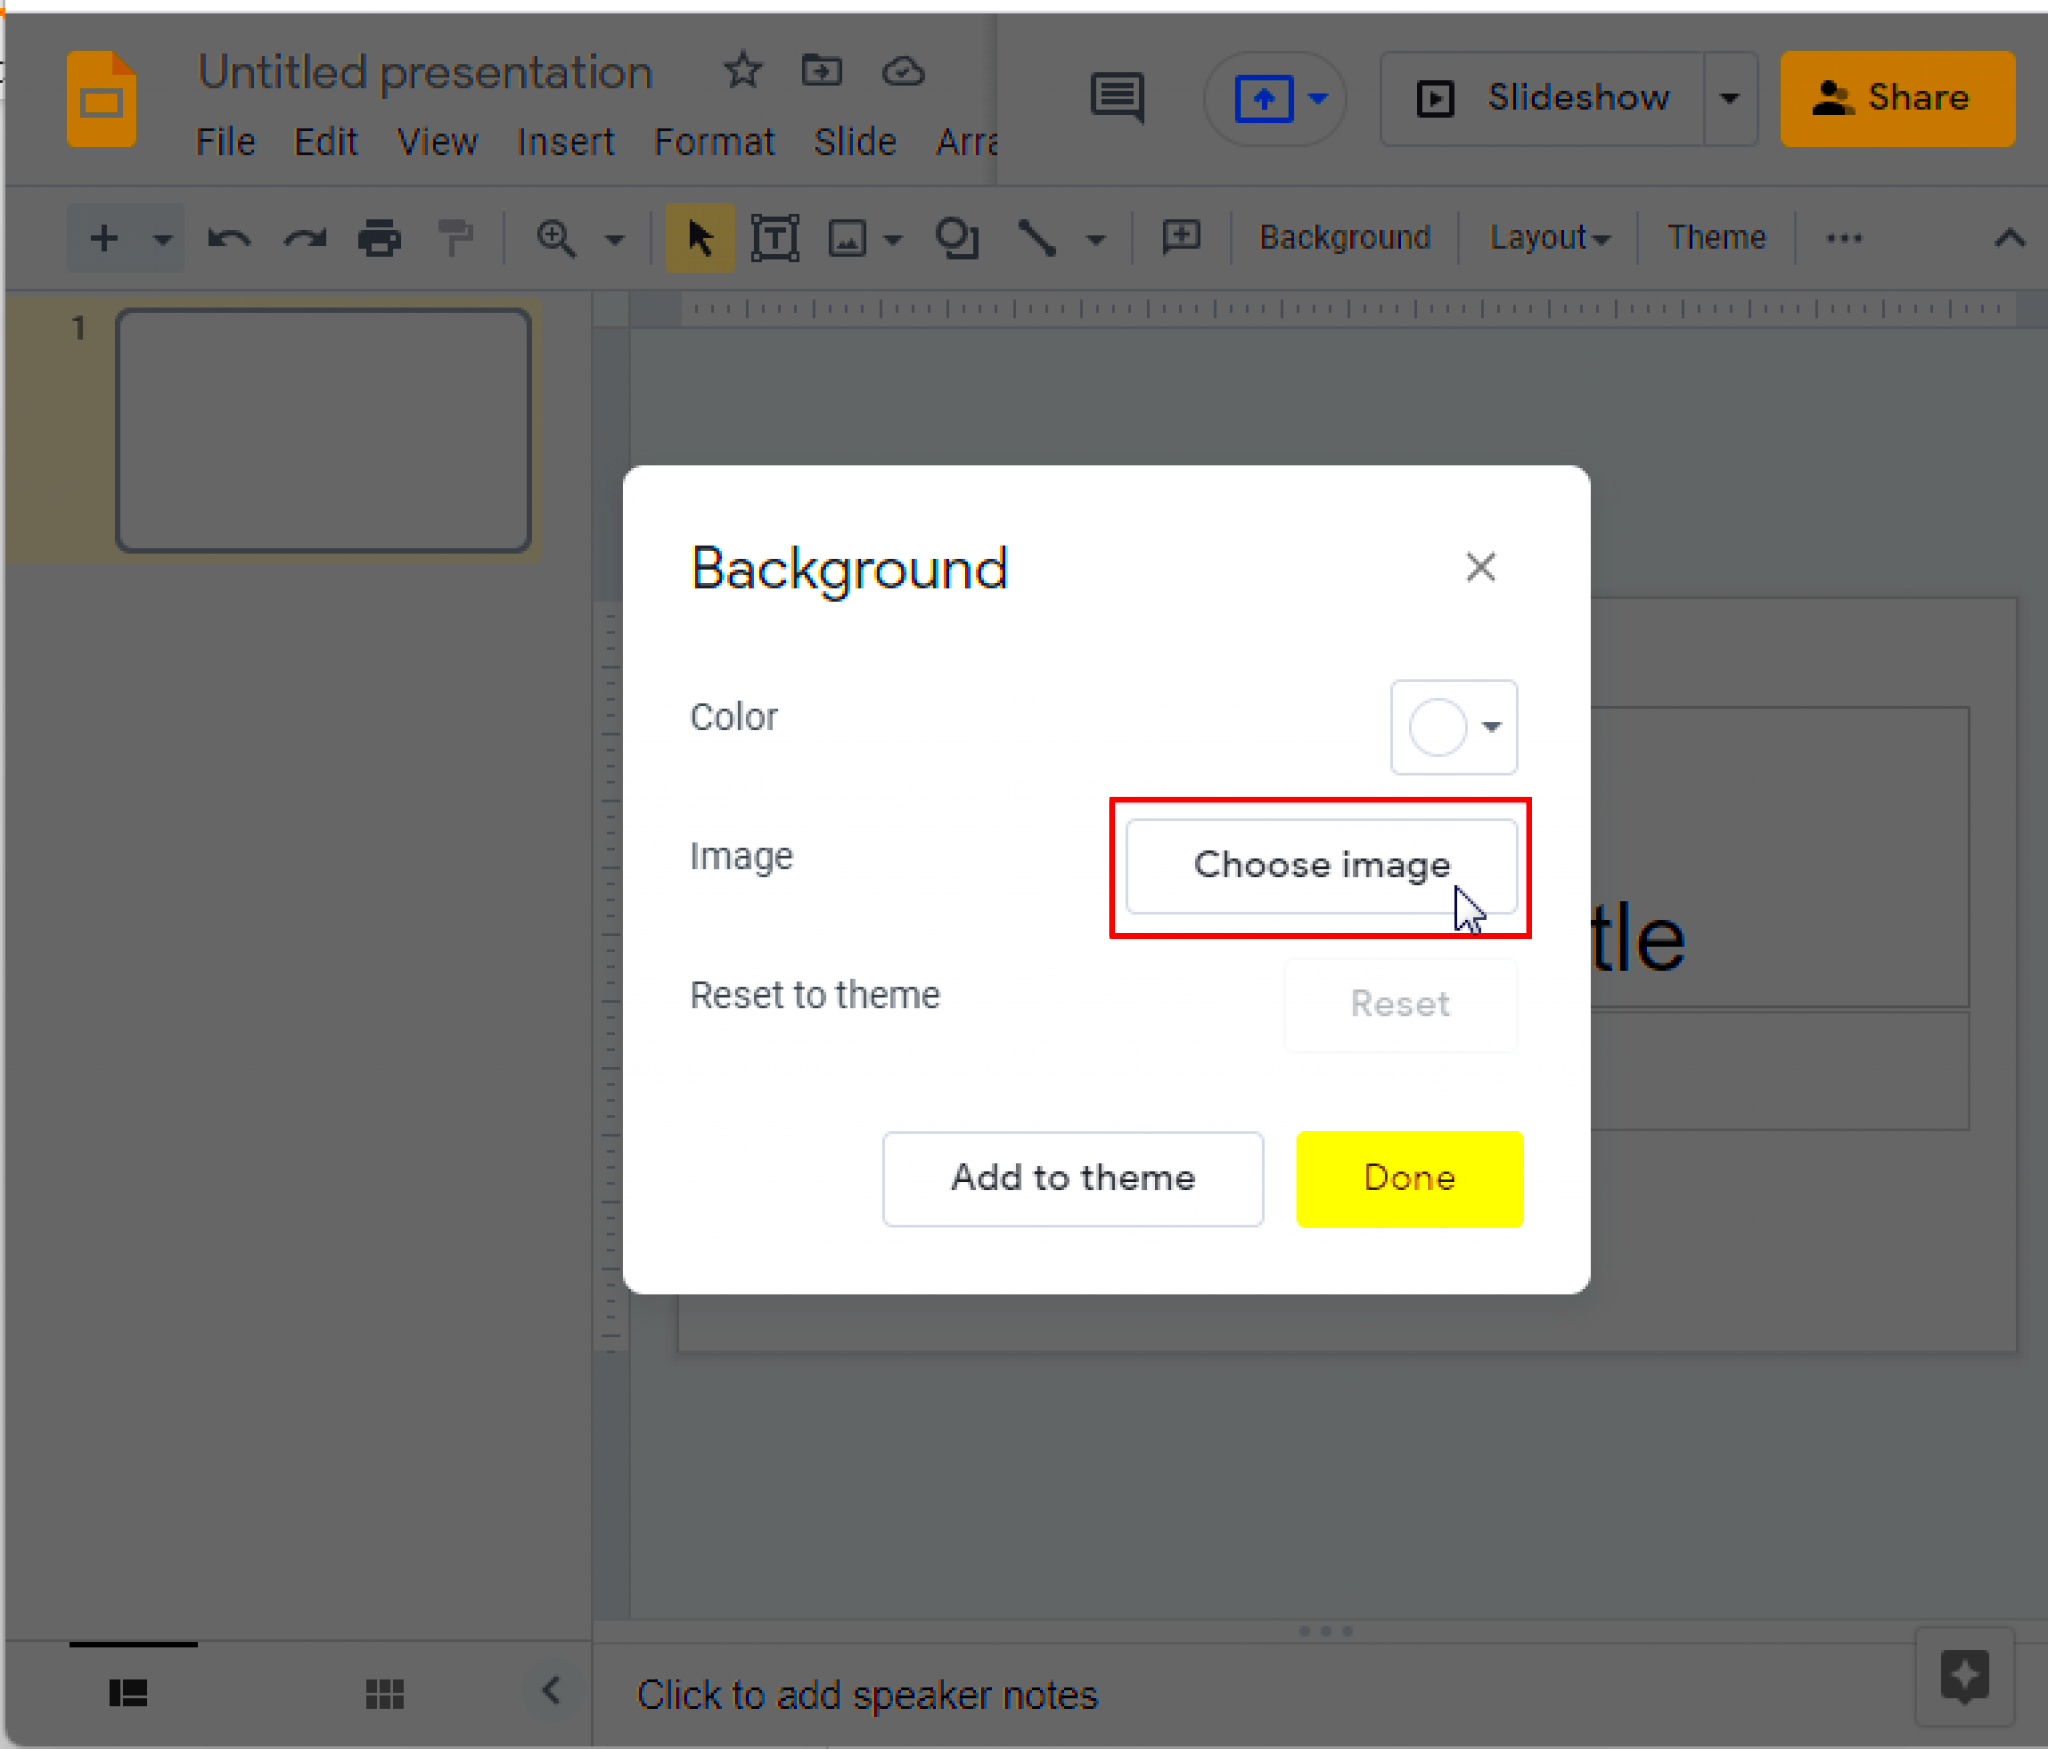
Locking images in Google Slides is a simple but useful feature that can help you maintain the integrity of your presentation. When you lock an image, it becomes unmovable and uneditable, ensuring that no one accidentally alters or resizes it during collaboration. This feature is especially handy when you’re working with a team or presenting a final draft of a slide deck.
Why You Might Want to Lock an Image in Google Slides

There are several reasons why you might want to lock an image in Google Slides:
- Preventing accidental changes: When working on a presentation, it’s easy to accidentally move or resize images. Locking the image ensures it stays exactly where you want it.
- Ensuring consistency: In collaborative settings, locking an image helps ensure everyone follows the same format and layout, preventing unwanted changes.
- Protecting the design: If you’ve spent time perfecting the look of your presentation, locking images prevents others from altering your design.
- Focusing on content: When the images are locked, you can concentrate more on editing text and other aspects of your presentation without worrying about the images being moved around.
Steps to Lock an Image in Google Slides
Locking an image in Google Slides is a straightforward process. Follow these simple steps to lock your image:
- Open your Google Slides presentation: Go to the slide where the image is located.
- Select the image: Click on the image you want to lock. This will highlight the image.
- Open the "Arrange" menu: At the top of your screen, click on the “Arrange” menu. This is where you’ll find options for formatting and positioning your images.
- Click on "Lock" (if available): Google Slides doesn't have a dedicated lock button, but if you're using the slide's master view, images placed there are locked by default. You can also protect the images using the “Protect range” feature in Google Sheets (linked to Google Slides) to prevent anyone from modifying the locked object.
- Save your changes: Once you've locked the image, make sure to save your presentation so the changes take effect.
If you're working on a shared presentation, locking images ensures that your content stays secure and the layout remains intact. Keep in mind that some locking features may require admin permissions if you are part of a team.
Using the "Lock" Option in Google Slides
Google Slides doesn’t have a dedicated "lock" option like other applications, but you can still lock your images using a workaround. The easiest way is by using the master slides feature. Any images added to the master slides can’t be moved or edited in individual slides, effectively locking them in place.
Here’s how to use the master slide feature:
- Open your Google Slides presentation and go to the slide you want to add an image to.
- Go to the “Slide” menu at the top of your screen and click on “Edit master.”
- Add or select the image you want to lock in the master slide view. The image will now appear on every slide using that master template.
- Exit the master slide view by clicking the “X” in the top-right corner.
By adding images in the master slide view, you prevent anyone from accidentally editing or moving them during the presentation. This is the best way to keep certain elements (like logos or background images) locked across all slides.
Preventing Changes to Locked Images
Once you've locked an image in Google Slides, it's important to ensure that no one can make any changes to it, especially if you’re collaborating with others. There are a few strategies to help you prevent unwanted changes:
- Restrict editing access: If you’re working on a shared slide deck, you can limit who can edit the presentation. Click on the "Share" button, and set the permissions to "View" or "Comment" for collaborators. This ensures that they can’t alter the images or slide content.
- Use the "View Only" mode: If you want to share the presentation without the risk of changes, set the access to "View Only." This makes the images and all content completely uneditable.
- Lock images in the master slide: As mentioned earlier, images added to the master slide cannot be moved or resized in individual slides. This is the most reliable way to "lock" your images in place.
By using these methods, you can ensure that locked images remain unchanged and maintain the integrity of your presentation throughout the editing process.
How to Unlock an Image in Google Slides
Unlocking an image in Google Slides is just as simple as locking it. If you added the image to the master slide, you can easily return to the master slide view to remove or unlock the
- Open your Google Slides presentation and go to the slide that contains the image you want to unlock.
- Go to the “Slide” menu at the top of your screen and click on “Edit master.”
- Select the master slide where the image is located. You will see all the images and elements that have been added to the master slide.
- Remove or replace the image by clicking on it and hitting the "Delete" button, or by replacing it with another image if needed.
- Exit the master slide view to return to your regular slide deck.
If you locked the image by restricting editing access, simply change the sharing settings back to allow editing. You can do this by clicking on the "Share" button and adjusting the permissions so that the image can be edited or moved again.
Unlocking images is quick and easy, but be cautious when giving others the ability to edit; once unlocked, your images can be changed or deleted just like any other element in the presentation.
Common Issues When Locking Images in Google Slides
While locking images in Google Slides can be incredibly helpful, there are a few common issues you might encounter. Understanding these challenges can save you time and prevent frustration as you work through your presentation.
- Master slide limitations: The most reliable way to lock an image is by using the master slide. However, not everyone is familiar with this feature, and some users may accidentally forget to add their images to the master slide. As a result, these images can be moved or altered in individual slides.
- Lack of a "Lock" button: Unlike other programs, Google Slides doesn’t have a dedicated "lock" button for images. This can be confusing for those expecting a simple option to secure images. Instead, users must rely on workarounds like the master slide or adjusting the permissions.
- Editing permissions not properly set: If you don’t restrict editing permissions for your collaborators, they can still make changes to locked images. It’s crucial to ensure that only specific people have access to edit the presentation and that others are set to "View Only" or "Comment" mode.
- Images not appearing as locked: Sometimes, even if you've followed the right steps to lock an image, it may not appear locked for other users. This could be due to browser issues, syncing problems, or settings that haven’t been fully applied.
To avoid these issues, make sure you're familiar with the master slide function and always double-check your editing permissions before sharing your presentation with others. If something isn't working, it's often helpful to restart your browser or clear the cache to ensure all changes are saved correctly.
FAQ about Locking Images in Google Slides
Here are some common questions about locking images in Google Slides and their answers:
- Can I lock an image in Google Slides without using the master slide? No, Google Slides doesn’t offer a direct "lock" option. The master slide is the best workaround to prevent accidental movement or editing of images.
- Can I lock only one image on a slide? Yes, you can use the master slide to lock specific images on certain slides, but all instances of that master slide will have the same images. For more specific locking, you may need to adjust access permissions.
- Can I unlock an image that’s locked in the master slide? Yes, simply go back to the "Edit master" view and delete or replace the image from there. Afterward, exit the master slide view to return to the regular slide deck.
- Can other people still edit locked images? If you set proper sharing permissions (i.e., "View Only" or "Comment"), other users won’t be able to edit the locked images. Make sure to restrict editing access when sharing your slides.
- What happens if I try to move a locked image? If the image is locked via the master slide or permissions, it can’t be moved or resized by others. However, you can still make changes if you have editing permissions.
Conclusion
Locking images in Google Slides can be a powerful tool for keeping your presentation intact and preventing accidental changes. While Google Slides doesn't offer a direct "lock" option, using the master slide feature or restricting editing permissions can effectively secure your images. It's important to remember that the process may involve some workarounds, but once you get the hang of it, it becomes a valuable asset for managing your slides.
By understanding the common issues, knowing how to prevent changes, and being aware of how to unlock images when necessary, you can confidently create presentations that stay exactly as you want them. Whether you’re working solo or collaborating with others, locking images ensures your designs remain pristine and professional.

 admin
admin


