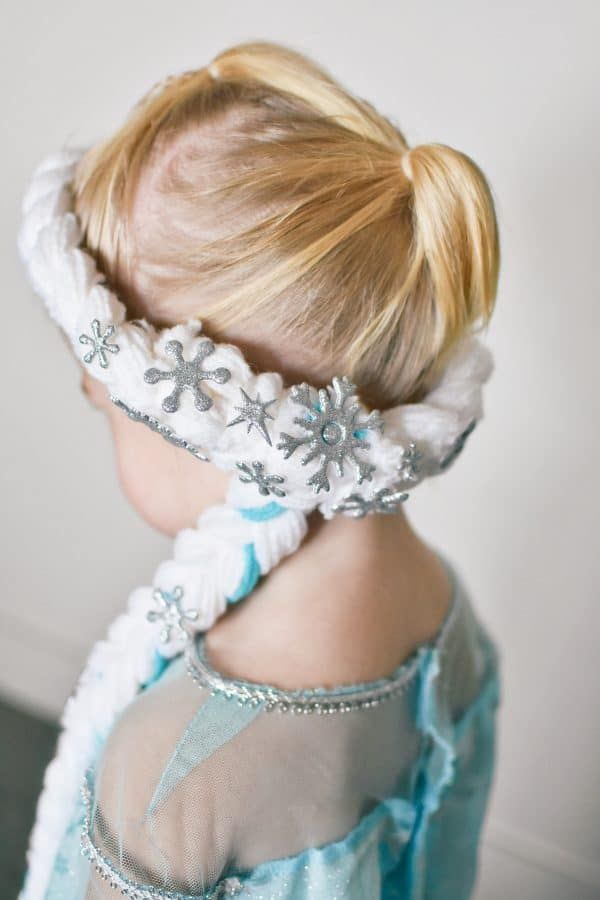
Are you ready to channel your inner Elsa from Disney's Frozen? This enchanting braid will have you feeling like royalty in no time! Not only is the Elsa braid beautiful, but it's also surprisingly simple to create. In this tutorial, we'll break down the steps to help you master this magical hairstyle. Whether you're preparing for a fancy event, a costume party, or just a casual day out, the Elsa braid is sure to turn heads and garner compliments. Let's dive in and get started on your hairstyling journey!
Necessary Tools and Supplies

Before we jump into the styling steps, it’s crucial to gather all the tools and supplies you'll need. Preparing ahead of time makes the process smoother and more enjoyable. Here’s a handy list to ensure you have everything ready:
- Hairbrush or Wide-Tooth Comb: Use this to detangle your hair before starting the braid.
- Hair Ties: You'll need clear or matching hair ties to secure your braid. Clear ones are great for a seamless look.
- Bobby Pins: These are perfect for tucking away any loose strands or securing the braid.
- Optional - Hair Spray: A light hold hairspray can help keep your braid in place throughout the day.
- Optional - Decorative Hair Accessories: Consider adding a flower clip or sparkly hairpin to make the braid feel even more magical.
Once you have these tools and supplies on hand, you’ll be all set to transform your look with the iconic Elsa braid. Grab your hairstyling tools, and let’s get to work! Creating this fabulous hairstyle can be a fun activity, so invite a friend or family member to join in on the fun.
Step-by-Step Instructions

Alright, let’s dive into the exciting world of hairstyling with our Elsa braid tutorial! Follow these simple steps, and you’ll have that stunning braid that makes you twirl like a snow queen in no time.
- Prep Your Hair: Start with clean, dry hair. If you want your braid to hold better, consider adding a bit of mousse or styling gel to give it some texture.
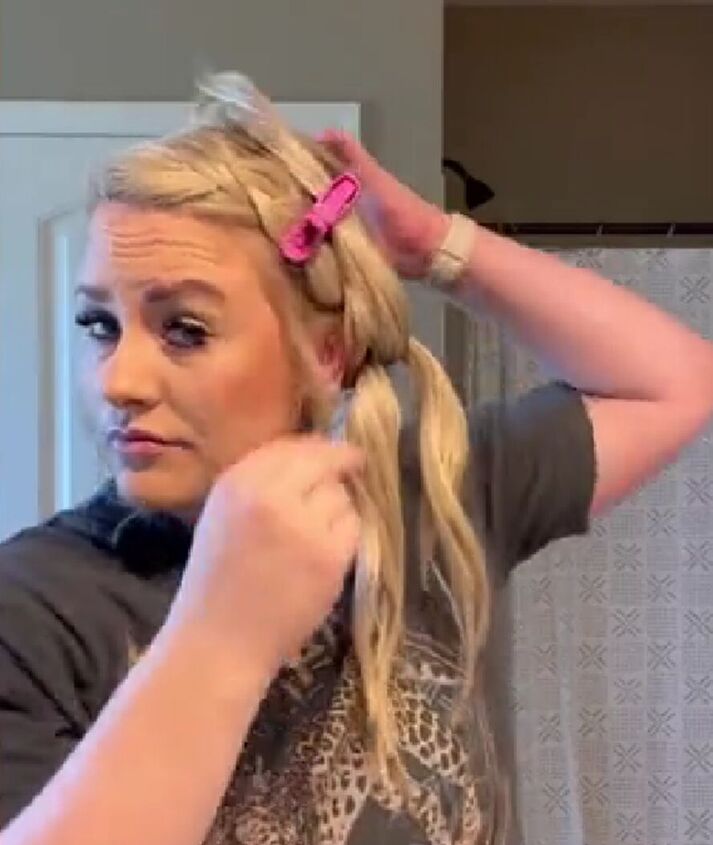
- Section Your Hair: Part your hair to the side as Elsa usually sports a side braid. This creates a more dramatic look. Grab a large section from the front and save the rest for later.
- Divide Your Hair: Split that large section into three equal strands. This will form the base of your braid.
- Begin Braiding: Start by crossing the right strand over the middle strand, followed by the left strand over the new middle strand. Continue this pattern. Remember, the more you practice, the better you'll get!
- Incorporate Hair: As you braid, start picking up small sections of hair from the sides and adding them to your braid. This is what gives the Elsa braid its signature look!
- Continue Braiding: Keep braiding until you reach the ends of your hair. Once there, secure the braid with a small hair tie.
- Finishing Touches: Gently tug at the braid to make it look fuller and softer. You can pull on some strands at the front for a more relaxed, wispy vibe.
Voila! Your very own Elsa braid is ready to sparkle!
Tips for a Perfect Elsa Braid

Nailing the Elsa braid can sometimes feel tricky, but with a few handy tips, you’ll be on your way to looking like a true snow queen!
- Use a Texturizing Product: A light mousse or volumizing spray can make a world of difference. Apply it before you start braiding to add grip.
- Practice Makes Perfect: Don’t be too hard on yourself if it doesn’t look perfect right away. The more you practice, the more effortless it’ll become.
- Stay Cool with Hair Ties: Opt for clear or hair-colored elastic bands that blend in with your hair to keep things looking sleek without any distraction.
- Braid While Dry: Braiding works best on dry hair. If you've just washed your hair, let it dry completely, or braid it the next day for easier handling.
- Accessorize! Adding a pretty hair clip or a flower can elevate your braid from traditional to stunning!
Remember, every hair type is unique, and what works for someone else might differ for you. Have fun experimenting until you find your perfect version of the Elsa braid!
5. Variations of the Elsa Braid
If you think the Elsa braid is just one style, you’re in for a treat! There are numerous fun variations that can be adapted to suit different occasions or personal tastes. Let’s explore some creative twists on the classic Elsa braid to help you express your unique style!
- Loose Elsa Braid: For a relaxed and bohemian look, you can create a loose version of the Elsa braid. Simply start braiding from around the nape of your neck and leave out small strands of hair to frame your face, giving you a softer, more casual vibe.
- Half-Up Elsa Braid: This variation combines elegance with playfulness. Gather the top section of your hair into a half-up ponytail, then create a braid with that section while keeping the rest loose. This is perfect for a romantic date night or a day out with friends!
- Fishtail Elsa Braid: Want something a bit more intricate? Try creating a fishtail version of the Elsa braid. The fishtail technique creates a stunning look, and it's sure to impress! Just separate your hair into two sections and braid them by alternating small pieces from each side.
- Double Elsa Braids: For a playful twist, why not try double braids? Section your hair into two parts and create a classic Elsa braid on both sides. This is a fun option for festivals or school events.
- Accessorized Elsa Braid: Add some flair by incorporating accessories like flowers, decorative pins, or ribbons into your braid. This can take your hairstyle from simple to spectacular!
With these variations, you can effortlessly add a personal touch to your Elsa braid, making it versatile for any occasion!
6. Conclusion
Congratulations! You've taken the journey to learn how to create the charming Elsa braid and explored some fabulous variations. The beauty of the Elsa braid lies in its versatility and timeless elegance. Whether you're preparing for a special event or just want to switch up your everyday look, this hairstyle is sure to turn heads.
Remember, practice makes perfect—so don’t get discouraged if your first attempt doesn’t turn out exactly as you envisioned. With a little patience and a lot of fun, you'll soon be braiding like a pro! Plus, you can always experiment with different styles and accessories to find out what feels most 'you.'
So gather your hair-ties and bobby pins, and let your creative flair shine through! We can't wait to see you rock your gorgeous Elsa braid and its delightful variations!


