Taking screenshots on Windows 7 can be a game changer for productivity, whether you're sharing information, creating tutorials, or simply saving important visual content. With a few simple methods, you can capture anything from a full screen to a specific window. It’s super easy, and once you get the hang of it, you’ll wonder how you ever managed without it!
Why Use Dailymotion Tutorials for Learning
Dailymotion tutorials are a fantastic resource for learning how to take screenshots on Windows 7. Here’s why they stand out:
- Visual Learning: Tutorials often include step-by-step visuals, making it easier to follow along.
- Diverse Content: You can find videos that cover various techniques, from basic screenshots to more advanced editing options.
- User-Friendly: Many tutorials are created by everyday users, so they often explain concepts in a way that's easy to understand.
For example, you might find a tutorial that shows how to use the Snipping Tool, a built-in feature in Windows 7. This tool allows you to select specific areas to capture, which is perfect for highlighting just the right information. Watching someone navigate the tool can clear up any confusion you might have about its features.
Additionally, Dailymotion's community aspect allows users to ask questions and share tips, enhancing your learning experience. You can engage with other viewers, which can be beneficial for troubleshooting or discovering new methods.
So, next time you want to learn how to take a screenshot effectively, consider checking out some Dailymotion tutorials. They’ll not only teach you the “how” but also the “why,” enriching your overall understanding of the process!
Also Read This: How to Make Pizza by Chef Zakir: Video Tutorials on Dailymotion
3. Methods for Taking Screenshots on Windows 7
Taking screenshots on Windows 7 is a breeze once you know your options! Whether you want to capture the whole screen, just a window, or a specific area, Windows 7 has you covered. Here are some popular methods to get those screenshots:
- Snipping Tool: This handy built-in tool lets you capture any part of your screen. To use it, simply search for “Snipping Tool” in your Start menu. Once it’s open, click “New,” and drag your cursor to select the area you want to capture. It’s great for quick edits, as you can annotate or highlight within the tool!
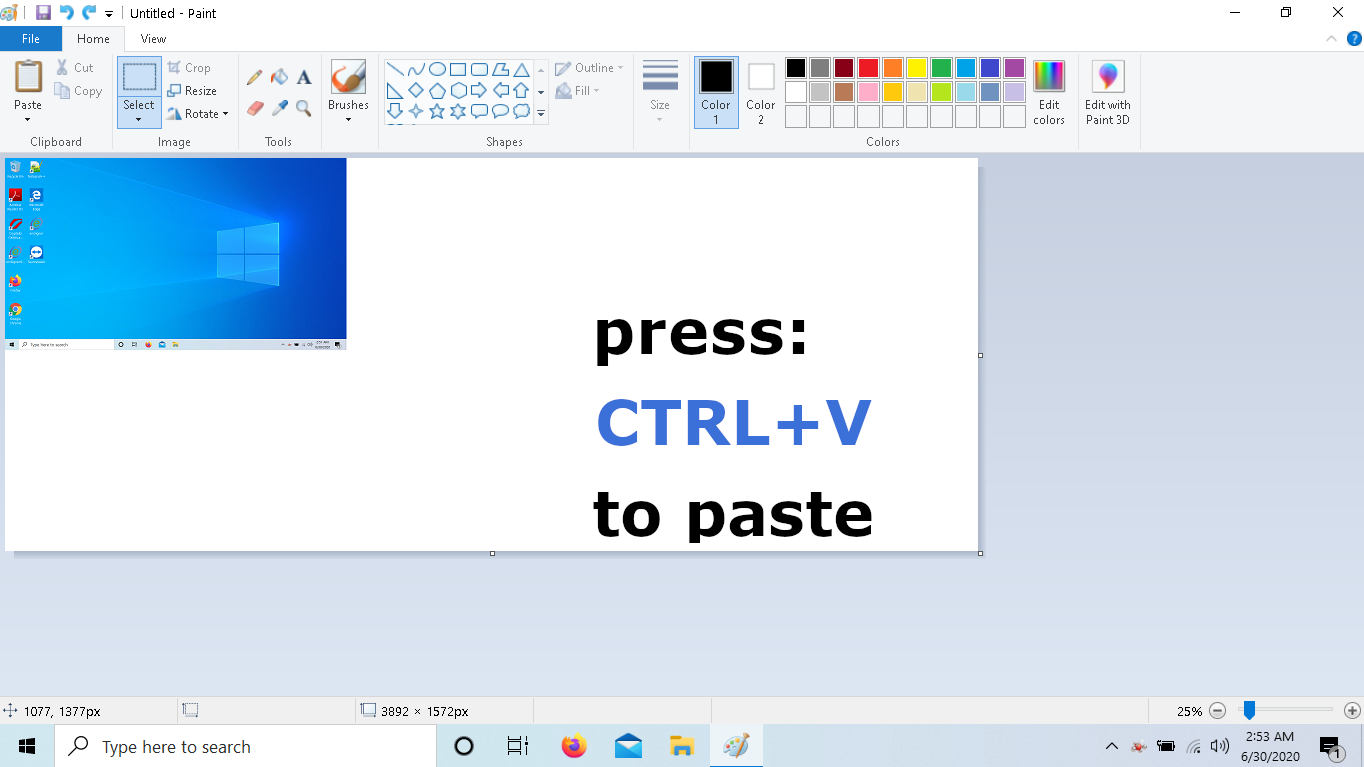
- Print Screen (PrtScn) Button: The classic method! Pressing the PrtScn key captures the entire screen and copies it to your clipboard. You can then paste it (Ctrl + V) into an image editor like Paint, where you can save it. If you want to capture just the active window, use Alt + PrtScn.
- Third-Party Software: If you need more advanced features, consider downloading software like Greenshot or Lightshot. These programs offer additional options, such as editing, sharing directly to social media, or saving in various formats.
Each method has its pros and cons, so try them out to see which one fits your needs best. The Snipping Tool is perfect for quick, customized captures, while the Print Screen method is great for speed. And if you find yourself taking screenshots often, third-party tools might be the way to go!
Also Read This: Understanding YouTube’s Move to Block Ad Blockers and How to Bypass It
4. Using Keyboard Shortcuts for Screenshots
Keyboard shortcuts are a game changer when it comes to efficiency, especially for taking screenshots. Windows 7 offers some handy shortcuts that make capturing your screen super quick. Let’s dive into the most useful ones:
- PrtScn: Pressing this button alone captures your entire screen and copies it to the clipboard. Remember, it won’t save the image directly; you’ll need to paste it into an application to save it.
- Alt + PrtScn: This combination captures only the currently active window, which can save you time if you don’t need the whole screen. Just like the previous shortcut, it goes to your clipboard for pasting.
- Windows Key + PrtScn: This shortcut captures your whole screen and saves the screenshot directly to your Pictures library in a folder called Screenshots. It’s perfect for those who want a quick and hassle-free way to save images.
These shortcuts are incredibly useful, especially when you need to quickly capture something and move on. Test them out to find your favorite method! Just remember, if you're using Alt + PrtScn, make sure the window you want to capture is in the foreground. Happy screenshotting!
Also Read This: How to Make a Gift Box Out of Paper: Creative DIY Project from Dailymotion
5. Utilizing Snipping Tool for More Control
If you’re looking for a more versatile way to take screenshots on Windows 7, the Snipping Tool is your best friend! This built-in tool allows you to capture specific areas of your screen and offers options for saving and editing your screenshots. Let’s dive into how to use it effectively.
First things first, to open the Snipping Tool, you can either search for it in the Start menu or find it in the Windows Accessories folder. Once you open it, you'll notice a simple interface with four different snip options:
- Free-form Snip: Draw any shape around an area you want to capture.
- Rectangular Snip: Drag your mouse to create a rectangular box around the area you want.
- Window Snip: Capture a specific window by selecting it.
- Full-screen Snip: Take a snapshot of your entire screen.
To get started, choose the type of snip you want. For instance, if you want to capture a specific part of your screen, select Rectangular Snip and drag to create a box. Once you release the mouse button, the Snipping Tool will automatically open the screenshot in a new window.
One of the coolest features of the Snipping Tool is its editing capabilities. After capturing your screenshot, you can use the tools in the menu to annotate your image. Highlight important areas using the pen tool, or add notes with the text tool. You can also use the eraser if you want to remove any markings. This is really handy for creating tutorials or sharing information visually.
When you’re happy with your screenshot, you can easily save it by clicking on the disk icon or going to File > Save As. Choose your desired file format (like PNG or JPEG) and save it to your preferred location. With the Snipping Tool, you’re not just taking screenshots; you’re creating visually engaging content!
Also Read This: How to Save Videos from Dailymotion Online Without Quality Loss
6. Saving and Editing Screenshots
Now that you’ve captured your screenshots using methods like the Print Screen key or the Snipping Tool, it’s time to talk about saving and editing those images to make them truly shine!
After you take a screenshot, the next step is saving it properly. If you used the Print Screen method, you’ll need to paste your screenshot into an image editing program like Microsoft Paint. Simply open Paint, press Ctrl + V to paste the screenshot, and then you can save it by going to File > Save As. It's best to save in a common format like PNG or JPEG, especially if you plan to share it.
If you are using the Snipping Tool, saving is straightforward since it has a built-in option. However, you might want to edit your screenshots further. Here are some popular editing tools you can consider:
- Microsoft Paint: Basic but effective for simple edits like cropping and adding shapes.
- GIMP: A free photo editing software that offers extensive editing options.
- Greenshot: Not only does it take screenshots, but it also provides built-in editing tools.
Once you’ve decided on your editing tool, you can add text, arrows, or shapes to your screenshots to highlight important information. This is particularly useful for creating tutorials or sharing feedback with others. Don't forget to use layers in GIMP for more complex edits!
Finally, when saving your edited images, always choose a filename that reflects the content and use descriptive tags if possible. This way, you'll easily find your screenshots later, whether it’s for a blog post or a presentation.
In summary, taking screenshots on Windows 7 isn't just about capturing what you see; it's about making those images work for you. By using tools like the Snipping Tool and effective editing software, you can create professional-looking visuals that enhance your projects. Happy capturing!
Also Read This: How to Make Flowers with Cloth on Dailymotion
7. Accessing Dailymotion for Video Tutorials
Are you ready to elevate your screenshot game? One of the best resources at your fingertips is Dailymotion, a fantastic platform filled with video tutorials that can guide you through the process of taking screenshots on Windows 7. Let’s dive right into how you can access these tutorials and make the most out of them!
First things first, if you haven't registered on Dailymotion yet, now is the perfect time to do so! Creating an account is easy and allows you to save your favorite tutorials for quick access later. Here’s a step-by-step guide:
- Visit the Dailymotion website: Head over to Dailymotion.
- Create an account: Click on 'Sign Up' and fill in your details.
- Explore the platform: Use the search bar to find keywords like “Windows 7 screenshot tutorial.”
Once you’re logged in, you can easily search for specific tutorials. Just type in “how to take screenshots on Windows 7” and hit enter. You’ll find a plethora of videos ranging from beginner guides to more advanced techniques. Here’s a quick tip: look for videos with higher views and positive comments, as these usually indicate quality content.
Some top channels on Dailymotion that often cover tech tutorials include:
- Tech Guru: Great for general tech tips.
- Windows Wizards: Focused specifically on Windows OS tips.
- Screen Savvy: Dedicated to all things screenshots!
By watching these videos, you can see the exact steps in action, which can be much easier than reading instructions. You can pause, rewind, and watch them as many times as you need to fully grasp the process. Plus, many of these videos highlight common pitfalls to avoid, ensuring you become a screenshot pro in no time!
8. Conclusion and Tips for Effective Screenshot Taking
As we wrap up our guide on taking screenshots on Windows 7, let’s recap what we’ve learned and share some handy tips to enhance your screenshot experience.
Taking screenshots is a powerful tool for communication, whether you’re documenting a process, sharing information, or capturing memorable moments. Remember the main methods we've discussed:
- Print Screen (PrtScn): Captures the whole screen.
- Alt + Print Screen: Captures the active window.
- Snipping Tool: A versatile tool for more control over your screenshots.
Here are some final tips to ensure your screenshots are effective:
- Keep it clear: Ensure the content is easy to read. Use zoom features if necessary.
- Annotate if needed: Use editing tools to add arrows or text to guide viewers.
- Organize your files: Name your images clearly and store them in organized folders for easy access.
- Practice makes perfect: The more you take screenshots, the more intuitive the process becomes!
So, now that you’re equipped with knowledge and resources, it’s time to practice! Dive into Dailymotion for more tutorials, experiment with the methods, and soon, taking screenshots on Windows 7 will become second nature. Happy screenshotting!
 admin
admin


