Image reversal is a handy skill in PowerPoint that can significantly enhance your presentations. Sometimes, images need a fresh perspective to convey your message effectively. By reversing an image, you can create a different visual effect, helping to maintain your audience's interest and engagement.
Moreover, reversing images can aid in emphasizing specific elements. For example, if an image features a subject looking left, reversing it can create a sense of continuity if the text or flow of your presentation goes that way. This technique not only adds creativity but also allows you to tailor visuals to better suit your content.
Additionally, understanding how to manipulate images can make you a more effective communicator. Whether you're presenting to colleagues, clients, or students, using reversed images thoughtfully can help reinforce your key points. Remember, a well-placed image can often convey more than words alone.
Steps to Reverse an Image in PowerPoint
Reversing an image in PowerPoint is a simple process. Just follow these steps:
- Open PowerPoint: Launch the PowerPoint application and open your presentation.
- Select Your Image: Click on the image you wish to reverse. Make sure it is highlighted.
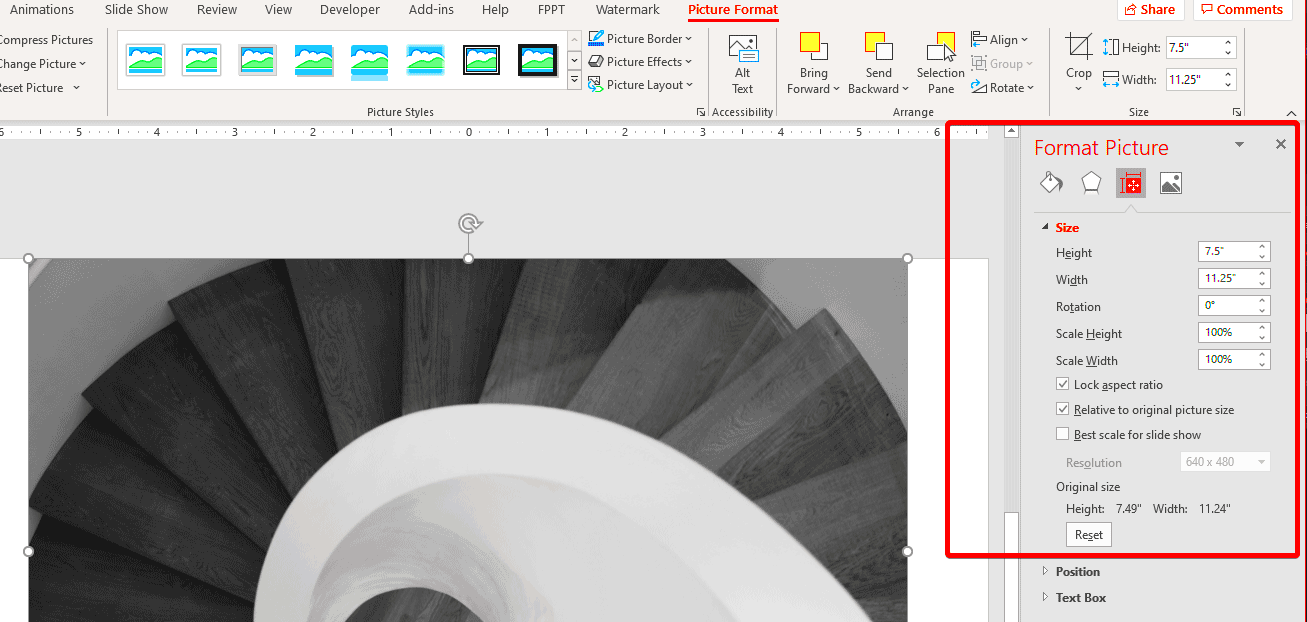
- Navigate to the Format Tab: Look for the "Picture Format" or "Format" tab in the ribbon at the top of the screen.
- Choose Rotate: Find the "Rotate" option in the toolbar. Click on it to reveal a dropdown menu.
- Select Flip: From the dropdown, choose either "Flip Horizontal" or "Flip Vertical," depending on how you want to reverse your image.
- Adjust as Needed: Once reversed, you can move or resize the image to fit your layout perfectly.
Following these steps will allow you to reverse images effortlessly, making your presentations more dynamic and visually appealing.
Using Flip Options for Quick Image Reversal
PowerPoint provides easy-to-use flip options that can save you time and effort when reversing images. Here’s how you can use them effectively:
- Accessing Flip Options: After selecting your image, the flip options are conveniently located under the "Picture Format" tab in the ribbon.
- Horizontal Flip: This option mirrors your image from left to right. It’s perfect for creating symmetry or adjusting an image’s direction to match the flow of your text.
- Vertical Flip: This mirrors the image from top to bottom, useful for specific artistic effects or creating unique layouts.
Using these flip options allows for quick adjustments without needing additional software or complicated techniques. If you want to see how these changes look, simply click on the flip option, and your image will change instantly.
In summary, mastering the flip options not only enhances your efficiency but also adds a professional touch to your presentations.
How to Adjust Image Position After Reversal
Once you’ve reversed an image in PowerPoint, you may need to reposition it to ensure it fits well within your slide layout. Proper placement is crucial for maintaining visual balance and enhancing your presentation’s overall look. Here’s how to adjust the image position after you reverse it:
- Select the Image: Click on the reversed image to select it. You’ll notice small squares (handles) appear around the edges, indicating it is active.
- Drag to Move: To reposition the image, simply click and hold the mouse button down while dragging the image to your desired location on the slide.
- Use Arrow Keys for Precision: For finer adjustments, use your keyboard's arrow keys. This allows for a more controlled movement, perfect for aligning with other elements on the slide.
- Align with Guides: If your slide includes guides or gridlines, use them to align the image perfectly. This ensures consistency across your presentation.
- Resize If Necessary: If the image appears too large or small after reversing, click and drag the corners to resize it without losing its proportions. Hold the Shift key while resizing to maintain the image's aspect ratio.
By following these steps, you can easily adjust the position of your reversed images, ensuring they complement your content and maintain visual appeal.
Enhancing Your Presentation with Reversed Images
Reversed images can elevate your PowerPoint presentation, adding a unique touch that captures your audience's attention. Here are some tips on how to effectively use reversed images to enhance your slides:
- Create Visual Flow: Use reversed images to guide the viewer’s eye. For instance, if your text flows from left to right, ensure your images also reflect that direction.
- Use Contrast: Pair reversed images with contrasting colors in the background or surrounding elements. This contrast can help the image stand out and make your slide more dynamic.
- Add Context: When using a reversed image, ensure it relates to the slide's content. For example, if you're discussing teamwork, an image of people collaborating can reinforce your message.
- Incorporate Text Wisely: Place text near reversed images to provide context or highlight key points. However, be cautious not to overcrowd the slide; balance is key.
- Experiment with Styles: Don’t hesitate to try different styles or effects after reversing your image. PowerPoint offers tools for adding shadows, reflections, or borders, enhancing the overall appearance.
By incorporating these strategies, you can make your presentations not only informative but also visually captivating, ensuring your audience remains engaged throughout.
Troubleshooting Common Issues When Reversing Images
Sometimes, things don’t go as planned when reversing images in PowerPoint. But don’t worry; many common issues are easy to fix. Here are some troubleshooting tips to help you:
- Image Quality Loss: If your reversed image appears pixelated or unclear, ensure you’re using high-resolution images. Low-quality images can degrade further when flipped.
- Image Positioning Problems: If the image doesn't fit well after reversal, use the adjustment techniques mentioned earlier. Remember, dragging and using arrow keys can help you find the perfect position.
- Missing Flip Options: If you can’t find the flip options, ensure you’ve selected the image correctly. Sometimes, clicking outside the image and back again can refresh the options.
- Unwanted Changes in Orientation: If flipping an image causes it to rotate unexpectedly, double-check your selected flip option. You may have inadvertently clicked the wrong one.
- Group Objects Issues: If the image is part of a group, you may need to ungroup it to apply the flip effect. Right-click on the group, select “Group,” and then choose “Ungroup.”
By being aware of these potential issues, you can troubleshoot effectively and ensure your images enhance rather than hinder your presentations. Remember, every problem has a solution!
Best Practices for Image Reversal in PowerPoint
Mastering image reversal in PowerPoint can significantly enhance your presentations, but using this feature effectively requires a few best practices. By following these guidelines, you can ensure that your images look polished and serve their purpose in your slides.
- Choose the Right Images: Not all images benefit from reversal. Select images that convey a message or fit the context of your presentation. Images that depict movement or direction often work best when reversed.
- Maintain Visual Consistency: If you reverse an image, consider how it fits with other visuals on the slide. Keep a consistent style throughout your presentation, whether that’s through color, orientation, or design.
- Test Different Layouts: Don’t be afraid to experiment! After reversing an image, try different placements on the slide. Sometimes, the best layout isn’t immediately obvious, and experimenting can lead to surprising results.
- Keep It Simple: Avoid cluttering your slides with too many images or reversed images. A clean layout helps your audience focus on the key message you want to convey.
- Preview Your Presentation: Always run through your slides before presenting. Check how the reversed images look in the context of your overall message. This final review can help you catch any alignment or visual issues.
By following these best practices, you can create visually appealing presentations that effectively communicate your message through well-reversed images.
Frequently Asked Questions About Reversing Images
When it comes to reversing images in PowerPoint, many users have questions. Here are some of the most common queries, along with straightforward answers to help you navigate this feature more effectively:
- Can I reverse any type of image? Yes, you can reverse most images, including photos and illustrations. However, some graphics may not look as effective when flipped, so choose wisely.
- Will reversing an image affect its quality? Generally, reversing an image won’t affect its quality. However, using low-resolution images can lead to pixelation, especially when resized.
- What if I want to undo the image reversal? No worries! You can easily undo any action by pressing Ctrl + Z on your keyboard or using the “Undo” button in the toolbar.
- Can I animate reversed images? Absolutely! You can apply animations to reversed images just like any other image in PowerPoint. This can add an extra layer of engagement to your presentation.
- How do I group a reversed image with other elements? To group a reversed image with other objects, select them all while holding down the Shift key, right-click, and choose “Group.” This helps keep your layout organized.
By addressing these common questions, you can feel more confident using image reversal in your PowerPoint presentations.
Conclusion: Mastering Image Reversal in PowerPoint
In conclusion, mastering the art of image reversal in PowerPoint can elevate your presentation game significantly. Understanding how to effectively reverse images and adjust them in your slides not only enhances visual appeal but also helps you communicate your message more clearly.
Remember, the key to successful presentations lies in the details. From selecting the right images to following best practices, every step counts. With a little creativity and experimentation, you can use reversed images to guide your audience's attention and emphasize important points.
Don’t shy away from trying out new layouts or styles. As you practice and explore the features in PowerPoint, you’ll find that the possibilities for enhancing your presentations are endless. So go ahead, start reversing those images, and watch your presentations transform!
 admin
admin


