Have you ever stumbled upon a YouTube video that just hits you right in the feels or has that perfect soundtrack? You might think, "I wish I could keep this for myself!" Well, guess what? You can! Burning CDs from your favorite YouTube videos is a nostalgic way to enjoy your favorite content offline. In this blog post, we’ll guide you through the simple steps to transform your cherished
Requirements for Burning CDs
Before you get started with burning CDs, it’s essential to gather everything you need. Let's break it down into our handy list!
- A Computer: You’ll need a computer with a CD/DVD drive that supports burning CDs.
- CD Burning Software: There are several options available, such as:
- Nero
- Windows Media Player
- iTunes
- Roxio Creator
- Blank CDs: Make sure you have blank CDs—either CD-R or CD-RW. CD-Rs can be written once, while CD-RWs can be overwritten.
- Internet Connection: You’ll need this to access and download videos from YouTube.
- YouTube Video Downloader: Choose a reputable downloader like:
- 4K Video Downloader
- YTD Video Downloader
- Any Video Converter
- Audio Editing Software (optional): If you want to trim or edit audio tracks, software like Audacity can be very helpful.
Having the right tools will ensure a smooth burning experience. Not to mention, it makes the entire process a lot more enjoyable! Once you've gathered everything on the list, you’ll be ready to start the fun part of downloading and organizing your favorite YouTube content. However, before diving in, make sure you’re aware of copyright laws regarding the content you download and burn. It’s always best to stick to content that you own or have the right to use. Now that you have your requirements sorted, you’re one step closer to creating your own CD compilation of YouTube gems!
Also Read This: Earnings Explained: How Much Does 500,000 Views Pay on YouTube?
3. Steps to Download YouTube Videos
Alright, let’s get into the nitty-gritty of downloading those amazing YouTube videos you want to burn onto a CD. While YouTube doesn't offer a built-in way to download videos, there are several tools and methods to make this happen. Don't worry, it’s easier than you might think!
Here’s a simple step-by-step guide:
- Choose a Video Downloader: Start by selecting a reliable video downloading tool. There are several options available, both online and as software applications. Some popular choices are:
- 4K Video Downloader
- YTD Video Downloader
- ClipGrab
- Online services like SaveFrom.net
And voila! You now have your YouTube video downloaded and ready for the next phase of burning it onto a CD.
Also Read This: How to File Your YouTube Taxes: A Complete Guide for Creators
4. Choosing the Right CD Burning Software
Now that you've successfully downloaded your favorite YouTube videos, the next step is to choose the right software to burn those videos onto a CD. With so many options available, it can be a bit overwhelming. But don’t worry; I’m here to guide you through it!
When selecting CD burning software, consider the following factors:
- User-Friendly Interface: If you’re not very tech-savvy, look for software with a simple, intuitive interface. You want to spend more time enjoying your music and videos, not figuring out complicated software!
- Supported Formats: Make sure the burning software supports the file format of the videos you downloaded. Most will support MP4 and AVI, but it's always good to check.
- Customizable Options: Look for software that allows you to customize your CD. This might include creating a playlist, adding track names, and even customizing the CD label.
- Speed of Burning: Some software offers faster burning speeds. If you're in a hurry, this can be a significant factor!
- Price: There are both free and premium software options available. Free ones are great for basic needs, but premium versions may offer additional features like better file management and advanced burning options.
Here are a few popular CD burning software options you might want to consider:
| Software | Platform | Key Features | Cost |
|---|---|---|---|
| Nero Burning ROM | Windows | Advanced burning features, multisession support, and audio CD creation | $49.95 |
| ImgBurn | Windows | Supports a wide variety of formats and is free to use | Free |
| BurnAware Free | Windows | User-friendly interface, offers audio CD burning | Free |
| Express Burn | Windows, Mac | Simple interface for burning files quickly | Free for basic version |
Take your time to explore these options, and pick the one that fits your needs best. Once you’ve got your burning software installed, you're all set to create your CD in no time!
Also Read This: How to Delete a YouTube Account
5. How to Burn YouTube Videos onto a CD
Burning YouTube videos onto a CD might sound like a daunting task, but it's actually quite simple once you know the steps! Let’s break it down.
Step 1: Download the YouTube Video
Before you can burn any video, you need to download it from YouTube. There are numerous online tools and software available for this purpose. Here’s a quick way to do it:
- Find the video on YouTube that you want to download.
- Copy the URL of the video from the address bar.
- Go to a reliable video downloader site or application, like 4K Video Downloader or YTD Video Downloader.
- Paste the URL into the downloading tool and choose your desired video quality.
- Download the file to your computer.
Step 2: Choose the Right CD
When it comes to burning CDs, not all CDs are created equal. For videos, you typically want to use either a CD-R or a CD-RW. One-time write CDs (CD-R) are ideal for permanent storage, while rewritable CDs (CD-RW) allow you to erase and burn new content multiple times.
Step 3: Use CD Burning Software
Once you have your video downloaded and your CD ready, you need burning software. Some popular choices include:
- ImgBurn
- Nero Burning ROM
- CDBurnerXP
- Windows Media Player (if you're on Windows)
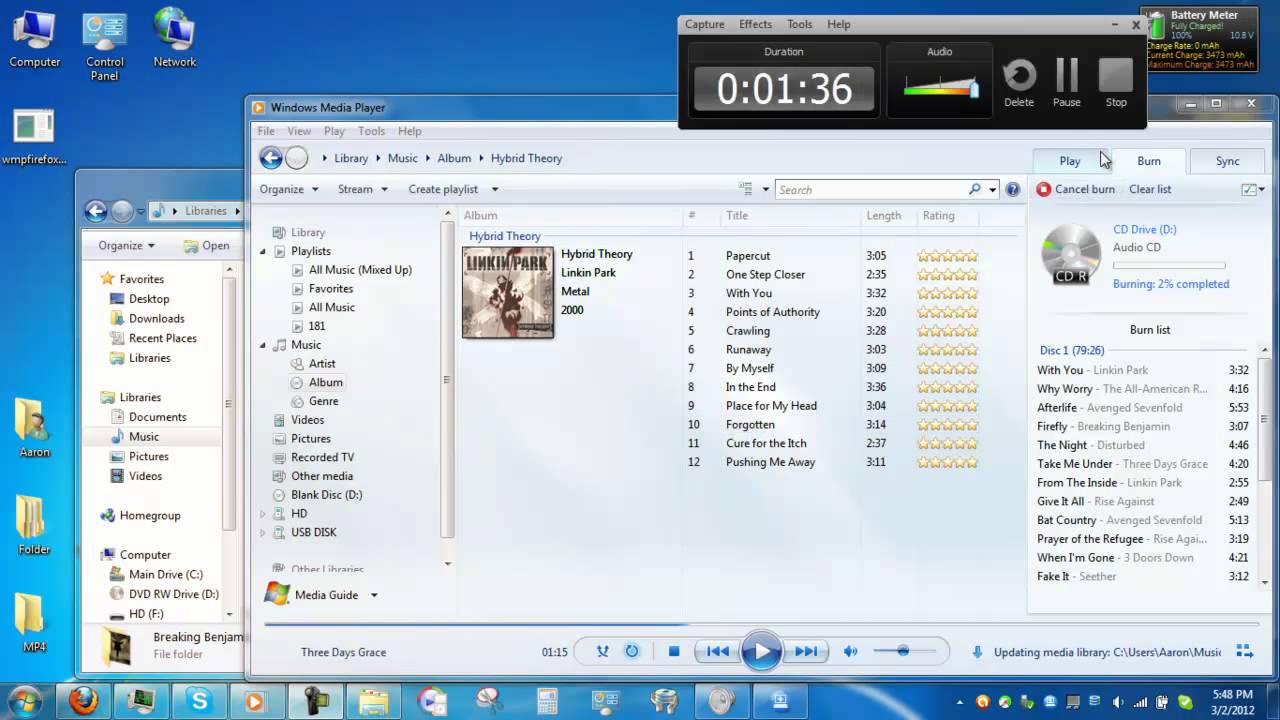
Install your chosen software, and then follow these general steps:
- Open the CD burning software.
- Select “Burn Video Disc” (or a similar option).
- Add the downloaded YouTube video file.
- Insert a blank CD into your CD drive.
- Start the burning process by selecting the “Burn” or “Write” option.
After a few minutes (this can vary based on the size of the video), your CD will be ready to pop into a compatible player. Enjoy your video whenever you want!
Also Read This: How to Do Your YouTube Wrapped: How to View Your Annual YouTube Performance Recap
6. Tips for Ensuring Quality During the Burning Process
It’s important to maintain quality while burning your CD so that you don’t end up with a grainy or unwatchable version of your favorite YouTube video. Here are some handy tips:
1. Choose the Right Format
Make sure you're saving the video in a format that's compatible with your CD player. Formats like MPEG, AVI, or VOB are commonly used for video CDs (VCD). Most CD burning software will allow you to select the output format, so take a moment to optimize this setting.
2. Verify Video Quality Before Burning
Before you burn the video onto your CD, check the quality of the downloaded file. If the resolution is lower than standard (like 480p or less), consider redownloading it in a higher quality if available. Always aim for at least 720p to ensure a decent viewing experience.
3. Adjust the Write Speed
During the burning process, you can usually set the write speed within your burning software. A lower write speed (like 4x or 8x) can improve the quality of the burned CD and reduce the risk of errors. It may take a bit longer, but your patience will pay off!
4. Keep the CD Drive Clean
If you're using a CD burner, ensure that it is clean and dust-free. A dirty lens can affect the quality of the burn and lead to read errors. Regularly clean your CD drive if you plan to burn CDs frequently.
5. Test the CD
Once the burning process is complete, don’t forget to test the CD on different players (like a standalone DVD player or a computer) to make sure it works smoothly everywhere. This way, you can troubleshoot any potential issues before settling down for a good viewing session!
By following these tips, you can ensure that your burned CDs are high-quality and enjoyable!
Also Read This: How to Invest in a YouTube Channel: Smart Strategies for Creators
7. Troubleshooting Common Issues When Burning CDs
Burning CDs from your favorite YouTube videos can be a straightforward process, but occasionally, you might run into some hiccups along the way. Don’t worry! This section aims to help you navigate through the most common issues that might arise during the CD burning process.
1. CD Not Recognized by Your Computer: If your CD isn’t recognized by your device, ensure that:
- The CD is compatible with your CD burner (check if it’s CD-R or CD-RW).
- The CD drive is functioning properly (try using a different CD).
- Your computer's drivers are up to date.
2. Burning Process Fails: Sometimes, the burning process may stop midway. Here are some tips to troubleshoot:
- Make sure you have ample disk space on your computer.
- Close any unnecessary applications that could be using up processing power.
- Be patient; larger files can take longer to process.
3. Poor Audio Quality: If you notice distortion or poor quality when you play your CD, consider these options:
- Check if the audio files are high quality (try to download or convert to a higher bitrate).
- Ensure your CD burning software settings are optimized for audio quality.
4. CD Will Not Play in a Standard CD Player: If your burned CD isn’t playing in your car or home CD player, it could be due to:
- Incompatibility with the CD type (some players do not accept CD-RW).
- Poor burning speed; a slower speed is often better for compatibility. Try burning at 4x or 8x speed.
5. Error Messages: If you encounter an error message during the burning process, take note of the message. Common errors can often be resolved by:
- Restarting the computer.
- Checking for software updates for your burning tool.
- Consulting the software’s help section for error codes.
Remember, troubleshooting can sometimes require a bit of trial and error. Don’t get discouraged! With patience and persistence, you’ll get the hang of burning CDs smoothly.
8. Conclusion and Additional Resources
Burning CDs from your favorite YouTube videos is a fantastic way to enjoy your playlists offline or create unique gifts for friends and family. Whether you’re creating a road trip mixtape or compiling the best of your favorite artists, the process can be both fun and rewarding!
In this guide, we’ve walked you through:
- The importance of the right software and tools.
- Steps to download YouTube videos legally.
- How to convert and burn these videos onto a CD.
- And, of course, troubleshooting common issues that might pop up.
Additional Resources:
Here are some links and tools to help you on your CD burning journey:
- Video DownloadHelper - A popular browser extension for downloading videos.
- CDBurnerXP - A user-friendly CD burning software.
- Audacity - Excellent for editing audio files before you burn them.
- iTunes - A reliable tool for burning audio CDs if you're on a Mac.
Hopefully, you now feel more equipped to take on the task of burning CDs from YouTube videos. Happy burning, and enjoy your personalized music collections!
 admin
admin


