SolidWorks is a powerful computer-aided design (CAD) software widely used in engineering and product design. It allows users to create 3D models, simulations, and technical drawings. With its user-friendly interface and robust features, SolidWorks is a favorite among professionals and students alike.
This software supports parametric design, which means you can easily modify dimensions and parameters without starting from scratch. SolidWorks also integrates various tools like:
- Simulation: Test how designs perform under real-world conditions.
- Sheet Metal: Create and unfold sheet metal parts.
- Weldments: Design welded structures efficiently.
- Assembly Tools: Combine parts into larger assemblies and check for conflicts.
Understanding these features can significantly enhance your design process, making it easier to visualize and execute your projects effectively.
Importance of Images in SolidWorks Projects

Images play a crucial role in SolidWorks projects. They help in visualizing concepts, enhancing presentations, and communicating ideas more effectively. Here are a few reasons why incorporating images is essential:
- Enhanced Clarity: Images help clarify complex designs, making it easier for stakeholders to understand.
- Visual Appeal: Good visuals make presentations more engaging, capturing the audience's attention.
- Documentation: Including images in technical documentation aids in explaining functionalities and features.
By integrating images, you create a more dynamic and informative project that resonates with both technical and non-technical audiences.
Also Read This: Exploring Creative and Fun DIY Videos Available on Dailymotion
Types of Images You Can Insert

When working with SolidWorks, you can insert various types of images to enhance your designs. Here’s a breakdown of the most common types:
- Raster Images: These are pixel-based images like JPEG, PNG, and BMP. They are ideal for adding background images or textures.
- Vector Images: Formats like SVG and DWG that scale without losing quality. They are great for logos and diagrams.
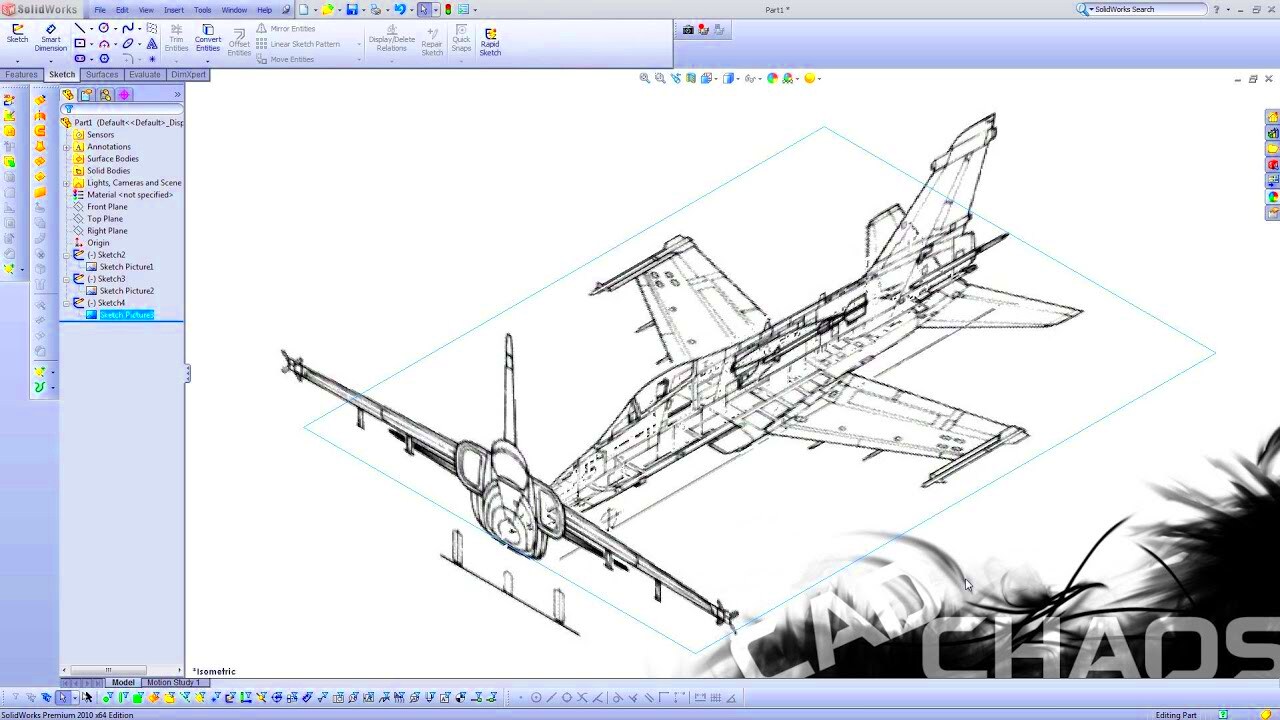
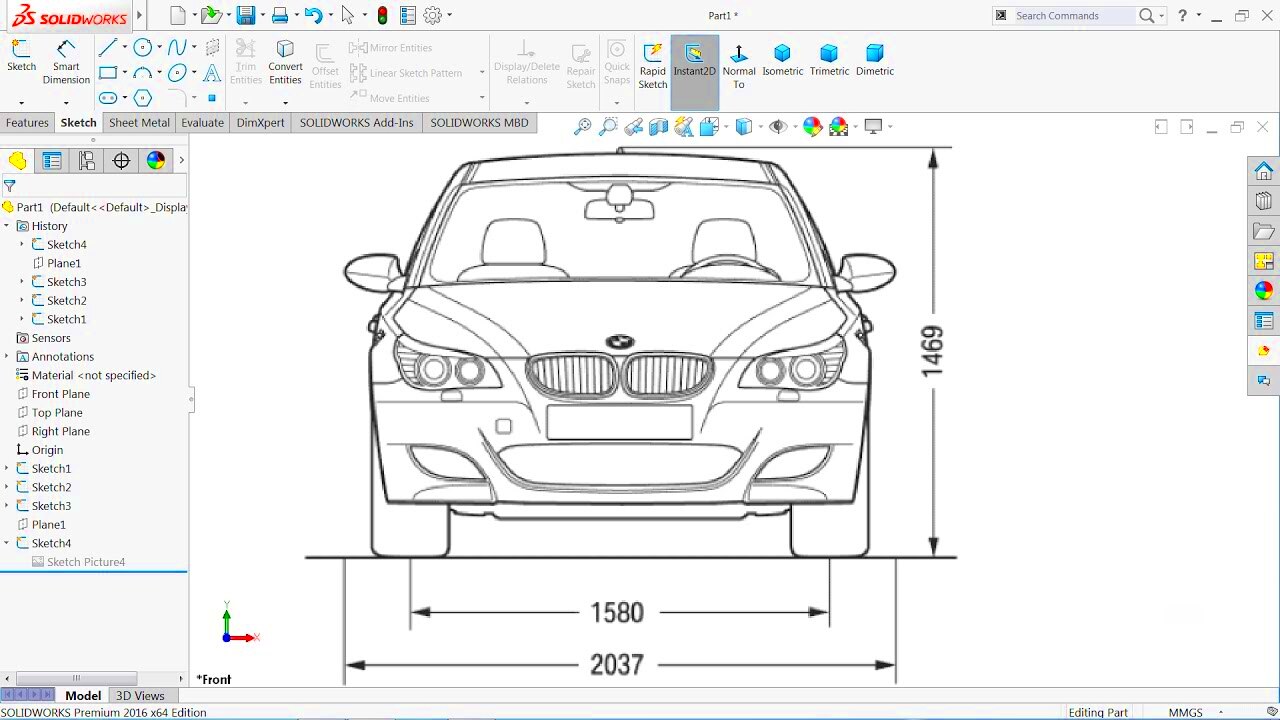
- Technical Drawings: You can import engineering drawings or blueprints, providing context for your designs.
Inserting these image types can help to create a more comprehensive and visually appealing project.
Also Read This: Read This Blog to Discover if Rumble Has Shorts
Step by Step Guide to Inserting Images

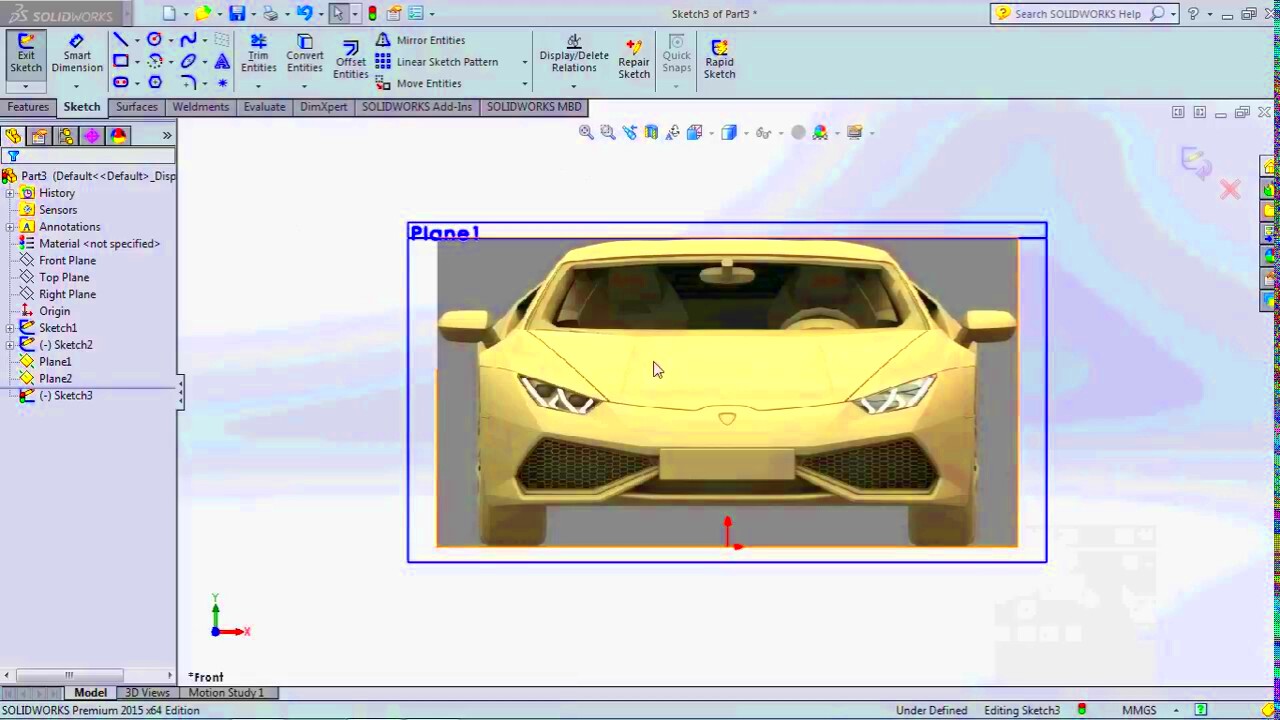
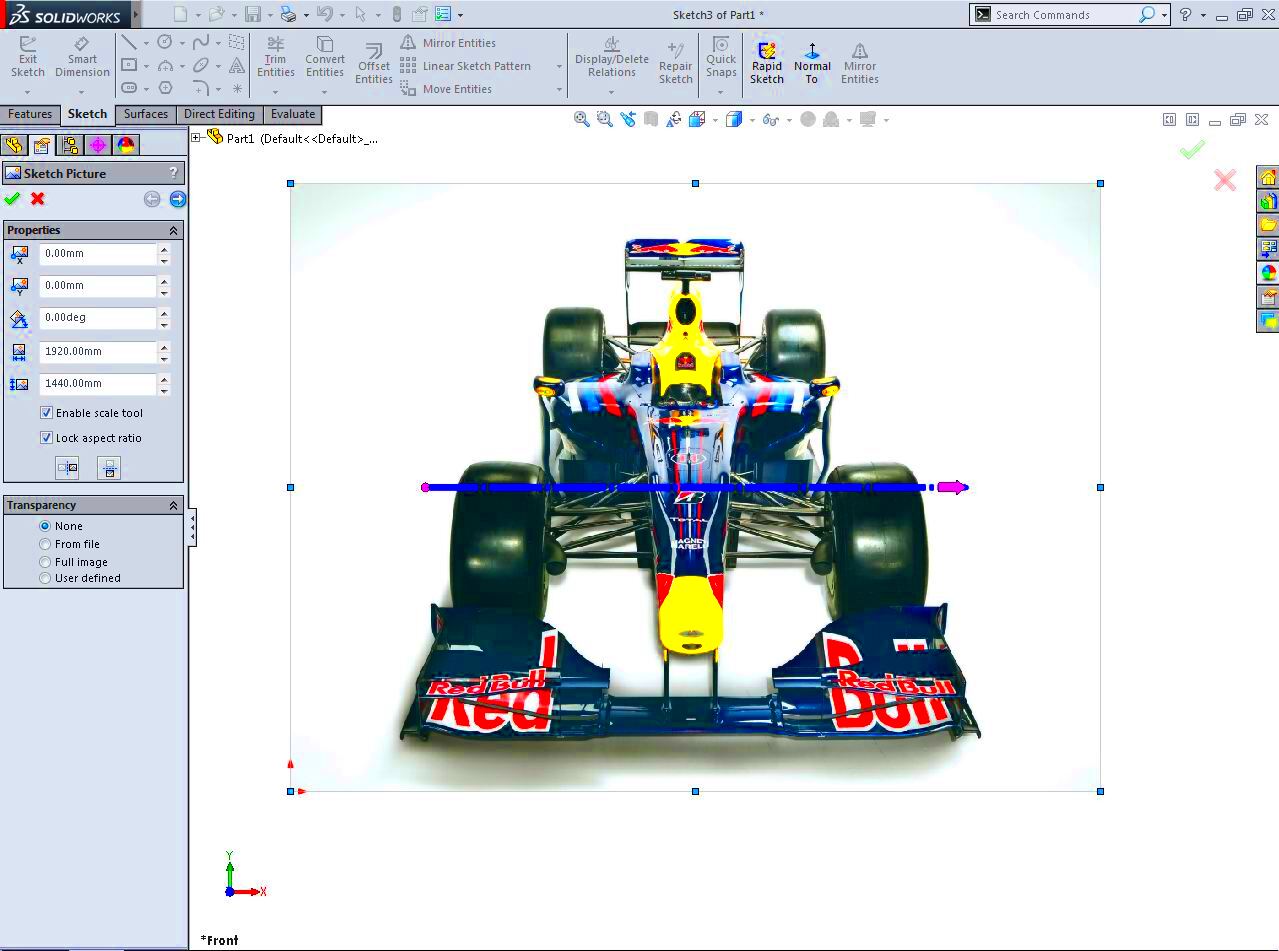
Inserting images into SolidWorks can seem challenging at first, but it's a straightforward process once you know the steps. Here’s a simple guide to help you through it:
- Open Your Project: Start SolidWorks and open the project where you want to insert an image.
- Choose the Right Tool: Go to the "Insert" menu at the top of the screen. From the dropdown, select "Picture."
- Select Your Image: A dialog box will appear. Browse your computer to find the image file you want to insert. Supported formats include JPEG, PNG, and BMP.
- Place the Image: Once you select the image, click "Open." Then click on your workspace to place the image. You can adjust its position later.
- Resize if Necessary: If your image needs resizing, click on it to select it, and then drag the corners to adjust the size.
Following these steps will help you seamlessly integrate images into your SolidWorks projects, making your designs more informative and visually appealing.
Also Read This: Is Posting Multiple YouTube Shorts Daily the Key to Growing Your Channel?
Editing and Adjusting Images in SolidWorks
After inserting an image, you may need to edit or adjust it to fit your design perfectly. SolidWorks offers several tools to make these adjustments easy. Here’s how to do it:
- Move the Image: Click and drag the image to reposition it anywhere on your workspace.
- Resize: Click on the image to select it. Use the corner handles to resize while maintaining the aspect ratio.
- Rotate: Click on the image, then use the rotation handles to turn it to the desired angle.
- Adjust Transparency: Right-click on the image and select "Properties." Here, you can adjust the transparency to blend the image with your design.
- Cropping: SolidWorks doesn't offer a direct crop tool, but you can mask parts of the image by overlaying shapes to hide unwanted sections.
With these editing options, you can ensure that your images enhance your design rather than distract from it.
Also Read This: Guide to Adding an Outline to an Image in Photoshop
Common Issues When Inserting Images
Even with a simple process, you may encounter some common issues when inserting images in SolidWorks. Here are a few problems and how to solve them:
- Image Not Displaying: This can happen if the image file is corrupt or not supported. Ensure you are using a compatible format like JPEG or PNG.
- Incorrect Image Size: If the image is too large or too small, it can disrupt your layout. Resize the image using the selection handles to fit your design properly.
- Transparency Issues: Sometimes, the transparency settings may not apply correctly. Make sure to adjust the transparency in the image properties to achieve the desired effect.
- Images Losing Quality: If the image looks pixelated, it may be a raster image. Consider using a vector image for better quality, especially for logos or detailed diagrams.
- Images Overlapping: If images overlap with other components, use the layer management tools to arrange them correctly.
By being aware of these common issues, you can troubleshoot effectively and ensure your images enhance your SolidWorks projects.
Also Read This: how to upload images on tiktok pc
Best Practices for Using Images in Your Projects
When using images in your SolidWorks projects, following some best practices can enhance the overall quality and effectiveness of your designs. Here are key tips to keep in mind:
- Choose High-Quality Images: Always use high-resolution images. Low-quality images can appear blurry and unprofessional, detracting from your design.
- Maintain Consistency: Use images that have a consistent style, color scheme, and resolution. This helps create a cohesive look throughout your project.
- Optimize Image Size: Large images can slow down your project. Resize images to the necessary dimensions before importing them into SolidWorks to improve performance.
- Use Images Sparingly: While images enhance your designs, too many can clutter your project. Use them strategically to support key points or features.
- Label Images Appropriately: If you're using images for technical documentation, ensure they are labeled clearly. This helps viewers understand their relevance and context.
- Test Image Clarity: Zoom in on your images within SolidWorks to ensure they remain clear and legible at different view levels.
By following these best practices, you can make the most of images in your projects, enhancing clarity and professionalism while avoiding common pitfalls.
Also Read This: Does Getty Images Accept iPhone Photos? Guidelines for Mobile Photography Submissions
FAQ
Here are some frequently asked questions regarding the use of images in SolidWorks projects:
- Can I use GIF images in SolidWorks? SolidWorks supports JPEG, PNG, and BMP formats primarily. GIFs may not work well, so it's best to convert them to a supported format.
- How do I delete an image once it’s inserted? Click on the image to select it and press the Delete key on your keyboard, or right-click the image and choose "Delete."
- Can I adjust the image properties after inserting it? Yes, right-click the image and select "Properties" to adjust settings like transparency and size.
- What if my image is not displaying correctly? Check the file format and ensure it is supported. Also, try re-inserting the image or refreshing the project.
- Are there any limits to the number of images I can insert? While there’s no strict limit, inserting too many high-resolution images can impact performance. Use images judiciously.
Conclusion
Inserting images into your SolidWorks projects can significantly enhance your designs, making them more engaging and easier to understand. By following the step-by-step guide and adhering to best practices, you can create visually appealing and informative projects. Don't forget to troubleshoot common issues as they arise, and leverage images to support your ideas rather than overwhelm them. Whether you're creating presentations, technical documents, or detailed designs, effective use of images will help you communicate your vision clearly and professionally. Keep experimenting and refining your skills to master the art of integrating images into your SolidWorks workflow.

 admin
admin


