Inserting images into Onshape is a great way to enhance your design workflow. Whether you're creating technical drawings, adding references, or visualizing concepts, images can help clarify your ideas and improve communication with teammates or clients. Onshape makes it easy to upload and position images, allowing you to integrate visuals into your 3D models and 2D drawings.
In this guide, we'll walk you through the process of adding images to your Onshape documents and share some best practices. By the end, you'll be able to use images effectively to complement your designs and bring your projects to life.
Step-by-Step Process to Insert Images in Onshape
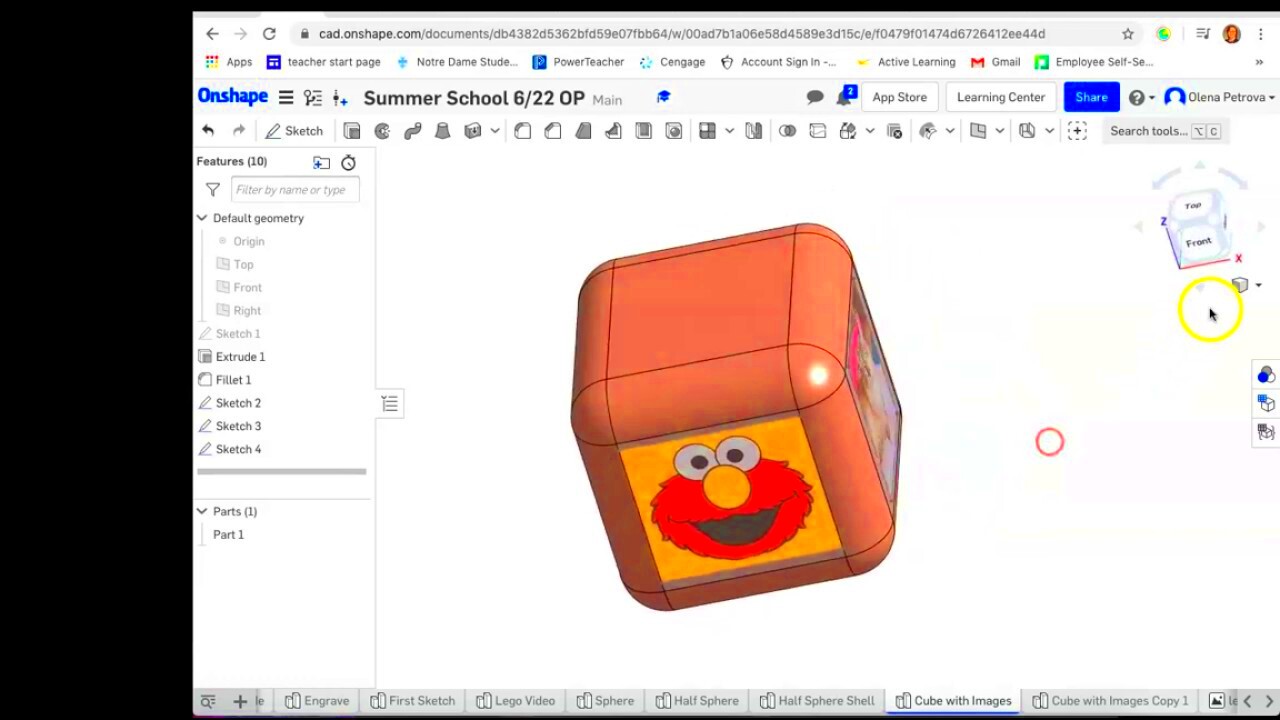
Adding images to Onshape is straightforward. Follow these simple steps to insert an image into your design:
- Open your Onshape document: First, make sure you're in the right workspace where you want to add the image.
- Access the 'Insert' menu: Click on the 'Insert' tab at the top of your screen, then select 'Image' from the dropdown list.
- Upload your image: A file dialog will appear. Select the image you want to upload from your computer and click 'Open'. Onshape supports a variety of formats, so you can upload most image types (more on this in the next section).
- Position the image: Once the image is inserted, you can click and drag to position it in the document. Resize it by dragging the corners to make it fit your design.
- Finalize the image placement: Once you’re happy with the image's size and position, click anywhere outside the image to finish placing it.
It's that simple! By following these steps, you can easily integrate images into your Onshape documents to enhance your designs.
Selecting the Right Image Format for Onshape
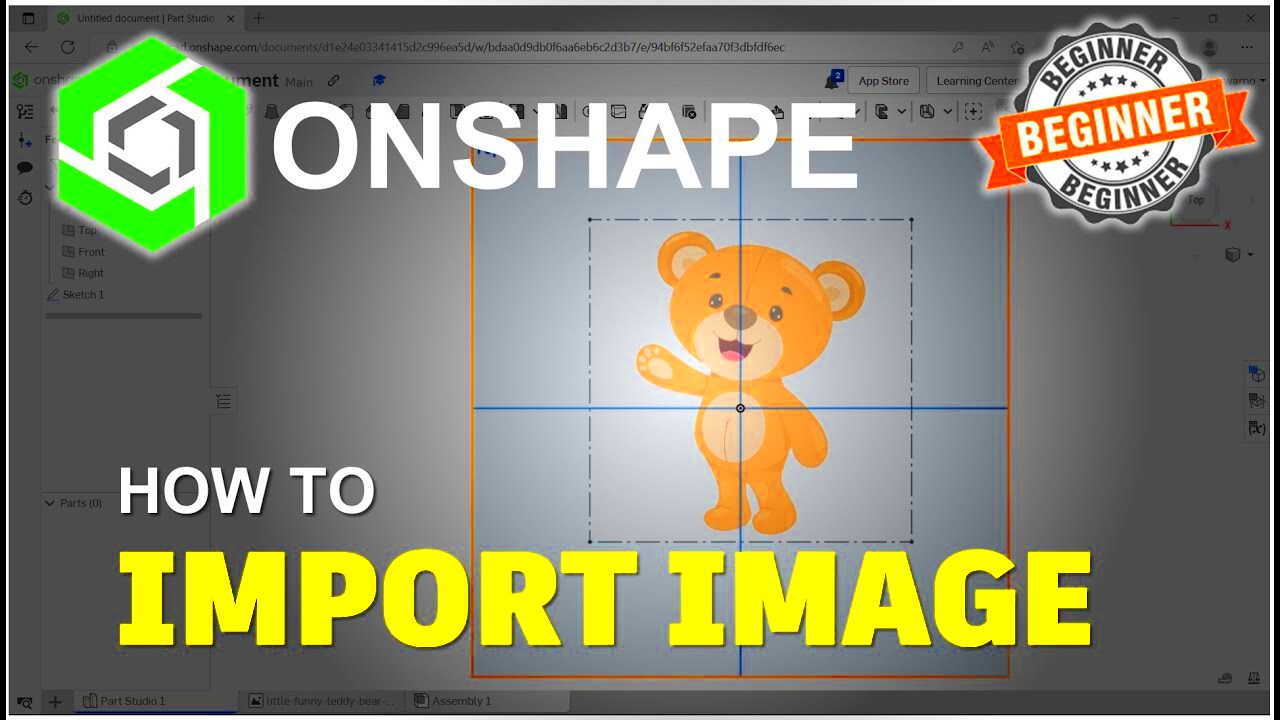
Onshape supports several image formats, but choosing the right one is crucial for ensuring the best quality and performance in your designs. Here's what you need to know:
Commonly supported image formats in Onshape include:
- JPEG (.jpg, .jpeg): Ideal for photographs or images with complex color gradients. However, it may lose some quality due to compression.
- PNG (.png): Best for images with transparent backgrounds or simple graphics like logos and diagrams. It preserves quality without much compression.
- GIF (.gif): Works well for simple, small images or animations but is less suitable for high-quality designs.
- SVG (.svg): A vector format, perfect for illustrations or logos that need to be scaled without losing resolution. Although Onshape doesn’t natively support SVG, you can convert them into a compatible format first.
When choosing an image format for Onshape, consider the following:
- If you need transparency, PNG is your best option.
- If you’re working with high-quality images and don’t mind a slight loss of detail, JPEG is acceptable.
- If you're working with simple graphics or logos that require scaling, try SVG (after conversion).
By selecting the right image format, you can ensure your images will look sharp and load efficiently in your Onshape documents.
Adjusting Image Size and Position in Onshape
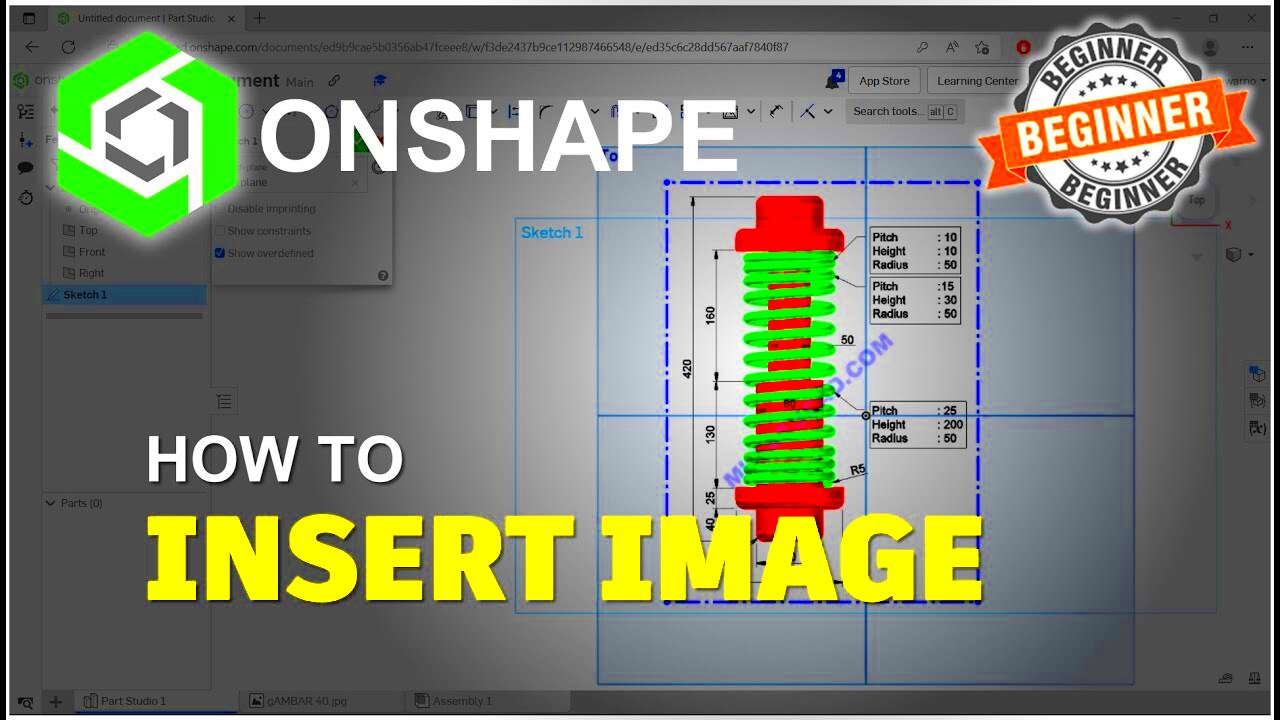
Once you've inserted an image into your Onshape document, the next step is to adjust its size and position. Whether you're looking to fit an image into a specific area of your design or make it more visible, Onshape gives you easy-to-use tools to resize and reposition images as needed.
Here’s how you can adjust the image:
- Resizing the Image: After inserting the image, you can resize it by selecting the image and then dragging one of the corner handles. This will maintain the aspect ratio (width and height) as you resize. To adjust the size without maintaining the aspect ratio, click and drag the side handles instead.
- Moving the Image: Simply click and drag the image to reposition it within your document. This is useful when you need to place the image in a specific location relative to your design elements.
- Aligning the Image: If you want your image to be perfectly aligned with other objects in your design, Onshape has built-in alignment tools. You can align it horizontally or vertically by selecting the image and using the alignment options from the toolbar.
- Rotating the Image: If the image is not oriented the way you want, you can rotate it by selecting the image and clicking the rotation tool. You can rotate the image in 90-degree increments or manually by dragging the rotation handle.
By making these adjustments, you can ensure your images fit seamlessly into your Onshape documents, improving both the design and readability of your work.
Best Practices for Using Images in Onshape
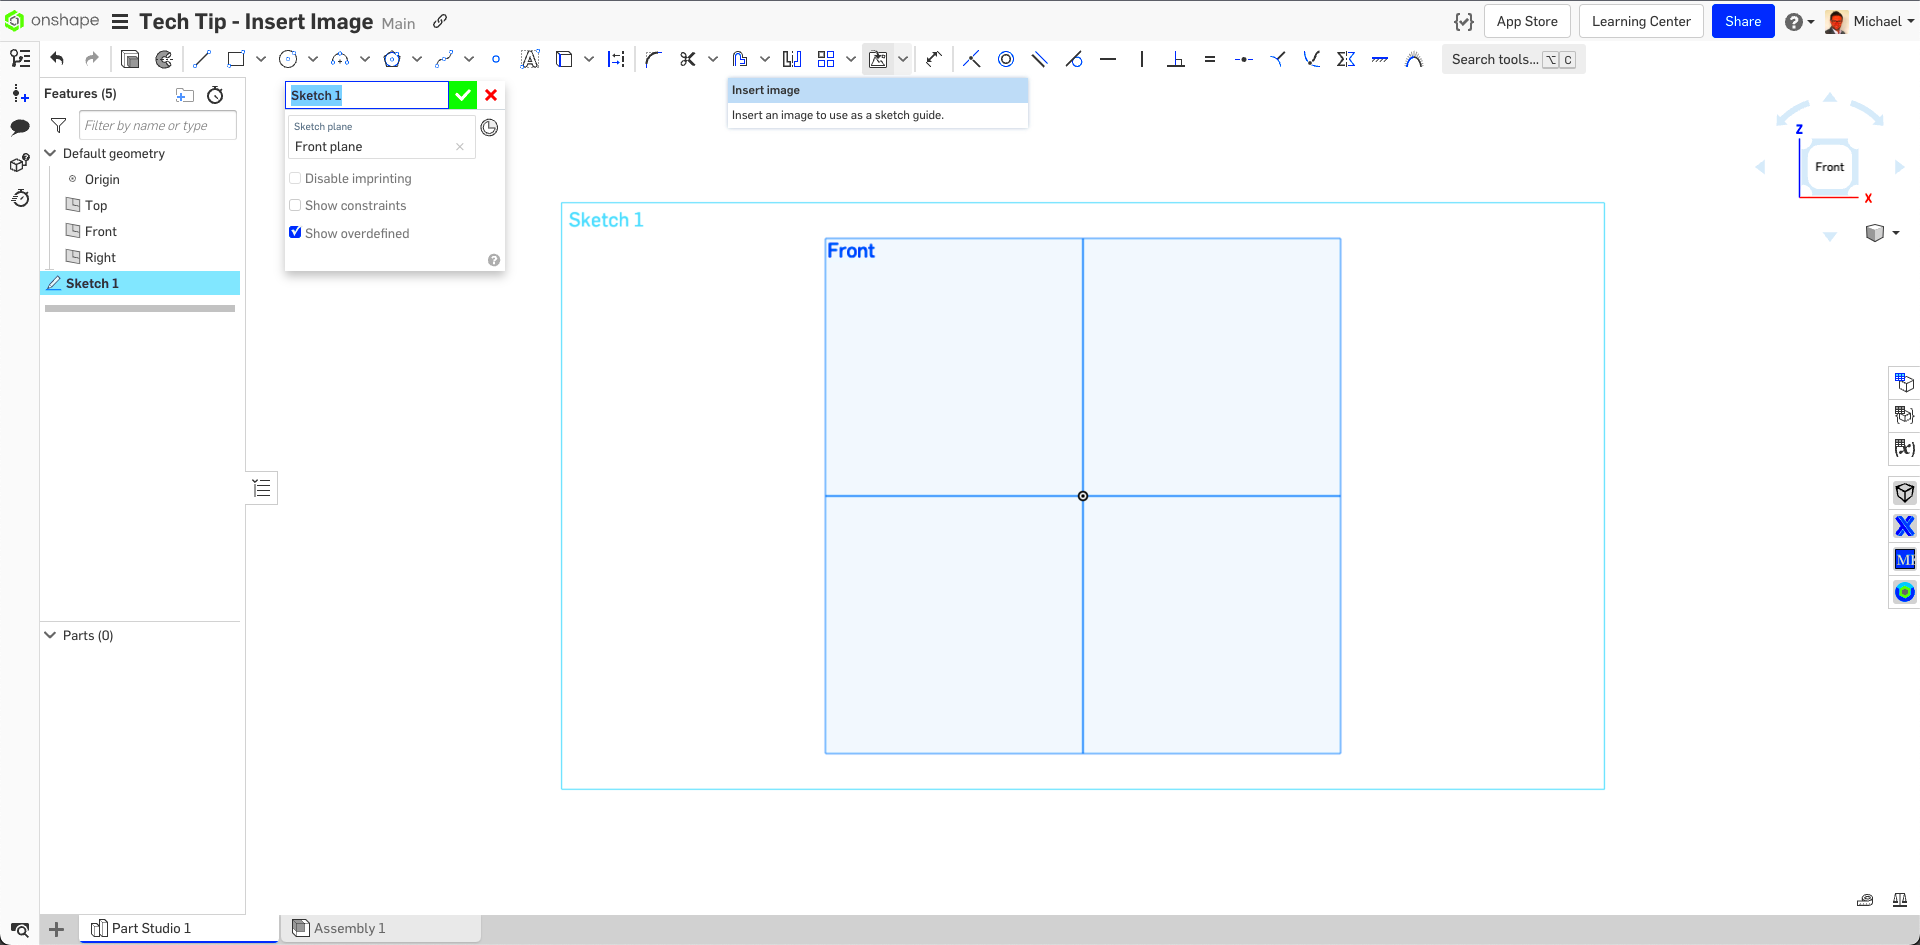
While adding images to Onshape is straightforward, using them effectively in your designs requires some thought and attention to detail. Here are a few best practices to follow when working with images in Onshape:
- Use High-Quality Images: Always use images with a high resolution to ensure they appear sharp and clear in your design. Low-quality images can detract from the overall look and may be difficult to interpret.
- Limit the Number of Images: Too many images can clutter your workspace and make your design harder to understand. Only use images when they add value to your design, such as reference images or diagrams that explain your concept.
- Optimize Image Size: Large image files can slow down Onshape's performance. Make sure the image file size is as small as possible while still maintaining quality. You can compress images using online tools before uploading them to Onshape.
- Position Images Thoughtfully: Place images in areas where they won’t overlap with other design elements. Use images to enhance your design, not to distract from it. Keep images aligned with the rest of your drawing to maintain a clean layout.
- Label Images Where Necessary: If an image is complex or needs clarification, consider adding labels or annotations. This helps viewers understand the purpose of the image within the context of your design.
- Stay Consistent with Image Types: If you’re using several images in a design, try to keep the style and format consistent. This creates a cohesive look and makes it easier for others to interpret the visuals.
By following these best practices, you’ll be able to use images effectively in your Onshape designs, making them more professional and easier to understand.
Common Issues When Inserting Images and How to Fix Them
Although inserting images into Onshape is usually simple, you might encounter a few common issues. Let’s look at some of these issues and how to resolve them:
- Image Not Displaying: If the image isn't showing up after you upload it, check the file format. Onshape supports common image formats like JPEG, PNG, and GIF. If the image is in a different format (like BMP or TIFF), try converting it to a supported format and upload it again.
- Image Is Blurry or Low Quality: If your image appears blurry or pixelated after uploading, it may be too small or of low resolution. Use a higher resolution image to maintain clarity. Resizing a low-resolution image can cause it to lose detail and appear distorted.
- Image Is Too Large: Large image files can slow down your Onshape document. To fix this, compress the image before uploading it. You can use online tools to reduce the file size without compromising too much on quality.
- Image Overlapping with Other Design Elements: If your image is overlapping with other parts of your design, you can resize or move it to create more space. Use Onshape's alignment tools to properly position the image, ensuring it doesn’t obscure other important elements in your drawing.
- Unable to Move or Resize Image: Sometimes, images might be locked or grouped with other elements, preventing you from adjusting them. To unlock the image, right-click on it and select "Unlock" from the context menu. If it's grouped, ungroup it first before making adjustments.
- Image Not Showing in Printed Output: If the image appears fine on the screen but is missing when you print or export your design, check the print settings. Make sure that your image is not set to be excluded from print, and ensure you’re exporting in a format that supports images (like PDF or DXF).
By knowing how to troubleshoot these common issues, you can keep your Onshape workspace running smoothly and ensure your images display properly.
Advantages of Adding Images to Onshape Designs
Incorporating images into your Onshape designs can offer a wide range of benefits. Whether you’re creating technical drawings, illustrating design concepts, or referencing external materials, adding images can help bring your ideas to life and improve the clarity of your designs. Here’s why you should consider adding images to your Onshape documents:
- Enhanced Communication: Images can help explain complex concepts that text alone might struggle to convey. For instance, you can include reference images or sketches to clarify your design intentions, making it easier for others to understand.
- Improved Visualization: Including images allows you to visualize your designs more effectively. You can upload photos of prototypes, concept art, or reference materials that help guide your design decisions.
- Better Documentation: Images are invaluable when creating technical drawings or instructional materials. Including relevant images helps ensure that others can follow your design process and understand the context of your work.
- Increased Collaboration: In team environments, images can be used to highlight specific areas of a design, making it easier to communicate ideas with collaborators. This helps prevent misunderstandings and enhances overall collaboration.
- Efficient Problem Solving: When facing design issues, adding images can help identify problems quickly. By showing visual references of problematic areas, team members can suggest solutions more effectively.
Overall, adding images to your Onshape designs can greatly improve communication, increase clarity, and make your design process more efficient. Whether you're sharing ideas, solving problems, or creating documentation, images are a powerful tool to enhance your workflow.
FAQ about Inserting Images into Onshape
If you’re new to inserting images in Onshape, you might have a few questions. Here are some frequently asked questions to help you understand the process and resolve any concerns you might have:
- What image formats can I upload to Onshape?
Onshape supports various image formats, including JPEG, PNG, GIF, and BMP. For the best quality, consider using PNG for images with transparency or JPEG for photographs. - Can I resize images after uploading them?
Yes! After inserting an image into your Onshape document, you can resize it by selecting the image and dragging the corner handles. You can also move it to a different location by clicking and dragging the image. - Why isn’t my image showing up in Onshape?
If your image isn’t showing, it could be due to a few reasons, such as the file being too large or in an unsupported format. Try uploading a smaller file size or converting the image to a supported format like PNG or JPEG. - Can I use images in drawings and assemblies?
Yes, you can add images to both 2D drawings and 3D assemblies in Onshape. Images are especially useful for documentation, technical drawings, and illustrating design concepts in your assemblies. - What if I need to align the image with other objects in my design?
Onshape offers alignment tools that help you position images precisely. You can align images horizontally or vertically to ensure they fit perfectly with other design elements in your drawing. - Can I remove an image once it’s inserted?
Absolutely! If you no longer need an image, simply select it and hit the delete key or use the right-click menu to remove it from your design.
These are just a few of the common questions you may have when inserting images into Onshape. If you encounter any issues, feel free to consult Onshape’s help resources or community forums for additional support.
Conclusion: Making the Most of Images in Onshape
Incorporating images into your Onshape designs can significantly improve both the clarity and effectiveness of your work. Whether you’re communicating complex concepts, visualizing your design, or enhancing your documentation, images play a crucial role in making your designs more understandable and visually appealing.
By following the steps outlined in this guide and keeping in mind the best practices for using images, you can make the most of this feature. From choosing the right image format to troubleshooting common issues, Onshape provides a variety of tools to ensure your images work seamlessly with your designs.
Remember to keep your images high-quality, use them sparingly to avoid clutter, and position them thoughtfully within your design. This will not only improve the aesthetic quality of your work but also make it easier for others to collaborate and understand your design intentions. With these tips, you'll be well on your way to creating polished, professional designs in Onshape that leverage the power of images to communicate more effectively.
 admin
admin


