Inserting images into Onshape documents can be a powerful way to enhance your designs. Whether you're adding reference images, illustrations, or simply visual aids to your projects, this feature allows for a more dynamic and detailed approach to designing. Images can serve as a helpful visual reference when creating parts or assemblies, ensuring you're always on track with your design intent. This guide will walk you through the basics of inserting images, how to adjust them, and the best practices for effective use in your Onshape workspace.
Understanding Onshape's Image Insertion Feature
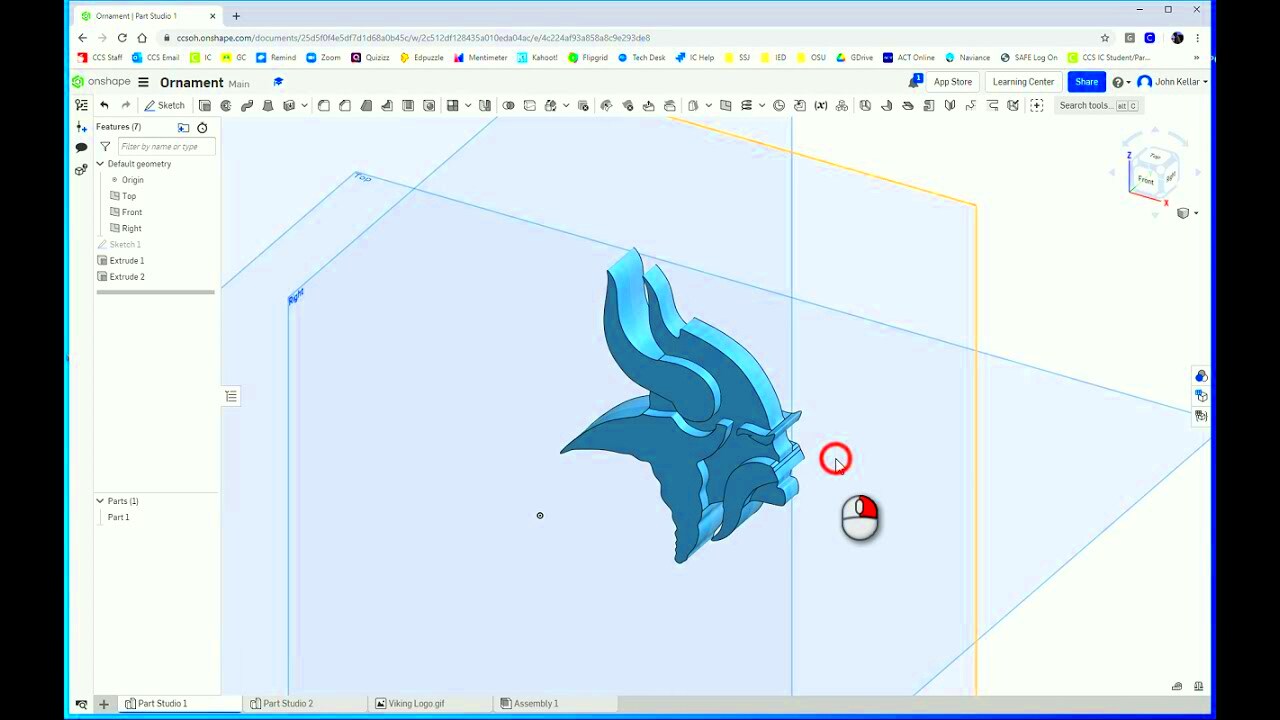
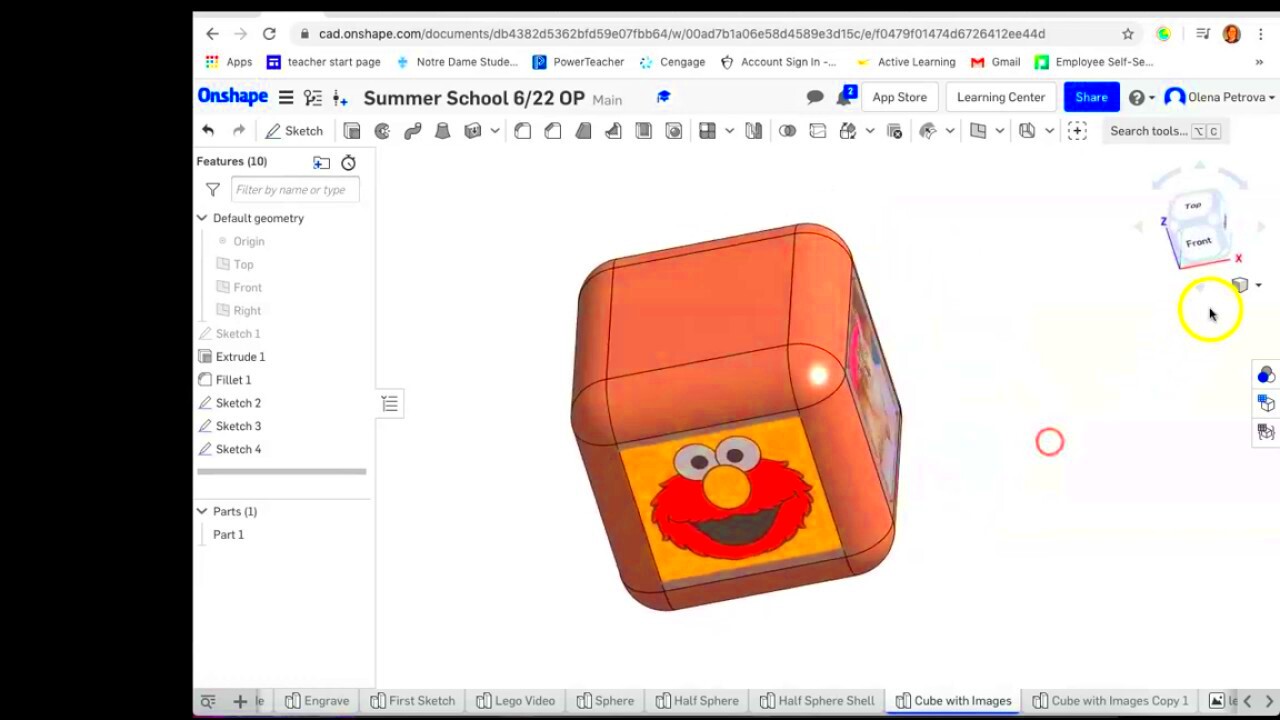
Onshape's image insertion feature allows users to incorporate raster images (such as JPG, PNG, GIF) directly into their design workspace. This feature is not limited to a specific part or assembly; you can insert images into any part of your Onshape document, making it versatile for various design tasks. Here's what you need to know:
- Image Types: Only raster-based image formats are supported, meaning vector formats like SVG are not compatible for direct insertion.
- Placement: Images can be placed as either background references or as a part of the document itself. You can also adjust transparency and size to suit your needs.
- Resizing and Scaling: Onshape allows you to adjust the size of images once inserted. You can scale the image proportionally or distort it, depending on what your design requires.
- Positioning: Once inserted, you have complete control over the image's position within the document. Images can be aligned precisely to specific locations in the workspace.
By using these features, you can streamline your design process and integrate external visual elements directly into your work. It's all about creating an efficient and customized workspace to help you bring your designs to life.
Also Read This: How to Convert an Image to PDF on an iPhone
Steps to Insert Images in Onshape Documents
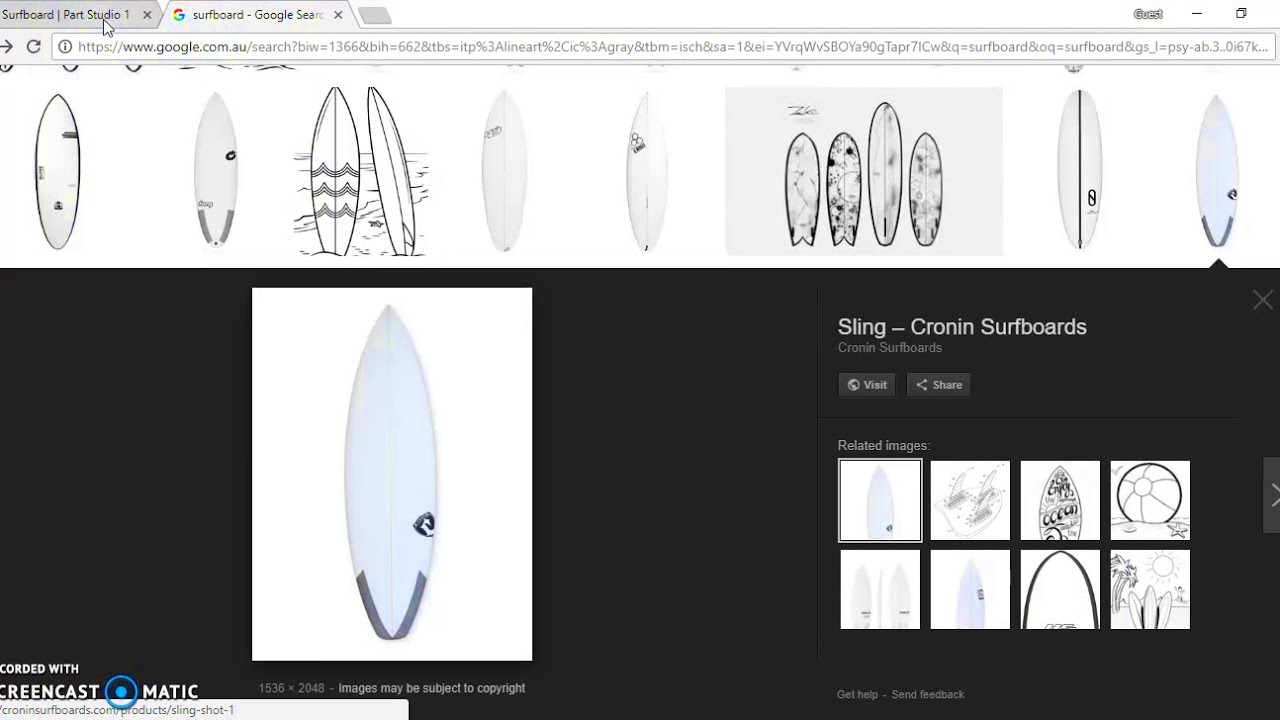
Inserting an image into Onshape is a straightforward process. Here are the basic steps you need to follow to get started:
- Step 1: Open your Onshape document where you want to insert the image.
- Step 2: In the toolbar, click on the "Insert" dropdown menu, and select the "Image" option.
- Step 3: A file dialog will appear, prompting you to upload your image file. Select the image file you want to insert and click "Open."
- Step 4: Once the image is uploaded, it will appear in your workspace. Click to place it in the desired position.
- Step 5: Resize and adjust the image as needed by dragging its corners or using the scale options in the properties bar.
- Step 6: If necessary, adjust the transparency or layer positioning of the image to suit your document's layout.
That's it! You’ve successfully inserted an image into your Onshape document. With just a few clicks, you can enhance your design with additional visual context.
Also Read This: Let’s Uncover the Most-Watched Content on Rumble in this Blogpost
How to Import Images from External Sources
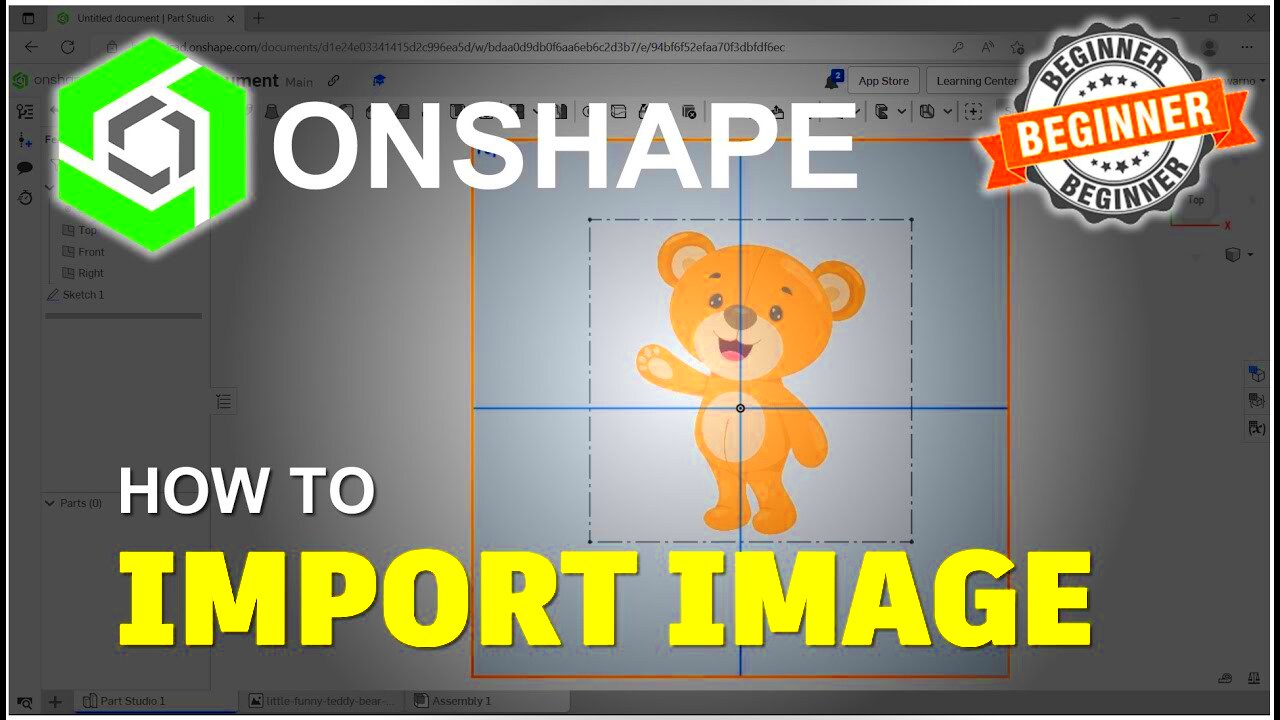
Importing images from external sources into Onshape is a simple yet essential step when you need to add reference material, design sketches, or visual aids to your document. Whether you’re using an image from your computer or directly from an online source, the process ensures you can bring in external images easily and efficiently. Here's how you can do it:
- Step 1: Download the image from your external source to your computer. Ensure that the image is in a supported format (JPG, PNG, GIF, etc.).
- Step 2: Open your Onshape document where you want to insert the image.
- Step 3: From the top toolbar, click on "Insert" and choose "Image" from the dropdown menu.
- Step 4: When prompted, click on the "Upload" button to browse your computer for the saved image file.
- Step 5: Select the image you want to insert and click "Open." The image will now appear in your document.
If you’re working with images stored online (like in a cloud or on an image-hosting site), you can usually download the image to your computer first or use a URL if the
By importing images from external sources, you can quickly bring in designs, logos, or any visual data that might be crucial for your project, creating a more comprehensive and visually intuitive document.
Also Read This: How Imago Images Continues to Win the Trust of Photographers Worldwide
Best Practices for Image Size and Format in Onshape
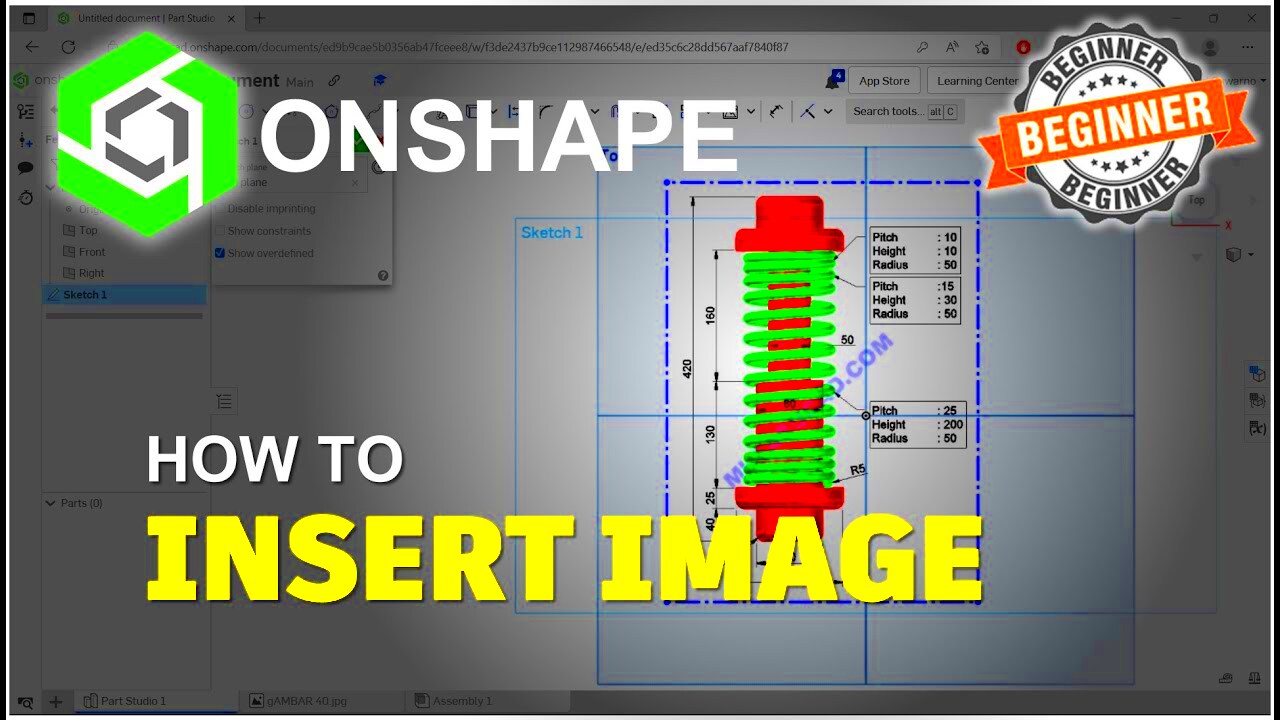
When working with images in Onshape, it's essential to follow best practices for image size and format to ensure your design workflow remains smooth. Large or improperly formatted images can cause slowdowns and may not display correctly. Here are some key tips for optimizing images:
- Choose the Right Format: Stick to common image formats such as JPG, PNG, or GIF. These are supported and render well in Onshape. Avoid using overly large image formats like TIFF or RAW.
- Optimize Image Resolution: High-resolution images are great for detail, but they can also slow down your workspace. Aim for a resolution that balances quality and performance. A resolution of 72–150 DPI is usually sufficient for most design purposes.
- Resize Before Uploading: It’s best to resize your image using an image editor before importing it into Onshape. Avoid uploading massive images that might require excessive resizing later.
- Maintain Aspect Ratio: To prevent distortion, always ensure that your image maintains its aspect ratio during resizing. This ensures that the image won't appear stretched or compressed.
- Image Compression: Compress images before uploading them to Onshape, especially if they contain a lot of visual detail. Online tools or image editing software can help reduce file sizes without compromising too much on quality.
By following these practices, you ensure that your images are optimized for use in Onshape, providing a better experience and improving your design’s overall performance.
Also Read This: How to Use Any Video Converter on Dailymotion
How to Adjust Image Position and Scale in Onshape
Once you've inserted an image into Onshape, you may want to adjust its position and scale to make it fit perfectly within your document. Onshape gives you plenty of flexibility to customize your image’s appearance, whether it’s for use as a reference or a background element. Here’s how you can adjust image position and scale:
- Positioning the Image: After inserting an image, you can click and drag it to move it to the desired location. You can align it with other elements in your document by using the gridlines or snapping features.
- Scaling the Image: To resize the image, click on it to select it. You’ll see small blue squares at the corners and sides. Click and drag these squares to scale the image. Hold the Shift key while dragging to maintain the image’s aspect ratio.
- Resizing with Properties: For more precise control, select the image and adjust its dimensions in the properties panel. You can input exact values for width and height or scale the image proportionally by adjusting just one dimension.
- Adjusting Transparency: If you need the image to be a background reference, you can adjust its transparency. This is done through the image’s properties, where you can increase or decrease opacity to make the image less intrusive.
- Layering and Stacking: You can move the image to the front or back of other elements in your design. Right-click on the image to access the layering options and adjust its position relative to other objects in your workspace.
With these steps, you can make your images fit perfectly within the context of your Onshape design, ensuring that they are positioned and scaled exactly as you need them.
Also Read This: How Long Will It Take to Get Monetized on YouTube
Common Issues When Inserting Images and How to Fix Them
When working with images in Onshape, you may encounter a few common issues that can interrupt your workflow. Understanding these problems and knowing how to fix them can save you time and frustration. Here are some of the most frequent issues you may face when inserting images into Onshape, along with solutions to resolve them:
- Image Not Displaying: Sometimes, images fail to appear after insertion. This could be due to an unsupported file format or a corrupted image file. To fix this, ensure your image is in a supported format (JPG, PNG, GIF) and try re-uploading the file. If the problem persists, check the image file for corruption or try using a different image.
- Image Appears Blurry: If the image appears pixelated or blurry, it’s likely due to low resolution. Onshape may not scale low-resolution images well. To resolve this, use a higher-quality image or resize the image externally before uploading it to Onshape.
- Inability to Resize Image: Sometimes, users are unable to scale an image because it’s locked in place. To fix this, ensure the image isn’t grouped with other objects or that it hasn’t been constrained. Unlock or ungroup the image before resizing.
- Incorrect Image Positioning: If the image isn’t appearing in the right location, it might not be aligned properly with your document. Use Onshape’s alignment tools to position the image correctly, or manually drag and adjust the image to the right place.
- Image Quality Degrades After Scaling: If you notice a drop in image quality after resizing, it’s likely because the image was scaled up beyond its original resolution. To avoid this, always resize your image to an appropriate size before uploading it.
By troubleshooting these common issues, you’ll be able to handle most challenges when inserting and working with images in Onshape.
Also Read This: How to Crop an Image for Crafts
Conclusion: Mastering Image Insertion in Onshape
Inserting images into Onshape is a valuable skill that enhances your design process by adding visual references, guides, and other helpful elements to your workspace. As we've seen, the process is simple, but knowing the best practices and understanding common issues can help streamline your work and avoid unnecessary delays. By following the steps to insert images, optimizing your images for size and format, and positioning them correctly, you can make your designs more dynamic and intuitive. With practice, mastering image insertion in Onshape will become a key part of your design workflow, making it easier to manage visual information and keep your projects on track.
Frequently Asked Questions
1. Can I insert vector images into Onshape?
No, Onshape only supports raster images like JPG, PNG, and GIF. If you want to use vector images, you’ll need to convert them to a raster format first.
2. How do I adjust the transparency of an image in Onshape?
Once you insert the image, select it and open the properties panel. Here, you’ll find an option to adjust the opacity, which will control the transparency of the image.
3. What should I do if my image doesn’t show up after insertion?
If your image doesn’t appear, check if it’s in a supported format and if the file isn’t corrupted. Try uploading the image again, or use a different image file to see if that resolves the issue.
4. Can I insert images into assemblies or only parts in Onshape?
You can insert images into both part studios and assemblies. The process is the same, and you can position images anywhere in your document for reference or documentation purposes.
5. How can I resize my image without losing quality?
To avoid losing image quality when resizing, always start with a high-resolution image and resize it externally if necessary before uploading it to Onshape. Avoid enlarging a small image as this may cause pixelation.
 admin
admin


