Blackboard is a popular online learning platform that allows students and instructors to engage in discussions through posts. Adding images to these posts can make your messages more engaging and visually appealing. Whether you're sharing a concept, demonstrating a process, or simply enhancing the aesthetics of your message, images can make a significant difference in communication. In this section, we'll walk through the basics of inserting images in Blackboard discussion posts and why it’s worth considering.
Why You Should Consider Adding Images in Blackboard Posts
Images are a powerful tool to complement text and can greatly improve the effectiveness of your Blackboard discussion posts. Here are a few reasons why you should consider adding images:
- Enhance Engagement: Visuals capture attention more effectively than text alone, leading to higher engagement from your audience.
- Clarify Concepts: Sometimes words aren't enough to explain a concept. Images, charts, and diagrams can help clarify complex ideas or showcase examples.
- Support Your Argument: Including relevant images can strengthen your points and provide evidence for your claims.
- Break Up Text: Large blocks of text can be overwhelming. Adding images helps to break up the content and makes it more digestible.
- Increase Retention: Studies show that people remember visual information better than text, so your posts are likely to leave a more lasting impression.
So next time you’re posting a discussion, think about how you can use images to make your post stand out and communicate your message more effectively!
Also Read This: How to Turn an Image into a Sticker
Supported Image Formats in Blackboard
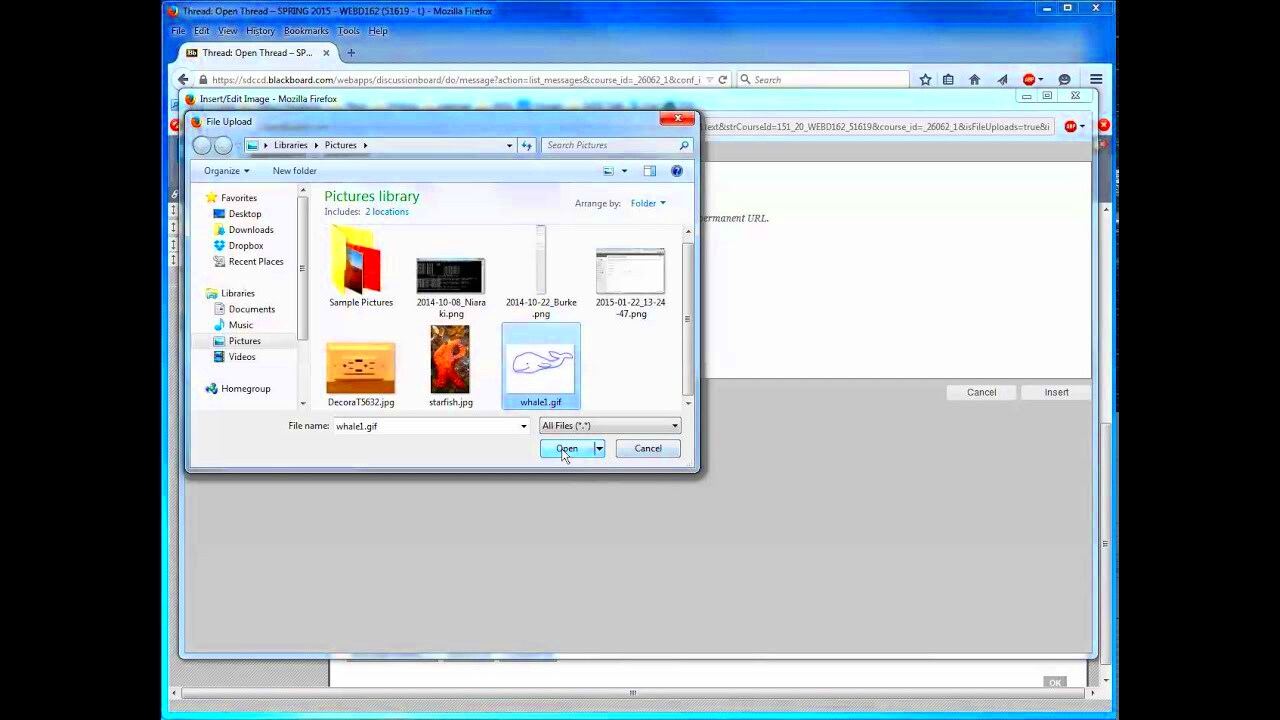
Blackboard supports several image formats to ensure you can easily insert visuals into your discussion posts. Below are the most common formats that work well in Blackboard:
| Image Format | File Type | Details |
|---|---|---|
| JPEG | .jpg, .jpeg | One of the most common image formats. Great for photos and complex images. |
| PNG | .png | Ideal for images with transparency or sharp text and lines. |
| GIF | .gif | Best for simple graphics and animated images, though they may have lower resolution. |
| BMP | .bmp | A less common format, but still supported by Blackboard for high-quality images. |
It's important to note that image file size is also a consideration. If your images are too large, they may take longer to load or could even fail to upload. Generally, it’s a good idea to keep images under 5MB for optimal performance. So, choose the format that best suits your needs and make sure the file size is manageable.
Also Read This: How to Remove a Post from LinkedIn
How to Insert Images in Blackboard Using the Content Editor
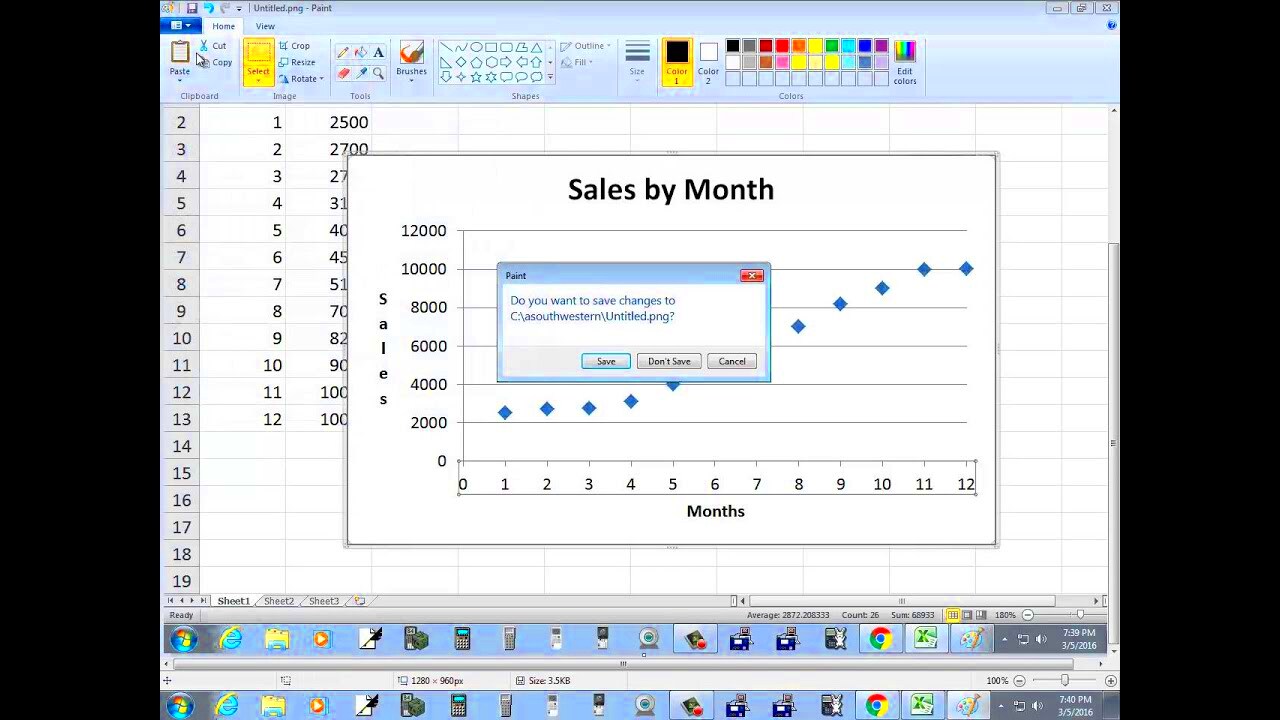
Inserting images in your Blackboard discussion posts is easy once you know where to look. The Blackboard content editor offers a straightforward way to add images directly into your posts. Follow these simple steps to get started:
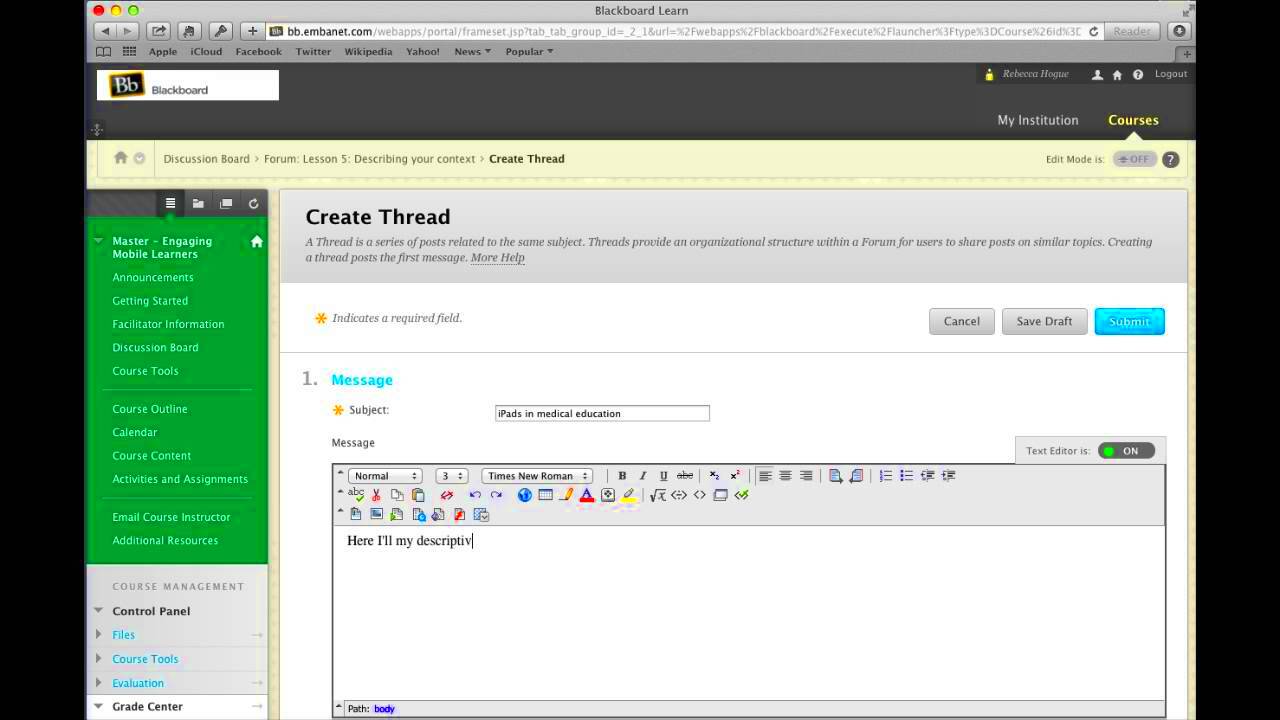
- Open Your Discussion Post: Start by opening the discussion post where you want to add an image. Click on the "Create Thread" button if you're starting a new post, or "Reply" to an existing discussion.
- Activate the Content Editor: In the post window, click into the text box. This will open the content editor, where you can format your text and insert images.
- Click the "Insert/Edit Image" Button: Look for the image icon in the content editor toolbar (usually represented by a small picture). Click on it to open the image insertion options.
- Select Image Source: You can either upload an image from your computer or link to an image hosted on the web. If uploading, click the "Browse My Computer" button to select the image file from your device.
- Adjust Image Settings: After selecting the image, you can adjust its size and alignment using the options in the pop-up window. You can also add alt text for accessibility.
- Insert Image: Once you're happy with the settings, click the "Insert" button, and the image will appear in your post. You can continue editing or save your post as needed.
That's it! You've successfully added an image to your discussion post using the Blackboard content editor. It’s a quick process that makes your posts much more engaging.
Also Read This: How to Add a Song from YouTube to iMovie for Your Video Projects
Alternative Ways to Insert Images from External Sources
If you have an image hosted externally (like on a website or image-sharing platform), you can still include it in your Blackboard discussion posts without uploading it directly from your computer. Here are some alternative methods:
- Use Image URLs: If the image is already online, you can simply copy the image URL and paste it into the content editor. To do this, click the "Insert/Edit Image" button, and instead of uploading a file, paste the URL into the "Image URL" field. This method is useful for sharing images from external resources like Google Images, Flickr, or other image hosting sites.
- Embed Using HTML Code: If you're familiar with HTML, you can use the "Source" button in the content editor to switch to HTML view. From there, you can paste an
<img>tag that links to an external image source. This method is great for advanced users who want more control over how the image is displayed. - Insert from Cloud Storage: If your image is stored in a cloud service like Google Drive or Dropbox, you can share the image link from those services. Make sure the image is set to be publicly accessible and use the shareable link in the content editor as the image source.
These methods make it easy to include external images without the need to upload them, saving space in your Blackboard account and keeping your posts organized.
Also Read This: How Long Does It Take for Shutterstock to Approve Photos? A Step-by-Step Guide
Troubleshooting Common Image Insertion Issues in Blackboard
While inserting images in Blackboard is usually simple, you may encounter a few common issues. Here are some troubleshooting tips to help you resolve any problems:
- Image Not Displaying: If your image isn’t showing up after you’ve inserted it, make sure the file format is supported (JPEG, PNG, GIF) and that the file size isn’t too large (under 5MB is ideal). Also, ensure that the image URL is correct if you're using an external link.
- Broken Links to External Images: If you’ve linked to an image hosted on another website, check the link to make sure it’s still valid. Sometimes, external image URLs can change or become broken, causing the image to disappear. Try opening the URL in a new browser tab to verify it's working.
- Image Not Uploading: If your image isn’t uploading properly, try clearing your browser cache or using a different browser. Sometimes, browser settings or issues with the internet connection can cause upload problems.
- Incorrect Image Size or Alignment: If your image is too large or out of alignment, you can resize it using the image settings in the content editor. Alternatively, you can use HTML to set specific width and height dimensions.
- Missing Alt Text: For accessibility purposes, make sure you’re adding alt text when inserting an image. This ensures that screen readers can describe the image to users with visual impairments. Most content editors will prompt you for alt text when inserting an image.
If you're still facing issues, consider reaching out to your institution’s IT support team for further assistance. With a few adjustments, you should be able to fix most image insertion problems in Blackboard.
Also Read This: IMDb and Beyond: Downloading Pictures from the Database
Best Practices for Image Use in Discussion Posts
Images can be a great way to enhance your Blackboard discussion posts, but it’s important to use them wisely. Overloading a post with too many images can distract from your message. Here are some best practices for using images effectively:
- Keep It Relevant: Make sure the images you use support or clarify the points you're making. Avoid adding random images that don’t contribute to the discussion.
- Optimize Image Size: Large images can slow down page load times. Resize your images to be under 5MB in size and ensure they fit well within the post without overwhelming the content. Tools like Photoshop or online compressors can help with this.
- Use Proper Formatting: Ensure that your images are aligned correctly within the post. Typically, images should be left-aligned or centered, and should not be larger than the text area. Avoid using full-width images unless they are necessary for context.
- Provide Alt Text: Always include alt text when inserting an image. This text provides a description for those using screen readers, ensuring accessibility for visually impaired users. Keep the alt text concise but descriptive.
- Avoid Overcrowding: Don't add too many images to one post. A few relevant, well-chosen images will have more impact than a cluttered page. One or two images that enhance the content is usually enough.
- Test Your Post: Before submitting your post, preview it to ensure the images load properly and that everything looks as you expect. Double-check the formatting and size on different devices to ensure readability.
By following these best practices, you can make your discussion posts visually appealing while keeping them focused and effective.
Also Read This: Finding the Original Source of an Image
How to Edit or Remove Images in Blackboard Discussion Posts
Sometimes, after you’ve inserted an image in a Blackboard discussion post, you may need to make edits or remove it entirely. Here’s how you can easily manage images in your posts:
- To Edit an Image:
- Click on the post where you’ve inserted the image.
- Click on the image itself in the content editor to select it. This will bring up the image editing options.
- Click the "Insert/Edit Image" button again to open the image settings. From here, you can adjust the image size, change the alignment, or update the alt text.
- If the image is linked to an external source, you can also edit the URL here.
- To Remove an Image:
- Click on the image in the post to select it.
- Once the image is selected, click the "Delete" or "Remove" button that appears in the image toolbar. This will remove the image from the post.
- If you need to remove the image completely, make sure to save the changes once the image is deleted.
It’s easy to edit or remove images in Blackboard, and these tools allow you to keep your posts clean and accurate. Whether it’s fixing a typo in your alt text or removing an image that no longer fits, these options are a great way to ensure your posts are always up to date.
Also Read This: How to Select the Right Image
FAQ
Here are answers to some of the most frequently asked questions about inserting and managing images in Blackboard discussion posts:
- Can I insert images from my phone into a Blackboard discussion post?
Yes! You can upload images from your phone as long as they’re in a supported format (JPEG, PNG, GIF) and are not too large (under 5MB). Simply use the mobile version of Blackboard to upload or link the image from your phone's gallery.
- Why isn’t my image showing up in my post?
If your image isn’t showing up, double-check the file format and size. Ensure the file is not too large and that it’s in a supported format like JPEG or PNG. Also, if you're using an image URL, ensure the URL is correct and the image is publicly accessible.
- Can I use animated GIFs in my Blackboard posts?
Yes, animated GIFs are supported in Blackboard. Just make sure they’re relevant to the content, as too many GIFs can distract from the main point of your post.
- How do I fix a broken image link?
If you’re using an external image and the link is broken, first verify the image URL is still valid. You can try opening the URL in a browser to confirm it's active. If the link is no longer working, you may need to find another image or upload a new one.
- Are there any size restrictions for images in Blackboard posts?
While there’s no strict size limit for images, it’s recommended that images be under 5MB to ensure they load quickly and don’t slow down your post. You can use image editing tools to reduce file size without sacrificing too much quality.
Conclusion
Inserting images into your Blackboard discussion posts can significantly enhance the quality of your contributions by making them more engaging, clear, and visually appealing. Whether you're uploading images directly, linking to external sources, or using advanced HTML options, these methods can help convey your message more effectively. By following the best practices for image use, such as keeping images relevant, properly sized, and accessible, you can ensure your posts are both visually and informationally effective. If issues arise, there are simple troubleshooting steps to resolve common image problems. Remember, well-chosen images can make your discussions stand out and foster better communication and understanding. So, start incorporating images into your posts with confidence and improve the overall impact of your online discussions on Blackboard!
 admin
admin


