Importing image sequences into DaVinci Resolve is a simple yet powerful technique that can make your video editing process much smoother. If you’ve worked with animation or visual effects, you’re probably familiar with image sequences, but DaVinci Resolve offers unique features to make the process even more efficient. By importing individual images as a sequence, you can edit them as a single clip, saving you time and effort.
In this guide, we’ll break down the steps you need to follow to import image sequences into DaVinci Resolve. Whether you're working on a project with a series of frames from animation, 3D rendering, or time-lapse photography, this method will help you create a seamless video. Let’s dive in!
Understanding Image Sequences and Why They Are Useful

Before we dive into the specifics of how to import image sequences, it's important to understand what they are and why they’re so valuable in video editing. An image sequence is a series of individual still images that are displayed in order to create the illusion of motion. This method is commonly used in animation, visual effects, and even time-lapse videos.
Why should you use image sequences in your video projects? Here are a few reasons:
- High-Quality Results: Image sequences maintain the highest quality because each frame is a separate, high-resolution image.
- Better Control: With image sequences, you have precise control over each frame, making it easier to adjust or edit individual images without affecting others.
- Flexibility: Since each image is an independent file, you can make changes to one frame without re-rendering the entire video.
- Efficient Workflow: Importing sequences is faster and more efficient compared to manually creating video files for every frame.
Image sequences are used extensively in professional film production and post-production because they offer precision and flexibility. DaVinci Resolve makes it easy to import and work with these sequences in your video projects.
Also Read This: How to Cut Out an Image in Procreate Like a Pro
Preparing Your Image Sequence for Import

Before you can start importing your image sequence into DaVinci Resolve, you need to make sure your images are ready. This involves organizing your files and ensuring they’re formatted correctly. Let’s go over the steps to prepare your image sequence:
- File Naming: Name your images in a sequential order. DaVinci Resolve relies on the file names to recognize the sequence. For example, use names like image001.jpg, image002.jpg, etc. Avoid gaps or irregular naming patterns.
- File Format: Ensure that your images are in a compatible format, such as PNG, JPG, or TIFF. DaVinci Resolve supports a wide range of formats, but it’s important to pick one that suits your project needs.
- File Organization: Keep all the images for the sequence in a single folder. This will make it easier to import them into DaVinci Resolve as a cohesive sequence.
- Resolution and Aspect Ratio: Make sure all images have the same resolution and aspect ratio to avoid any distortion when they are played back in sequence.
By organizing your image sequence properly, you ensure a smooth import process. If everything is set up correctly, DaVinci Resolve will recognize the sequence as a single clip, making the editing process much easier.
Also Read This: Explore How to Upload Videos to Shutterstock
How to Import Image Sequences in DaVinci Resolve
Now that you've prepared your image sequence, it’s time to import it into DaVinci Resolve. The process is straightforward, and in this section, we’ll walk you through each step to ensure you can get your images into your project without any issues.
Here’s how to import your image sequence into DaVinci Resolve:
- Open DaVinci Resolve: Launch DaVinci Resolve and open your project or create a new one.
- Go to the Media Page: Navigate to the Media page by clicking on the "Media" tab at the bottom of the screen.
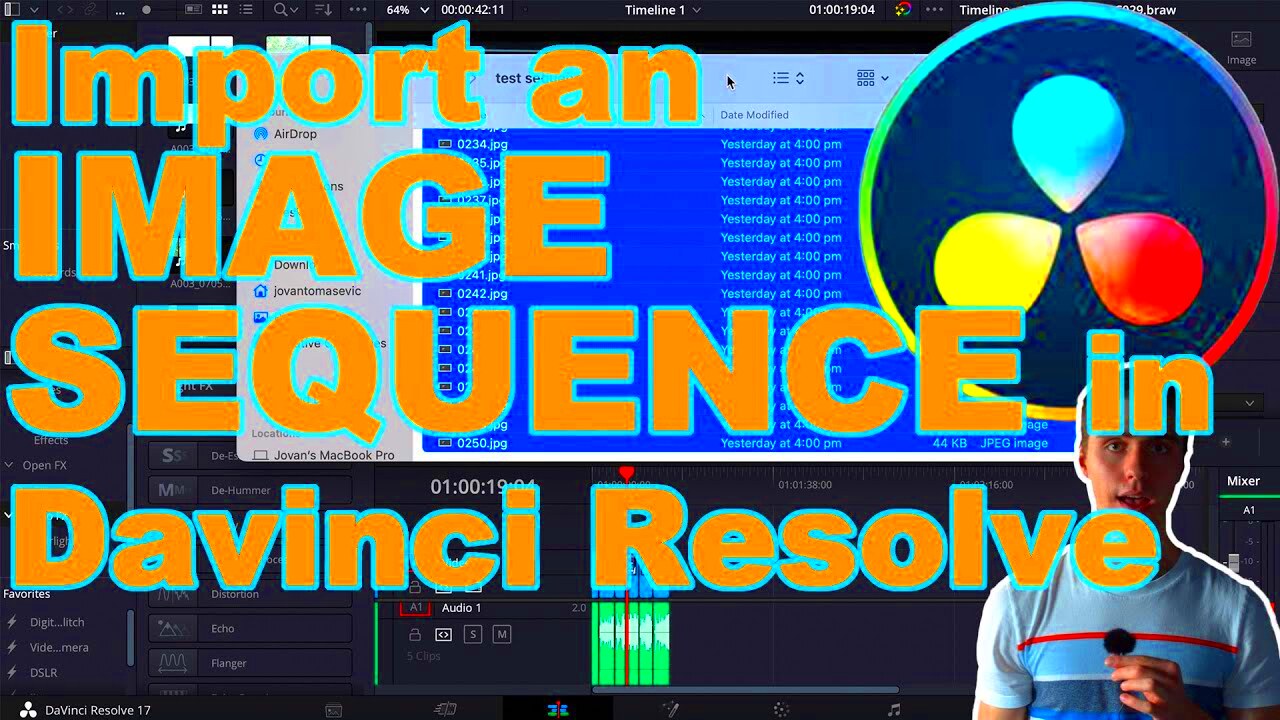
- Locate Your Image Sequence Folder: In the Media Browser, locate the folder where your image sequence is stored.
- Select the First Image: Click on the first image of your sequence. DaVinci Resolve will automatically recognize the other images in the sequence based on their names and display them as a single clip.
- Import the Sequence: Right-click on the first image and choose "Import Media." The entire sequence will be imported as one clip, ready for use in your timeline.
It’s that easy! You can now drag the sequence onto your timeline, where it will be treated as a single clip. From here, you can start editing just like you would with any video file. If the images are properly named and formatted, DaVinci Resolve will seamlessly play them in order, giving you a smooth video result.
Also Read This: How to Slow Down Video Playback Speed on Dailymotion for Learning
Adjusting Settings After Importing Image Sequences
Once your image sequence is imported into DaVinci Resolve, you may need to adjust certain settings to ensure it fits perfectly within your project. Let’s go over the key adjustments you can make:
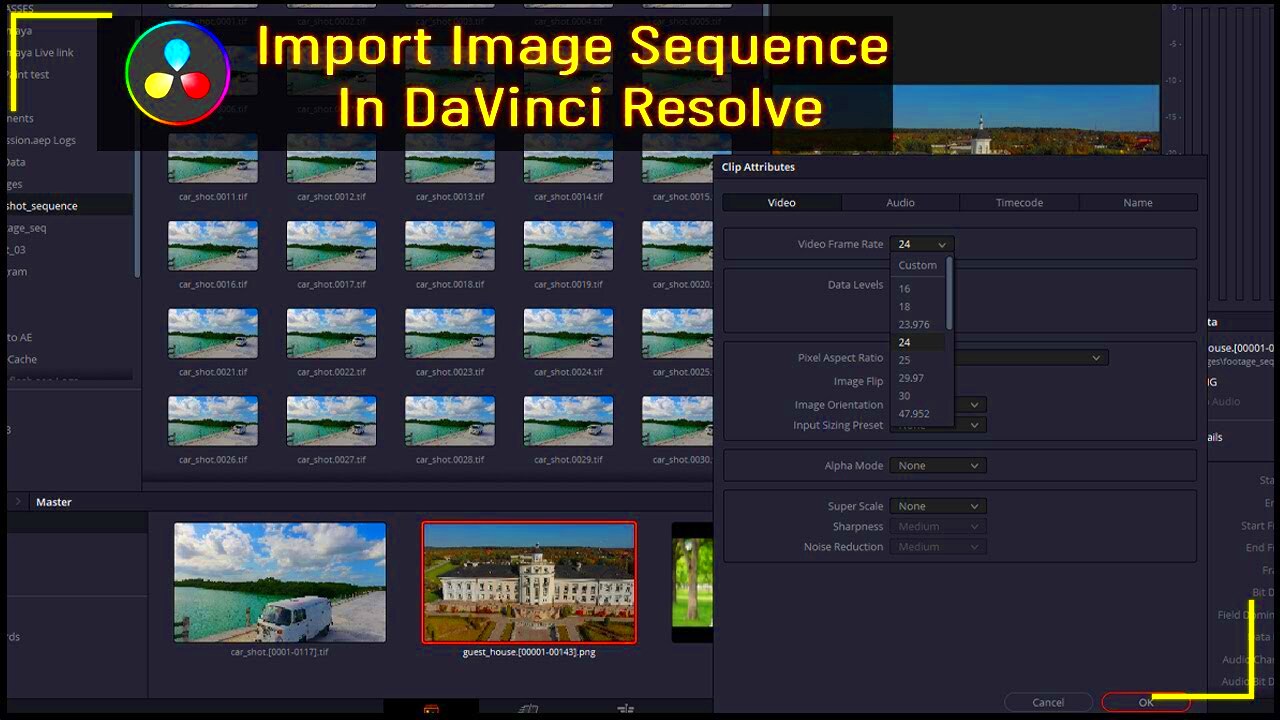
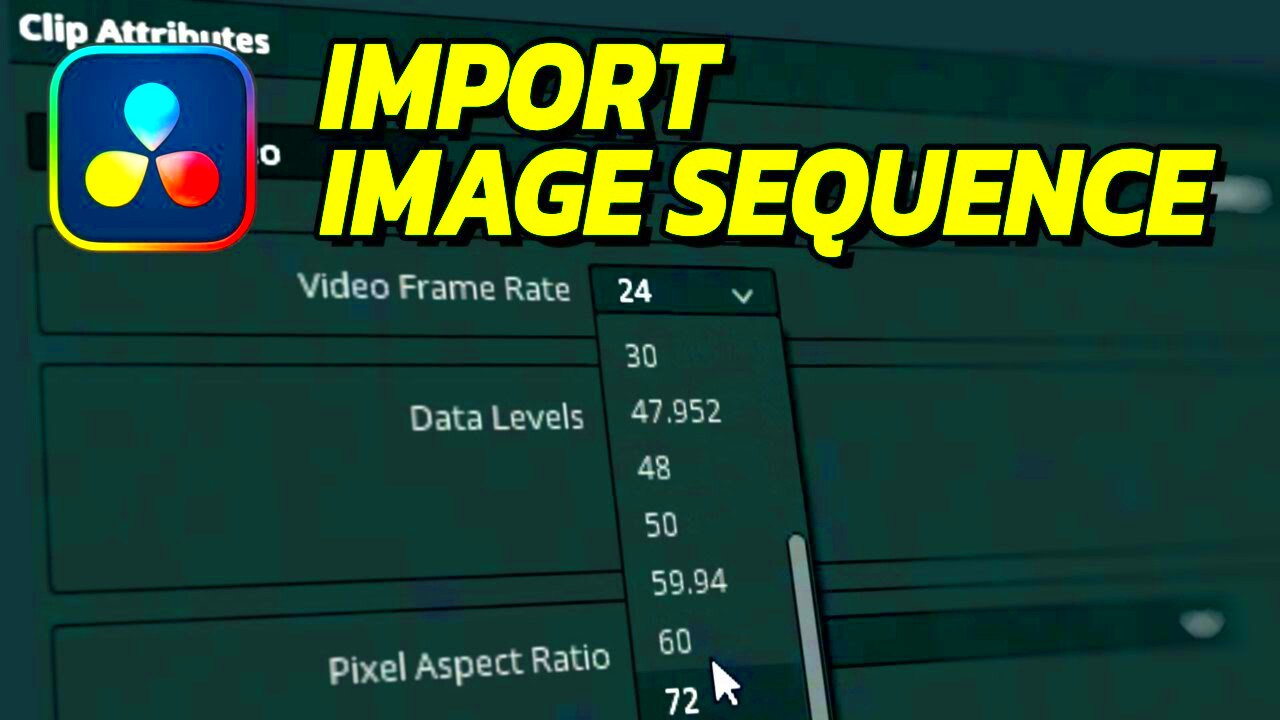
- Frame Rate: By default, DaVinci Resolve assumes a standard frame rate for image sequences. However, you may want to adjust it to match your project’s frame rate. To do this, right-click on the clip in the timeline, select "Clip Attributes," and under the "Video" tab, set the frame rate that matches your desired playback speed.
- Resolution: If your image sequence has a different resolution than your project, you can adjust the resolution to fit the project’s settings. Again, go to "Clip Attributes" and modify the "Scaling" options to scale or crop the images as needed.
- Clip Length: DaVinci Resolve automatically determines the clip length based on the number of frames in your sequence and the frame rate. If you want to adjust how long the sequence appears in your timeline, you can either change the frame rate or manually adjust the clip length by trimming it in the timeline.
- Aspect Ratio: Ensure that the aspect ratio of your sequence is consistent with your project’s settings. If it isn’t, you may need to adjust the "Timeline Resolution" in the project settings or scale the clip in the "Inspector" tab.
Making these adjustments ensures that your image sequence blends seamlessly into your project and looks exactly how you want it to. With the right settings, your editing process will flow smoothly without any issues.
Also Read This: Step-by-Step Instructions for Editing Photos in Adobe Photoshop CS6
Common Issues When Importing Image Sequences and How to Solve Them
Although importing image sequences into DaVinci Resolve is usually a straightforward process, there can be a few hiccups along the way. Let’s look at some common issues that might come up and how to solve them:
- Images Not Showing as a Sequence: If DaVinci Resolve doesn’t recognize your images as a sequence, the most likely cause is improper naming. Ensure that the images are named in a numerical sequence (e.g., image001, image002, etc.) with no gaps in the numbers. If the sequence is correctly named, try restarting DaVinci Resolve and re-importing.
- Wrong Frame Rate: Sometimes the frame rate of the sequence might not match the frame rate of your project. If this happens, go to "Clip Attributes" and adjust the frame rate manually. If you’re unsure what frame rate to use, refer to the original settings of the sequence or your project’s desired frame rate.
- Resolution Mismatch: If your sequence doesn’t fit the resolution of your project, it can appear stretched or pixelated. Use the "Clip Attributes" panel to adjust the scaling or resolution settings to fit the project’s aspect ratio and resolution. You can also choose to scale the clip in the "Inspector" tab for more precise control.
- Sequence Length Issues: If the length of the sequence doesn’t match your expectations, you might need to adjust the frame rate or manually trim the clip in the timeline to get the desired duration.
- File Format Compatibility: If your images are in an unsupported format (e.g., TIFF, BMP), DaVinci Resolve may not be able to import them. Make sure your images are in a supported format like JPG, PNG, or TIFF. If needed, you can convert your images to a compatible format before importing.
By following these troubleshooting tips, you should be able to resolve most common issues when importing image sequences into DaVinci Resolve. With a bit of patience and attention to detail, you’ll be able to work with your image sequences effortlessly.
Also Read This: Learn How to Use This LinkedIn Picture Downloader to Download Any Image
Optimizing Your Workflow with Image Sequences
Working with image sequences in DaVinci Resolve can significantly speed up your workflow once you know how to optimize the process. By using image sequences correctly, you can handle large projects with ease, avoiding time-consuming processes like re-rendering or dealing with individual images. Let's explore a few key tips to help you work smarter and more efficiently with image sequences.
Here are some tips for optimizing your workflow:
- Use Proxies for Faster Editing: Image sequences, especially those with high resolution, can be heavy on your system. To speed up the editing process, consider using proxy media. DaVinci Resolve allows you to generate lower-resolution versions of your images, making playback smoother and faster without compromising the quality of your final render.
- Batch Rename Files: To avoid issues with image sequence naming, use a batch renaming tool to ensure your images are named correctly before importing. This step saves you from having to manually rename each file and ensures consistency across the sequence.
- Use Smart Bin Filters: DaVinci Resolve offers smart bins that can automatically group clips based on defined rules. If you're working with a series of sequences, you can create a smart bin to group them together and access them easily when needed.
- Organize Projects with Folders: For larger projects, creating folders within the Media Pool to separate your image sequences, audio files, and video clips can make your workflow more organized. This way, you won’t lose track of your assets as the project grows.
By following these simple steps, you’ll make your editing process more efficient, saving both time and effort while ensuring high-quality results.
Also Read This: Understanding the Delays in Alamy Image Uploads
Best Practices for Using Image Sequences in DaVinci Resolve
To get the best out of your image sequences in DaVinci Resolve, you should follow a few key best practices. These tips will help you avoid common pitfalls, maintain high quality, and work more efficiently.
Here are some best practices to keep in mind:
- Consistent Naming Convention: Make sure your images are named in a consistent and logical sequence. The format image001, image002, and so on, will ensure DaVinci Resolve recognizes them as a continuous sequence. Any irregularity in naming can break the sequence or cause images to be skipped.
- Check for Missing Frames: Before importing your image sequence, check that all frames are accounted for. Missing frames can result in stuttering or gaps in your animation or video. If necessary, use a batch renaming tool to quickly identify missing images based on their naming pattern.
- Set Frame Rate Early: It’s important to set the frame rate of your sequence at the start. If you import your images and the frame rate is off, you may need to re-import the sequence with the correct settings. This can lead to delays, so set your project frame rate first, and match your image sequence frame rate accordingly.
- Use High-Quality Images: Always work with the highest quality images available. Image sequences are great for preserving high-quality detail since each frame is an individual image. Using low-quality images will degrade the final result, so ensure your source material is of the highest resolution possible.
- Regularly Save and Backup: Working with large sequences can be taxing on your system, so it's important to save your project regularly. Make sure to create backups as well to avoid losing your work in case of a system failure.
By following these best practices, you’ll ensure a smooth and efficient process when working with image sequences in DaVinci Resolve, helping you get the best quality and most efficient workflow possible.
Also Read This: How Many Wallet-Sized Images Fit on an 8×10 Print
Frequently Asked Questions
Here are some frequently asked questions regarding working with image sequences in DaVinci Resolve. These answers should help clarify common doubts and provide solutions to potential issues you may encounter during your workflow.
- What is the best frame rate for image sequences in DaVinci Resolve? The best frame rate depends on your project’s requirements. For standard video, 24 or 30 fps (frames per second) is common, while for animations or time-lapse videos, you might need a higher frame rate. Make sure to set the frame rate of your sequence to match the project settings.
- Can I edit the individual frames of an image sequence? Yes, you can edit individual frames in DaVinci Resolve. If you need to adjust a particular frame, you can open the image sequence in the timeline and use the "Inspector" panel to make changes, or even replace individual frames with modified versions.
- What if my image sequence is not importing correctly? The most common reason for image sequences not importing correctly is improper naming conventions. Make sure all images are sequentially numbered with no gaps. Additionally, ensure that all files are in a supported format (like PNG or JPG) and that no files are missing.
- How can I prevent stuttering in my image sequence playback? If your sequence stutters during playback, try adjusting the resolution of the image sequence or using proxy media. You can also adjust the frame rate settings to match the playback speed of your project.
- Can I import image sequences from external sources like a camera or 3D software? Yes, you can import image sequences from any source, including cameras, 3D rendering software, or animations. Just make sure the files are in a supported format and are named correctly for DaVinci Resolve to recognize them as a sequence.
These answers should help guide you through the most common questions and challenges when working with image sequences in DaVinci Resolve. If you encounter any other issues, don’t hesitate to consult the user manual or explore online forums for additional support.
Conclusion
In conclusion, importing and working with image sequences in DaVinci Resolve is a valuable technique that streamlines your video editing process. By understanding how to prepare your files, import them correctly, and adjust the settings to fit your project, you can significantly enhance your workflow. Optimizing your editing process through best practices, like using proxy media or organizing your assets, will help you maintain high-quality results without compromising efficiency. Remember to follow the tips and troubleshooting advice provided, and you'll be able to seamlessly integrate image sequences into your projects, making your editing experience faster and more effective.

 admin
admin


