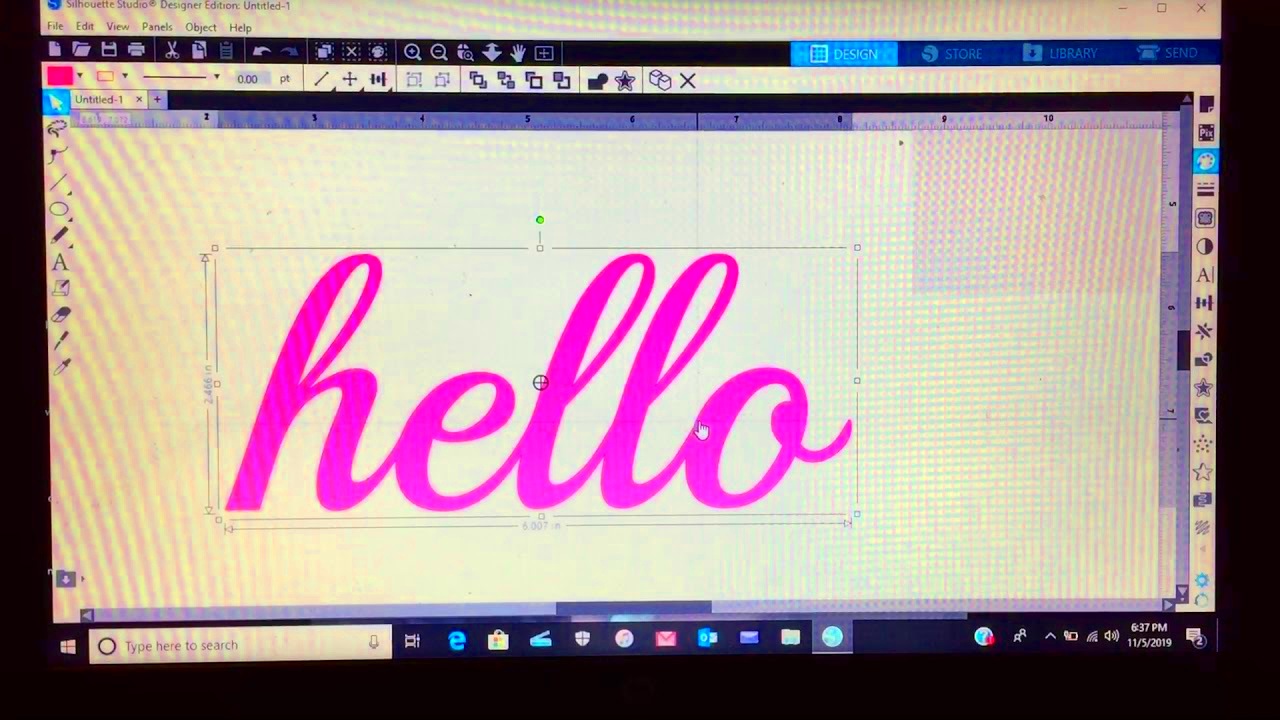
Silhouette Studio is a powerful design software widely used by crafters and DIY enthusiasts. It allows users to create, edit, and customize designs for cutting machines like the Silhouette Cameo. Whether you're into making stickers, vinyl decals, or intricate paper crafts, this software provides the tools to turn your ideas into reality. Its popularity stems from its user-friendly interface and robust features that cater to both beginners and professionals.
Here are some reasons why Silhouette Studio is highly regarded:
- Versatility: Supports a range of design projects, from basic shapes to complex patterns.
- Customizable Tools: Offers tools for editing, tracing, and creating unique designs.
- Compatibility: Works seamlessly with Silhouette cutting machines.
- Free Version: Includes essential features, with options to upgrade for advanced capabilities.
Understanding Offset Lines in Silhouette Studio

Offset lines are a design feature in Silhouette Studio that helps create outlines or borders around an object or image. These lines can enhance a design’s appearance, add depth, or make a cut more precise. For instance, if you’re designing a sticker, the offset line serves as the edge where the cut will occur, ensuring your design remains intact.
Here’s why offset lines are important:
- Visual Enhancement: Adds a polished look to designs.
- Functional Purpose: Ensures precise cutting by providing a defined boundary.
- Creative Flexibility: Allows experimentation with different thicknesses and styles of outlines.
With offset lines, you can also create layered designs or shadow effects, making them a valuable tool for any project.
Also Read This: Can You Download Movies from IMDB? Here is How to Do It
Steps to Create Offset Lines for an Image

Creating offset lines in Silhouette Studio is straightforward. Follow these steps to get started:
- Open Your Image: Import or open the image you want to work with in Silhouette Studio.
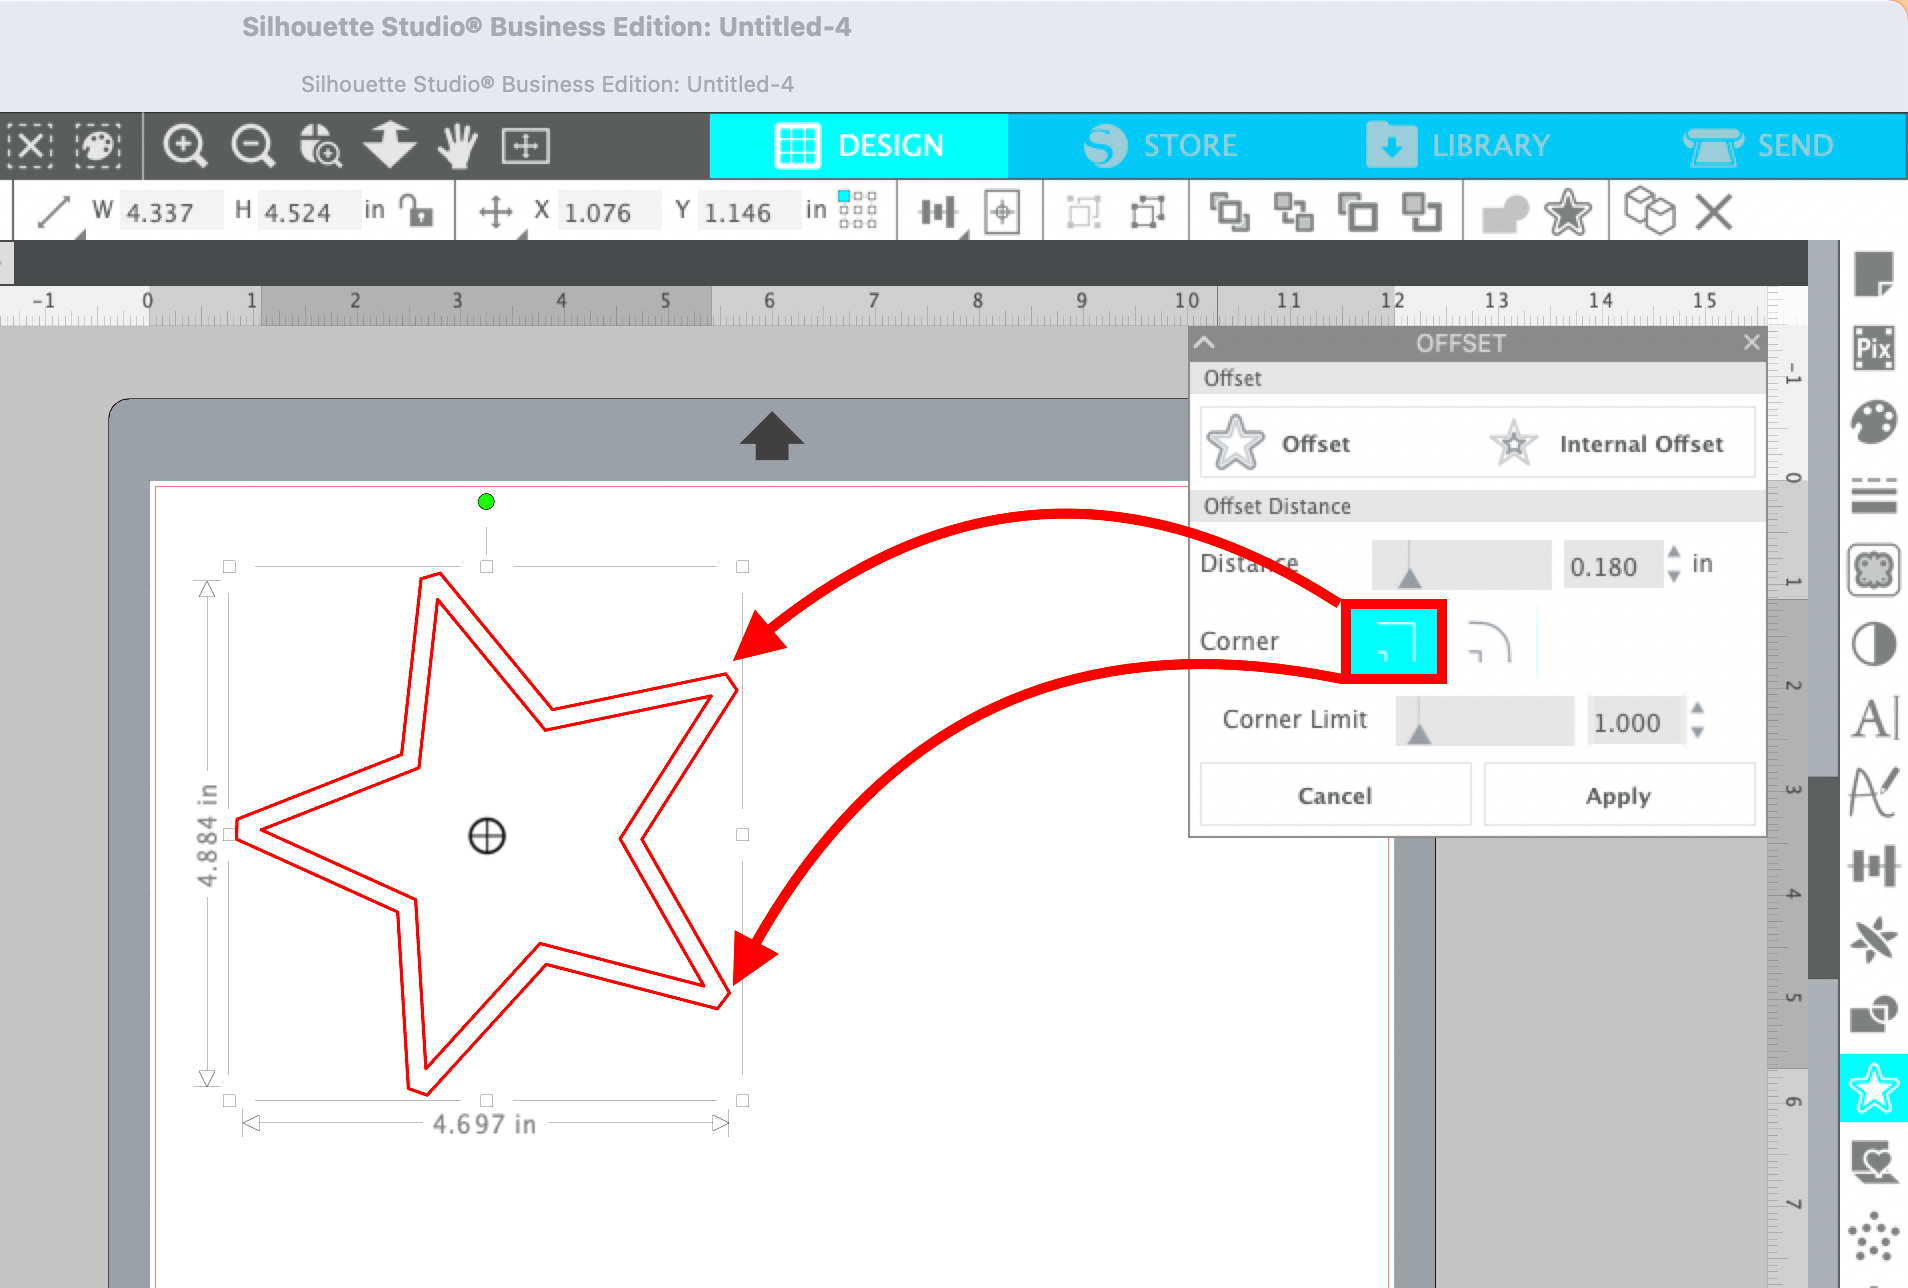
- Access the Offset Tool: Navigate to the toolbar and select the Offset Tool. It’s usually represented by a star-like icon.
- Choose the Offset Option: Click on your image and choose "Offset" from the options. This creates a line that traces the outer edges of your design.
- Adjust the Distance: Use the slider or input a specific value to set the desired distance between the image and the offset line.
- Apply Changes: Once satisfied, click "Apply" to finalize the offset line.
You can further customize the offset line by changing its color, thickness, or style to suit your project. This feature is especially helpful when preparing designs for print-and-cut projects or layered crafts.
Also Read This: Download Mad Movie From IMDB with This Method
How to Weld Offset Lines to an Image
Welding offset lines to an image in Silhouette Studio is a simple yet powerful technique. It combines multiple elements into one unified shape, making it ideal for creating cohesive designs. This process is especially useful when you want to merge your offset lines with the base image, ensuring the design is ready for cutting or printing.
Follow these steps to weld offset lines to an image:
- Create Your Offset Line: Start by creating an offset line around your image using the Offset Tool.
- Position the Offset Line: Make sure the offset line is correctly aligned with your image. Adjust as needed.
- Select Both Elements: Click and drag to select both the image and the offset line. You can also use the shift key to select them individually.
- Use the Weld Tool: Go to the toolbar and select the Weld Tool. This will merge the offset line with the image, removing any overlapping lines and creating a single, unified shape.
- Inspect the Design: Check your welded design to ensure there are no gaps or unintended distortions.
Welding creates a seamless design that’s perfect for cutting or layering in crafting projects. Experiment with this feature to add a professional touch to your designs!
Also Read This: Navigating the Best Tech Conferences for Networking in the USA
Common Mistakes to Avoid When Welding Offset Lines
While welding offset lines is straightforward, there are common mistakes you might encounter. Avoiding these can save time and ensure a smooth design process.
Here are some frequent errors and how to prevent them:
- Misalignment: Ensure the offset line is properly aligned with the image before welding. Use the alignment tools if needed.
- Overlapping Designs: Overlapping parts of the image or offset line can lead to unintended gaps. Double-check the layout before welding.
- Wrong Tool Selection: Using the Group Tool instead of the Weld Tool may not produce the desired result. Always confirm you’ve selected "Weld."
- Excessive Offset Size: Large offsets might distort the design. Choose an offset size that complements your project.
By addressing these issues beforehand, you’ll create clean, professional designs every time.
Also Read This: Exploring Major Technology Corporations Operating Across the USA
Benefits of Using Welded Offset Lines in Projects
Welded offset lines offer several advantages for crafting and design projects. This technique combines the aesthetic appeal of offset lines with the functionality of a unified design, making your projects stand out while ensuring ease of execution.
Here are the key benefits:
| Benefit | Description |
|---|---|
| Seamless Design | Merging elements ensures a clean, unified shape with no overlaps or gaps. |
| Improved Cutting Precision | Welded designs help cutting machines follow a single path, reducing errors. |
| Professional Appearance | Welded offset lines add a polished look to stickers, decals, and layered crafts. |
| Creative Versatility | Combine shapes and outlines for unique designs that suit various projects. |
By incorporating welded offset lines, you can elevate your crafting projects and achieve a professional, polished finish with minimal effort.
Also Read This: IMDb and Photography: Downloading Images for Various Uses
FAQs About Welding Offset Lines in Silhouette Studio
Welding offset lines can be tricky for beginners, and many users have common questions about this process. Here are some frequently asked questions along with straightforward answers to help you master this technique.
- Can I undo a weld after applying it?
- What is the difference between welding and grouping?
- Why does my design look distorted after welding?
- Can I weld multiple offset lines at once?
- Why are some parts of my image missing after welding?
Yes, but only if you immediately use the Undo option (Ctrl+Z or Command+Z). Once you save or move on, the weld cannot be undone.
Grouping keeps elements separate while allowing you to move or resize them together. Welding merges elements into one unified shape, which is permanent unless undone immediately.
Distortion can occur if the offset line overlaps incorrectly or if the design is too intricate. Adjust the offset size or clean up your design before welding.
Yes, you can select multiple offset lines and weld them together, but ensure they are properly aligned to avoid gaps or overlaps.
This usually happens if the offset line intersects with the image in unintended ways. Check the design carefully before welding and adjust the offset as needed.
These FAQs cover some of the most common issues users face. Understanding these can help you avoid mistakes and achieve better results with welded offset lines.
Conclusion
Welding offset lines to an image in Silhouette Studio is an essential skill that enhances both the functionality and aesthetics of your designs. By mastering this technique, you can create seamless, professional-looking projects with ease. Practice regularly, avoid common mistakes, and explore the creative possibilities welding offers to elevate your crafting game.


