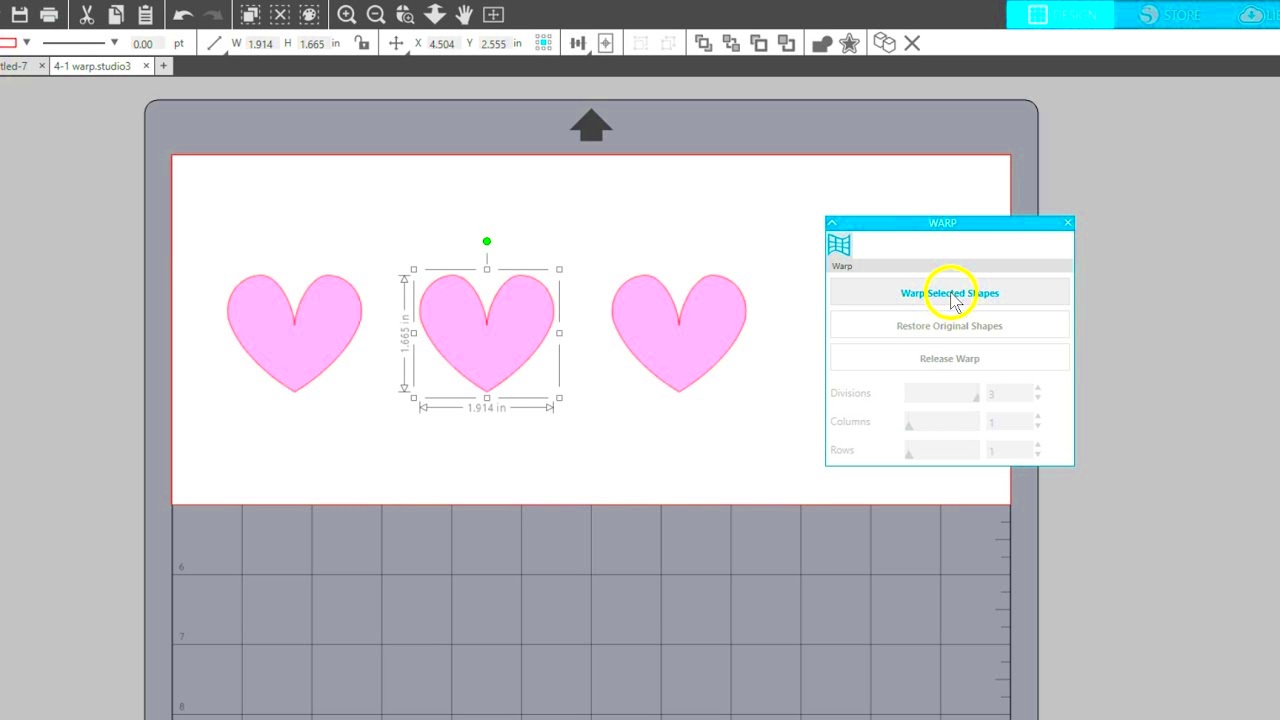
Warping an image in Silhouette Studio Basic Edition is a powerful tool that allows you to manipulate and shape your images in creative ways. Whether you’re designing for custom projects like t-shirts, cards, or decals, warping lets you adjust your image to fit a particular shape or space. This feature can be especially helpful when you need to fit an
In this section, we’ll introduce you to the basics of warping and explain how this feature can take your design projects to the next level.
Why Warping an Image Is Useful in Silhouette Studio
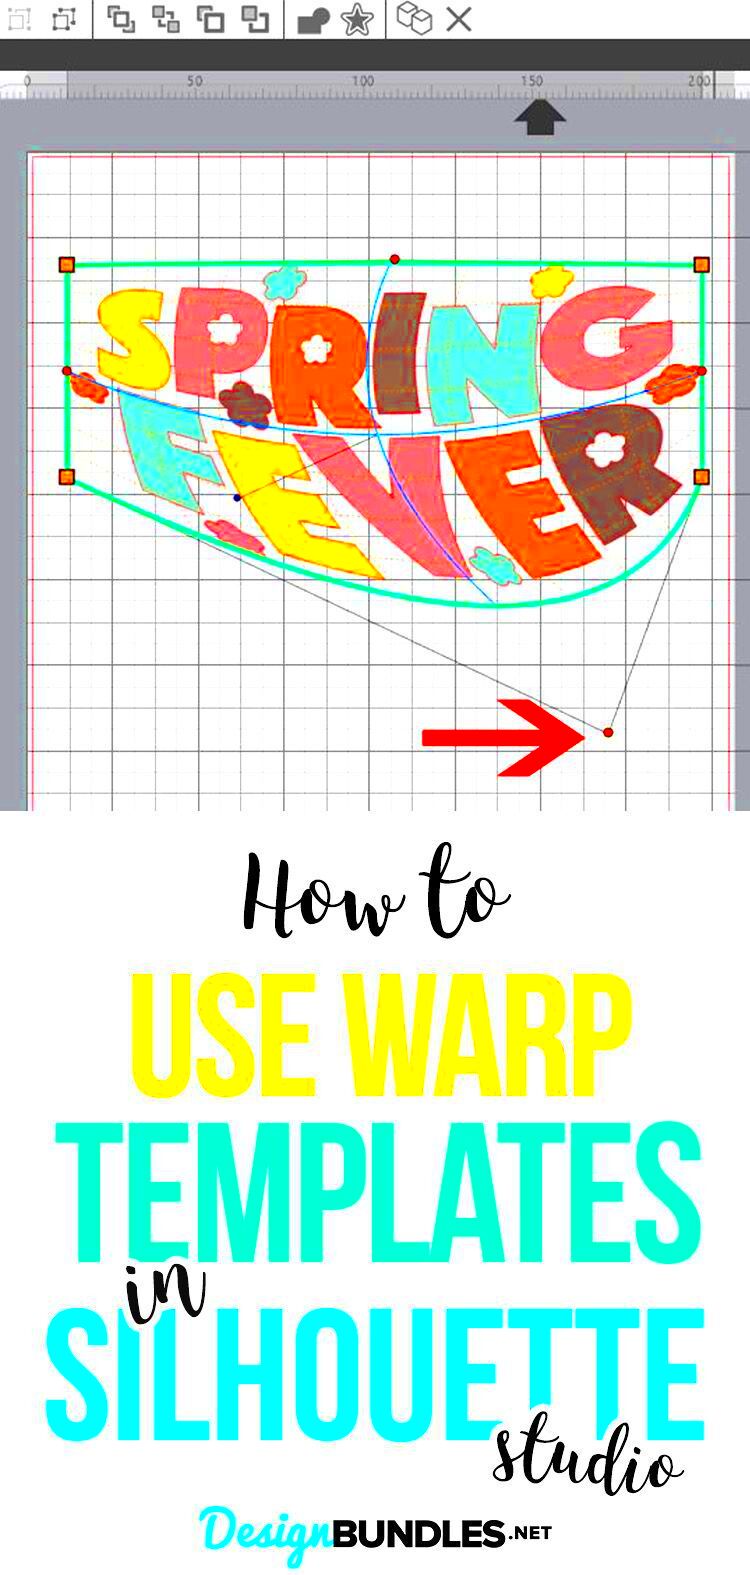
Warping an image in Silhouette Studio allows you to create a customized look by adjusting the shape of the image to suit your design. Here are a few reasons why this tool is so useful:
- Flexible design options: Warping allows your image to fit into different shapes, such as circles, curves, or irregular spaces.
- Perfect for product customization: Whether you're designing logos for t-shirts or decals, warping can help make sure your design matches the object’s shape.
- Creative freedom: With warping, you can stretch, twist, and bend your images in a way that aligns with your unique design vision.
- Improved alignment: Warping helps ensure that your image fits perfectly within certain areas, avoiding awkward gaps or stretching.
Warping is not just about distortion; it’s about achieving the perfect design for your project needs, enhancing your creative process.
Steps to Warp an Image in Silhouette Studio Basic Edition
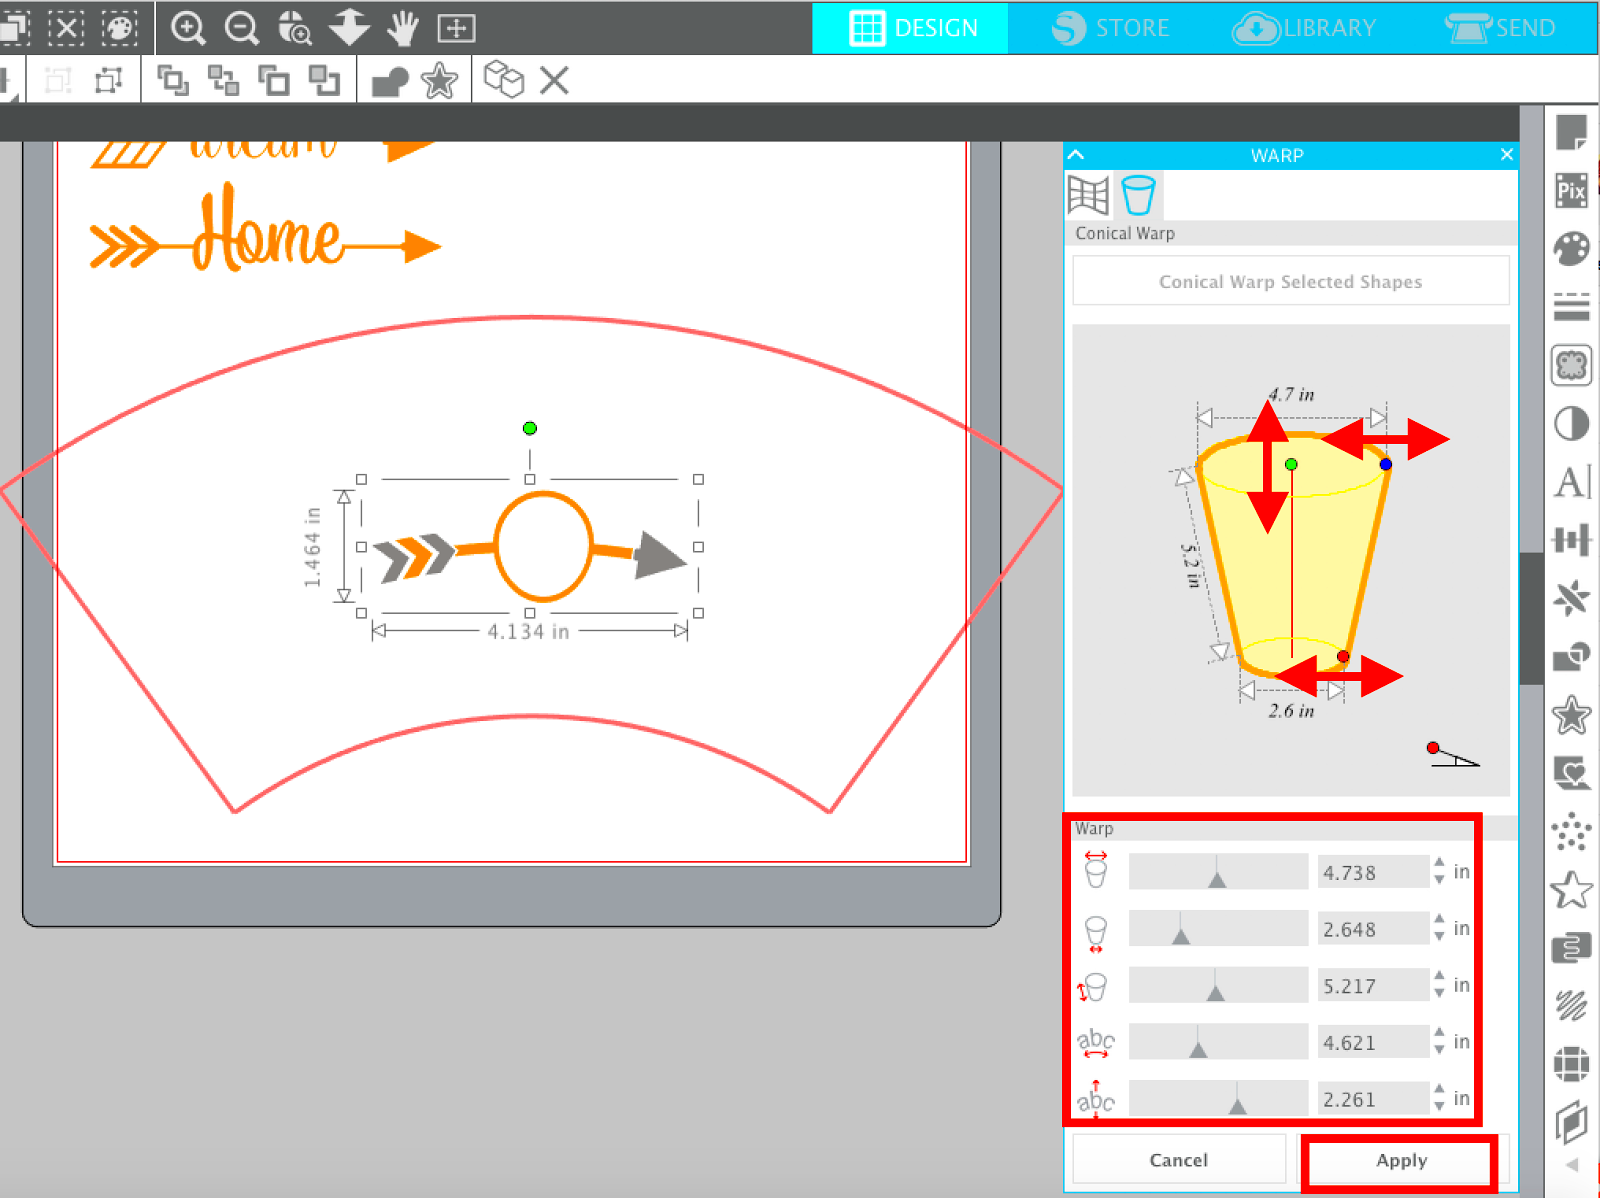
Now that you understand the benefits, let's dive into the steps to warp an image in Silhouette Studio Basic Edition. Follow these simple instructions to start warping your images:
- Step 1: Open Your Image
First, you need to open your image in Silhouette Studio. If you haven’t already, click on the "File" menu and select "Open" to locate and upload your image.
- Step 2: Select Your Image
Click on the image to select it. Once selected, the image will have a box around it with resizing handles on each corner and side.
- Step 3: Access the Warp Tool
In the right-hand toolbar, locate the "Warp" button. If it’s not immediately visible, you may need to click on the "Modify" tab to access it.
- Step 4: Apply a Warp Effect
Click on the warp tool, and you will see different warp options like "Arc," "Bulge," or "Twist." Choose the effect that fits your design goals.
- Step 5: Adjust the Image
Once the warp effect is applied, you can adjust the image further by moving the handles or sliders. You can increase or decrease the intensity of the warp effect until you get the desired look.
- Step 6: Finalize Your Design
Once you’re happy with how the image looks, click "Apply" to confirm your changes. You can now move, resize, or further edit the image as needed.
These simple steps should help you get started with warping images in Silhouette Studio Basic Edition, offering you greater flexibility in your design projects.
Preparing Your Image for Warping in Silhouette Studio
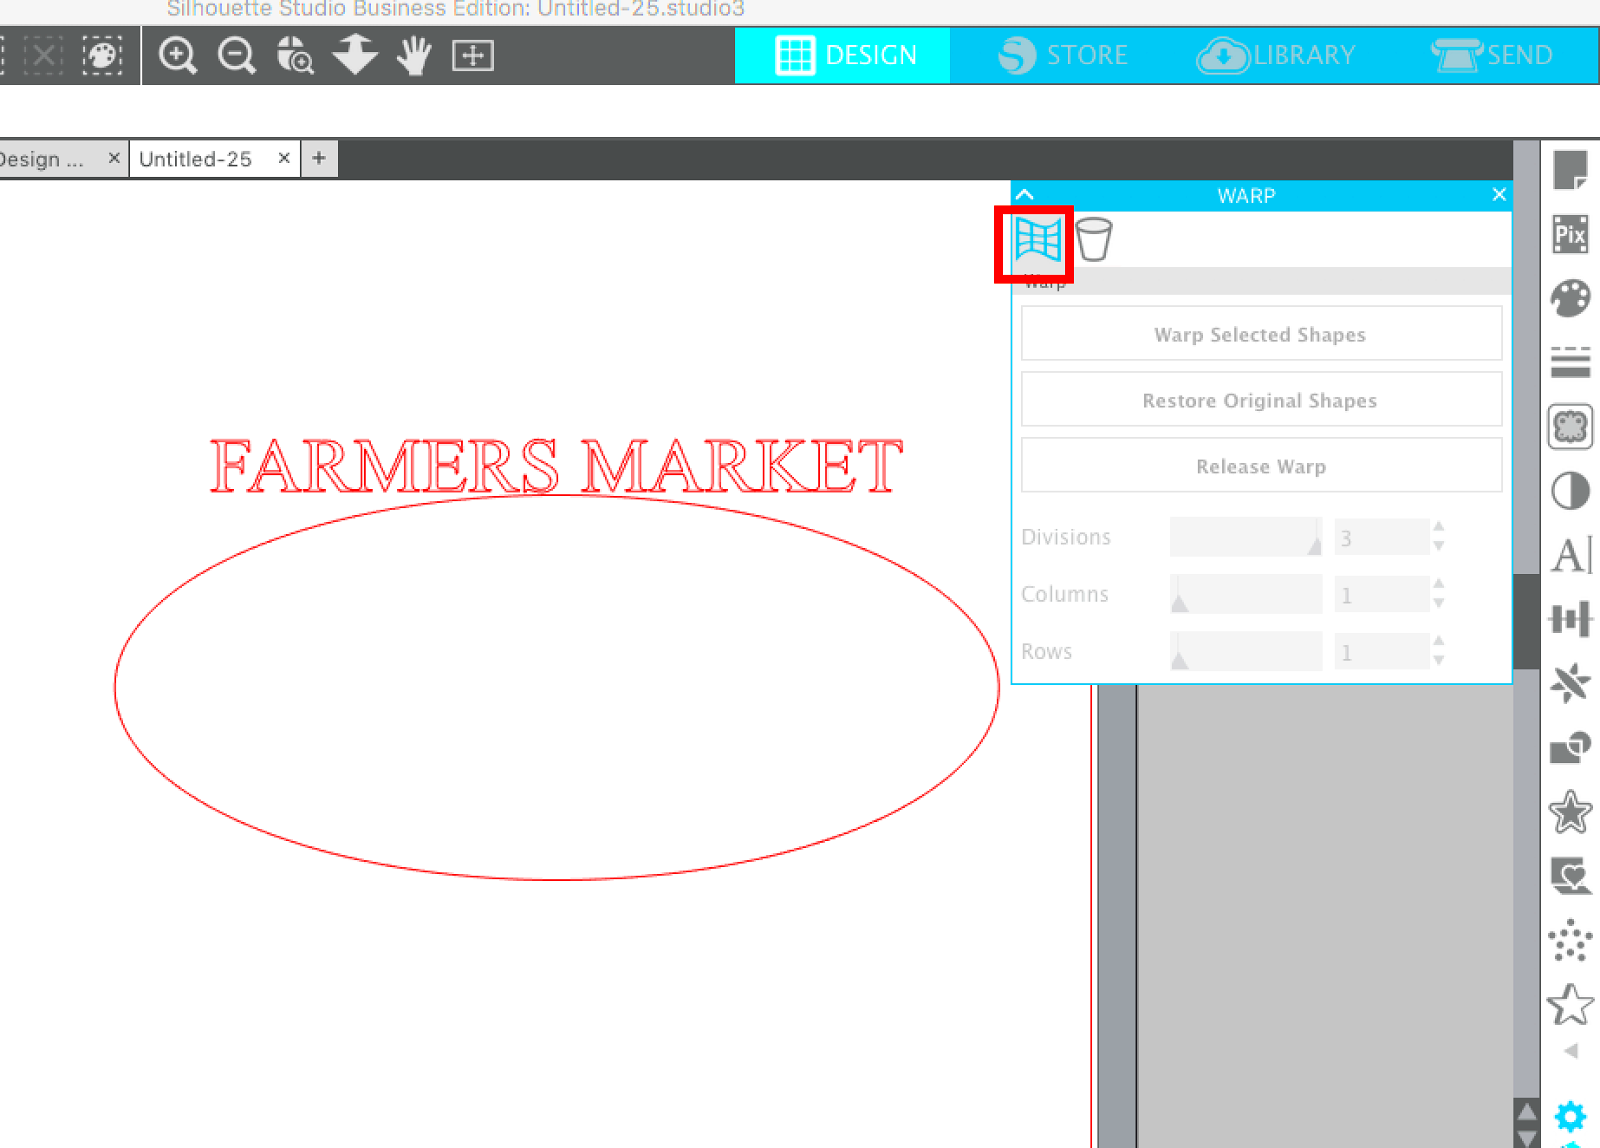
Before you start warping an image in Silhouette Studio, it’s important to prepare the image properly. Proper preparation ensures that the image will warp smoothly and maintain its quality. Whether you're working with a simple design or a more complex graphic, taking a few extra steps in the beginning can save you time and frustration later.
Here are some tips for preparing your image:
- Choose the right file format: Use high-quality image formats like PNG, JPG, or BMP. PNG files are great for images with transparency, while JPG works best for high-resolution photos.
- Resize the image: Make sure your image is appropriately sized for your design. If the image is too large or too small, resizing it will help maintain the clarity when it’s warped.
- Remove any unwanted background: If your image has a background that you don’t want to warp, you can remove it before starting. Silhouette Studio offers a trace feature for removing backgrounds from simple images.
- Use high resolution: Starting with a high-resolution image ensures that it won't become pixelated or blurry after warping.
- Check the image's alignment: Ensure that your image is properly aligned and centered in the workspace to make the warping process smoother.
By taking a little extra time to prepare your image, you’ll have better results when you begin the warping process in Silhouette Studio.
Using the Warp Tool to Adjust Your Image
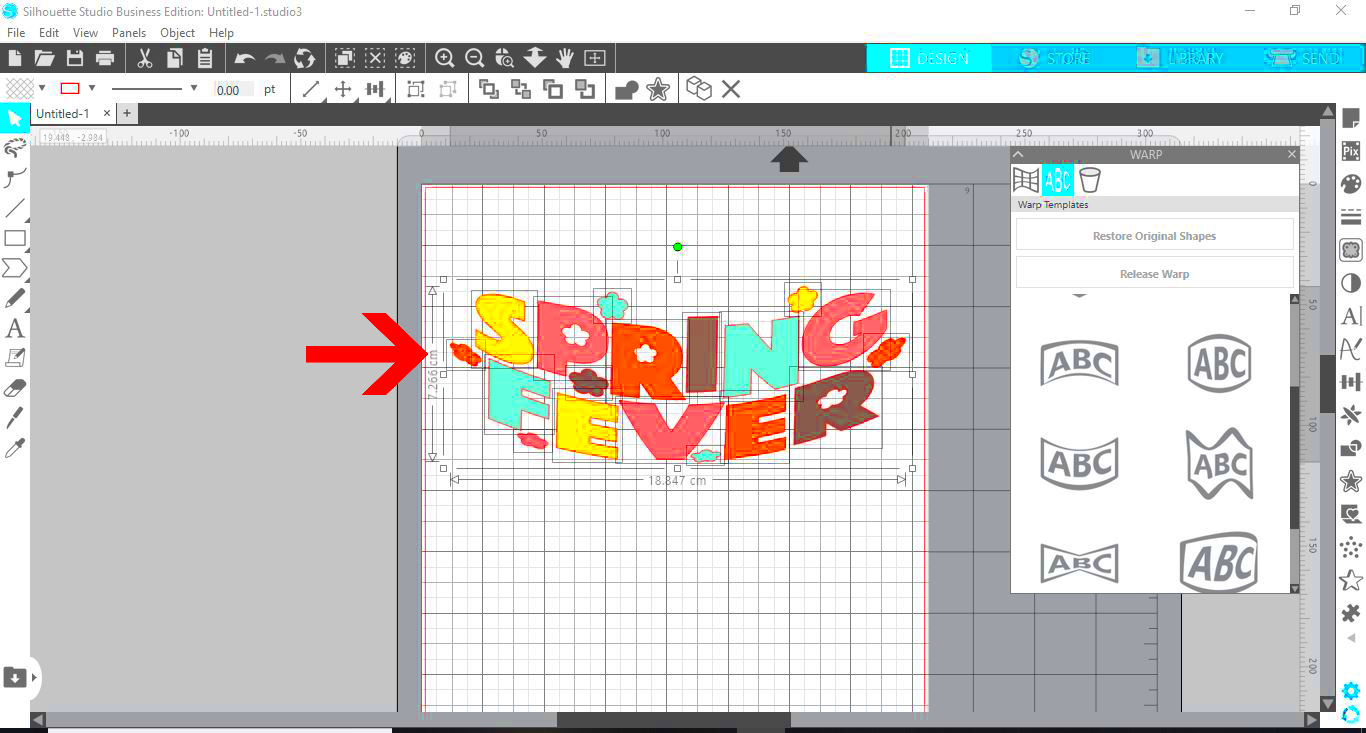
The Warp tool in Silhouette Studio allows you to manipulate an image’s shape to fit your design needs. It’s a simple yet effective tool for transforming your images, whether you want to create a circular design, stretch an image into a different shape, or add a unique twist.
Here’s how you can use the Warp tool to adjust your image:
- Select the image: Click on the image you want to warp to select it. This will bring up the image’s resize handles.
- Access the Warp tool: In the top toolbar or the "Modify" panel, find the Warp tool. It may appear as a curved arrow or a similar icon.
- Choose a warp effect: The Warp tool offers several effects, such as "Arc," "Bulge," "Twist," or "Flag." Each effect alters your image in a different way. Select the one that best matches your design needs.
- Apply the effect: Once you select the warp effect, the image will change shape. You can adjust the intensity of the effect by moving sliders or dragging the image's corner points.
- Adjust the warp settings: Play with the settings until you achieve the desired look. For example, you can change the direction or strength of the warp, or apply the effect gradually across the image.
- Preview and apply: Preview the changes before finalizing. If you're satisfied, click "Apply" to save the changes and exit the Warp tool.
By using the Warp tool in Silhouette Studio, you can stretch, shrink, and twist your image to fit perfectly within your design.
How to Fine-Tune Your Image After Warping
After you’ve applied the warp effect to your image in Silhouette Studio, you may want to fine-tune it for the best results. Fine-tuning is important because the warp tool can sometimes create unexpected distortions or leave edges that need adjusting. Here’s how you can perfect your image:
- Use the corner handles: Click and drag the corner handles of the image to resize it further. This will help make sure the image fits within the design space exactly how you want.
- Adjust the warp sliders: Many warp effects come with sliders that let you control the intensity or direction of the warp. Fine-tuning these sliders can help make subtle adjustments to the image.
- Crop or mask the image: After warping, you might need to crop or mask parts of the image that look stretched or distorted. Use the cropping tool to remove any unwanted parts of the image.
- Refine the edges: If the edges of the warped image look jagged or uneven, use the smoothing tools in Silhouette Studio to round out the edges and make them more visually appealing.
- Zoom in for details: Zoom in on the image to ensure that all the details look good, especially if you are working with intricate designs or patterns. Small imperfections can be more noticeable when zoomed in.
- Check the color balance: After warping, sometimes colors might appear distorted. Adjust the image’s contrast, brightness, or saturation to maintain its original look.
Taking these steps will help you achieve a polished final result, ensuring your image looks exactly as you want after the warping process.
Common Mistakes to Avoid When Warping Images
While warping an image in Silhouette Studio can be a creative process, it’s easy to make mistakes that can affect the final result. Being aware of these common pitfalls can help you avoid frustration and ensure your designs look great. Let’s take a look at some of the most frequent mistakes and how you can steer clear of them:
- Using low-resolution images: Starting with a low-resolution image may seem tempting, but it can lead to pixelation and blurry results when warped. Always use high-resolution images to preserve clarity.
- Not checking the aspect ratio: If you stretch or warp an image too much without maintaining its aspect ratio, the image may look distorted or unnatural. Be careful to resize proportionally when necessary.
- Overusing the warp tool: It’s easy to go overboard with warping, but too much distortion can ruin the original image. Use subtle adjustments for a more professional look.
- Ignoring the image alignment: Sometimes, warping can throw off the alignment of your image. Always check that your image is centered or aligned with other design elements.
- Forgetting to preview changes: Before finalizing the warp, make sure to preview the changes. This allows you to catch any unwanted distortions before they’re set in stone.
- Not using the undo function: If the warp effect doesn’t turn out as expected, don’t forget that Silhouette Studio has an undo option. Don’t hesitate to use it if you need to make adjustments.
By avoiding these common mistakes, you can make the warping process smoother and produce better-looking designs every time.
Tips and Tricks for Better Image Warping Results
To get the best results when warping images in Silhouette Studio, there are a few tips and tricks that can help you fine-tune your designs. These techniques will ensure that your warped images look seamless and professional, no matter the project. Let’s explore some useful tips to improve your warping results:
- Use the correct warp effect: Each warp effect (such as "Arc," "Bulge," or "Twist") serves a specific purpose. Choose the one that best suits your design needs to avoid unnecessary distortion.
- Work with smaller increments: Apply warp effects gradually, using smaller adjustments instead of extreme ones. This gives you more control over the final look and prevents over-distortion.
- Keep the original in mind: Always refer to the original version of the image to ensure the final result still represents the design you intended. Use the "Preview" option to compare both versions.
- Use guidelines for precision: If you’re working with multiple images or elements, use the guidelines in Silhouette Studio to align and position your warped image accurately.
- Zoom in on the details: After applying the warp, zoom in to check how the finer details look. You may need to adjust small imperfections or sharpen certain areas to maintain a clean design.
- Layering for complex designs: For more complex projects, consider layering multiple warped images together to create a more dynamic and visually appealing design.
By applying these tips and tricks, you can enhance your warping skills and achieve a more polished, professional result in Silhouette Studio.
Frequently Asked Questions (FAQ)
When it comes to warping images in Silhouette Studio, many users have questions about the process. In this section, we’ll answer some of the most frequently asked questions to help clear up any confusion and guide you through the warping process:
- What image formats are best for warping?
PNG, JPG, and BMP are the most commonly used formats. PNG is ideal if you have a transparent background, while JPG is better for high-quality photos. Ensure that the resolution is high to avoid pixelation.
- Can I undo a warp effect?
Yes! Silhouette Studio has an "Undo" function that allows you to easily revert any changes made during the warping process. This gives you the flexibility to experiment without worry.
- Why is my image getting pixelated after warping?
If your image is pixelating after warping, it's likely because the original image resolution was too low. Always start with high-resolution images to ensure they hold up during the warping process.
- Can I warp text in Silhouette Studio?
Yes! You can warp text just like you would an image. Simply select the text and apply the desired warp effect using the same tools.
- How do I save my warped image?
After warping, you can save your image by clicking "File" > "Save As" and choosing the appropriate format for your project (e.g., PNG, JPG, etc.).
We hope these answers help clarify some of the common questions about warping images in Silhouette Studio. If you have any other questions, feel free to explore the software’s user guide or reach out for support!
Conclusion: Mastering Image Warping in Silhouette Studio
Warping images in Silhouette Studio is a powerful technique that can elevate your designs, allowing you to adapt images to various shapes, curves, and spaces. Whether you are working on t-shirt designs, stickers, or other custom products, mastering the warping tool can significantly enhance your creative process.
By following the steps outlined in this guide, preparing your images carefully, and using the warp tool effectively, you can achieve professional-looking results. It’s essential to avoid common mistakes, such as using low-resolution images or over-distorting your designs, to ensure the best quality output.
As you continue to experiment and apply different warp effects, you’ll become more comfortable with fine-tuning your images and adjusting them to your exact design needs. With practice, you’ll be able to create unique and visually stunning designs for all your projects. Keep exploring the different warp options in Silhouette Studio, and don’t forget to make use of tips and tricks to get the most out of your work.
In the end, mastering image warping is a key skill for any Silhouette Studio user looking to enhance their design projects and bring their creative ideas to life!
