If you’ve ever admired the intricate designs of professional nail art but hesitated to spend the time or money at a salon, you're not alone! Enter Salon Express, a fantastic tool that empowers you to create salon-quality nail art right in the comfort of your own home. This revolutionary kit simplifies the nail art process, making it accessible for everyone, regardless of skill level. With its user-friendly design and various patterns, you’ll be amazed at how easy it is to achieve stunning results. Let’s dive into what makes Salon Express a game-changer for nail enthusiasts!
Benefits of Using Salon Express for Nail Art
Salon Express isn’t just a nail art kit; it’s your personal ticket to a world of creativity and style. Here are some compelling reasons why you should consider using Salon Express for your nail art journey:
- Easy to Use: One of the standout features of Salon Express is its simplicity. Even if you’ve never done nail art before, the kit comes with detailed instructions. With just a few steps, you can create beautiful designs that look like they came straight from a salon!
- Variety of Designs: The kit includes a range of templates and patterns. From elegant florals to funky geometric shapes, you'll never run out of ideas. This variety allows you to switch up your style whenever you want, making every manicure unique.
- Cost-Effective: Let’s face it—visiting a salon can be pricey! With Salon Express, you can achieve professional results without breaking the bank. Think of all the money you’ll save for other fun activities or nail polish colors!
- Time-Saving: Who has hours to spend at a salon? With Salon Express, you can complete your nail art in a fraction of the time. Whether you're getting ready for a night out or just want to pamper yourself, you’ll be done in no time.
- Customizable: Want to mix and match colors or designs? Salon Express gives you the freedom to express your creativity. You can personalize your nails to match your outfit or mood, making nail art a fun way to showcase your personality.
- Safe and Non-Toxic: Salon Express is designed with safety in mind. Many products are made with non-toxic materials, ensuring that your nail art experience is not only beautiful but also safe for you and your environment.
In conclusion, Salon Express not only simplifies the nail art process, but it also opens up a world of creative possibilities. With its ease of use, variety of designs, and cost-effectiveness, it’s perfect for anyone looking to enhance their nail game without the hassle of salon visits. So why wait? Get your hands on Salon Express and start creating your masterpiece today!
Also Read This: How to Make a Molten Lava Cake: Delicious Dailymotion Recipe Tutorial
3. Getting Started with Salon Express
Ready to dive into the world of nail art without leaving your home? With Salon Express, you can create stunning designs that rival your favorite salon. But before you begin, let’s ensure you have everything you need to get started.
What You’ll Need:
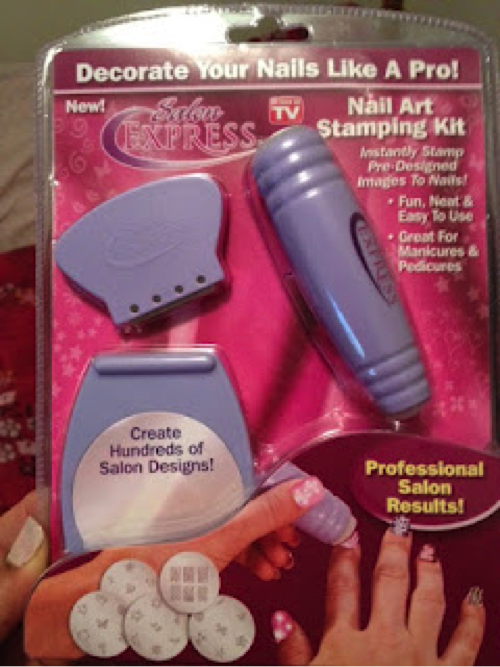
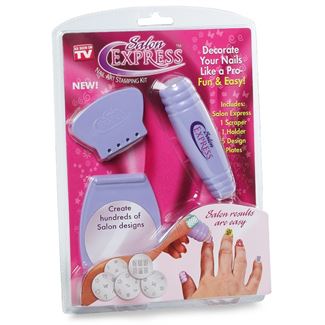
- Salon Express Nail Art Kit: This typically includes a stamper, scraper, and various nail plates with designs.
- Nail Polish: Choose high-quality nail polish in your favorite colors. Remember that the polish should be quick-drying for the best results.
- Nail Prep Tools: Have a nail file, cuticle pusher, and base/top coat handy.
- Clean-up Supplies: Keep cotton balls and nail polish remover close for any mistakes.
Once you have your supplies gathered, it’s vital to prepare your nails. Start with clean, dry nails. If you have polish on, remove it entirely, and gently push back your cuticles to create a smooth canvas. A good base coat is essential as it helps the polish adhere better and protects your nails.
Now, let’s talk about your workspace. Find a well-lit area where you can comfortably work without distractions. Consider placing a protective covering over your table to avoid any spills. This preparation will make your nail art experience much more enjoyable and stress-free!
Also Read This: Discover This Dailymotion Downloader Chrome Extension Magic
4. Step-by-Step Guide to Using Salon Express
Now that you’re all set up, let’s get into the fun part! Here’s a step-by-step guide on how to use the Salon Express system to create beautiful nail art.
Step 1: Choose Your Design
Open your Salon Express kit and pick a nail plate that features a design you love. You might want to practice a few designs to see which one suits your style best.
Step 2: Apply Base Coat and Color
Start by applying a base coat to protect your nails, followed by one or two coats of your chosen nail color. Allow it to dry completely. This is crucial for ensuring your nail art adheres properly.
Step 3: Prepare the Stamper
Once your base color is dry, apply a small amount of nail polish over your chosen design on the plate. Use the scraper to spread the polish evenly across the design. Make sure the polish fills in all the grooves.
Step 4: Stamp the Design
Quickly press the stamper onto the design to pick it up. The key here is to be swift but gentle. You want to transfer the design onto the stamper without smudging it. Once you have the design on the stamper, position it over your nail and press down firmly. Roll the stamper from one side to the other for an even transfer.
Step 5: Clean Up
After stamping, you might notice some polish on your skin. Use a brush or a cotton swab dipped in nail polish remover to clean up those areas for a polished look.
Step 6: Seal Your Design
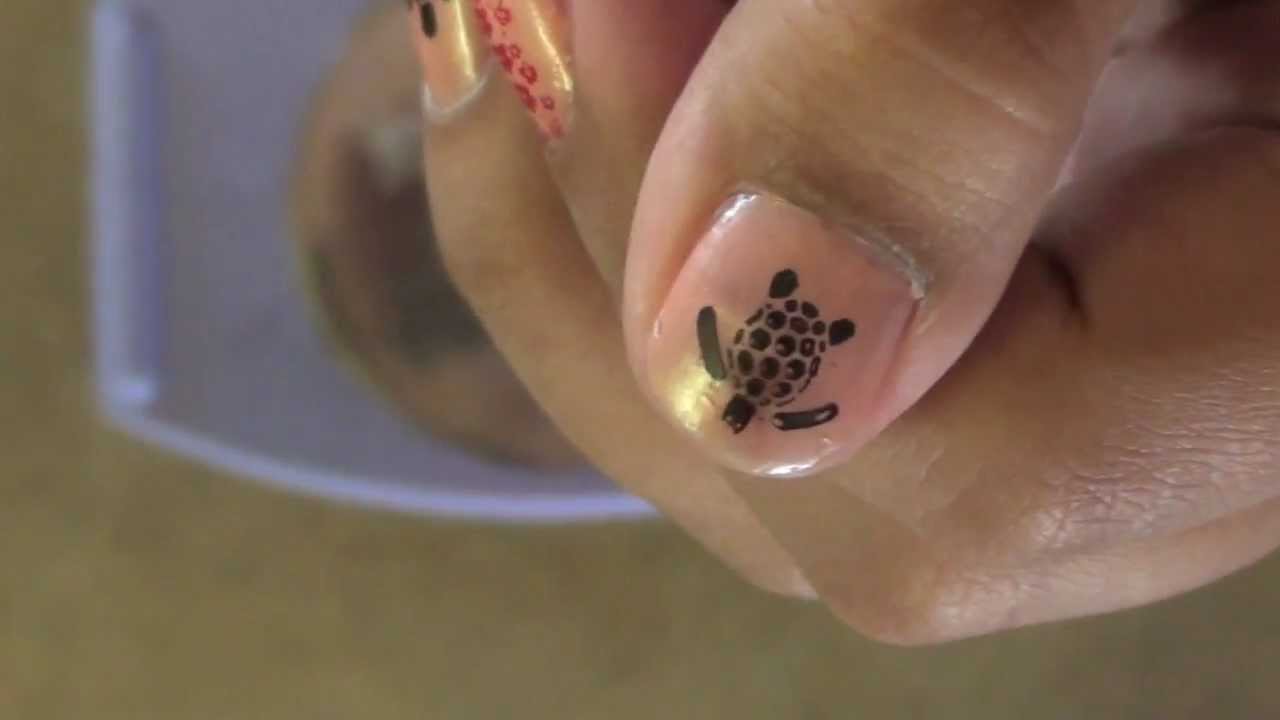
Finish off your nail art with a clear top coat. This not only adds shine but also prolongs the life of your design. Allow it to dry completely, and voilà! You have beautiful nail art that looks professionally done!
With practice, you’ll become a pro at using Salon Express. Enjoy experimenting with different designs and colors, and don’t forget to share your creations with friends and family!
Also Read This: How Dailymotion’s Content Policies Have Evolved Over Time
5. Creative Nail Art Ideas with Salon Express
If you’re ready to unleash your inner nail artist, Salon Express is your best friend! With its range of stamping plates and easy-to-use tools, the sky's the limit for your creativity. Here are some fabulous nail art ideas to try at home:
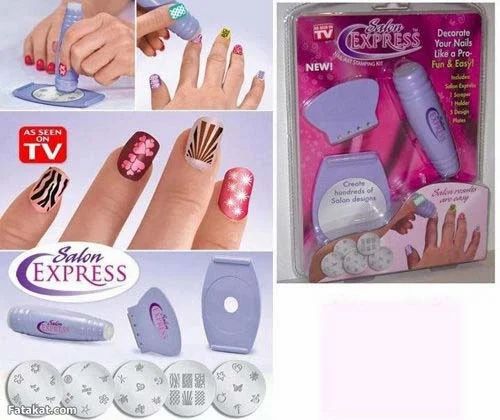
- Floral Designs: Use the floral stamping plates to create delicate blossoms. Choose pastel colors for a soft spring look, or go bold with vibrant hues for a striking effect.
- Geometric Patterns: Geometric designs are all the rage! Use straight lines and triangles to create chic patterns. Mix and match different colors for a modern twist.
- Ombre Effect: Start with a light base color and blend in a darker shade at the tips using the stamping technique. This creates a stunning gradient effect that’s perfect for any occasion.
- Seasonal Themes: Celebrate the seasons by changing up your nail art! Think autumn leaves, winter snowflakes, summer sunsets, or spring blooms. The seasonal plates from Salon Express can help you nail those themes.
- Personalized Designs: Use letters and numbers from the stamping plates to personalize your nails. Whether it's your initials, a favorite quote, or a special date, it adds a unique touch.
Don't forget to explore different color combinations and finishes! Matte topcoats can transform a glossy design into something completely new, offering a fresh take on your favorite styles.
Also Read This: Step-by-Step Guide to PowerPoint Presentations: Watch on Dailymotion
6. Tips for the Best Results
Achieving salon-quality nail art at home is totally possible with the right techniques. Here are some handy tips to ensure your DIY nails turn out perfectly every time:
- Prepare Your Nails: Start with clean, dry nails. Push back cuticles and remove any old polish. A smooth surface helps the polish adhere better.
- Use Quality Products: Invest in good quality nail polish and topcoats. They might cost a bit more, but they’ll make a huge difference in the final result.
- Practice Makes Perfect: Don’t be discouraged if your first few attempts don’t turn out as expected. Nail art requires practice. Keep trying different techniques!
- Stamping Techniques: When using stamping plates, apply a generous amount of polish to the plate, and use a scraper to remove excess. Make sure to press the stamper down firmly and quickly to get a good transfer.
- Seal Your Art: Always finish with a topcoat to seal your design and add shine. This step is crucial for longevity and protects your artwork from chips.
- Have Fun! The most important tip of all is to enjoy the process! Nail art should be a fun and creative outlet, so let your imagination run wild.
With these tips and creative ideas, you’re well on your way to achieving stunning nail art at home with Salon Express! Grab your tools, put on your favorite music, and get started on your next nail masterpiece.
Also Read This: Achieve a Flawless Look with Base Makeup through Our Dailymotion Video Guide
7. Common Mistakes to Avoid
When diving into the world of DIY nail art with Salon Express, it’s easy to make a few blunders along the way. But don’t worry! Here are some common mistakes to watch out for, so you can create stunning designs without the hassle:
- Skipping Base Coat: It might be tempting to jump right into the fun colors, but always start with a base coat. This not only protects your nails but also helps your polish adhere better, preventing chipping.
- Applying Too Much Polish: Less is more! Applying thick layers can lead to smudging and longer drying times. Aim for thin, even coats for the best results.
- Not Using Proper Tools: Ensure you’re using the right tools that come with your Salon Express kit. For instance, the stamping plate and scraper are essential for achieving clean designs. Improvising with random items could lead to messy results.
- Neglecting Clean-Up: After stamping your design, you might notice some excess polish on your skin. Take a moment to clean this up with a brush dipped in nail polish remover for a polished finish.
- Inconsistent Pressure: When using the stamping technique, be careful to apply consistent pressure when pressing the stamp onto your nail. Too much pressure can smear your design, while too little may not transfer the image fully.
- Ignoring Drying Time: Patience is key! Make sure each layer of polish is completely dry before applying the next. Rushing this step can lead to smudges or dents.
- Forgetting Top Coat: A top coat is your best friend! It seals your design and adds shine. Don’t skip this final step if you want your nail art to last longer.
By avoiding these pitfalls, you’ll be well on your way to mastering professional-looking nail art at home. Remember, practice makes perfect, so don’t be discouraged if it takes a few tries to get it just right!
8. Frequently Asked Questions
Curious about nail art and the Salon Express system? You’re not alone! Here are some frequently asked questions that can help clarify any doubts you might have:
- How long does the nail art last?
- The longevity of your nail art can vary based on your daily activities, but with a good base and top coat, you can expect it to last anywhere from 5 to 10 days!
- Can I use any nail polish with Salon Express?
- While you can use most nail polishes, it’s best to stick with regular polishes instead of gel or quick-drying formulas, as they may not transfer well with the stamping technique.
- Is it safe for my nails?
- Absolutely! As long as you use the products as directed and give your nails breaks between applications, Salon Express is safe and can even help protect your nails when used with a good base coat.
- What if I don’t get a clear stamp on the first try?
- This happens to the best of us! If your design isn’t transferring clearly, check your polish consistency, the pressure applied, and the speed at which you stamp. Practice makes perfect!
- Can I create my own designs?
- Yes! Feel free to experiment with different colors and layering techniques. You can even create your own stencils or use stickers alongside the Salon Express system for unique designs.
If you have more questions, don’t hesitate to reach out to fellow nail art enthusiasts or check online forums. The nail art community is always happy to help each other out!
 admin
admin


