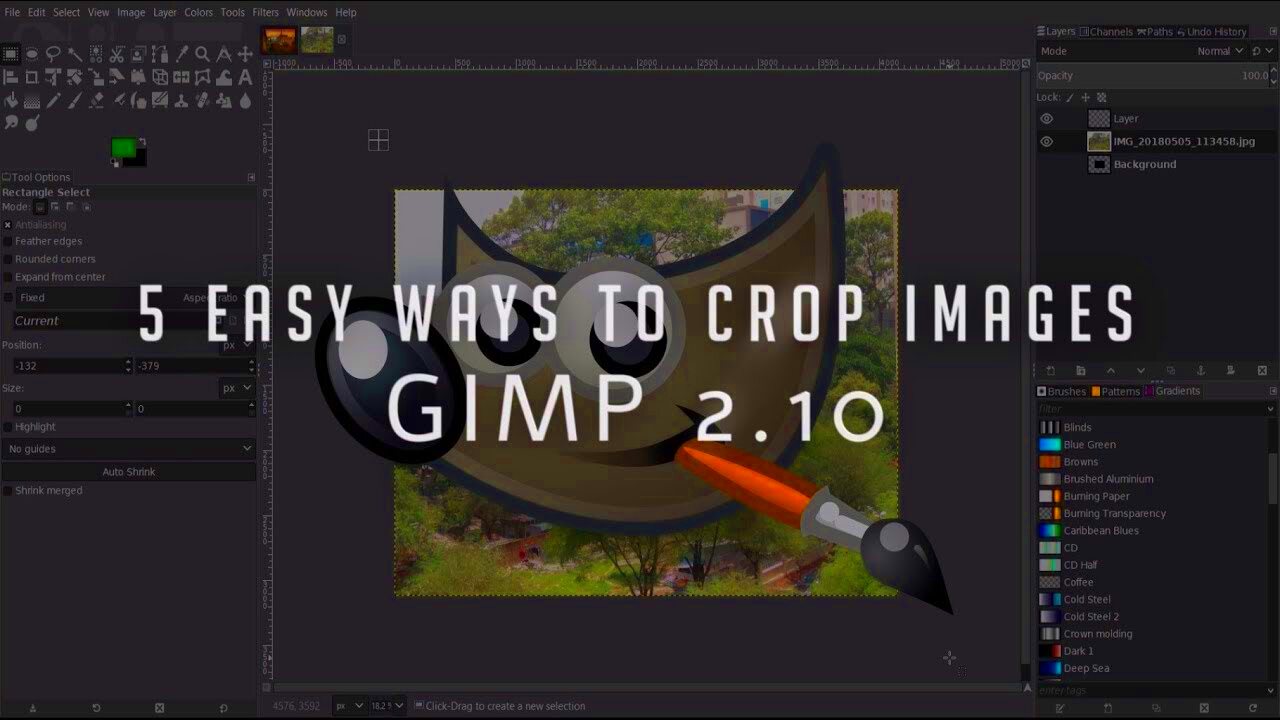
GIMP (GNU Image Manipulation Program) is a powerful and free tool that offers many features for professional image editing. One of the most essential tasks you might need to do when working with images is cropping. Cropping helps you refine your images, focus on specific areas, and remove unwanted parts. In this guide, we will walk you through how to crop an
Whether you are creating designs, enhancing photos, or preparing images for a website, learning how to crop images in GIMP is a vital skill. Let's dive into why this task matters and how you can use GIMP's tools to perfect your images.
Why Cropping an Image is Important for Professional Editing

Cropping is not just about trimming the edges of a photo. It plays a crucial role in improving the composition, focus, and clarity of your images. In professional editing, a well-cropped image can make a significant difference. Here's why cropping is important:
- Improves Composition: Cropping allows you to adjust the framing of an image, placing the most important elements in focus and following the rule of thirds for a balanced composition.
- Removes Distractions: It helps eliminate unnecessary elements that can distract from the main subject, making the image look cleaner and more professional.
- Enhances Visual Appeal: Cropping helps draw attention to the focal point of the image, improving its overall aesthetic.
- Adjusts Aspect Ratio: It allows you to change the aspect ratio for various media formats, like social media posts or website images.
In essence, cropping is a fundamental skill for creating high-quality, impactful images. It’s a simple yet powerful tool that can dramatically change how an image communicates its message.
Also Read This: Resolving Video Export Issues on YouTube
How to Open an Image in GIMP

Before you can crop an image in GIMP, you need to open it in the program. Fortunately, the process is quick and simple. Follow these steps to open your image in GIMP:
- Launch GIMP: Open the GIMP application on your computer.
- Navigate to File: In the top menu bar, click on File and select Open from the dropdown menu.
- Select Your Image: A file browser will appear. Find the image you want to work with, select it, and click Open again.
Once your image is opened in GIMP, it will appear as a new window where you can begin editing. Now you are ready to start cropping and enhancing your image for a professional look.
Also Read This: How to Wrap an Image in Photoshop for Creative Text Effects
Step-by-Step Guide to Cropping an Image in GIMP

Now that you know how to open your image in GIMP, it's time to dive into cropping. The process is easy to follow, and with the right technique, you can crop any image perfectly. Here's a simple, step-by-step guide to cropping an image in GIMP:
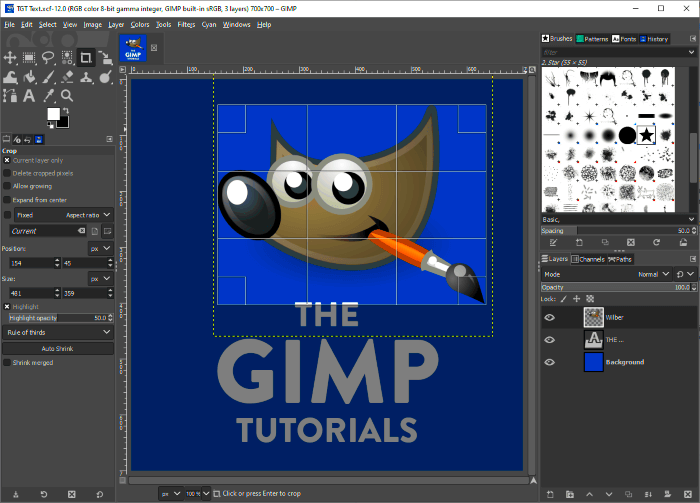
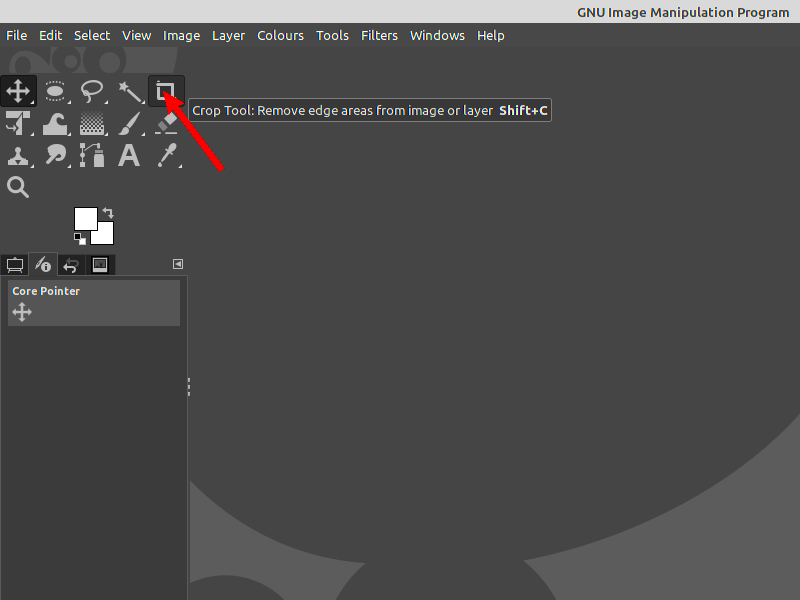
- Select the Crop Tool: In the toolbox on the left side, click on the Crop Tool icon, or press the C key on your keyboard to activate it.
- Draw a Selection: Click and drag on the image to create a rectangle that outlines the area you want to keep. You can adjust the selection by dragging the edges.
- Adjust the Selection (Optional): If you want to refine the selection, click and drag the corners or edges. You can also move the entire selection by clicking inside the box and dragging it.
- Apply the Crop: Once you're satisfied with the selection, press Enter or click inside the selected area to crop the image. The parts outside the selected area will be removed.
And that's it! You've successfully cropped your image in GIMP. The result is a more focused and polished photo, ready for professional use.
Also Read This: Common Misconceptions About Image Licensing on Imago Images
Using the Crop Tool Effectively in GIMP
The Crop Tool in GIMP is easy to use, but to get the best results, it's important to understand how to use it effectively. Here are some tips for using the Crop Tool like a pro:
- Use the Fixed Aspect Ratio: If you need a specific aspect ratio for your image (for example, a 4:3 ratio for a standard print), you can set it in the Crop Tool options. This ensures your crop is perfectly proportional.
- Zoom In for Precision: When cropping, zoom in on the image for better control over the selection. This is especially helpful when you need to crop around small details or objects.
- Use Guides for Alignment: To make sure your crop is straight or aligned with the elements in the image, use GIMP's guides. You can drag guides from the rulers or go to Image > Guides to create them.
- Undo and Redo: Don’t worry if you make a mistake. You can always undo your actions by pressing Ctrl+Z and redo them with Ctrl+Shift+Z.
By applying these tips, you can make precise, high-quality crops that will enhance your image editing workflow. With practice, you’ll get faster and more accurate every time you use the Crop Tool.
Also Read This: Cropping Images in Inkscape: An Easy Guide
Adjusting the Crop Area for Precision
After selecting the area to crop, it’s crucial to adjust the crop area precisely. GIMP offers several ways to fine-tune your selection for accuracy and to achieve the perfect crop. Here's how to adjust the crop area with precision:
- Resize the Selection: When the crop area is selected, you’ll see a rectangle with handles at each corner. To adjust the size, click and drag these handles. You can make the selection larger or smaller depending on your needs.
- Move the Selection: If you need to reposition the crop area, click inside the selection box and drag it to the desired position. This is helpful if you want to focus on a specific part of the image.
- Use the Positioning Coordinates: For even greater control, you can manually input the coordinates of the selection. Go to the Tool Options and set the X and Y values to position the selection precisely.
- Adjust the Aspect Ratio: If you're working with a fixed aspect ratio, you can change the width or height of the crop area without distorting the image. Hold down the Shift key while resizing to maintain the ratio.
With these adjustments, you can ensure your crop is exactly where you want it, without cutting out important details or creating an uneven result. These small tweaks can make a big difference in the final image quality.
Also Read This: How to Block YouTube on Mac to Prevent Distractions While Working
Saving the Cropped Image in the Desired Format
After cropping your image in GIMP, the next crucial step is saving it in the right format. Choosing the appropriate file format ensures your image is optimized for its intended use, whether for web use, print, or social media. Here's how to save your cropped image:
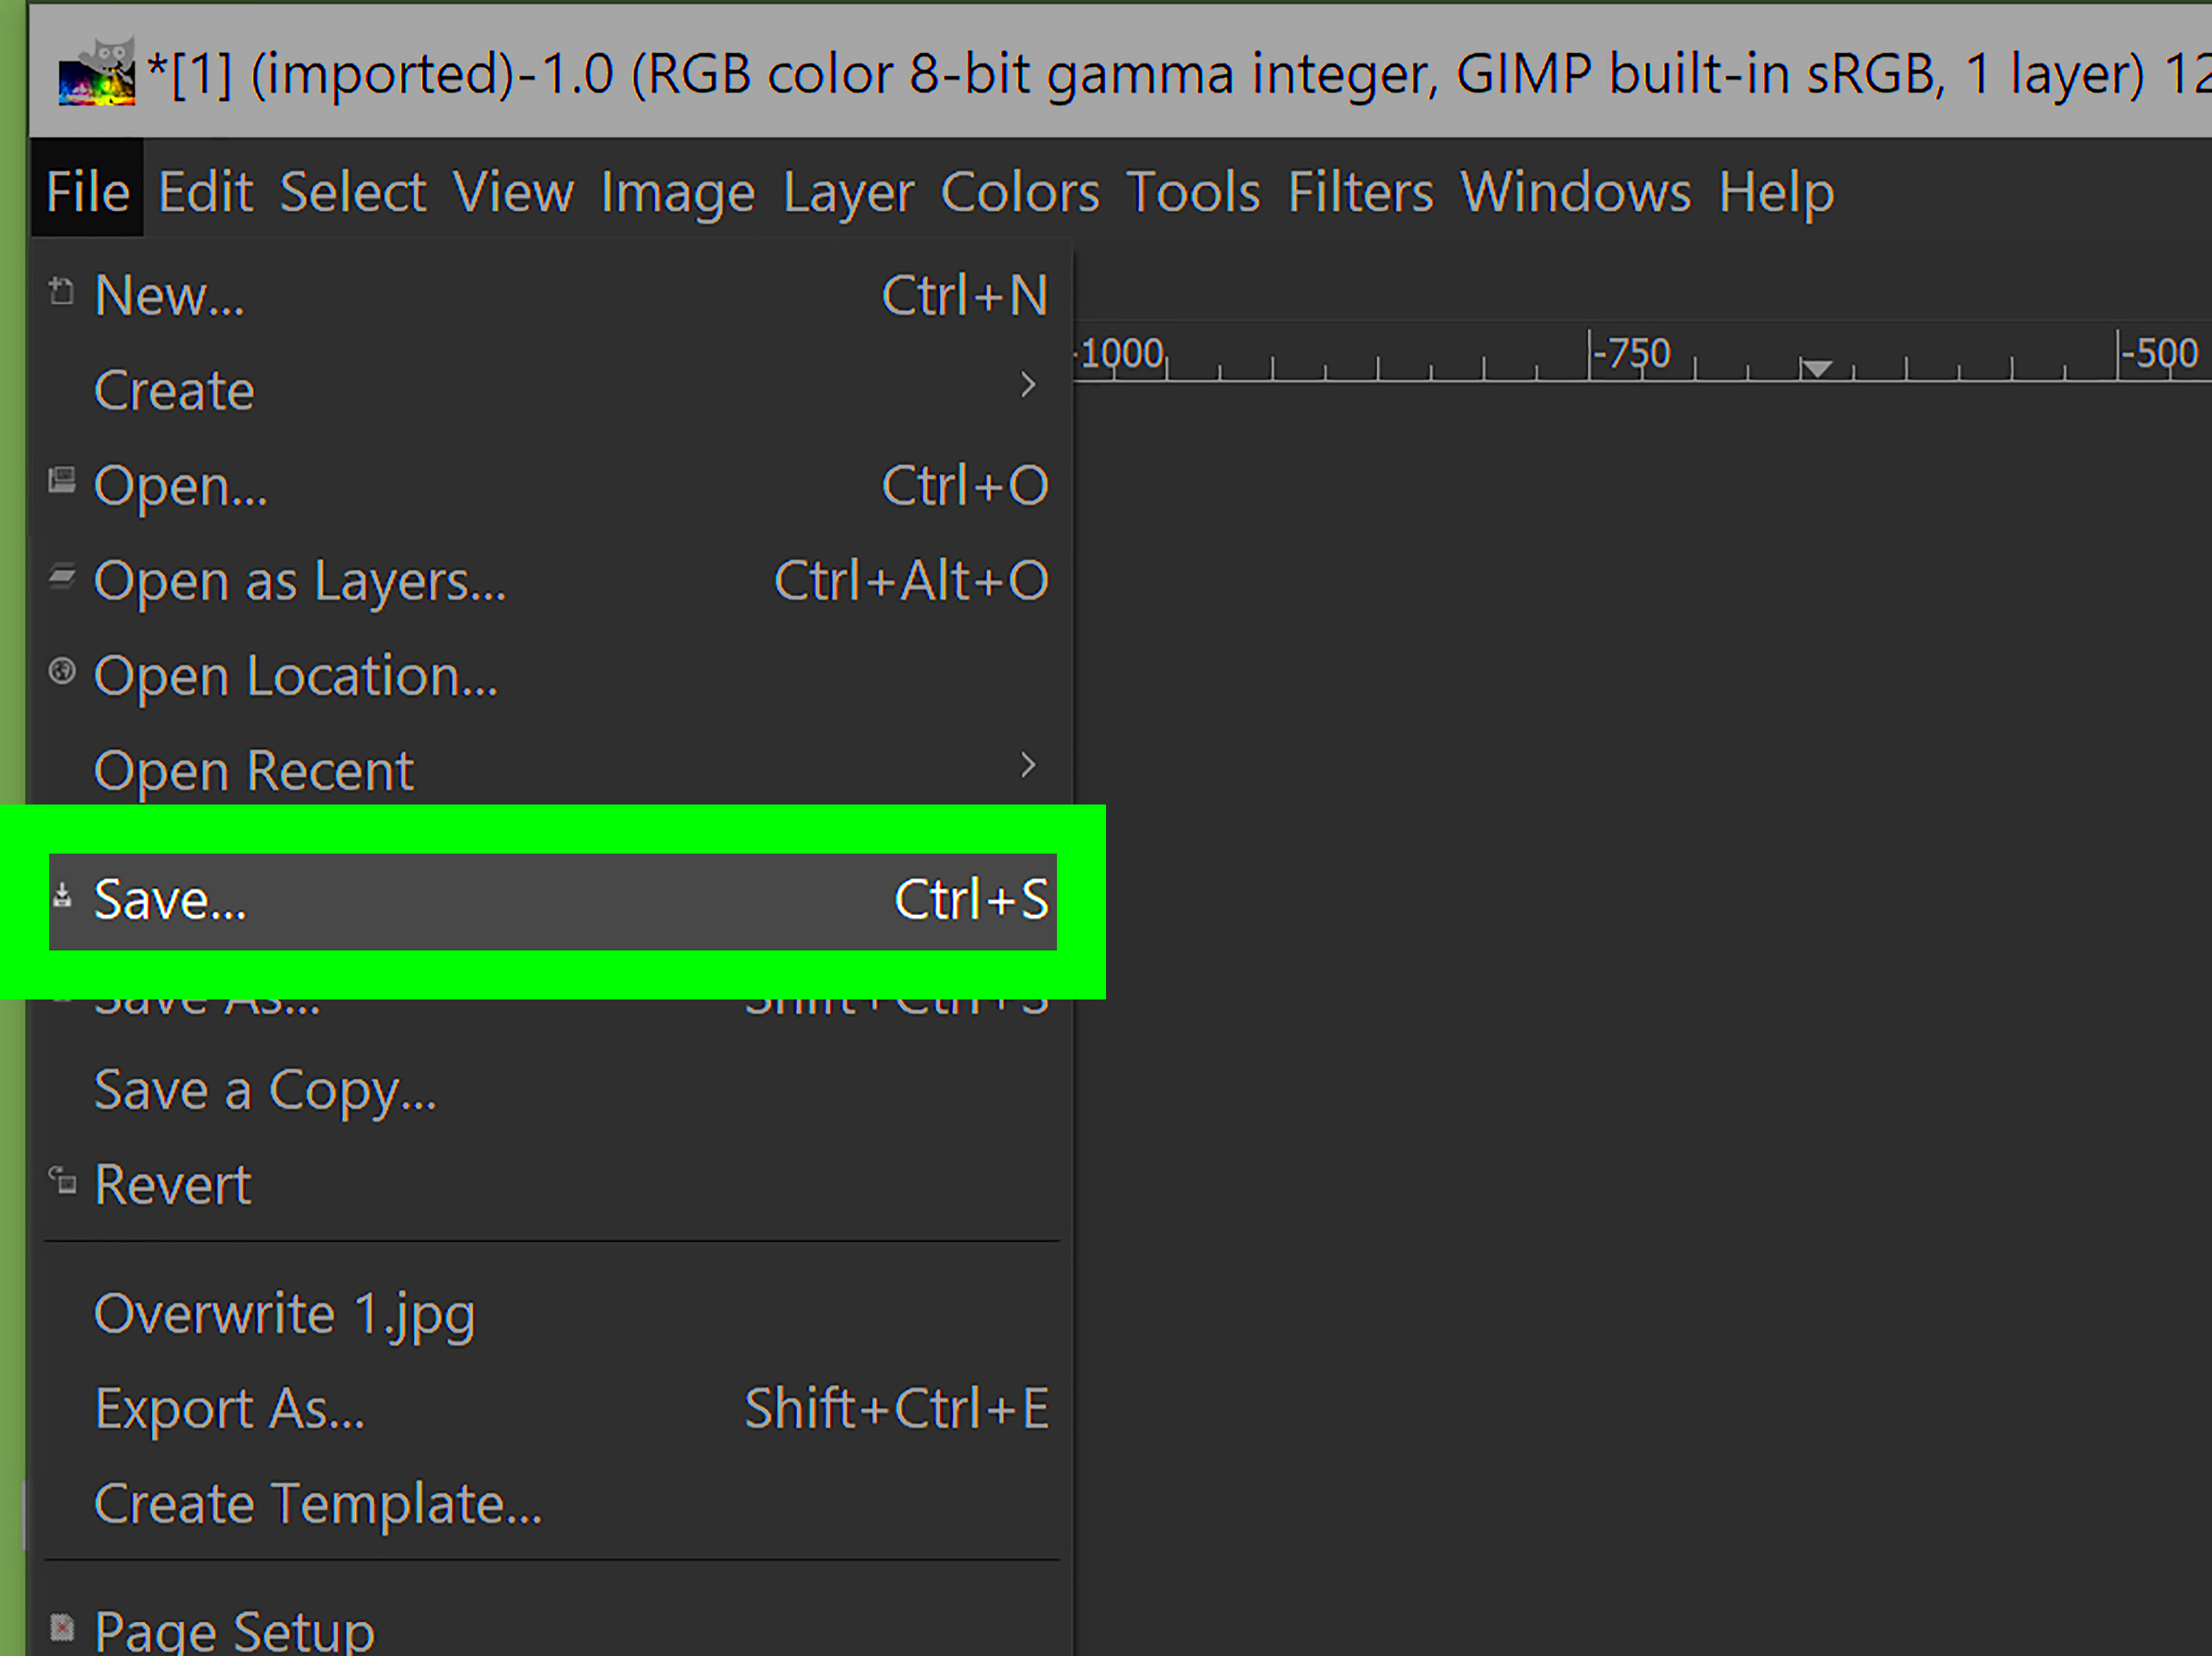
- Go to File and Choose Export: Once you're happy with your cropped image, go to File and select Export As. This will allow you to choose the file format.
- Select the File Format: GIMP supports a wide range of formats, including JPEG, PNG, GIF, and TIFF. Choose the format that best fits your needs. For web use, JPEG or PNG is commonly used, while TIFF is great for high-quality print images.
- Set the File Name and Destination: After selecting the format, give your file a name and choose a destination folder on your computer. Ensure the file name is easy to remember, especially if you're working with multiple images.
- Adjust Export Settings: Depending on the format you choose, GIMP may present additional export options. For example, if you're saving as JPEG, you can adjust the compression level. Choose a higher quality for images where detail matters, like for prints, and a lower quality for faster loading times, such as for web use.
- Click Export: Once everything is set, click Export to save your image in the selected format.
By following these steps, your cropped image will be saved properly and ready for use in your project, whether online or offline.
Also Read This: how do you flatten an image in photoshop
Common Cropping Mistakes to Avoid in GIMP
While cropping is a simple task, some common mistakes can easily affect the quality of your image. Being aware of these mistakes can save you time and effort. Here are a few cropping errors to avoid:
- Not Using Guides or Gridlines: A common mistake is cropping without any visual reference, leading to a crooked or uneven result. Always use GIMP's Guides or the Grid to align your crop for a more balanced image.
- Cutting Out Important Elements: Sometimes, in the process of cropping, you may unintentionally cut off important details. Always double-check your selection before applying the crop, especially if the image has key elements near the edges.
- Over-Cropping: Over-cropping can result in a loss of essential parts of the image. Ensure you maintain enough space around the subject to keep the image's composition intact.
- Ignoring Aspect Ratio: If you need a specific aspect ratio (like 4:3 for prints or square for social media), make sure to lock the aspect ratio in the Crop Tool options. Ignoring this can lead to distorted images.
- Forgetting to Save Your Work: After cropping, always save your work. It's easy to get caught up in editing and forget to save, potentially losing your progress. Use Ctrl+S regularly to save your image.
Avoiding these mistakes will help you produce high-quality, professional-looking cropped images without frustration.
Also Read This: Learn How to Sell Photos on Shutterstock
FAQ
Q: How do I crop an image to a specific size in GIMP?
A: To crop an image to a specific size, use the Fixed Size option in the Crop Tool's settings. Enter the width and height you want, and GIMP will crop the image to that exact size.
Q: Can I crop multiple images at once in GIMP?
A: GIMP does not support batch cropping directly. However, you can create macros or use a plugin like BIMP (Batch Image Manipulation Plugin) to crop multiple images at once.
Q: How can I undo a crop in GIMP?
A: If you accidentally crop too much, simply press Ctrl+Z to undo the action and restore the image to its previous state. You can also press Ctrl+Shift+Z to redo any changes.
Q: What file format should I save my cropped image in?
A: It depends on your needs. For web use, JPEG or PNG are popular formats. For printing, TIFF or PNG may be a better choice due to their higher quality.
Q: Can I crop an image non-destructively in GIMP?
A: While GIMP doesn't have a non-destructive cropping tool, you can use layers and layer masks to hide parts of an image instead of permanently cropping them. This way, you can adjust the crop later.
Conclusion
Cropping images in GIMP is a simple yet powerful way to enhance your photos and designs. By following the steps outlined in this guide, you can easily crop your images to focus on the most important elements, improve composition, and ensure the final result meets your professional editing needs. Remember to use GIMP's tools effectively, pay attention to the finer details, and avoid common mistakes to achieve the best results. Whether you’re editing for print, social media, or personal projects, mastering cropping in GIMP will help you create polished, impactful images every time.

 admin
admin


