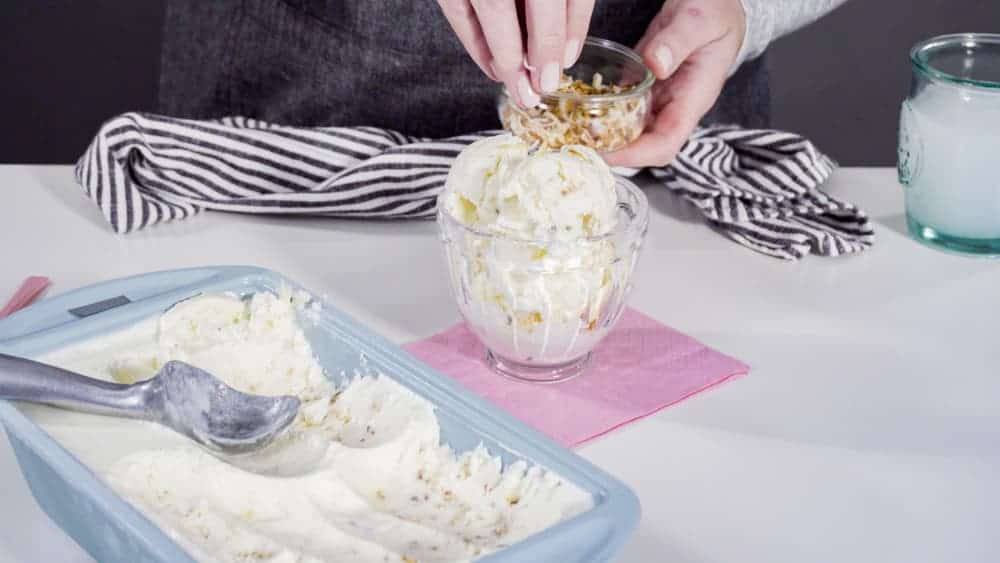
Ice cream makers have transformed the way we indulge in this beloved treat. Gone are the days of laborious hand-cranking and waiting hours for your frozen delight. With modern ice cream makers, you can whip up a batch of creamy goodness in no time. These machines not only simplify the process but also allow for creativity in flavors and ingredients. Whether you’re a novice or a seasoned chef, an ice cream maker can add a delightful twist to your kitchen adventures.
Types of Ice Cream Makers

When it comes to ice cream makers, there are a few different types, each with its own set of features. Choosing the right one can make all the difference in your ice cream-making journey. Here’s a breakdown of the most common types:
- Manual Ice Cream Makers: These classic machines require some elbow grease. You’ll need to churn the ice cream by hand, which can be a fun activity for families or parties. They’re generally less expensive but require more time and effort.
- Electric Ice Cream Makers: With the flip of a switch, you can enjoy a hassle-free ice cream-making experience. These machines often come with built-in compressors that chill the mixture as it churns, yielding smooth and creamy results. They can be pricier but are well worth the investment if you plan to make ice cream regularly.
- Frozen Bowl Ice Cream Makers: This type has a removable bowl that needs to be frozen beforehand. You'll have to plan ahead, as the bowl typically needs about 24 hours in the freezer. Once ready, you simply pour in your mixture and let the machine do the work.
- Soft Serve Machines: If you’re a fan of soft serve, this option is perfect. These machines create that creamy, swirled texture you find at ice cream shops. They’re great for parties and casual gatherings where everyone can enjoy fresh servings.
By understanding these different types, you can choose the best ice cream maker suited to your needs and start crafting your favorite flavors at home!
Also Read This: Is the Dailymotion Website Illegal? Understanding the Legal Aspects of the Platform
Essential Ingredients for Homemade Ice Cream

When it comes to making delicious homemade ice cream, the right ingredients make all the difference. Let’s break down the essentials you'll need for a basic vanilla ice cream recipe, which you can customize later with flavors and mix-ins.
- Heavy Cream: About 2 cups of heavy cream gives your ice cream a rich and creamy texture. It's the star ingredient that contributes to that luscious mouthfeel.
- Whole Milk: Adding 1 cup of whole milk balances the richness of the cream and helps achieve a smooth consistency without being overly dense.
- Granulated Sugar: You'll need around 3/4 cup of granulated sugar to sweeten your ice cream. Feel free to adjust this based on your taste preferences!
- Vanilla Extract: For flavor, 1 to 2 teaspoons of pure vanilla extract enhances the overall taste. You can experiment with different extracts later, like almond or mint.
- Salt: Just a pinch of salt is necessary to enhance all the flavors and balance the sweetness. It might seem small, but it makes a big impact!
Optional mix-ins such as chocolate chips, fruit, or nuts can be added later for customization, but starting with these essential ingredients will set you on the right path to homemade ice cream perfection!
Also Read This: Get Video Thumbnail from Dailymotion with This Interesting Trick
Step-by-Step Guide to Using Your Ice Cream Maker
Now that you have your ingredients ready, let’s go through a simple step-by-step guide to using your ice cream maker. Follow these instructions, and you'll be savoring your homemade ice cream in no time!
- Prepare Your Ice Cream Base: In a mixing bowl, whisk together the heavy cream, whole milk, sugar, vanilla extract, and salt until the sugar is dissolved. This is your base!
- Chill the Mixture: For the best results, refrigerate the mixture for at least 2 hours, or overnight if possible. This helps improve the texture.
- Pre-Chill the Ice Cream Maker: If your ice cream maker requires pre-freezing, make sure the bowl is frozen for at least 24 hours before use.
- Churn the Ice Cream: Pour the chilled mixture into the pre-chilled ice cream maker. Turn it on and let it churn for about 20-30 minutes until it reaches a soft-serve consistency.
- Add Mix-Ins: If you want to add chocolate chips, fruit, or nuts, do so in the last 5 minutes of churning for even distribution.
- Freeze to Firm Up: Transfer the churned ice cream to an airtight container and freeze for at least 4 hours or until firm. Patience is key!
And there you have it! Enjoy your homemade ice cream, and don’t forget to experiment with flavors and toppings!
Also Read This: How to Create Beautiful Decorative Tomato Flowers with Dailymotion Video Tips
Tips for Perfect Ice Cream Texture and Flavor
Making ice cream at home can be a delightful experience, but achieving that perfect creamy texture and rich flavor can be challenging. Here are some handy tips to elevate your homemade ice cream game:
- Use Quality Ingredients: The foundation of great ice cream lies in quality ingredients. Opt for fresh cream, whole milk, and organic egg yolks. The flavor of your ice cream will shine through when you start with the best.
- Chill Everything: Before you start mixing, make sure your ice cream maker bowl is thoroughly chilled. Additionally, letting your base cool completely in the fridge before churning will enhance the final texture.
- Don't Over Mix: While it's tempting to churn longer for extra creaminess, over-mixing can incorporate too much air, leading to a lighter texture. Aim for a soft-serve consistency when you stop.
- Balance Sweetness: Taste as you go! If your mixture is too sweet, a pinch of salt can really enhance the flavor and balance it out. Remember, flavors tend to mellow when frozen.
- Add Mix-Ins Wisely: If you're adding chunks of chocolate or nuts, do it towards the end of the churning process. This way, they don't get pulverized and lose their texture.
By following these tips, you’ll be well on your way to crafting ice cream that’s not just good, but absolutely unforgettable!
Also Read This: How to Make Cheese – DIY Cheese Making Tips on Dailymotion
Creative Ice Cream Recipes to Try
Ready to unleash your inner ice cream artisan? Here are some creative recipes that will excite your taste buds and impress your friends:
| Flavor | Main Ingredients | Notes |
|---|---|---|
| Salted Caramel Brownie | Chocolate brownies, homemade caramel, sea salt | Swirl in brownie chunks and drizzle with caramel for a rich treat. |
| Lavender Honey | Fresh lavender, honey, cream | Infuse cream with lavender for a floral twist; sweeten with honey. |
| Pineapple Coconut Sorbet | Pineapple, coconut milk, lime juice | A refreshing and tropical sorbet, perfect for hot days! |
| Spicy Chocolate | Cocoa, cinnamon, chili powder | A chocolate ice cream with a kick—perfect for adventurous eaters! |
Try one—or all—of these recipes for a delightful twist on classic ice cream. Your taste buds will thank you!
Also Read This: How Dishwashers Work: A Detailed Guide on Dailymotion
7. Cleaning and Maintaining Your Ice Cream Maker
Cleaning your ice cream maker is just as important as using it. After all, you want to enjoy your delicious creations without any lingering flavors from your last batch! Here’s how to do it easily:
- Read the Manual: Always start by checking the manufacturer’s guide for specific cleaning instructions. Different models may have varying components and requirements.
- Disassemble: Carefully take apart the removable parts of your ice cream maker. This usually includes the bowl, paddle, and lid.
- Wash with Warm Soapy Water: Use mild dish soap and warm water to wash these components. A soft sponge is perfect for getting into the nooks and crannies. Avoid abrasive scrubbers that can scratch the surfaces.
- Rinse Thoroughly: Make sure to rinse off all soap to prevent any residues from affecting your next batch of ice cream.
- Dry Completely: Allow the parts to air dry on a clean dish towel to prevent water spots or mildew.
- Wipe the Base: For the electric base, simply wipe it down with a damp cloth. Make sure it’s unplugged and avoid getting water into any of the electrical components.
- Store Properly: Once everything is dry, reassemble your ice cream maker and store it in a dry place. Keeping it in a dust-free environment will extend its life and keep it ready for your next ice cream adventure!
8. Conclusion: Enjoying Your Homemade Ice Cream
Now that you've mastered the art of making ice cream with your ice cream maker, it's time to indulge! Homemade ice cream offers a world of flavors and textures that store-bought varieties just can’t compete with. Here are a few tips to make the most of your sweet creation:
- Experiment with Flavors: Don’t hesitate to get creative! Try adding mix-ins like chocolate chips, fruits, or even herbs like mint. The possibilities are endless!
- Serve with Style: Present your ice cream in fun bowls or waffle cones. Add toppings like sprinkles, syrup, or whipped cream for that extra flair.
- Share the Joy: Homemade ice cream is perfect for gatherings. Host a sundae bar at your next party and let your guests customize their own desserts.
- Store Wisely: If you have leftovers, store them in an airtight container in the freezer. Just remember to let it sit out for a few minutes before scooping to soften it up!
So go ahead, savor every creamy spoonful of your homemade ice cream. With love, creativity, and a bit of patience, you’ve turned a simple treat into a delightful experience. Happy scooping!
 admin
admin


