Welcome to the ultimate guide on uploading YouTube videos using your iPhone! If you’ve been capturing life's moments on your device and want to share them with the world, you’re in the right place. Whether you're a budding vlogger or just want to showcase a special event, uploading videos from your iPhone can be quick and easy. Let’s dive in!
Preparing Your Video for Upload
Before you hit that upload button, there are a few essential steps to ensure your video shines on YouTube. Here’s how to prepare:
1. Choose the Right Video Format
YouTube supports several video formats, but the most common ones are MP4, MOV, and AVI. To ensure the best quality, stick to MP4, as it’s widely compatible and maintains high quality with smaller file sizes.
2. Edit Your Video
Editing can transform a basic clip into an engaging video. You can use iMovie, a user-friendly editing app available for free on iPhones, or other apps like:
- Adobe Premiere Rush: Great for adding music, transitions, and effects.
- InShot: Perfect for trimming clips and adding text overlays.
- Splice: Offers advanced editing features with a simple interface.
Make sure to trim unnecessary parts, add a catchy intro, and include background music to keep viewers engaged!
3. Optimize Your Video Quality
Before uploading, check your video’s resolution. YouTube supports up to 4K, but for most casual uploads, 1080p is perfect. To adjust the resolution:
- Open your video in your editing app.
- Look for export settings.
- Select 1080p.
Higher quality videos not only look better but also attract more viewers!
4. Create an Eye-Catching Thumbnail
Your thumbnail is the first thing viewers see, so make it count! Use apps like Canva to design a custom thumbnail that includes:
- A compelling image related to your video.
- Bold text to entice viewers.
- Bright colors to stand out.
Remember, a good thumbnail can significantly increase your click-through rate!
5. Write a Catchy Title and Description
Once your video is ready, think about how to present it. A catchy title grabs attention, while a well-written description informs viewers about what to expect. Include relevant keywords naturally in the title and description to help with searchability.
For example:
| Video Title | Description |
|---|---|
| 5 Easy iPhone Photography Tips | Learn how to take stunning photos with your iPhone! Discover tips for lighting, angles, and editing in this quick guide. |
And there you have it! With your video prepared, you’re all set to upload it to YouTube directly from your iPhone. Stay tuned for the next section where we’ll walk through the actual upload process!
Also Read This: Are There Taxes and Fees with YouTube TV
3. Step-by-Step Instructions for Uploading on iPhone
Uploading a video to YouTube from your iPhone is a breeze once you know the steps! Let’s dive into the process to get your content online in no time. Just follow these simple instructions:
- Open the YouTube App: Make sure you have the YouTube app installed. If you don’t, head over to the App Store, search for "YouTube," and download it.
- Log into Your Account: Launch the app and log in with your Google account details. If you’re using it for the first time, you’ll have to sign in.
- Tap the Create Button: Look for the "+" icon at the bottom of the screen. This is your gateway to creating and uploading content.
- Select Upload a Video: A menu will pop up with several options. Choose "Upload a Video" to start the process.
- Choose Your Video: You’ll be directed to your camera roll. Here, select the video you want to upload. You can preview it to ensure it’s the right one.
- Add a Title and Description: Provide a catchy title and a detailed description to give viewers an idea of what your video is about. This helps with searchability!
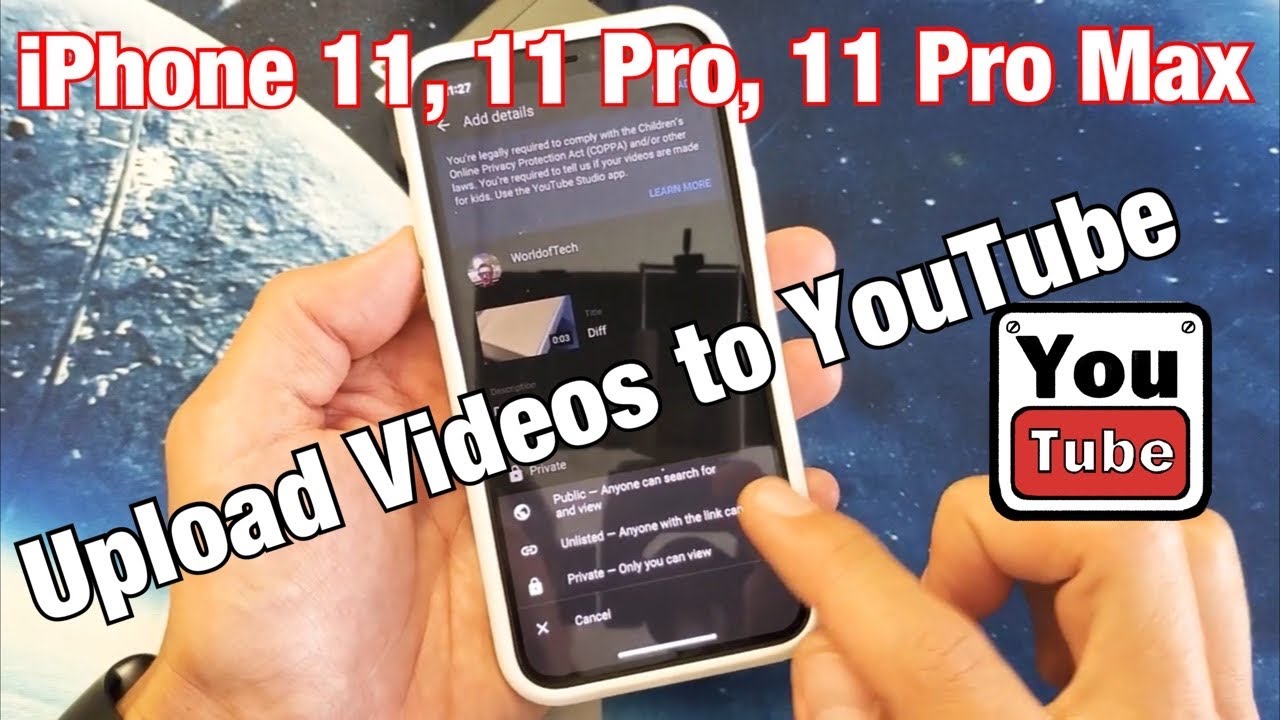
- Adjust Privacy Settings: Choose whether you want your video to be public, unlisted, or private. If you're just testing the waters, maybe start with unlisted.
- Set Thumbnail: Select a thumbnail for your video. YouTube will automatically generate a few options, or you can upload a custom one from your camera roll.
- Advanced Settings: Here you can add tags, choose a category, and enable monetization if applicable. Make sure to explore these settings!
- Hit Upload: Finally, tap the “Upload” button! Your video will begin processing, which may take a few minutes depending on its length and your internet speed.
And there you have it! Your video is now on YouTube for everyone to see. Pat yourself on the back; you’re officially a YouTube uploader!
Also Read This: How to Turn Off Auto Pause on YouTube
4. Editing Your Video Before Uploading
Before hitting that "Upload" button, it’s crucial to polish your video. A little editing can go a long way in enhancing your content. Here’s how to make your video shine right from your iPhone:
- Use iMovie: If you want a powerful yet user-friendly editing tool, iMovie is an excellent choice. Download it from the App Store if you haven’t already. You can trim clips, add transitions, and even insert music.
- Trim Clips: Open your video in iMovie and select the clip you want to edit. Use the yellow handles to trim the start and end. This helps to keep your video concise and engaging.
- Add Filters: Spice up your video with filters! iMovie offers several options to enhance color and mood. Experiment to find the perfect look for your content.
- Incorporate Text: Want to add titles or captions? iMovie allows you to insert text overlays easily. This is great for emphasizing key points or adding context.
- Insert Music or Sound Effects: Background music can elevate your video’s impact. You can choose from iMovie’s built-in tracks or import your own. Just make sure you have the rights to use any music!
- Check Audio Levels: Good audio quality is essential. Ensure that the sound levels are balanced throughout your video. You can adjust audio levels in iMovie to avoid any loud or quiet spots.
- Preview Your Edits: Always watch your video after editing it. This is your chance to spot any mistakes or areas that need more refinement before uploading.
With these editing tips, your video will not only be ready for upload but also stand out in the crowded YouTube space. Happy editing!
Also Read This: How to Share TikTok Videos on YouTube Without Losing Quality
5. Tips for Optimizing Your YouTube Video
When it comes to uploading videos on YouTube, creating engaging content is just the starting point. To really make your video stand out, you need to optimize it for visibility and engagement. Here are some actionable tips:
- Create a Catchy Title: Your video title should be eye-catching and include relevant keywords. Think about what viewers would search for. For example, instead of "My Vacation," try "Epic Beach Vacation: Top 10 Must-See Spots!"
- Use Eye-Catching Thumbnails: A custom thumbnail can significantly increase your click-through rate. Make sure it's visually appealing and represents your video's content accurately. Use bright colors and bold text to grab attention!
- Write a Compelling Description: Your video description should provide context about your content and include relevant keywords. Aim for at least 200 words. Don’t forget to include links to your social media or website!
- Utilize Tags Wisely: Tags help YouTube understand your video’s content. Use a mix of broad and specific tags, such as "travel tips," "iPhone video tutorial," and "YouTube optimization."
- Engage with Your Audience: Encourage viewers to like, comment, and subscribe. Ask questions in your video or description to prompt interactions. More engagement can boost your video's algorithm ranking!
By following these optimization tips, you're more likely to reach a wider audience and keep viewers engaged with your content. Remember, the goal is not just to upload a video, but to connect with your audience and keep them coming back for more!
6. Common Issues and Solutions
Even the most seasoned YouTube creators face issues from time to time when uploading videos from their iPhones. Here are some common problems and practical solutions to get you back on track:
| Issue | Solution |
|---|---|
| Video Won't Upload | Check your internet connection. A weak or unstable connection can hinder uploads. Try switching between Wi-Fi and cellular data. |
| File Format Not Supported | Make sure you're using a compatible format like MP4 or MOV. If needed, use a video converter app to change the format before uploading. |
| Long Upload Times | Consider reducing the video quality before uploading. Lowering the resolution can speed up the process without sacrificing too much quality. |
| Inconsistent Video Quality | Ensure good lighting and stable filming conditions. Use a tripod if possible, and avoid sudden movements to keep the video smooth. |
| Audio Issues | Use an external microphone if possible, and make sure to record in quiet environments to minimize background noise. |
Facing issues is part of the journey, but with these solutions, you can troubleshoot effectively and keep creating amazing content. Remember, every problem has a solution, and persistence is key!
 admin
admin


