Hey there, photographers! If you’re looking to showcase your work and connect with a vibrant community of creatives, then Behance is the place to be. This platform isn’t just for designers; it’s a fantastic space for photographers to display their portfolios, receive feedback, and gain exposure. In this post, we’ll explore best practices for uploading photos to Behance, ensuring your stunning images get the attention they deserve. Let’s dive in!
Why Uploading Photos to Behance Matters

In today's digital world, simply having a collection of great photographs isn’t enough. Here’s why sharing your work on Behance is crucial:
- Visibility: Behance is a bustling hub of creatives, attracting potential clients and collaborators. By uploading your photos, you increase your chances of being discovered.
- Community Engagement: Connect with other artists, receive constructive feedback, and build a network. Engaging with fellow photographers can inspire new ideas and techniques.
- Portfolio Development: Behance allows you to curate your work into projects, showcasing your style and versatility. This organized presentation helps potential clients understand your artistry.
- SEO Benefits: By using relevant tags and descriptions, your work can appear in search results, driving traffic to your portfolio.
Ultimately, uploading photos to Behance can elevate your photography career. Remember, it's not just about showcasing your best work; it’s about creating meaningful connections and engaging with a community that shares your passion. So grab your camera, select your best shots, and let’s make your Behance profile shine!
Also Read This: How to Make Behance Pages Look Awesome: Design Tips for an Impressive Portfolio
3. Preparing Your Photos for Upload
Alright, photographers! Before you hit that upload button on Behance, it’s essential to ensure your photos are ready to shine. Here are some best practices to prepare your images:
- Resolution Matters: Aim for high-resolution images. A minimum of 72 DPI is essential for web display, but consider going higher for better quality. Ideally, you want your photos to look sharp and professional.
- Aspect Ratio: Maintain a consistent aspect ratio across your photos. This creates a cohesive look in your project. Common ratios are 16:9 or 4:3, but feel free to choose what best suits your style.
- File Formats: Use JPEG or PNG formats for your uploads. JPEGs are great for photographs due to their smaller file size, while PNGs are better for images that require transparency.
- Color Calibration: Ensure your images are color-calibrated. This helps your photos display accurately on different screens. Use Adobe RGB for a wider color gamut, but remember that sRGB is the standard for web uploads.
- Editing and Retouching: Before uploading, spend time editing your photos. Adjust brightness, contrast, and color correction to make your images pop. Don’t forget to remove any distracting elements!
- Watermarks: Consider adding a subtle watermark if you’re concerned about copyright. Just remember to keep it unobtrusive so it doesn’t distract from the photo.
Once your photos are polished and ready, you’re just a step away from sharing your art with the world. With the right preparation, you can ensure your work is presented in the best possible light.
Also Read This: How to Add a Link in Your Behance Project: Linking External Resources
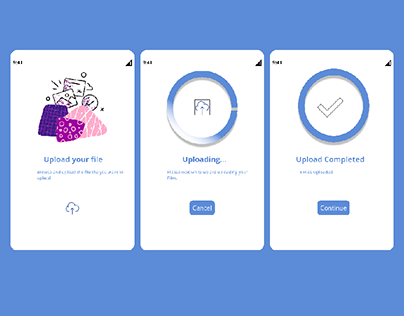
4. Step-by-Step Guide to Uploading Photos on Behance
Now that your photos are prepped, let’s dive into the actual uploading process on Behance. It’s a breeze if you follow these simple steps:
- Create a Behance Account: If you haven’t already, sign up for a free Behance account. Just provide your details, and you're good to go!
- Log In: Once your account is set up, log in to your Behance profile. You’ll be greeted by your dashboard, where all the magic happens.
- Click on "Create a Project": On your dashboard, look for the “Create a Project” button. This is your starting point for uploading your photos.
- Upload Your Images: You can drag and drop your images into the upload area or click to select files from your computer. Remember to upload in the order you want them to appear.
- Organize Your Photos: Once uploaded, Behance allows you to rearrange your images. Drag them into the desired order to tell your story visually.
- Add Titles and Descriptions: For each image, add a title and a brief description. This gives context and engages your audience. Share your creative process or the story behind the image!
- Choose a Cover Image: Select a cover image that represents your project well. This is the image that will entice viewers to click on your project.
- Select Tags: Use relevant tags to help others discover your work. Think about keywords that describe your style or the subject matter.
- Preview Your Project: Before publishing, take a moment to preview your project. Ensure everything looks perfect and text is legible.
- Publish: Once you’re satisfied, hit the “Publish” button! Share your project on social media to reach a wider audience.
And there you have it! Following these steps will make your uploading experience smooth and enjoyable. Happy sharing!
Also Read This: Which Behance Image Downloader Offers the Easiest Way to Save Creative Portfolios?
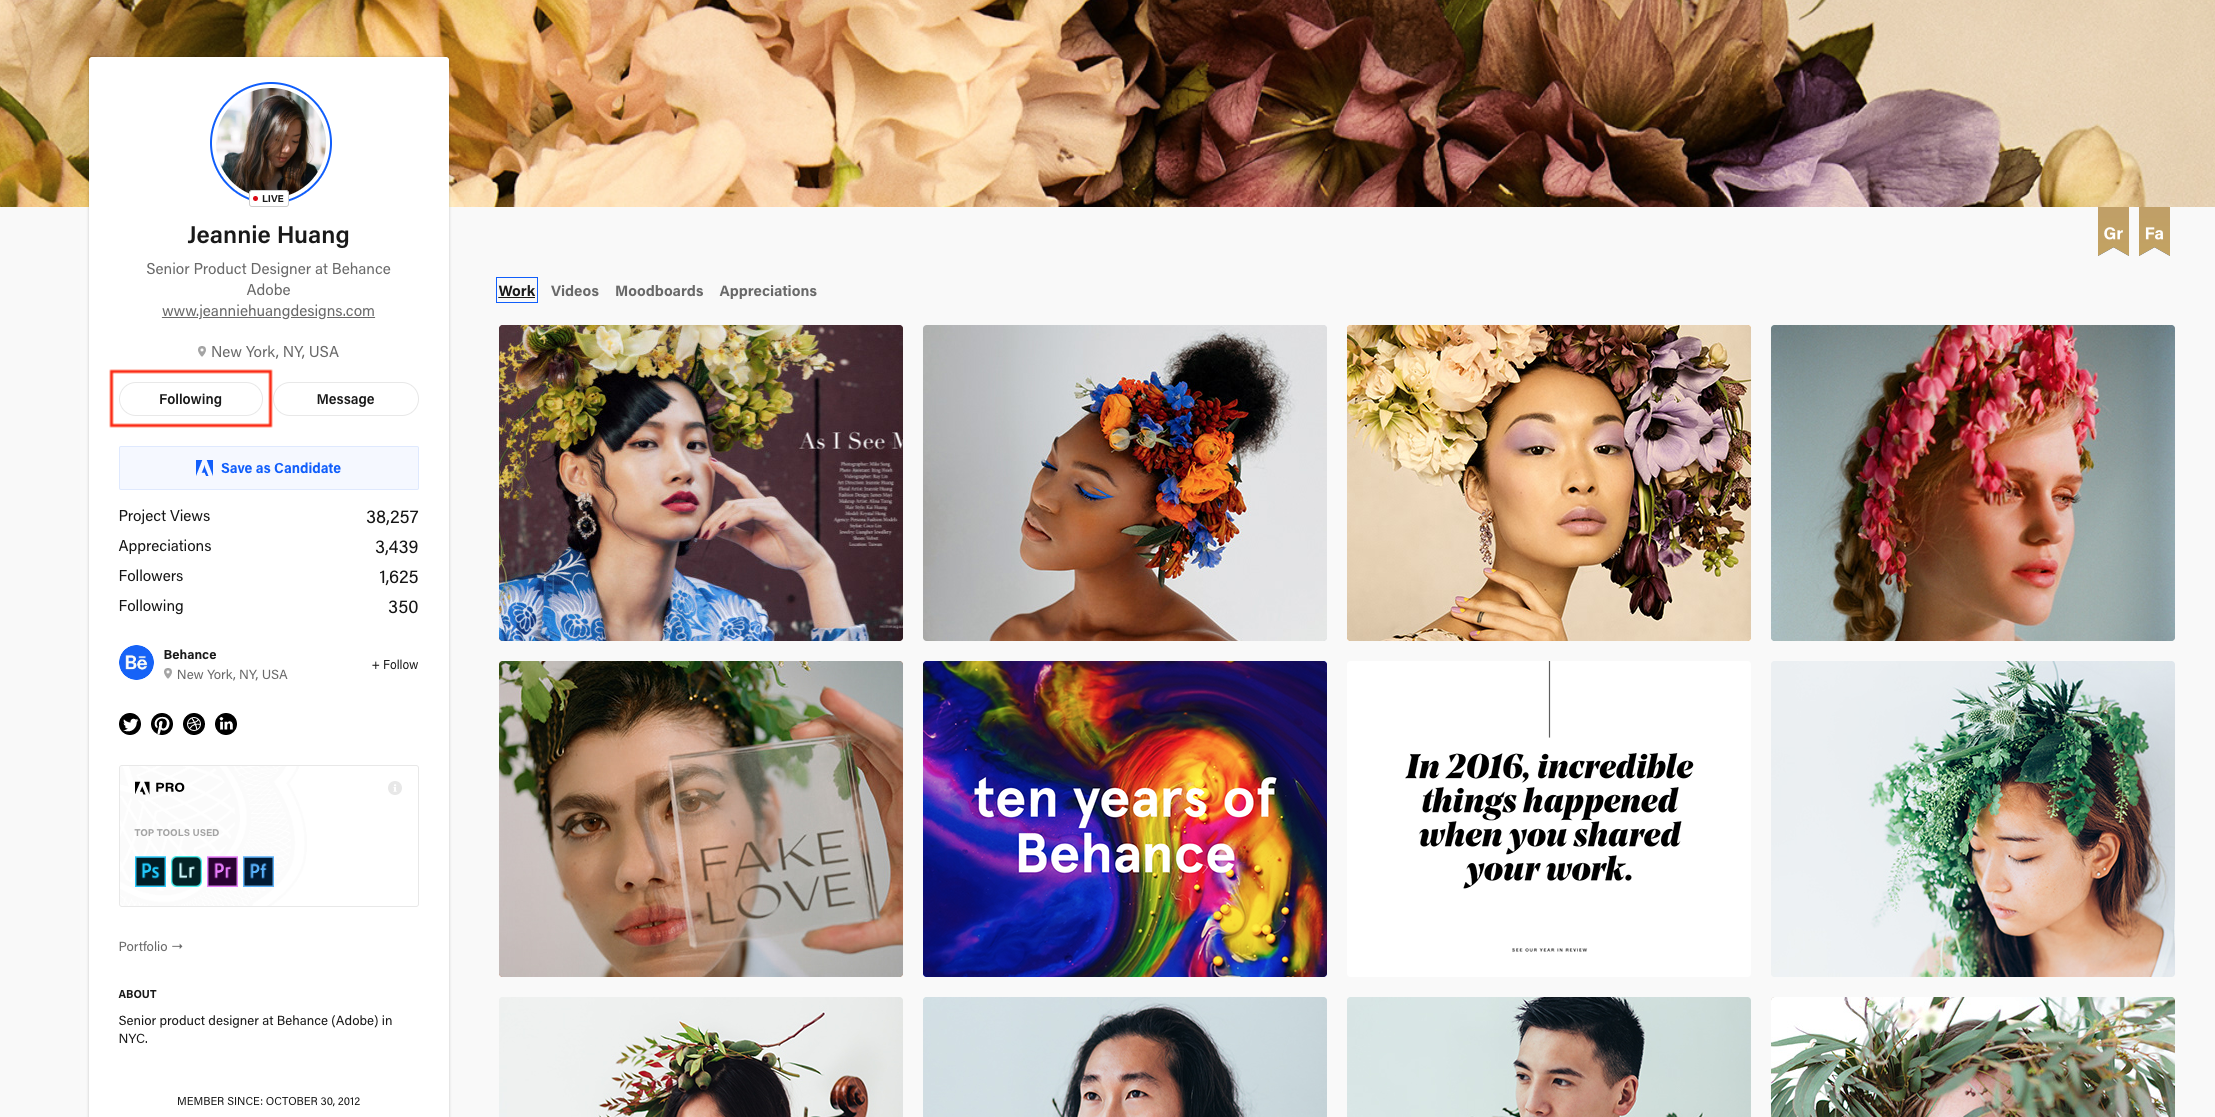
5. Optimizing Your Portfolio on Behance
When it comes to showcasing your photography on Behance, optimization is key. A well-optimized portfolio not only attracts more viewers but also keeps them engaged. Here are some practical tips to get the most out of your portfolio:
- Select a Cohesive Theme: Your portfolio should tell a story. Choose a specific theme or style—like portraits, landscapes, or street photography. This helps viewers understand your artistic vision at a glance.
- Curate Your Best Work: Less is often more. Instead of uploading every single photo, select the ones that best represent your skills and style. Aim for quality over quantity.
- Organize Projects Logically: Group similar works into projects. This not only makes your portfolio easier to navigate but also enhances the overall aesthetic. Consider using project covers that reflect the essence of the work inside.
- Write Engaging Descriptions: Each project deserves a captivating description. Share the inspiration behind your work, the techniques you used, or any challenges you faced. This personal touch invites viewers to connect with your journey.
- Add Tags Wisely: Use relevant tags to make your portfolio discoverable. Think about what potential clients or fans might search for. Be specific—if you specialize in black and white photography, use that as a tag!
- Update Regularly: Keep your portfolio fresh by regularly updating it with new work. This shows that you’re active and evolving as an artist, encouraging repeat visits from fans and potential clients.
By following these optimization strategies, you can create a compelling portfolio that not only attracts attention but also showcases your unique vision as a photographer on Behance.
Also Read This: Maximize Impact by Organizing and Presenting Your Projects on Behance
6. Best Practices for Photo Quality and Presentation
The quality of your photos can make or break your portfolio on Behance. Here are some best practices to ensure your images shine:
- Use High-Resolution Images: Always upload high-quality images. Aim for at least 72 DPI (dots per inch) for web use, but consider going higher for better clarity. This is especially important for detailed shots where viewers appreciate the nuances.
- Edit Thoughtfully: Post-processing is your friend! Use editing software to enhance color, sharpness, and contrast. However, avoid over-editing. Your goal should be to enhance the photo while still keeping it authentic.
- Choose the Right Format: JPEG is typically best for photos, but PNG can be beneficial for images with text or logos. Make sure to save your images in a format that retains quality while not overly increasing file size.
- Consider Aspect Ratios: Different platforms display images in various aspect ratios. Ensure your photos look great no matter where they’re viewed. A 4:3 or 16:9 ratio often works well for most displays.
- Utilize Presentation Tools: Behance offers tools to enhance your photo presentation, such as mood boards and image sequences. Use these features to create an engaging visual narrative that draws viewers in.
- Test Before Uploading: Before you hit that upload button, preview your images in different resolutions and devices. This way, you can spot any issues and ensure your photos look fantastic across the board.
By adhering to these best practices for photo quality and presentation, you’ll elevate your work and create a portfolio that impresses viewers and potential clients alike!
Also Read This: How to Add Title and Description on Behance: Writing Compelling Project Introductions
7. Engaging with the Behance Community
Engaging with the Behance community is one of the most rewarding aspects of being a photographer on the platform. It’s not just about showcasing your work; it’s about building connections, receiving feedback, and discovering new inspiration. Here are some effective ways to enhance your engagement:
- Comment on Other Projects: Take the time to browse through other photographers' projects. Leave thoughtful comments that reflect your genuine interest. This not only supports fellow artists but can also lead to meaningful interactions.
- Join Groups: Behance has various groups tailored to different interests and styles. Join groups relevant to your photography niche, participate in discussions, and share your work in these communities. It’s a great way to network!
- Follow Other Creatives: Follow artists whose work you admire. This helps you stay updated with their new uploads and can often lead to reciprocal follows, increasing your project's visibility.
- Participate in Challenges: Behance often hosts creative challenges. Participating not only boosts your visibility but also allows you to push your creative boundaries. Plus, it’s a fun way to engage with the community!
- Share Your Process: Don’t hesitate to share behind-the-scenes content or tips related to your photography. This transparency can foster connections and elevate your standing within the community.
Remember, the more you engage, the more visibility you gain, and the more you learn from others. It's a reciprocal relationship, and the Behance community thrives on collaboration and support.
8. Conclusion and Final Tips
As you embark on your Behance journey, remember that your presence on the platform is about more than just uploading photos. It’s about creating a narrative, engaging with fellow creatives, and continuously evolving as an artist. Here are a few final tips to keep in mind:
- Stay Consistent: Regularly update your portfolio. Whether it’s weekly or monthly, consistency helps you stay relevant and keeps your audience engaged.
- Optimize Your Project Titles: Use clear, descriptive titles that reflect the essence of your work. A catchy title can make all the difference in capturing attention.
- Write Descriptive Captions: Give context to your photographs with engaging captions. Share the story behind each shot or the technique used; this adds depth to your project.
- Use Relevant Tags: Tags are crucial for discoverability. Use a mix of broad and specific tags to reach a wider audience. Think about what potential viewers might search for.
- Seek Feedback: Don't shy away from asking for constructive criticism. Feedback is invaluable for growth, and the Behance community is usually happy to help.
In conclusion, uploading photos to Behance is just the start. By engaging with the community, optimizing your uploads, and seeking feedback, you set yourself up for success. Happy sharing, and may your photography journey inspire others as much as it inspires you!
 admin
admin


