Uploading videos on YouTube from your iPhone can be a breeze if you know the right steps! Whether you’re sharing a fun moment, a tutorial, or just your latest adventure, the process can be quick and straightforward. In this guide, we'll walk you through the essentials to ensure your videos get uploaded without a hitch. Let’s dive in!
Preparation Steps Before Uploading
Before hitting that upload button, it’s crucial to prepare your video properly. These steps will help you ensure that your content is polished and ready for your audience:
- Choose Your Video: Select the video you want to upload from your camera roll. Make sure it’s the right one by watching it a few times; no one wants to upload the wrong clip!
- Edit Your Video: Use a video editing app like iMovie or InShot. Trim unnecessary parts, add music, or include text overlays. A well-edited video holds viewers' attention better!
- Check Your Video Quality: Ensure your video is at least 720p for good quality. Higher resolutions like 1080p or 4K are even better if your iPhone allows it.
- Prepare a Captivating Title: Think of a catchy title that reflects your content. This is your first chance to grab viewers' attention!
- Create an Eye-catching Thumbnail: A custom thumbnail can significantly affect your video's click-through rate. Use apps like Canva to design one that stands out.
- Write a Compelling Description: Your description should summarize your video’s content and include relevant keywords for better searchability. Consider adding links or resources mentioned in your video!
- Select Tags Wisely: Tags help YouTube’s algorithm categorize your video. Use relevant keywords related to your content, but don’t overdo it—5 to 10 tags are usually sufficient.
By following these preparation steps, you’ll set yourself up for a smoother uploading process and a more successful video launch!
Also Read This: How to Put a YouTube Video in iMovie: Editing YouTube Content for Your Projects
Using the YouTube App for Uploading
Uploading videos to YouTube directly from your iPhone is a breeze with the YouTube app. If you’re ready to share your creativity with the world, follow these simple steps:
- Open the YouTube App: Launch the app on your iPhone. Make sure you’re logged into your account.
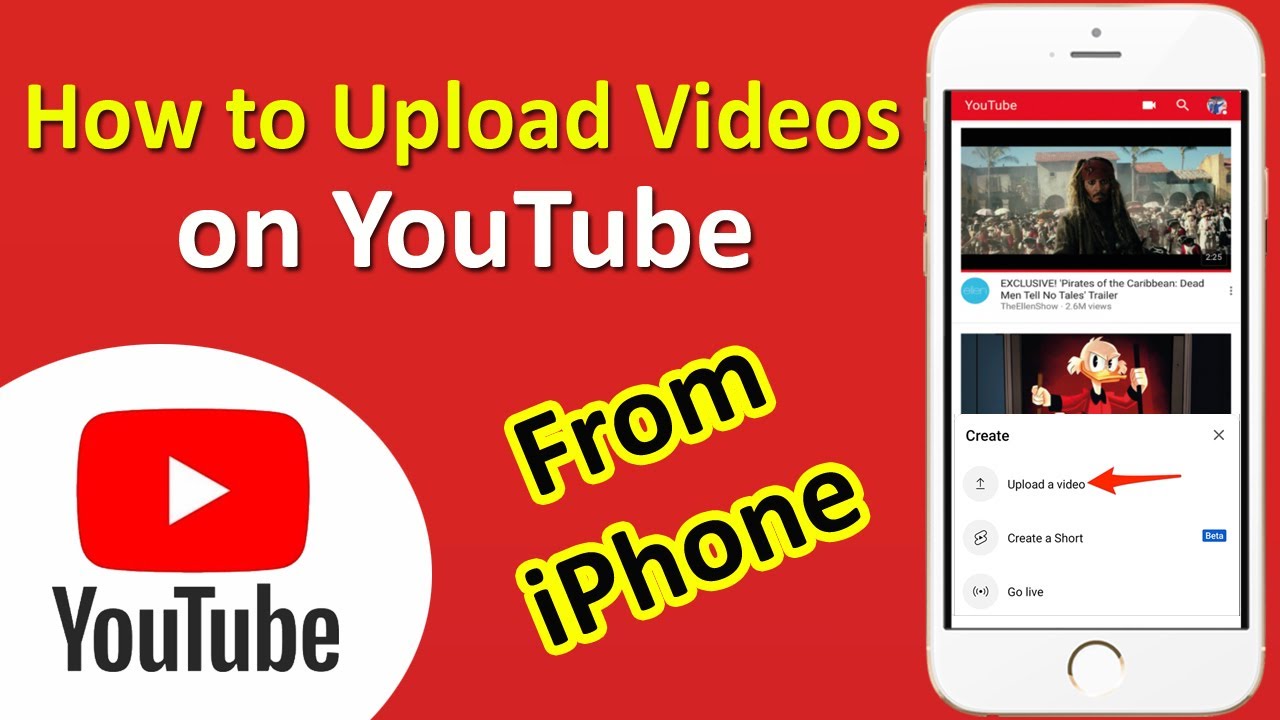
- Tap the Create Button: Look for the camera icon or the "+" button located at the bottom center of the screen.
- Select Your Video: Choose the video you want to upload from your camera roll. You can also record a new video by tapping 'Record'.
- Add Details: After selecting the video, fill in the title, description, and tags. Be sure to use keywords that help viewers find your video.
- Choose Your Settings: Decide whether you want the video to be public, unlisted, or private. You can also add it to a playlist if you have one.
- Customize Thumbnail: Pick a captivating thumbnail or create one for more engagement.
- Upload: Finally, hit the 'Upload' button, and your video will be on its way to YouTube! You’ll see a progress bar indicating the upload status.
And voilà! You’ve just uploaded a video using the YouTube app with minimal fuss.
Also Read This: Is the LSU Game Available on YouTube TV
Editing Your Video Before Publishing
Did you know that you can edit your video right from your iPhone before publishing it on YouTube? It’s true! Here’s how to make your content shine:
- Trimming Clips: If your video has long pauses or unnecessary footage, use the trimming tool to cut it down to size. It’s as simple as dragging the sliders.
- Adding Music: Consider adding background music to set the mood. The YouTube app offers a selection of royalty-free tracks that enhance your video without copyright issues.
- Applying Filters: Want your video to look more polished? Use filters to adjust the colors and overall look of your footage. It’s a quick way to make it visually appealing.
- Text Overlays: Need to highlight important points? Adding text overlays can help emphasize your message and keep the audience engaged.
- Adjusting Settings: Before finalizing, check the settings like visibility and monetization options to ensure they align with your goals.
Once you’re satisfied with your edits, go ahead and hit that publish button! Editing can significantly enhance the viewer’s experience, so take your time to get it just right.
Also Read This: Sharing Korean Dramas on YouTube Without Violating Copyright
5. Adding Descriptions and Tags
Once you've chosen your video file, it’s time to make it stand out! Adding a compelling description and relevant tags is crucial for attracting viewers and improving your video's visibility on YouTube.
Why Descriptions Matter: A well-crafted description provides context about your video. It can include:
- A brief overview of the video content.
- Links to your social media or website.
- Calls to action, like asking viewers to subscribe or leave comments.
When writing your description, aim for at least 250 words. This not only helps viewers understand what they’re about to watch but also aids in SEO (Search Engine Optimization), making your video easier to find. Here’s a quick format you can follow:
| Section | Description |
|---|---|
| Introduction | Introduce the topic and engage your audience. |
| Details | Explain what viewers will learn or see in the video. |
| Links | Include any relevant links and social media handles. |
| Conclusion | Encourage viewers to like, comment, and subscribe. |
Next up are tags. These are keywords that describe your video and help YouTube understand its content. Include specific tags, such as your video’s main topic, related topics, and even popular trends to maximize exposure. For example, if your video is about cooking pasta, use tags like “pasta recipes,” “easy cooking,” and “Italian cuisine.”
Also Read This: How Can ChatGPT Help Transcribe YouTube Videos Automatically?
6. Finalizing Your Upload
You’re almost there! Finalizing your upload is just as crucial as the previous steps. This is where you make sure everything looks perfect before hitting that big “Publish” button.
First, review your video settings:
- Privacy Settings: Decide if you want your video to be Public, Unlisted, or Private. Public videos are accessible to everyone, while Unlisted means only those with the link can view it.
- Thumbnail: Choose an eye-catching thumbnail! You can either select one from the video or upload a custom image that represents your video effectively.
- End Screens and Cards: Add these features to promote other videos or encourage subscriptions. They help keep viewers engaged with your channel.
Once you’ve double-checked your settings, it’s a good idea to preview your video. Watch it through to catch any last-minute mistakes or areas that could be improved. If everything looks good, go ahead and tap that “Publish” button!
After uploading, don’t forget to share your video across your social media platforms to reach a wider audience. Your hard work deserves to be seen!
Also Read This: Fixing Black Screen Issues on YouTube TV
7. Tips for Optimizing Your Video for Better Reach
When it comes to uploading your video on YouTube from your iPhone, it’s not just about hitting that upload button. To ensure your content reaches a larger audience, you need to optimize it. Here are some essential tips:
- Catchy Title: Your video title should be engaging and relevant. Use keywords that people might search for. For example, instead of "My Trip," try "Exploring the Hidden Gems of Paris."
- Compelling Description: The description should summarize your video and include keywords. Aim for at least 200 characters. For instance, "Join me as I explore Paris, uncovering secret spots and sharing travel tips." Don’t forget to include links to your social media and any relevant playlists!
- Thumbnails Matter: Create a custom thumbnail that’s eye-catching. This is your video’s first impression, so use bold text and vibrant images to grab attention. Tools like Canva can help you design one effortlessly.
- Tags are Important: Use relevant tags that relate to your content. Think of them as keywords that help YouTube understand your video. For example, if your video is about cooking pasta, include tags like “cooking,” “Italian food,” and “easy recipes.”
- Engage with Your Audience: Encourage viewers to leave comments and ask questions. Responding to comments can also increase viewer engagement, which signals YouTube that your video is worth promoting.
- Utilize Playlists: Adding your video to relevant playlists can help keep viewers on your channel longer. Create themed playlists to organize your content and encourage binge-watching!
8. Conclusion
Uploading videos on YouTube from your iPhone can be a quick and straightforward process, especially when you know the ins and outs. Remember, it’s not just about uploading; the real magic happens with optimization. By following the tips outlined above, you can significantly improve your video’s reach and engagement.
So, whether you’re showcasing your latest travel adventure, sharing a DIY project, or teaching a skill, take a moment to optimize your content. With the right strategies, your videos can gain traction and reach a wider audience. Now, grab your iPhone, unleash your creativity, and start sharing your unique perspective with the world!
 admin
admin


