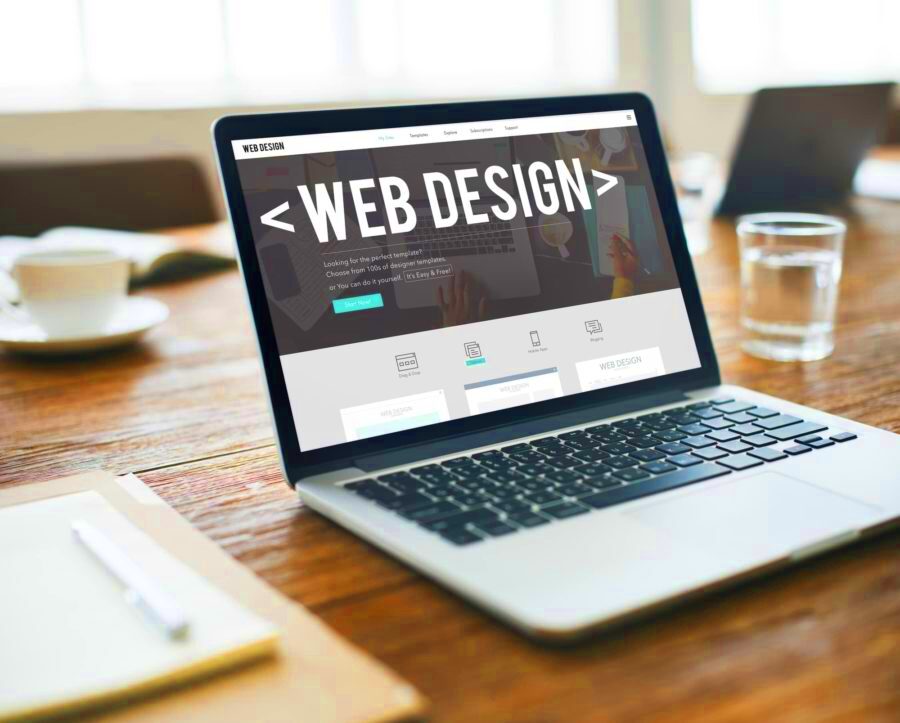
Images play a crucial role in web design. They not only make your website visually appealing but also communicate your brand message. When users visit your site, high-quality images can create a lasting impression, while poor-quality images can turn them away. Let’s explore why image quality matters in web design.
Here are some key points to consider:
- First Impressions Count: High-quality images attract attention and engage visitors right away.
- Enhanced User Experience: Clear and sharp images improve the overall experience for users, making it easier for them to understand your content.
- SEO Benefits: Well-optimized images can enhance your site’s search engine ranking.
- Brand Representation: The quality of your images reflects your brand’s professionalism and commitment to quality.
Choosing the Right Image Format for Your Needs
Selecting the appropriate image format is essential for both quality and performance. Different formats have unique features and uses. Here’s a quick guide to help you choose:
| Image Format | Best For | Pros | Cons |
|---|---|---|---|
| JPEG | Photographs | Good quality with smaller file size | Lossy compression can reduce quality |
| PNG | Graphics and Text | Supports transparency, high quality | Larger file size |
| GIF | Simple Animations | Supports animation | Limited color palette |
| SVG | Logos and Icons | Scalable without loss of quality | Not suitable for complex images |
Choose the format that aligns best with your project requirements to ensure your images look great and load quickly.
Steps to Upload Images for Web Design Projects
Uploading images for your web design project can be straightforward if you follow a few key steps. Here’s how to do it effectively:
- Prepare Your Images: Before uploading, make sure your images are optimized for the web. This includes resizing them to the appropriate dimensions and reducing file size without sacrificing quality.
- Select Your Upload Method: Depending on your website platform, you can upload images directly through the content management system (CMS) or via FTP (File Transfer Protocol).
- Log Into Your CMS: If you're using a CMS like WordPress, log into your dashboard and navigate to the media library.
- Upload the Images: Click on the “Add New” button in the media library and select the images from your computer. Alternatively, drag and drop them into the designated area.
- Optimize Alt Text: For each image, include alt text that describes the image. This is crucial for SEO and accessibility.
- Insert Images into Your Content: Once uploaded, you can easily insert the images into your web pages or blog posts.
Following these steps will ensure a smooth image upload process and help maintain the quality of your web design projects.
Optimizing Images for Faster Loading Times
In today’s fast-paced online world, users expect websites to load quickly. One of the main culprits for slow load times is large image files. Optimizing images not only improves loading speed but also enhances user experience. Here are some effective strategies to optimize your images for faster loading times.
Consider the following tips:
- Resize Images: Adjust the dimensions of your images to fit the layout of your website. Avoid uploading larger images than necessary.
- Use Compression Tools: Utilize image compression tools like TinyPNG or JPEGmini. These tools reduce file size without significant loss of quality.
- Choose the Right Format: Use JPEG for photographs, PNG for graphics with transparency, and SVG for logos. Each format serves a unique purpose.
- Enable Lazy Loading: This technique allows images to load only when they are visible in the viewport, reducing initial loading times.
- Leverage Browser Caching: Configure your website to store images in the user’s browser, so they don’t need to be downloaded every time.
By following these optimization tips, you can significantly improve your website’s loading times, leading to better engagement and higher conversion rates.
Using Free Range Stock Image Downloader Effectively
Finding the perfect stock images can be a challenge, but tools like Free Range Stock Image Downloader make it easier. This platform offers a vast collection of high-quality, royalty-free images. Here’s how to make the most out of this tool:
Here are some useful tips:
- Search Smartly: Use specific keywords related to your project to narrow down your search results.
- Explore Categories: Browse through various categories to discover new images you may not have thought of.
- Use Filters: Utilize filters for orientation, size, and color to find images that fit your specific needs.
- Check Image Licensing: Always review the licensing agreements to ensure you use the images according to their terms.
- Create a Collection: Save your favorite images in a collection for easy access later.
By using the Free Range Stock Image Downloader effectively, you can enhance your web design projects with stunning visuals without breaking the bank.
Incorporating Images into Your Website
Images are essential elements of web design, as they can convey messages and evoke emotions. However, incorporating them effectively requires some thought. Let’s explore how to seamlessly add images to your website while maintaining visual appeal.
Here are some best practices to follow:
- Placement Matters: Position images where they complement your content. Consider using images as headers, backgrounds, or within text blocks.
- Maintain Consistency: Ensure that your images have a consistent style, color scheme, and tone to create a cohesive look across your site.
- Optimize for Mobile: Make sure images are responsive and look great on all devices, as many users browse on smartphones and tablets.
- Use Captions Wisely: Adding captions can provide context and enhance understanding. Keep them concise and relevant.
- Test Load Times: After incorporating images, test your website’s loading speed to ensure it remains fast.
By thoughtfully incorporating images into your website, you can enhance user experience, convey your brand message, and ultimately drive engagement.
Best Practices for Image Accessibility
When it comes to web design, accessibility is a crucial aspect that ensures everyone, including individuals with disabilities, can use your website effectively. Images, while visually appealing, can pose challenges for users who rely on assistive technologies. By following best practices for image accessibility, you can make your website more inclusive and user-friendly.
Here are some key practices to consider:
- Use Alt Text: Always include descriptive alt text for images. This text serves as a substitute for users who cannot see the image, conveying its purpose or content.
- Consider Contrast: Ensure there is enough contrast between images and the background. This helps users with visual impairments to distinguish the images more easily.
- Keep It Relevant: Use images that are relevant to the content. Irrelevant images can confuse users and detract from the overall message.
- Provide Text Alternatives: For complex images, such as infographics, consider providing a text summary or description to explain the content.
- Test for Accessibility: Use tools like WAVE or AXE to evaluate the accessibility of your images and overall site.
By implementing these best practices, you can create a more accessible web experience for all users, which is not only beneficial for them but also enhances your site’s credibility.
FAQs about Uploading Images for Web Design Projects
When working on web design projects, you may have questions about the image uploading process. Here are some frequently asked questions that can help clarify common concerns:
- What is the best image format for web use?
JPEG is often best for photographs, while PNG is great for graphics with transparency. SVG is ideal for logos and icons.
- How can I reduce image file size?
Use compression tools like TinyPNG or JPEGmini. You can also resize images to fit your web layout.
- Should I include alt text for every image?
Yes! Alt text is essential for accessibility and SEO. It helps users who can’t see images understand their content.
- What is lazy loading, and should I use it?
Lazy loading is a technique that delays loading images until they are in the viewport. It improves page load times and is highly recommended.
- How do I optimize images for mobile devices?
Ensure your images are responsive by using CSS styles that allow them to adjust to different screen sizes.
By addressing these common questions, you can feel more confident about uploading and managing images in your web design projects.
Conclusion and Final Thoughts
Incorporating images into your web design projects is a rewarding experience, but it requires attention to detail and best practices. From understanding the importance of image quality to ensuring accessibility, every step is vital for creating an engaging and user-friendly website.
Remember the key takeaways:
- Optimize images for quality and performance to enhance user experience.
- Utilize effective tools like Free Range Stock Image Downloader to find the best images.
- Follow accessibility guidelines to ensure everyone can enjoy your content.
- Always test and evaluate your images for both loading times and accessibility.
By applying these principles, you’ll not only improve your web design projects but also create a more inclusive online environment. Happy designing!
 admin
admin


