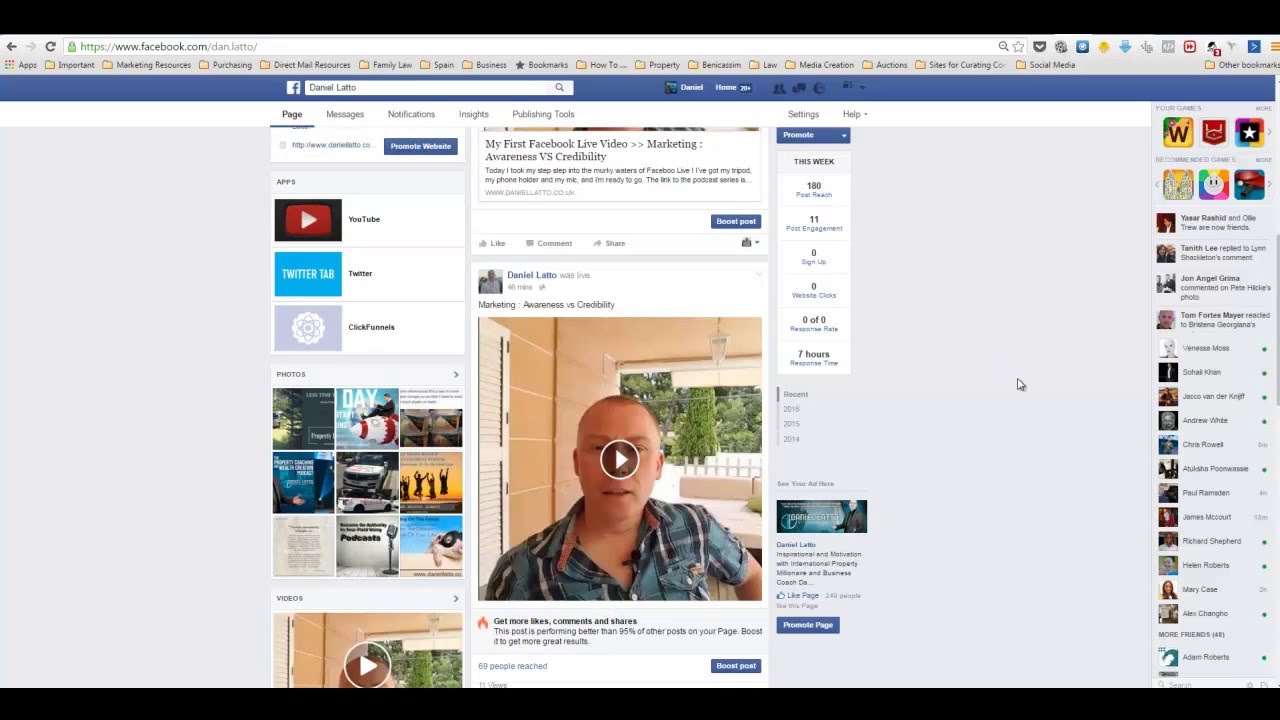
In an age where social media has become an integral part of our daily lives, sharing content across different platforms can significantly amplify your reach and engagement. One of the most popular platforms for video content is Facebook, while YouTube reigns supreme as the go-to platform for hosting and sharing videos. In this blog post, we will explore how to upload Facebook videos to YouTube effortlessly, helping you maximize your content’s potential and expand your audience.
Understanding the Importance of Cross-Platform Sharing

Cross-platform sharing really is the name of the game in today’s digital landscape. Here’s why it’s essential:
- Wider Audience Reach: Each platform has its unique user base. By uploading your videos to both Facebook and YouTube, you tap into two different audiences. This means your content can gain exposure to countless more viewers than if it were available on just one platform.
- Increased Engagement: When you share your content across multiple platforms, you encourage interaction from different user groups. Viewers on YouTube may comment, like, or share your video in ways that aren’t possible on Facebook.
- SEO Benefits: YouTube is the second largest search engine globally, following Google. Uploading your Facebook videos to YouTube can improve your video’s searchability and visibility, thereby enhancing your chances of being discovered by new audiences.
- Content Longevity: Content exists on Facebook in a fast-paced environment, often getting lost in the feed. YouTube, on the other hand, is a platform where videos can continue to receive views for an extended period, ensuring your content remains relevant over time.
- Building a Brand: Consistent branding across multiple platforms helps in reinforcing your identity. When users recognize your brand on both Facebook and YouTube, it fosters trust and loyalty.
So, whether you’re a content creator, a business owner, or just someone who enjoys sharing videos, cross-platform sharing is a strategy worth embracing. It’ll help you reach more eyes, create more engagement, and solidify your digital footprint.
3. Step-by-Step Guide to Downloading Videos from Facebook

If you've encountered a video on Facebook that you'd love to share on YouTube, the first step is downloading it from Facebook. Though this might seem tricky, it's quite straightforward! Let’s break it down into easy steps:
- Find the Video: Navigate to the video on Facebook. This could be on your timeline, a friend's profile, or a group page.
- Get the Video URL: Click on the video to open it. Look for the “Options” or three dots (⋮) below the video and select “Copy link” to grab the video's URL.
- Use a Video Downloader: Go to a reliable video downloader website. Some popular options include:
And voilà! You now have your Facebook video saved on your device, ready to be uploaded to YouTube.
4. Best Practices for Uploading Videos to YouTube

Now that you've successfully downloaded your Facebook video, it’s time to prepare it for the YouTube upload. Making your video stand out is key to engaging viewers. Here are some best practices to follow:
- Check Video Format: Ensure your video is in a compatible format with YouTube. The recommended formats include MP4, AVI, MOV, and WMV.
- Optimize Video Title: Keep your title clear and engaging. Use keywords that represent your video content to enhance searchability.
- Craft a Compelling Description: Provide a detailed description of your video content. Be sure to include relevant links, hashtags, or additional information that viewers might find useful.
- Use Tags Wisely: Add tags that relate to your video to help YouTube categorize it better and improve its discoverability.
- Choose an Eye-Catching Thumbnail: Thumbnails increase click-through rates. Select a visually appealing image that represents your video well.
- Add Engaging End Screens and Cards: Encourage viewers to subscribe or watch more videos by adding end screens and cards during the video playback.
By following these best practices, you enhance your video’s visibility and engagement on YouTube, making cross-platform sharing a breeze. Happy uploading!
Troubleshooting Common Issues During Upload
Uploading videos from Facebook to YouTube can sometimes be a bit tricky, right? If you find yourself facing challenges during this process, don't worry—you’re not alone. Here are some common hiccups and easy solutions to get you back on track:
- File Format Issues: Ensure your video is in a YouTube-supported format such as MP4, AVI, or MOV. If it’s not, consider using a video converter tool online to transform it to a compatible format.
- Slow Upload Speed: Are your videos taking forever to upload? Check your internet connection. If it’s slow, you might want to consider uploading at a different time, or try using a wired connection for stability.
- Large File Size: YouTube has file size limitations based on your account status. Make sure your video is under 128GB—yes, that's a lot, but you wouldn’t want it to exceed that!”
- Browser Compatibility: Sometimes the browser you're using can cause issues. Try switching to a different one. Chrome, Firefox, and Safari are typically reliable choices for YouTube uploads.
- Missing Metadata: If your video isn’t appearing on YouTube as it should, make sure you’ve filled out all necessary fields like title, description, and tags. These help with visibility!
If you encounter other issues, YouTube's Help Center has plenty of resources, or you can search through online forums where other users might have faced similar problems.
Conclusion and Final Tips
In the digital age of video sharing, uploading your Facebook videos to YouTube shouldn’t feel daunting! By following the steps outlined above, you can expand your audience and make the most out of your video content. Here are a few last-minute tips to ensure your process goes as smoothly as possible:
- Check Your Video Quality: Before you upload, make sure your video’s quality is up to par. Nobody wants to watch a pixelated video, right?
- Engage with Your Audience: Once your video is live, don’t forget to interact with comments. Engaging viewers can keep them coming back for more!
- Promote Your Content: Share the YouTube link on your social media platforms to drive traffic back to your video!
- Keep An Eye on Analytics: After a few days, take a look at your video’s metrics. Analyzing what's working and what’s not can help you in future uploads.
- Stay Updated: Both Facebook and YouTube frequently update their platforms. It’s always a great idea to keep abreast of any changes that might affect how you upload your content.
So, what are you waiting for? Grab that video, follow the tips, and start sharing across platforms!
 admin
admin


