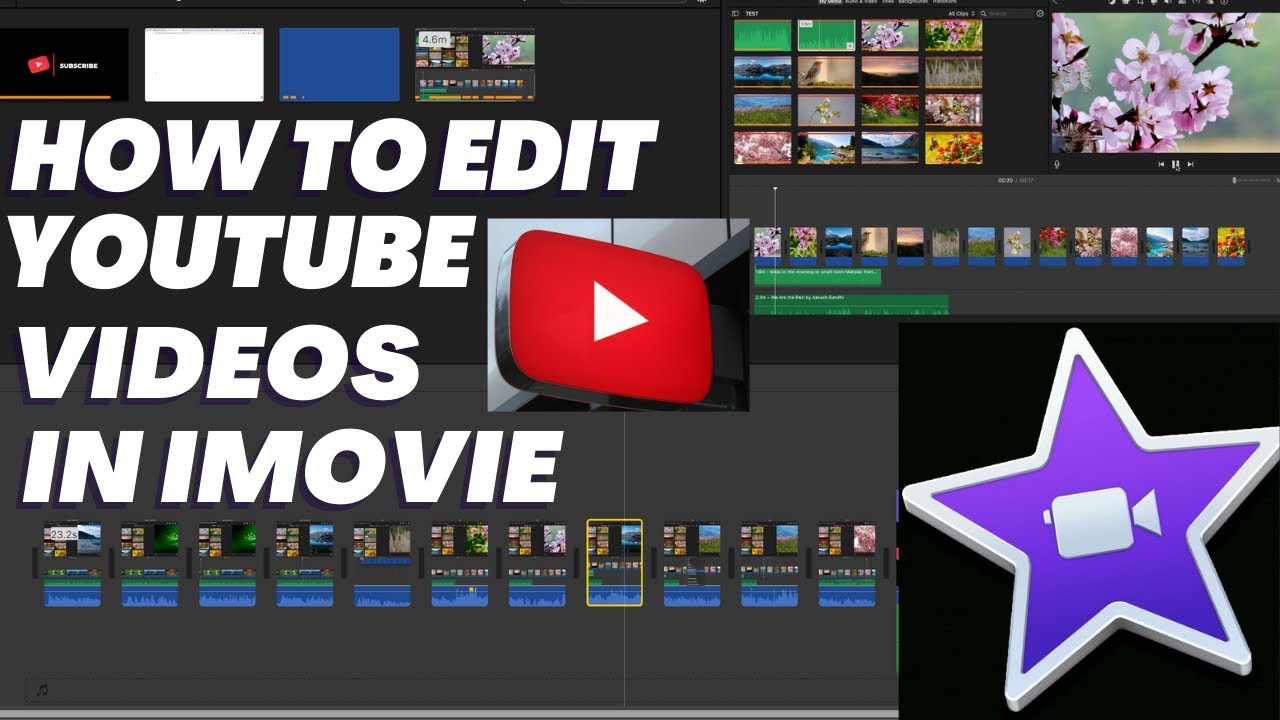
Hey there! If you're a creative soul ready to share your videos with the world, you've come to the right place. Uploading videos from iMovie to YouTube can seem daunting, but it doesn’t have to be! In this guide, I’ll walk you through each step of the process, ensuring that your journey from editing to uploading is as smooth as possible. Grab your favorite beverage and let’s dive in!
Preparing Your Video for Upload
Before you hit that upload button, it’s crucial to ensure your video is polished and ready for the world to see. Here’s a handy checklist to guide you through the preparation process:
- Edit Your Video: Make sure your video is edited to your liking. Trim any unnecessary parts, add transitions, and include music or sound effects where needed.
- Add Titles and Text: Use iMovie's title tools to create captivating titles. Consider adding end screens or captions to enhance viewer engagement.
- Check the Aspect Ratio: Ensure your video is in the correct aspect ratio for YouTube, which is typically 16:9. This prevents black bars from appearing on the sides.
- Export Settings: When you're satisfied with your edits, it's time to export. Go to File > Share > File. Choose the resolution and quality that best suits your needs. For YouTube, 1080p is often a great choice!
- File Format: Ensure your video is in a compatible format, like MP4. This format offers great quality while keeping file size reasonable.
After you’ve scrubbed through your video and made all necessary edits, it’s time to give it one last look. Play through the entire video to catch any last-minute mistakes or adjustments. Here’s a quick checklist:
| Aspect | Status |
|---|---|
| Video Length | ✔️ |
| Audio Levels | ✔️ |
| Transitions Smooth | ✔️ |
| Text Readable | ✔️ |
By ensuring your video is well-prepared, you set yourself up for success on YouTube. Excited to move on? Stay tuned for the next steps on uploading your masterpiece!
Also Read This: How to Check If a YouTube Channel Is Monetized
3. Exporting Your Video from iMovie
Once you've polished your video masterpiece in iMovie, the next step is to export it. This is where all your hard work becomes a shareable video file! Don’t worry; the process is pretty straightforward. Here’s a step-by-step breakdown:
- Click on the Share Button: In the upper right corner of the iMovie interface, you'll find the classic share icon that looks like a box with an arrow coming out. Give that a click!
- Select “File”: From the drop-down menu, select “File.” This option allows you to save your video to your computer, which you can then upload to YouTube.
- Set Your Export Settings: A new window will pop up, allowing you to adjust settings for your video. Here’s what you should consider:
- Title: Give your video a catchy title that reflects its content.
- Description: A brief description can help viewers understand what your video is about.
- Resolution: Choose the resolution based on your needs. For YouTube, 1080p is a great standard.
- Quality: Select “High” to ensure your video looks its best.
- Compress: Choose “Better Quality” for a sharper video, but keep in mind that this will result in a larger file size.
Once the export is complete, you’ll have a video file ready for the next stage: uploading it to YouTube! Easy, right?
Also Read This: How Much Money Is 300K Views on YouTube? A Detailed Earnings Analysis
4. Signing into Your YouTube Account
Now that your video is exported and waiting, it’s time to get it up on YouTube. The first step is signing into your YouTube account. If you already have a Google account, you’re halfway there! Here’s how you can get started:
- Open Your Web Browser: Launch your favorite web browser like Chrome, Firefox, or Safari.
- Go to YouTube: Type www.youtube.com into your browser’s address bar and hit Enter.
- Click on “Sign In”: In the upper right corner of the YouTube homepage, you’ll see the “Sign In” button. Click it!
- Enter Your Credentials: You’ll be prompted to enter your Google account email and password. If you’ve set up two-factor authentication, be ready to confirm your identity.
- Select Your Channel (if applicable): If you manage multiple channels, you might need to select which one you want to use for uploading videos.
- Access Your Channel: Once signed in, you can navigate to your channel by clicking on your profile icon, which is also in the upper right corner.
Congratulations! You’re now signed into your YouTube account. From here, you’re just a few clicks away from sharing your video with the world. Let’s keep the momentum going!
Also Read This: Does YouTube TV Include C-SPAN and How to Access News and Political Coverage
5. Uploading Your Video to YouTube
Alright, you've done the hard part—editing your video in iMovie! Now comes the exciting moment: uploading it to YouTube. Let’s walk through this step-by-step so you can share your masterpiece with the world.
First, make sure you're logged into your YouTube account. If you don’t have an account yet, you can easily create one. Once you’re all set, follow these simple steps:
- Go to YouTube: Open your web browser and navigate to the YouTube website.
- Click the Upload Button: Look for the camera icon with a plus sign (📹) at the top right corner of the homepage. Click on it.
- Select Your Video: A dropdown menu will appear. Choose “Upload video.” This will take you to the YouTube Studio.
- Drag Your Video File: You can drag and drop your exported video file from iMovie right into the upload area, or you can click “SELECT FILES” to browse your computer for the video.
While your video is uploading, you’ll see a progress bar. This might take a few minutes, depending on your internet speed and the video size. Be patient; it’ll be worth it!
After the upload is complete, you’ll be taken to a screen where you can set some important details. But before we dive into that, let’s take a moment to celebrate your achievement of getting the video onto YouTube!
Also Read This: How to Get YouTube TV on Apple TV for Seamless Streaming
6. Adding Video Details and Settings
Now that your video is uploaded, it’s time to finesse it with some details that will help viewers find and enjoy your content. This step is crucial because how you present your video can make a big difference in attracting viewers.
Here are the key elements you need to focus on:
- Title: Choose a catchy and descriptive title that captures the essence of your video. For example, if your video is about “Baking the Perfect Chocolate Cake,” make sure to include those keywords!
- Description: Write a brief overview of your video in the description box. This is your chance to provide context, mention any relevant links, or provide a call to action. Aim for 2-4 sentences that summarize what viewers can expect.
- Tags: Add tags to help YouTube categorize your video. Use relevant keywords like “baking,” “chocolate cake,” or “desserts.” This helps in improving search visibility.
- Thumbnail: YouTube automatically generates thumbnails, but you can also upload a custom one. A visually appealing thumbnail can significantly increase your video’s click-through rate. Consider using bold text and vibrant colors!
- Playlist: If your video belongs to a series, don’t forget to add it to the appropriate playlist. This makes it easier for viewers to find related content.
- Visibility Settings: Decide whether you want your video to be Public (anyone can see it), Unlisted (only people with the link can see it), or Private (only you can see it). For most new uploads, you’ll probably want to choose Public.
Once you’ve filled in all the details, take a moment to review everything. When you’re happy with how it looks, hit that big “Publish” button!
Congratulations! You’ve successfully uploaded your video to YouTube and added all the necessary details. Now it’s time to promote your video and watch those views roll in!
Also Read This: Is Canva Good for Editing YouTube Videos for Content Creators
7. Finalizing Your Upload and Publishing
Once you've completed your edits and are satisfied with your video in iMovie, it's time to finalize your upload to YouTube. This stage is crucial as it determines how your video will appear to your audience. Let's break it down step by step!
Step 1: Set Your Video Details
- Title: Choose a catchy yet informative title. This is what viewers will first see, so make it engaging!
- Description: Write a brief description summarizing what your video is about. Include keywords to help with searchability.
- Tags: Add relevant tags related to your video content. Tags help people find your video when searching for similar topics.
Step 2: Choose Your Privacy Settings
- Public: Anyone can see your video.
- Unlisted: Only people with the link can view it.
- Private: Only you can see it unless you share it with specific users.
Decide which setting fits your needs best. If you're just starting, you might want to start with "Unlisted" to gather feedback before going public.
Step 3: Thumbnail Selection
Your thumbnail is the first impression viewers get. You can choose a frame from your video or upload a custom image. Make sure it's eye-catching and relevant to your content.
Step 4: Advanced Settings
Explore additional settings like enabling captions, monetization options, or adding your video to a playlist. These can enhance viewer engagement and discoverability.
Step 5: Publish Your Video
Finally, hit that "Publish" button! Your video is now live for the world to see. Feel free to share the link on social media or with friends and family to kickstart its reach.
8. Troubleshooting Common Upload Issues
Even with the best preparation, you might encounter a few hiccups during your upload process. Here are some common issues and how to resolve them.
Issue 1: Video Format Not Supported
iMovie exports videos in formats like .mov or .mp4. Ensure your video file is in a compatible format for YouTube. If not, re-export the video from iMovie in a supported format.
Issue 2: Slow Upload Speeds
If your upload takes forever, check your internet connection. A wired connection is usually faster than Wi-Fi. Also, consider uploading at off-peak times when fewer users are online.
Issue 3: Video Processing Errors
Sometimes, YouTube may show an error during video processing. If this happens, wait for a few minutes and try refreshing the page. If the issue persists, re-upload your video.
Issue 4: Copyright Claims
Be cautious with copyrighted music or footage. If you receive a copyright claim, YouTube will notify you via email. Review the claim and consider replacing the music or disputing it if you have rights.
Issue 5: Missing Features After Upload
If certain features aren’t available post-upload, check your account status. New accounts have limitations. Verify your channel settings to enable all functionalities.
Don’t let these issues deter you! Most can be resolved with a little patience and persistence. Happy uploading!
 admin
admin


