Are you excited to share your latest video creation with the world? Uploading a video from your iPhone to YouTube is a straightforward process, and in this blog post, we'll guide you through it step-by-step. Whether you’re sharing family memories, a travel vlog, or a how-to tutorial, you can get your video online in just a few easy steps. Let’s get started!
Preparing Your Video for Upload
Before you dive into the uploading process, it’s essential to make sure your video is ready for YouTube. Here are some simple steps to prepare your content:
- Edit Your Video: Use iMovie or any editing app on your iPhone to trim your video, add music, suggest texts, or enhance visuals. Cutting out unnecessary parts will keep your audience engaged.
- Check the Quality: High resolution (1080p or 4K) videos look better on YouTube. Ensure your video’s quality is adequate by reviewing it before uploading.
- Add a Cover Thumbnail: A catchy thumbnail can increase clicks! Utilize images from your video or use a graphic design tool like Canva to create a custom thumbnail that represents your video.
Once you’ve polished your video, there are a few more things to consider:
Video Format and Size
Make sure your video is in one of the supported formats for YouTube, like MP4 or MOV. The file size should be under 128GB, which is generally not an issue for most iPhone videos. However, check your storage and format before proceeding.
Title and Description
Your audience won’t know what your video is about unless you tell them! Craft a catchy title that captures attention while also being descriptive. Aim for a title that is:
- Concise
- Informative
- Engaging
Next, write a detailed description. This can include:
- A summary of the video content
- Relevant keywords for searchability
- Links to social media or related videos
For example, if your video is about cooking a delicious pasta dish, your title could be “Easy Homemade Pasta Recipe,” and your description could outline the ingredients and steps, as well as a few tips for perfecting the dish.
Choosing Tags
Tags help YouTube categorize your video, making it easier for viewers to find it. Use relevant keywords as tags, but avoid overdoing it— around 5 to 10 tags should suffice. Think about searches your target audience might make!
Now that your video is polished, formatted, and detailed, you're all set to upload it to YouTube. Stay tuned for the next sections where we will walk you through the actual uploading process on your iPhone!
Also Read This: How to Copy a Transcript from YouTube on Mobile: Easy Tips
3. How to Access the YouTube App on Your iPhone
So you've got your video ready, and you're eager to share your masterpiece with the world! But how do you get to the YouTube app on your iPhone? It’s super simple! Here’s a quick rundown:
First off, if you have already installed the YouTube app, you might find it on your home screen. Just look for the bright red icon with a white play button. If it’s not there, don’t panic! You can easily download it from the App Store:
- Open the App Store on your iPhone.
- In the search bar at the bottom, type “YouTube”.
- Tap on the Download button next to the YouTube app.
- Wait for the app to install. Once it’s done, you’ll see it on your home screen!
If you already have the app but can’t find it, you can use the following steps:
- Swipe down on the home screen to open the search function.
- Type “YouTube” into the search bar.
- Once the app appears in the search results, tap on it to open.
Now that you have the app ready to go, go ahead and launch it. You might need to sign in with your Google account if you haven’t done so already. To sign in:
- Tap on the profile icon in the upper right corner.
- Choose Sign In.
- Enter your Google account credentials.
Now you're all set! You have access to your YouTube app on your iPhone, and you’re just a few steps away from sharing your video with everyone. Let’s move on to the fun part—actually uploading your video!
Also Read This: How to Stop YouTube from Recommending Videos: Adjusting Your Preferences
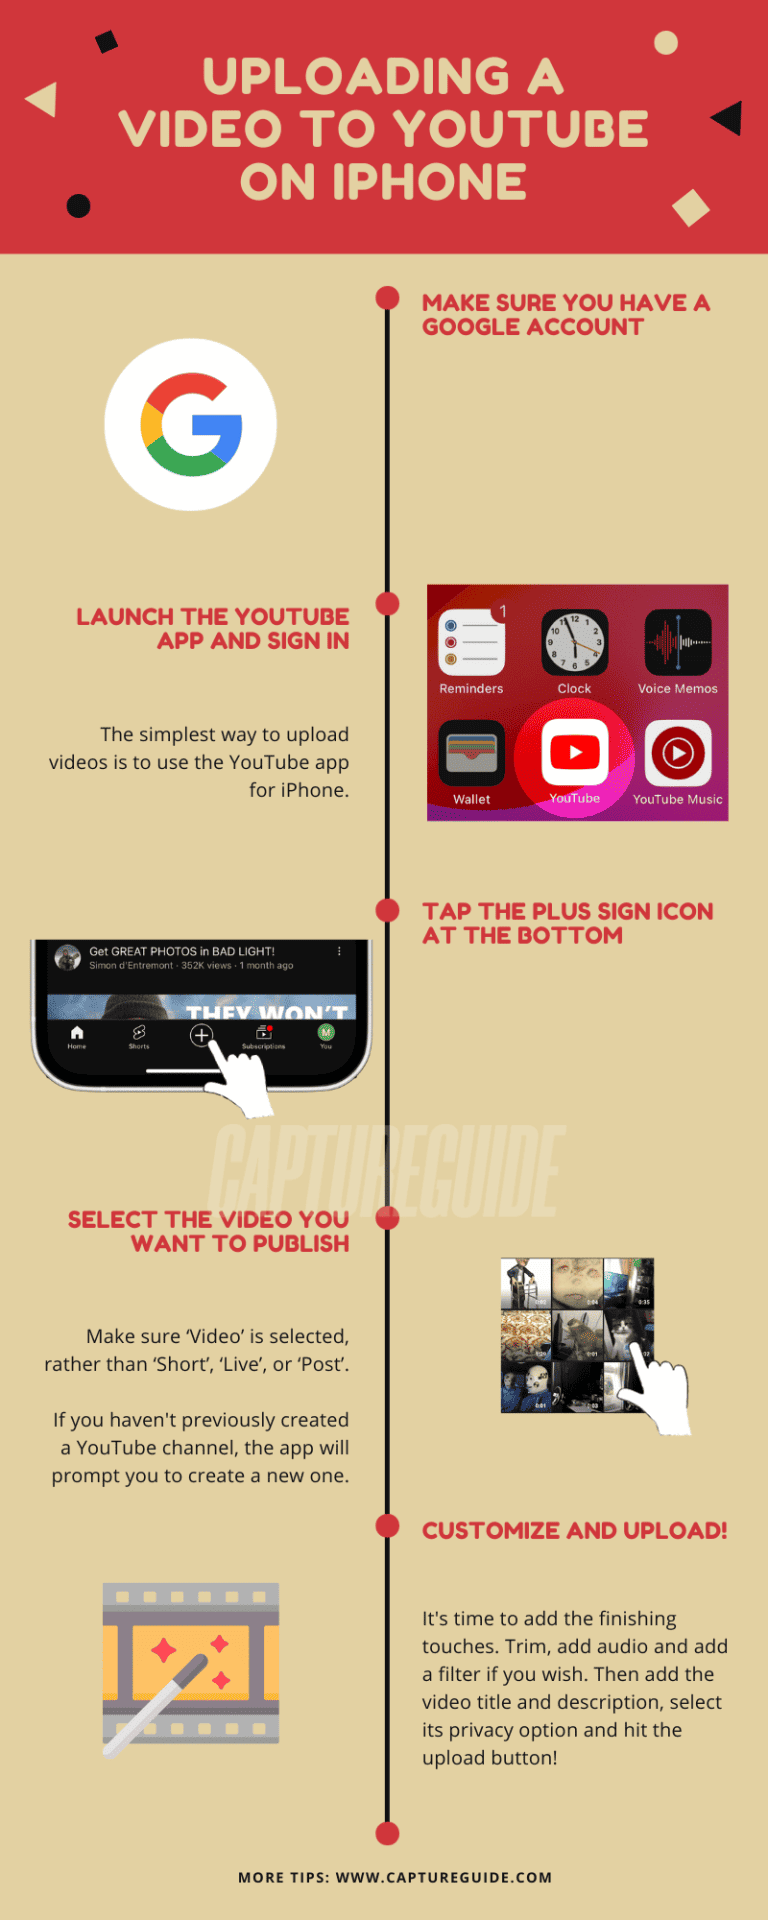
4. Step-by-Step Guide to Upload Your Video
Okay, you've made it to the best part: uploading your video to YouTube! Here’s a straightforward step-by-step guide to help you through the process:
- Open the YouTube app: Tap on the YouTube icon on your home screen to open the app.
- Prepare to upload: Once you’re in the app, look for the + (plus) icon located at the bottom of the screen. This icon is your gateway to creating content!
- Choose your video: After you tap the + icon, select Upload a Video. You’ll be directed to your camera roll where you can choose the video you want to upload. Just tap on your desired video to select it.
- Edit your video: After selecting the video, you can trim it, add filters, or make basic edits right in the app. Once you’re happy with it, tap Next.
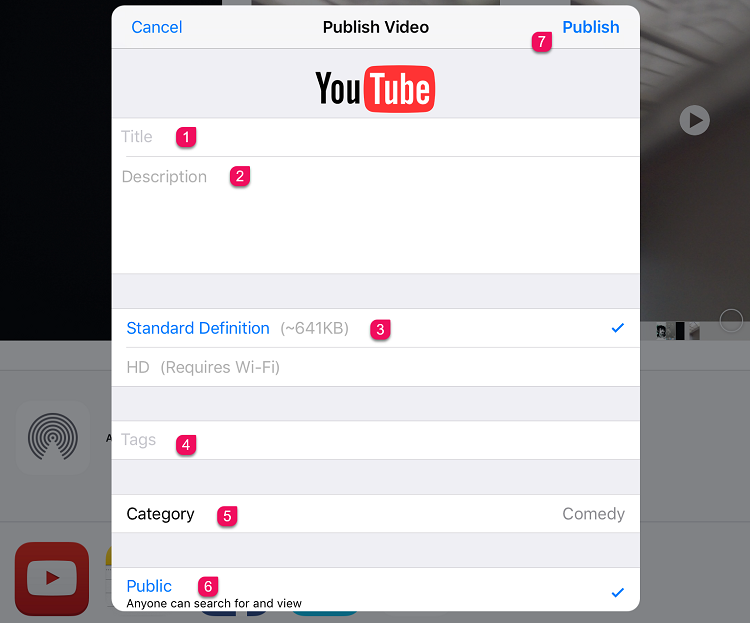
- Add details: Here’s where you’ll title your video, add a description, and choose a thumbnail. Make the title catchy and informative so that it grabs attention! Fill in the description with relevant details and keywords. Don’t forget to select a thumbnail that attracts viewers.
- Set privacy settings: Decide who can see your video. You can choose from:
- Public: Anyone can see your video.
- Unlisted: Only people with the link can view it.
- Private: Only you and the people you choose can see it.
And there you have it! Your video is now on YouTube for the world to see. Sit back, relax, and watch as the views start rolling in. If you ever want to make more videos, you know the steps to get them uploaded in no time!
Also Read This: How to Record Gameplay for YouTube: Tips and Tools
5. Tips for Optimizing Your Video Post Upload
Once you've successfully uploaded your video from your iPhone to YouTube, the next step is to optimize it for better visibility and engagement. After all, you want your audience to find and enjoy your content! Here are some easy tips to help you enhance your video post:
- Craft an Engaging Title: Your video title should be both catchy and descriptive. Aim for something that not only grabs attention but also clearly represents the content of your video. Using keywords that potential viewers might search for can also boost your video’s visibility!
- Add a Compelling Description: The description box is your chance to provide more context about your video. Include keywords, a brief summary, and any important links (like to your social media or website). Try to keep it engaging and informative, urging viewers to watch your video till the end!
- Use Relevant Tags: Tags help YouTube categorize your content. Include relevant keywords and phrases that relate to your video topic. Remember, the more accurately you tag your video, the better chances it will be seen in search results and related video suggestions.
- Create Eye-catching Thumbnails: Thumbnails serve as the first impression of your video. Consider designing a custom thumbnail that is bright, bold, and reflective of your video's content. A well-designed thumbnail can significantly increase your click-through rate!
- Add Closed Captions: Including captions makes your content accessible to a broader audience, including those who are hard of hearing. Plus, captions can enhance your SEO by providing more text for YouTube to crawl.
- Engage with Your Audience: Interaction can go a long way! Encourage viewers to like, subscribe, and leave comments. Responding to comments not only builds community but also signals to YouTube that your video is engaging!
- Promote Your Video on Social Media: Once your video is live, don’t keep it a secret! Share it across your social media platforms and encourage your friends and followers to check it out.
By implementing these optimization techniques, you'll increase the chances of your video being discovered and appreciated by a wider audience!
Also Read This: Can I Upload MOV to YouTube? Understanding File Compatibility
6. Troubleshooting Common Upload Issues
Even though uploading a video from your iPhone to YouTube is straightforward, sometimes hiccups can occur. Let’s look at some common upload issues and how to tackle them:
- Slow Upload Speeds: If your upload seems to be taking forever, check your internet connection. A weak Wi-Fi signal or intermittent connection can cause delays. You might want to consider switching to a stronger network or uploading during off-peak hours.
- File Format Problems: YouTube supports a variety of formats (like MP4, MOV, AVI, etc.), but if you encounter an error, make sure your video is in a compatible format. If not, you might need to convert it using a video editing app on your iPhone.
- Upload Limitations: YouTube has some restrictions on the video length and file size for new accounts. Ensure that your video complies with these limits. If you're consistently hitting the ceiling, consider verifying your YouTube account which can lift these restrictions!
- Stuck on Processing: After uploading, your video may show as "processing." This can take some time, especially for high-resolution videos. If it seems stuck for too long, try refreshing the page or re-uploading the video.
- Error Messages: Sometimes, you might come across specific error messages. Take a screenshot of the error and search for it on YouTube's help page or forums for tailored solutions.
If you encounter any issues, don’t lose hope! YouTube has extensive resources and a supportive community that can help you troubleshoot. Troubleshooting can be frustrating, but with a little patience, you’ll be back to uploading in no time!
Conclusion
Uploading a video from your iPhone to YouTube is a straightforward process that opens up a world of sharing opportunities. By following the steps outlined in this guide, you can easily showcase your creativity and reach a global audience. Here’s a quick recap of what you learned:
- Ensure your video is ready: Edit your video using your preferred editing app.
- Open the YouTube app: Log into your account to keep track of your uploads.
- Upload the video: Use the upload button to start the process.
- Add details: Fill in the video title, description, and tags to make your content searchable.
- Choose privacy settings: Decide if you want to share your video publicly, privately, or unlisted.
- Publish: Hit the publish button and your video will be live on your channel.
Remember, consistency is key to building your channel and engaging your audience. Regular uploads and active interaction can help grow your subscriber base. Now that you know the steps, it's time to share your unique content with the world!
 admin
admin


