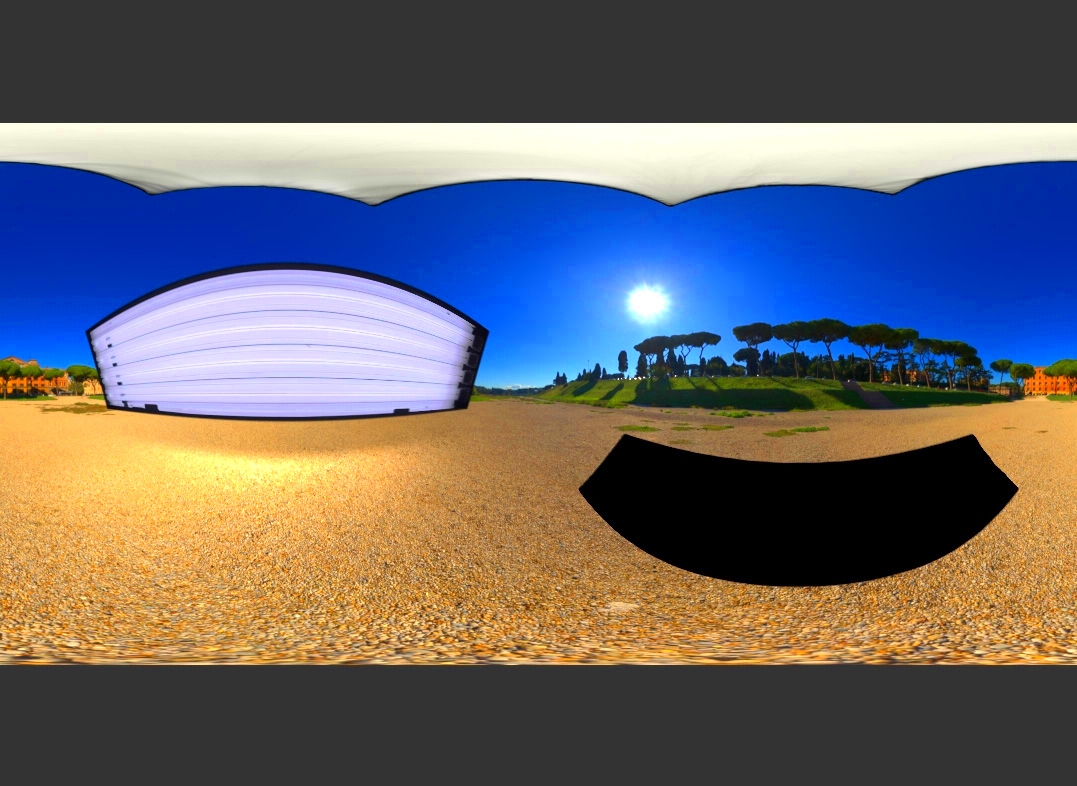
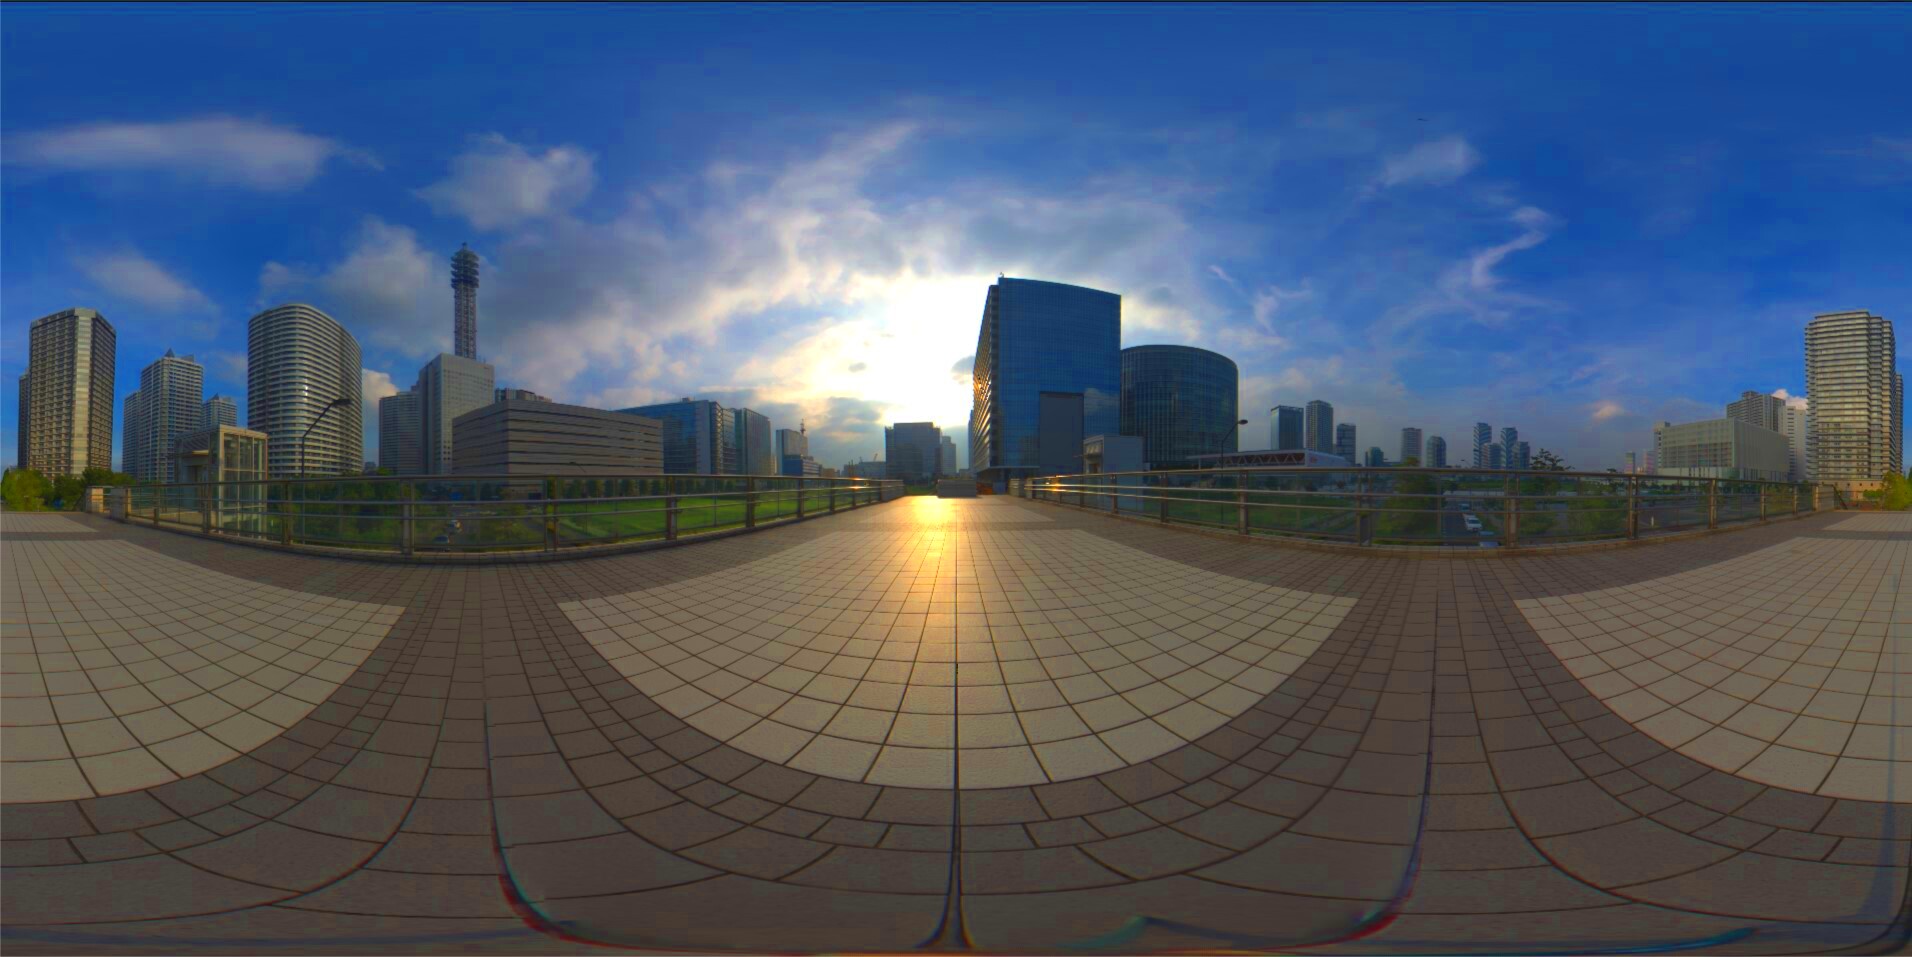
An HDRI image, or High Dynamic Range Image, is a type of photograph that captures a wide range of light intensities found in real scenes, from the brightest sunlight to the darkest shadows. Unlike regular images, which can lose detail in extremely bright or dark areas, HDRI images retain this information, making them ideal for creating realistic lighting in 3D scenes.
In 3D rendering and visualizations, HDRI images are commonly used to create more natural lighting and reflections. They help bring a sense of realism to digital scenes by simulating the way light behaves in the real world. When used correctly, they make your 3D environments look more immersive and convincing, which is why they are so valuable in industries like architecture, gaming, and visual effects.
Steps to Download Free HDRI Images Using FreeRange Stock Image Downloader
Getting HDRI images is easy when using the FreeRange Stock Image Downloader from HD Stock Images. This tool lets you download high-quality HDRI images quickly and for free. Here’s a simple guide to follow:
- Visit the FreeRange Stock Image Downloader: Go to the page here and start by exploring the available HDRI collections.
- Select the HDRI Image: Browse through the categories or use the search feature to find the perfect HDRI image that matches your scene’s needs.
- Download the Image: Once you’ve selected the image, click the download button. The image will be saved in HDR format, ready to use in your 3D project.
- Import into Your Software: Most 3D software like Blender, 3ds Max, or Cinema 4D support HDRI images. Simply import the downloaded file into the environment settings.
This tool is especially useful for artists, designers, and 3D creators who need high-quality images without the hassle of subscriptions or hidden fees.
How to Choose the Right HDRI Image for Your Scene
Choosing the right HDRI image can make a significant difference in how realistic your 3D scene looks. Here are a few tips to help you pick the best one:
- Match the Lighting: Consider the time of day and the mood you want to create. If your scene is set during the day, choose an HDRI image that captures bright, natural daylight. For night scenes, go for an image with soft, ambient lighting.
- Look for Matching Reflections: If your scene has reflective surfaces like glass or water, make sure the HDRI image has the appropriate reflections. This will add a layer of realism, as objects will reflect the actual environment.
- Check the Resolution: Higher resolution HDRI images provide more detail, which is essential for scenes where lighting and shadows are crucial. Be sure to choose an image with enough resolution to avoid blurry reflections or light distortions.
- Pay Attention to the Horizon: Some HDRI images include a visible horizon, which may or may not suit your scene. For outdoor scenes, a natural horizon might be important, while for indoor settings, it’s better to have a blurred or non-visible horizon.
By carefully selecting the right HDRI image, you can significantly enhance the realism of your 3D renders, making them stand out visually.
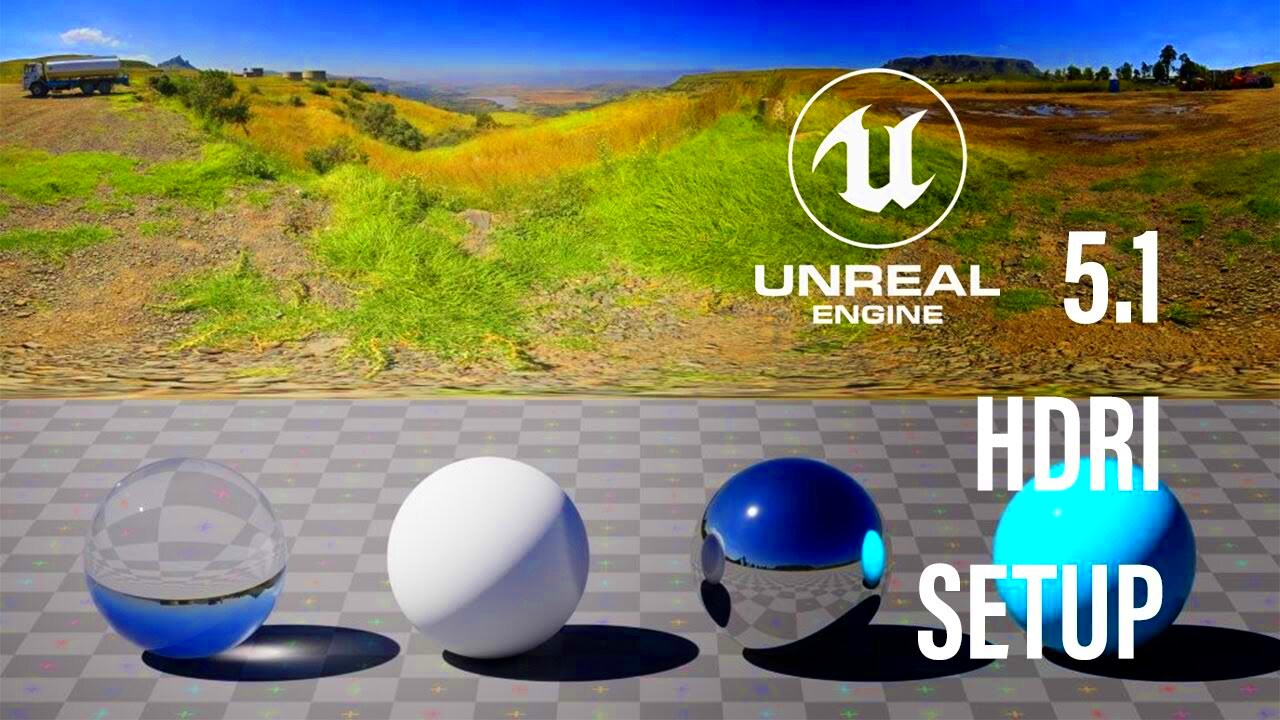
Updating HDRI Settings in Your 3D Software
Once you've downloaded the perfect HDRI image, the next step is to update your 3D software settings to use it effectively. This process ensures that your HDRI image is properly integrated into your scene, providing realistic lighting, reflections, and shadows. Most 3D programs, like Blender, 3ds Max, and Cinema 4D, have straightforward steps for this.
Here’s a general guide to updating HDRI settings in most 3D software:
- Import the HDRI Image: In your software, go to the environment or world settings. Look for the option to add an environment texture or background image and load your HDRI file.
- Adjust the Intensity: Once imported, you may need to adjust the brightness of the HDRI to fit your scene. Most software allows you to tweak the intensity to make the lighting more subtle or pronounced, depending on your requirements.
- Rotate for Better Light Placement: Sometimes, rotating the HDRI image can help direct the light source in your scene. By rotating the image along the horizontal axis, you can position the sun or brightest light source where it best suits your scene.
- Fine-tune the Background Visibility: If the HDRI is visible as a background, you can adjust whether it's blurred or clear. Alternatively, you can use a different image for the background while keeping the HDRI for lighting only.
- Enable Shadow Catching: Some 3D software allows you to add shadow-catcher objects. This lets the HDRI cast shadows onto objects in your scene without needing visible light sources, enhancing realism.
By mastering these settings, you can fully control how HDRI images affect your scene, giving you flexibility to create just the right look.
Adjusting Light and Shadows for Realism
Getting light and shadows right is crucial when working with HDRI images. Since HDRI provides high-quality lighting data from real-world environments, you’ll want to make sure that the shadows and light match the scene's mood and direction perfectly.
Here are some tips for adjusting light and shadows effectively:
- Balance Light Intensity: If your scene is too bright or too dark, adjust the exposure or intensity of the HDRI. Many 3D software options allow you to tweak this directly in the HDRI settings, making it easy to balance.
- Control Shadow Softness: HDRI images often produce soft, natural shadows. If you need sharper shadows for specific objects, consider adding an additional light source like a directional light to control shadow sharpness.
- Simulate Time of Day: Depending on the HDRI image you’re using, it can represent different times of day. Use these properties to match the light to your scene. For example, lower the sun angle for evening scenes to create longer shadows.
- Adjust Ambient Occlusion: Ambient occlusion settings can enhance the realism of shadows, especially in areas where light is blocked by nearby objects. This will give depth and contrast to shadowed areas.
By carefully adjusting light and shadow properties, you can create a more cohesive and believable 3D environment. Experimenting with these settings will help you find the best balance for your project.
Tips to Enhance the Realism of Your Scene with HDRI Images
Using HDRI images in your 3D scenes can dramatically improve realism, but there are a few extra tricks you can apply to make your scenes even more convincing. Here are some useful tips to get the most out of HDRI images:
- Combine HDRI with Additional Lighting: While HDRI images are great for overall lighting, you might want to add extra light sources to highlight specific parts of your scene. This helps direct attention and enhances realism, especially in close-ups.
- Match HDRI with Physical Objects: If your scene features reflective objects like glass, metal, or water, try to choose an HDRI that matches the physical setting. For example, use an outdoor HDRI for an exterior scene to get natural reflections.
- Use High-Resolution HDRI: Always opt for the highest resolution HDRI image your project can handle. Higher resolution results in crisper details in reflections and more nuanced lighting effects.
- Optimize Render Settings: Use global illumination and ray tracing features in your software to get the most out of HDRI lighting. These features simulate how light bounces off objects, making the scene more realistic.
- Reduce Noise in Renders: When using HDRI, noisy shadows or lighting can sometimes occur. Increasing the number of light samples or reducing the exposure time during rendering can help eliminate this noise and produce cleaner results.
By combining these techniques, you can bring out the full potential of HDRI images and create stunningly realistic 3D renders.
Frequently Asked Questions
Here are some common questions people have about using HDRI images in their 3D projects, along with simple answers to help you get started.
1. What format are HDRI images usually in?
HDRI images are typically provided in .HDR or .EXR format. These formats support a wide range of light intensity levels, making them ideal for use in 3D rendering software.
2. Do HDRI images work with all 3D software?
Yes, most major 3D software programs such as Blender, 3ds Max, Maya, and Cinema 4D support HDRI images for lighting. You'll find environment or background settings in these programs where you can load and adjust the HDRI image.
3. Can I use HDRI images for both indoor and outdoor scenes?
Yes, HDRI images can be used for both. For outdoor scenes, an HDRI image with a visible sky or horizon works well, while for indoor scenes, you can blur the background and focus on the lighting effects for more control.
4. How can I make the HDRI image not appear in my background but still affect the lighting?
In most 3D software, you can choose to hide the HDRI from the camera view while still using it for lighting and reflections. This setting is usually found in the environment or world properties, where you can disable visibility while retaining the lighting effects.
5. Do I need high-resolution HDRI images for small scenes?
For close-up shots or scenes with a lot of reflective surfaces, high-resolution HDRI images are essential for clear reflections and realistic lighting. However, for distant landscapes or less detailed scenes, lower resolution images may work just fine.
Conclusion: Making Your Scenes More Lifelike with HDRI Images
Using HDRI images can dramatically improve the realism of your 3D scenes by providing dynamic lighting and reflections. By understanding how to download, set up, and fine-tune HDRI images, you can create more immersive environments that bring your projects to life. With just a few adjustments, you can elevate your renders to professional-quality results.
 admin
admin


