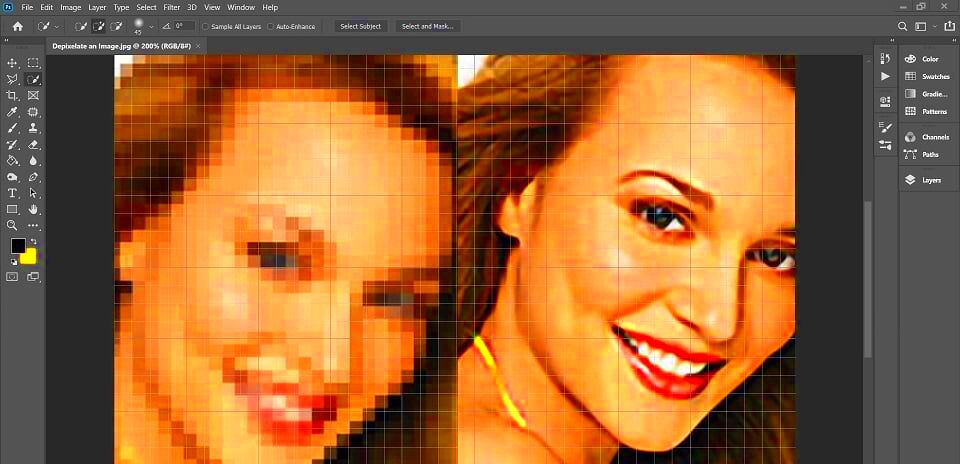
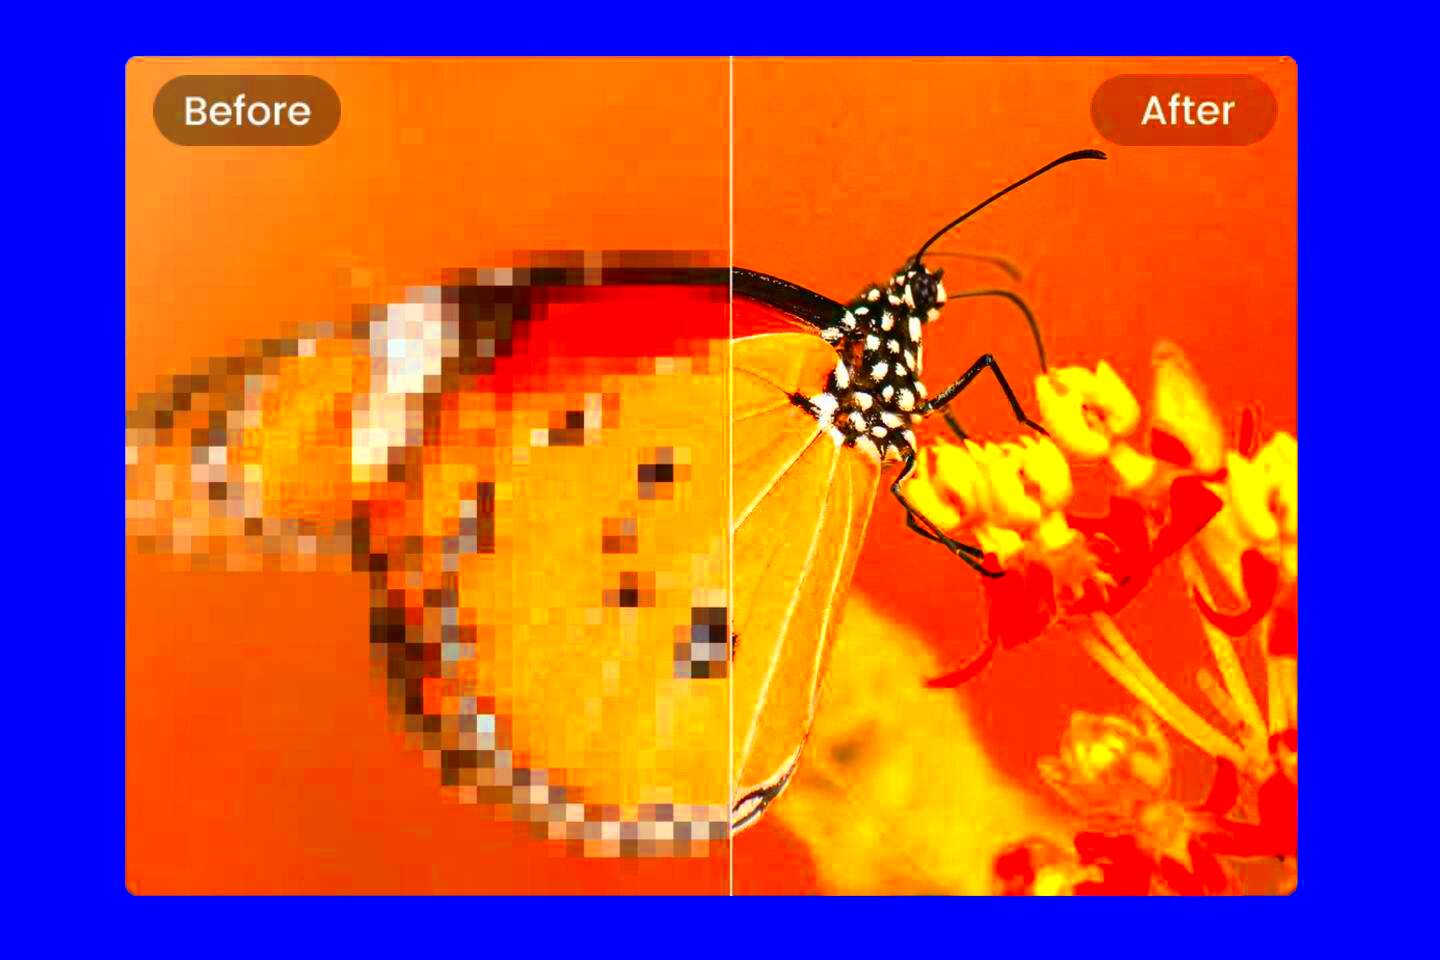
Pixelation is a common issue that occurs when an image loses its clarity and sharpness, often appearing blocky or blurry. This happens when an image is enlarged beyond its resolution limit or when its quality is reduced. The term "pixelated" comes from the tiny squares (pixels) that make up the
Why Pixelated Images Appear and How They Affect Quality

Pixelation generally occurs due to the following reasons:
- Low-resolution images: If an image was created or saved at a low resolution, it lacks the necessary pixel density to maintain clarity when viewed at a larger size.
- Image enlargement: Enlarging an image beyond its original size causes the pixels to stretch and become visible, leading to a blurry or blocky effect.
- Compression: When images are compressed, especially in formats like JPEG, they can lose fine details and become pixelated as a side effect of the compression process.
- File format: Certain file formats like PNG, GIF, or JPG may exhibit pixelation more easily than higher-quality formats like TIFF or BMP.
Pixelated images affect the overall quality of visuals, making them look unprofessional or unclear. Whether it's for personal use or professional projects, pixelation can detract from the visual impact of an image, which is why many people seek methods to unpixelate and restore their pictures to a sharper resolution.
Also Read This: Popular YouTube Creators Residing in Dallas Texas
Methods to Unpixelate an Image: An Overview

There are several ways to reduce or remove pixelation from an image. The best method depends on the severity of the pixelation and the tools you have available. Here are some common methods to restore image quality:
- Using online tools: Several online image enhancement tools, such as the one available on PNGEgg Downloader, can help you reduce pixelation quickly without needing advanced skills.
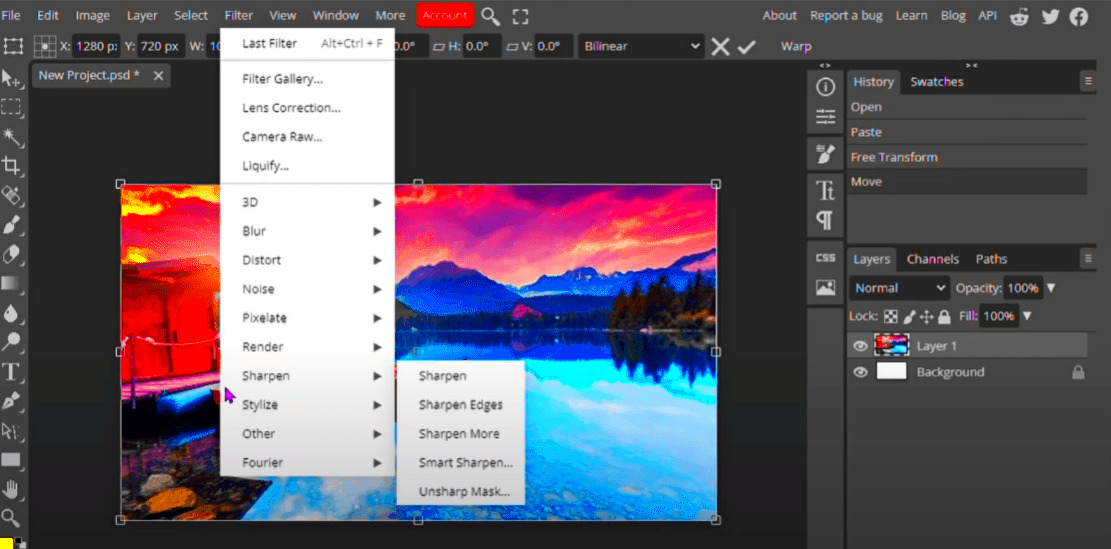
- Editing with software: Software like Adobe Photoshop or GIMP provides powerful editing features like blur filters, sharpening tools, and resolution adjustments that can improve pixelated images.
- Upscaling with AI: AI-based tools have become increasingly popular for unpixelating images. These tools use machine learning to "fill in" missing details, making pixelated images look more realistic.
- Vectorization: Converting the pixelated image into a vector format can help reduce pixelation by allowing for smooth lines and curves. This method works best for simple designs or logos.
Each method has its pros and cons, and it’s important to experiment to find which one works best for your specific image. Some methods may work better for restoring small details, while others are more effective for larger or highly pixelated areas.
Also Read This: how to add images to tiktok comments
Using Online Tools to Unpixelate Your Image
Online tools are an easy and convenient way to unpixelate images without needing complex software. These tools are typically free or offer a limited free version, making them a good option for quick fixes. You don’t need any advanced skills to use them, which is great for beginners.
Here’s how you can unpixelate an image using online tools:
- Choose a tool: Popular tools include PNGEgg Downloader, Fotor, and Let’s Enhance. Each tool has its strengths, but most work in similar ways.
- Upload your image: Simply upload your pixelated image to the website. Make sure the image is in a supported format (JPG, PNG, etc.).
- Adjust settings: Many online tools offer options to reduce pixelation, such as resolution enhancement or applying filters to smooth the image. Some also have AI-based features that automatically detect pixelation and attempt to correct it.
- Download the unpixelated image: After the process is complete, download the image. The quality may improve significantly, though results can vary depending on the severity of pixelation.
Online tools are especially useful for people who need a quick fix without installing any software. However, while they are convenient, they may not always achieve perfect results, especially with severely pixelated images. For more advanced control, using manual techniques with editing software may be a better option.
Also Read This: How to Get 10 Free Adobe Stock Images
Manual Techniques for Unpixelating an Image with Editing Software
If you’re looking for more control over the image restoration process, manual techniques in editing software like Adobe Photoshop or GIMP can be very effective. While these tools require a bit of a learning curve, they allow you to apply more specific fixes for pixelation.
Here are some common manual techniques you can use:
- Use the "blur" tool: In Photoshop or GIMP, you can apply a slight blur to soften the harsh edges of the pixels. The "Gaussian Blur" tool works well for this. Use it sparingly to prevent the image from becoming too soft.
- Enhance resolution: Increasing the resolution of your image can help reduce pixelation. Go to the image size menu in your software and increase the resolution to a higher value (e.g., 300 DPI). Then, apply sharpening filters to regain some of the lost details.
- Zoom and touch up manually: If the pixelation is minimal, you can zoom in on specific areas and manually correct it with the brush tool. This is time-consuming but allows for very precise adjustments.
- Use "Content-Aware" fill: In Photoshop, the Content-Aware Fill tool helps remove unwanted pixelated sections and fills in the gaps with surrounding pixels, blending them seamlessly.
Manual techniques allow you to have much more control over the outcome, but they can take longer to master. If you're willing to put in the time, these methods can produce excellent results, especially for images that need detailed restoration.
Also Read This: How to Record Music from YouTube and Save It for Offline Listening
Tips for Reducing Pixelation in Your Images
While it’s great to know how to unpixelate an image, it’s even better to prevent pixelation from happening in the first place. By following some simple tips, you can keep your images sharp and high-quality from the start.
Here are some practical tips to reduce pixelation in your images:
- Use high-resolution images: Always start with a high-resolution image, especially if you plan to enlarge it. High-resolution images have more pixels per inch, which means they can be resized without losing clarity.
- Avoid excessive enlargement: When resizing an image, try to avoid making it larger than its original dimensions. Enlarging an image too much will cause pixels to stretch and become visible. Stick to enlarging up to 20% or so of the original size for best results.
- Save in the right format: Some image formats, like JPEG, lose quality due to compression. If quality is important, consider using PNG, TIFF, or BMP, which retain more image detail.
- Adjust image settings properly: If you need to compress or resize an image, always use image editing software that allows you to control the quality and resolution settings. Avoid compressing an image too much, as this will create unwanted pixelation.
- Consider vector graphics for simple images: If your image is a logo or simple graphic, consider creating or converting it into a vector format (like SVG). Vector images are resolution-independent, meaning they can be resized without losing quality or becoming pixelated.
By keeping these tips in mind, you can minimize pixelation in your images and preserve their quality for longer. Preventing pixelation is always better than trying to fix it after the fact, so be proactive with your image settings and resolution.
Also Read This: How to Legally Use Storyblocks Content on Your YouTube Channel
Preventing Image Pixelation in the Future
While you can fix pixelation with the right tools, it's always better to prevent it from happening in the first place. By being mindful of how you handle and edit images, you can maintain their quality and avoid pixelation problems later on.
Here are some practical steps to prevent pixelation in your images:
- Start with high-resolution images: Whenever possible, always work with high-resolution images. The higher the resolution, the more detail it will have, making it easier to scale or edit without losing quality. Aim for images with at least 300 DPI (dots per inch) if you plan to print them or use them for professional purposes.
- Use the right image formats: Some file formats, like JPEG, can introduce compression artifacts that lead to pixelation. Formats like PNG or TIFF preserve more detail and reduce the risk of pixelation, especially for images that will be resized.
- Avoid excessive resizing: Enlarging an image too much is one of the biggest causes of pixelation. Always try to maintain the original size or only make small adjustments. If you need a larger image, it’s better to start with a higher resolution and downsize, rather than trying to stretch a low-resolution image.
- Use vector graphics for simple images: If your image is a logo or a graphic with simple shapes, consider using vector graphics (like SVG). Vector images can be resized infinitely without losing quality, which is ideal for creating designs that need to be used in various sizes.
- Proper image compression: If you need to compress an image, make sure to use a high-quality compression tool. Avoid overly aggressive compression settings that can degrade the image quality and introduce pixelation.
By following these tips, you can significantly reduce the chances of pixelation in your images, ensuring that your visuals remain sharp and professional.
Also Read This: How Does 123RF Pricing Work
Frequently Asked Questions (FAQ)
Here are some common questions people have when dealing with pixelation and how to fix it:
- Can pixelation be completely removed? While some online tools and software can significantly reduce pixelation, completely removing it may not always be possible, especially if the image was heavily pixelated to begin with. The effectiveness of pixelation removal depends on the severity of the issue and the method used.
- What’s the best resolution for images? The ideal resolution depends on the intended use of the image. For web use, 72 DPI is usually sufficient. For print, aim for at least 300 DPI to ensure sharpness and clarity.
- Are online tools better than manual editing? Online tools are quick and easy to use, making them ideal for minor pixelation. However, if you're looking for more control over the editing process, manual editing with software like Photoshop offers more advanced options for restoring image quality.
- Can I prevent pixelation by changing the file format? Yes, using file formats like PNG or TIFF, which don't lose quality due to compression, can help prevent pixelation. JPEG files, on the other hand, may show pixelation due to compression, especially at lower quality settings.
- How can I improve image quality for print? To ensure high-quality prints, start with a high-resolution image (at least 300 DPI). Also, use a lossless file format like PNG or TIFF and avoid excessive resizing or compression.
Conclusion: Improving Image Quality for Better Visual Appeal
Improving and maintaining image quality is essential, whether you’re working on personal photos, professional designs, or content for your website. By understanding why pixelation happens and following the right techniques, you can ensure that your images always look crisp, clear, and visually appealing.
Key takeaways for maintaining image quality:
- Always start with high-resolution images to avoid pixelation when resizing or enlarging.
- Choose the appropriate file format to retain the best quality and reduce compression-related issues.
- Use online tools for quick fixes, but manual editing can provide more precise control over pixelation.
- Follow preventive tips to avoid pixelation in the future, such as using vector graphics for logos or simple images and properly compressing files when needed.
By following these practices, you'll be able to improve the quality of your images and create visuals that are sharp, professional, and ready for any project. Whether you're creating content for your blog, social media, or printing materials, ensuring image clarity will always enhance your visual appeal.


