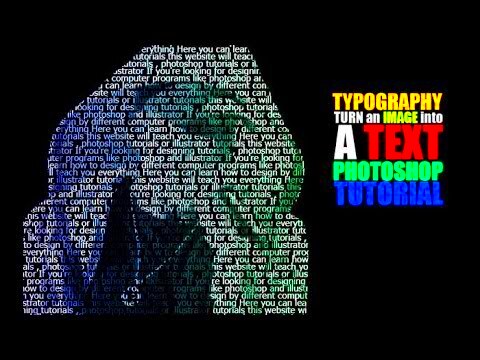
Turning an image into text in Photoshop is a creative way to add a unique touch to your designs. Whether you're working on a graphic for a social media post, website banner, or promotional material, this technique allows you to combine the visual appeal of images with the impact of text. In Photoshop, you can create text-based designs that include images as part of the lettering itself, giving you endless possibilities for creativity.
This process isn’t just about inserting an image into text but rather transforming that image to interact with the text. The result? A stunning graphic where the text becomes an integral part of the
Why Use Text Effects in Photoshop?
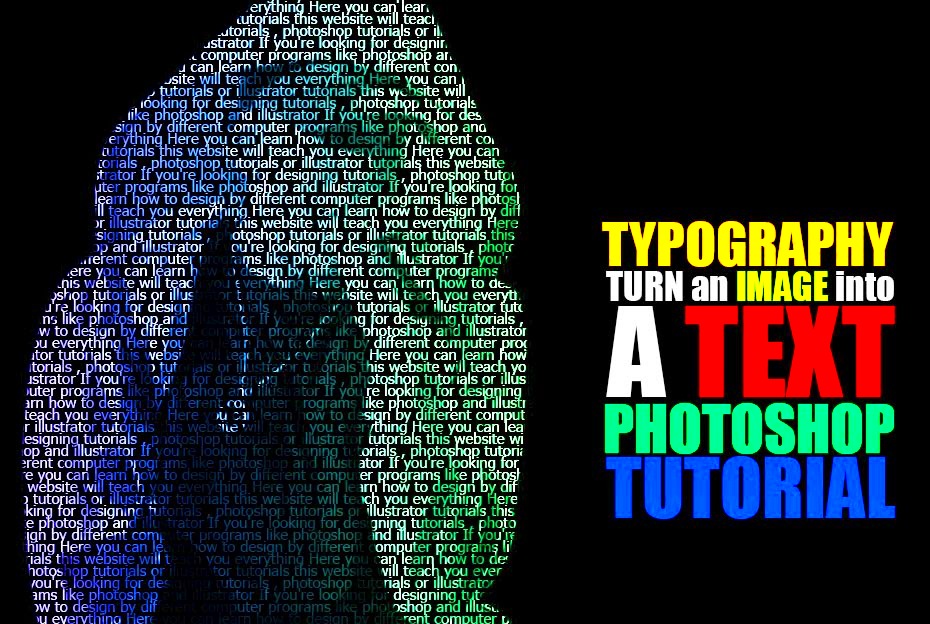
Text effects in Photoshop are more than just decorative—they help convey a message in a visually engaging way. By combining text with images, you can create a striking focal point that draws attention, all while delivering your message clearly. Here’s why text effects are valuable:
- Visual Appeal: Text effects can make your designs look more professional and polished.
- Enhanced Creativity: You can experiment with various textures, colors, and images to make the text part of your artwork.
- Effective Communication: Combining text and imagery helps communicate your idea in a more memorable and impactful way.
- Versatility: Text effects are perfect for a wide range of design projects, from website banners to album covers.
By using Photoshop’s advanced tools and features, you can make your text look like it's part of the image itself, offering more depth and interest than regular text on a plain background.
Also Read This: How the Grinch Stole Christmas Movie Images
Preparing Your Image for Text Conversion
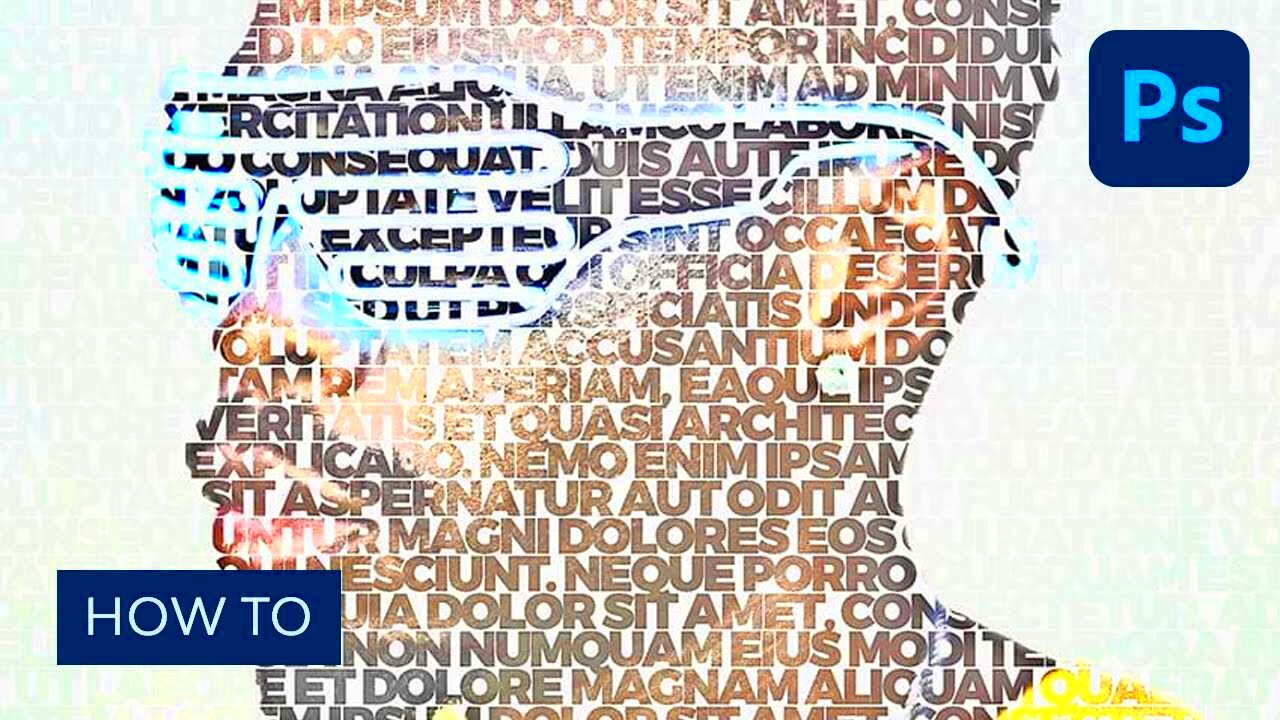
Before you start turning an image into text, it’s important to properly prepare both the image and the text for a seamless integration. Here’s how you can prepare:
- Choose the Right Image: Select an image that complements the text you plan to use. High-quality images work best for this effect.
- Ensure the Image Has Good Contrast: Images with strong contrasts (e.g., dark backgrounds with light elements) work better to showcase the text.
- Adjust Image Resolution: For clarity and precision, make sure the image has a high resolution, especially if you plan to print your design later.
- Clean Up the Image: If necessary, use Photoshop's editing tools to clean up the image by removing unnecessary elements or adjusting brightness and contrast.
Once your image is ready, the next step is to select the right text. Make sure the font you choose matches the theme of your project and complements the image. Bold or thick fonts often work best for
After preparing your image and text, you're ready to move on to the next step in creating stunning image-text effects in Photoshop.
Also Read This: Steps to Remove Color from an Image for a Clean Look
Steps to Turn an Image into Text in Photoshop
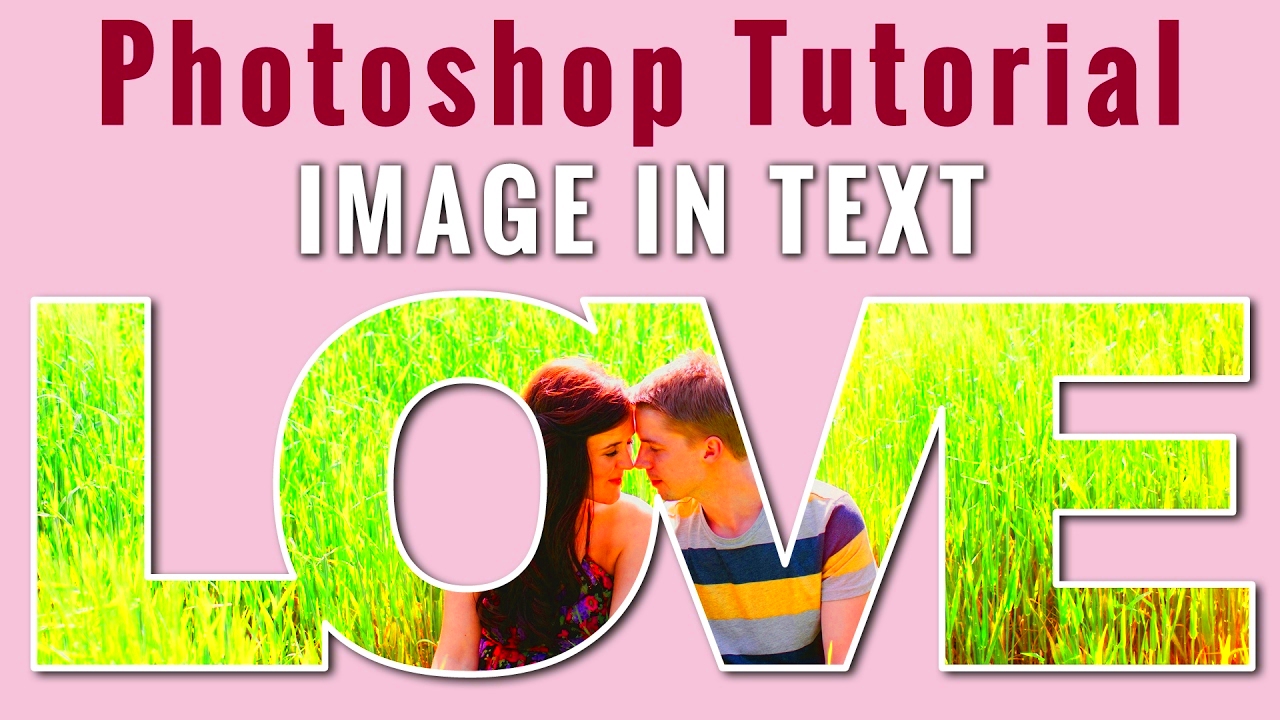
Turning an image into text in Photoshop is a fun and creative process, and it can be done in just a few simple steps. Follow these instructions, and you’ll be on your way to creating a stunning design where text and image come together seamlessly:
- Step 1: Open Your Image in Photoshop - Start by launching Photoshop and opening the image you want to use. You can do this by clicking on "File" and selecting "Open."
- Step 2: Create a New Text Layer - Choose the Text tool from the toolbar or press "T" on your keyboard. Click anywhere on the canvas and type the text you want to use. Adjust the font size, style, and color to suit your design.
- Step 3: Position the Text - Move your text into position, aligning it with the area of the image where you want the text to appear. Make sure it’s large enough to fill the space and showcase the image within the text.
- Step 4: Create a Clipping Mask - With the text layer selected, right-click on the text layer in the Layers panel and choose "Create Clipping Mask." This will allow the image to fill the text, effectively making the text appear as if it’s made from the image.
- Step 5: Fine-Tune the Text - You can further adjust the text by changing the text color, applying layer styles (like shadows or outlines), or tweaking the image inside the text for better visibility.
Once you’ve completed these steps, you’ll have a beautiful image-text combination that stands out in your design. Now, let's explore how to use the text tool effectively to enhance your results.
Also Read This: How to Add Music to YouTube Shorts on PC
Using the Text Tool in Photoshop
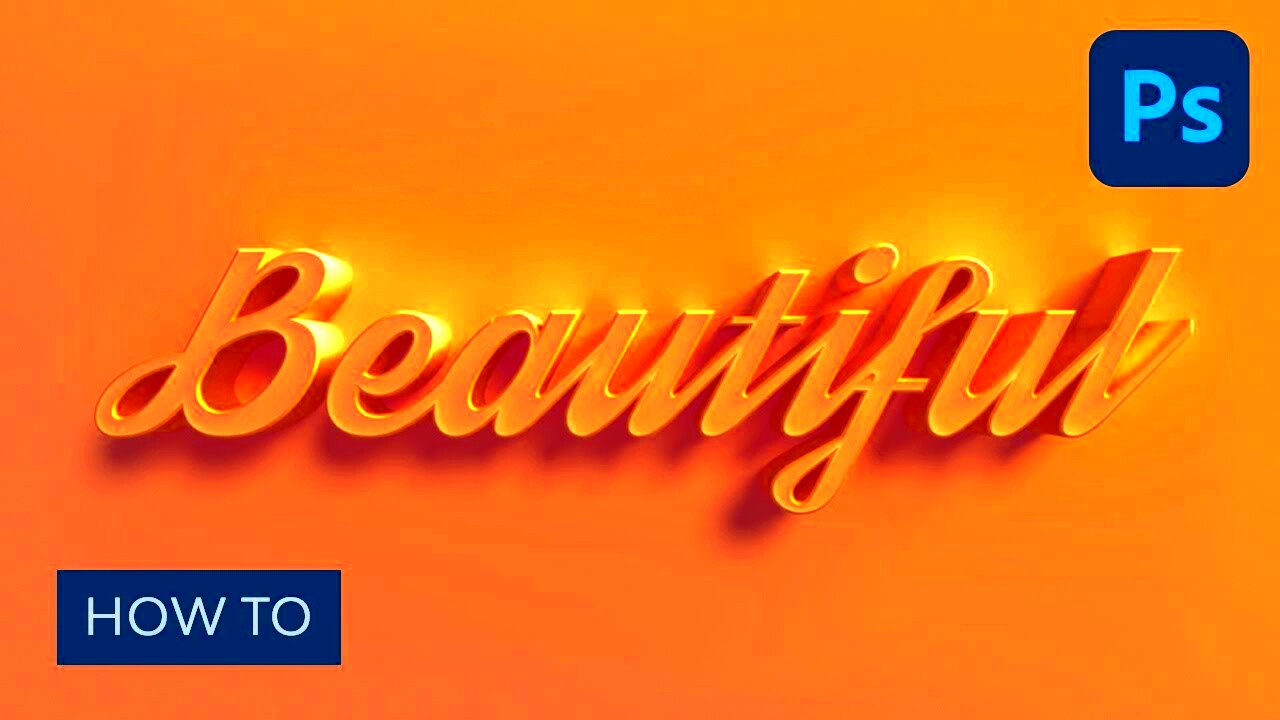
The Text tool in Photoshop is incredibly versatile and allows you to add, edit, and style text to create compelling designs. Here’s how you can make the most of it:
- Selecting the Right Font: Start by choosing a font that suits the theme of your design. For image-text effects, bold and thick fonts usually work better, as they allow the image to show through clearly.
- Adjusting Font Size: The size of your text is crucial. Make sure the text is large enough to contain the image within it, but not too large that it distorts the design.
- Text Alignment: Align your text properly within your canvas to ensure it fits the image and looks balanced. Use the alignment options in the top toolbar to center or adjust the text as needed.
- Using Layer Styles: Layer styles like drop shadows, glows, and outlines can add extra depth to your text and make it more prominent within the design. These are especially useful for text that might need more visibility against a busy image.
- Text Masking: Once your text is positioned, you can mask the text to allow an image to appear within it. This is done by placing the image layer above the text layer and creating a clipping mask.
By mastering the text tool, you’ll be able to experiment with different fonts, sizes, and styles to create text that perfectly complements your image, enhancing the overall design.
Also Read This: How to Embed Video on Behance to Showcase Your Creative Work
Enhancing Your Image-Text Effect
Once you've turned your image into text, it’s time to fine-tune the design and make the effect pop. Here are some ways to enhance your image-text combination:
- Adjusting Colors: Play with the color settings of the image or text to create more contrast or make the text stand out. You can use the "Hue/Saturation" adjustment layer to tweak the colors or apply gradient fills for a dynamic look.
- Adding Shadows or Highlights: Adding drop shadows or inner glows to your text can make it more defined against the image, making it pop off the page. Go to "Layer Style" and select "Drop Shadow" or "Outer Glow" to experiment with different effects.
- Applying Filters: Filters can change the texture or appearance of the image inside your text. For example, you might apply a blur or sharpen filter to give the image a different texture, adding more visual interest.
- Layer Masks for Fine Details: Use layer masks to selectively reveal or hide parts of the image within the text. This is useful if you want to emphasize certain areas or make your design look cleaner and more intentional.
- Blending Modes: Experiment with different blending modes for the text layer to interact with the image beneath it. Modes like "Overlay" or "Soft Light" can blend the text more naturally with the image, creating a harmonious effect.
Enhancing your image-text effect is all about adding depth, clarity, and visual appeal. By using Photoshop’s powerful tools, you can create a professional design that looks polished and truly stands out. Don’t be afraid to experiment with different settings until you achieve the perfect result.
Also Read This: Discover How to Use Transparent Vector Files from Shutterstock
Common Mistakes to Avoid While Creating Text Effects
When turning an image into text in Photoshop, it’s easy to make a few mistakes along the way. However, being aware of these common pitfalls can help you create cleaner, more professional-looking designs. Here are some mistakes to watch out for:
- Using a Low-Quality Image: Always ensure that the image you're using is high quality. A low-resolution image can appear pixelated or blurry when used within text, making your design look unprofessional.
- Choosing the Wrong Font: The font you choose should complement the image. Avoid overly complex or thin fonts that might not show the image well inside the text. Bold, clear fonts often work best for this effect.
- Not Considering Contrast: If the image within your text is too light or too dark compared to the background, it can be hard to see. Always make sure there’s enough contrast between your image and text to make the effect stand out.
- Overdoing Layer Styles: While layer styles like shadows and glows can enhance your design, using too many can overwhelm the image and make the text less readable. Keep it simple and subtle for the best results.
- Forgetting to Adjust Image Size: Sometimes the image inside the text may not fit perfectly. Be sure to resize or crop the image to make it fit well within the boundaries of your text. This can also help focus attention on the most important parts of the image.
Avoiding these common mistakes will help you create stunning text effects that look polished and professional. Take your time with each step and don’t be afraid to experiment!
Also Read This: How to Share TikTok Videos on YouTube Without Losing Quality
How to Save and Export Your Image with Text Effects
Once you've created your image-text effect, the next step is to save and export your design properly. Whether you're planning to print it or use it online, ensuring the file is in the right format is crucial. Here's how to save and export your work:
- Save Your PSD File: Always save a copy of your work in Photoshop’s native format (.psd) so you can make future edits without losing layers and effects.
- Exporting for Web: For web use, exporting your image as a JPEG, PNG, or GIF is a good choice. JPEG is great for photographic images, while PNG works best for images with transparency.
- Exporting for Print: If you plan to print your design, save your file as a high-resolution TIFF or PDF. These formats preserve the quality of your image and are ideal for printing.
- Choosing the Right Resolution: For print, set your resolution to 300 pixels per inch (PPI) to ensure crisp, sharp results. For web, a resolution of 72 PPI is standard and sufficient.
- Using Export As for Quick Adjustments: Photoshop's "Export As" option allows you to quickly adjust settings such as file format, quality, and size. It’s a great tool for preparing files for various uses without compromising quality.
Once you’ve chosen the best file format and resolution, click “Export” and you’ll have your design ready to go. Make sure to back up your original .psd file so you can edit it again in the future.
Also Read This: How to Curve an Image with Ease
FAQ
Q: Can I use any image for this text effect?
A: It’s best to use high-quality images with good contrast. Images that are too busy or low resolution may not work as well inside the text.
Q: What type of fonts should I use for the image-text effect?
A: Bold fonts or thick fonts work best as they allow the image to show through more clearly. Avoid overly thin or delicate fonts as they might make the image look distorted.
Q: How do I improve visibility if my text is hard to read on the image?
A: Adjust the contrast between the text and the image or apply a subtle shadow effect to the text to make it stand out more. You can also try changing the text color or adding an outline to the letters.
Q: Is there a way to resize the image inside the text?
A: Yes, you can use the "Free Transform" tool (Ctrl + T) to resize the image within the text. This allows you to position and scale the image to fit perfectly within the text.
Q: Can I use this technique for other designs, not just text?
A: Absolutely! The method of placing an image inside text can also be applied to logos, shapes, and other design elements, allowing for versatile creative possibilities.
Conclusion
Turning an image into text in Photoshop is a fantastic way to add a creative and eye-catching element to your designs. By combining the visual appeal of an image with the power of text, you can create designs that are both engaging and meaningful. Whether you are designing for social media, advertisements, or personal projects, the steps outlined in this guide will help you master this technique. Remember to experiment with different fonts, images, and effects to truly make your text stand out. With practice and attention to detail, you'll be able to create polished, professional designs that captivate your audience.
