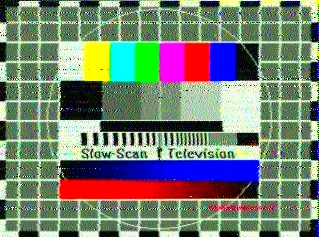
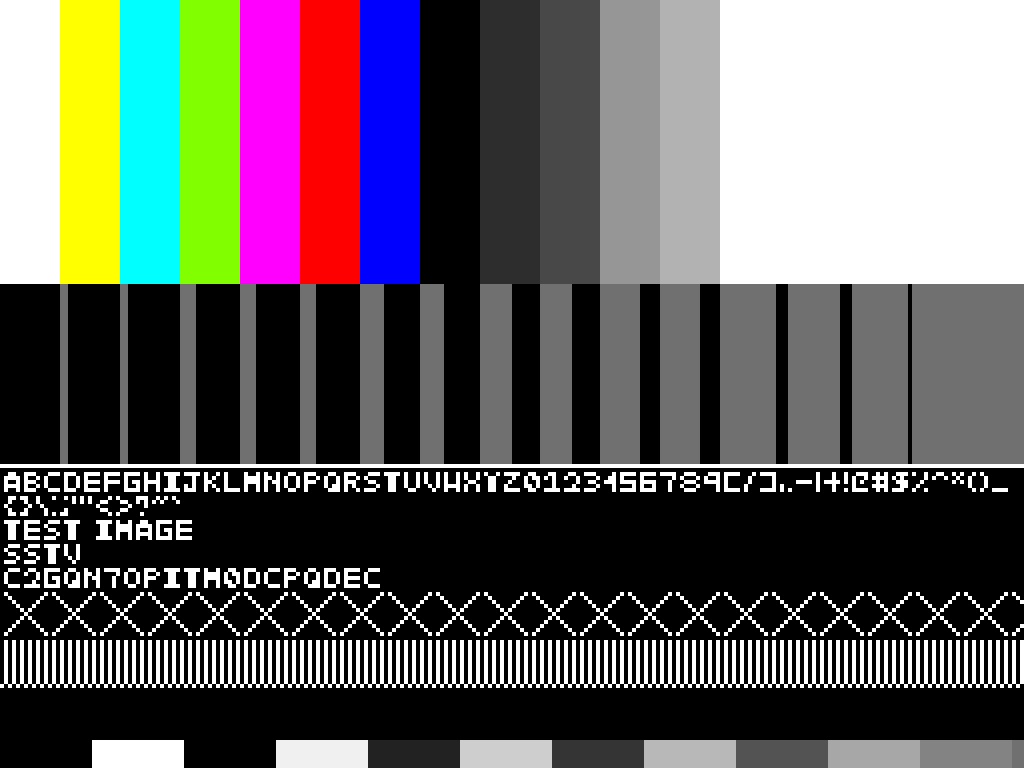
Slow Scan Television (SSTV) is a method of transmitting images over radio waves. Unlike regular television, which sends images in real-time, SSTV sends images slowly, allowing for a detailed representation. This technique is popular among amateur radio enthusiasts, artists, and educators. By converting images into SSTV format, you can share visuals in unique ways, making it a fascinating tool for communication.
SSTV is commonly used for:
- Amateur radio broadcasts, where operators can share pictures with each other.
- Educational purposes, allowing teachers to engage students through visual aids.
- Art projects, where artists can experiment with transmitting their work in an innovative format.
In short, SSTV scans offer a creative outlet for transmitting and sharing images, bridging the gap between traditional and modern communication methods.
Preparing Your Image for SSTV Scanning

Before diving into SSTV scanning, it's essential to prepare your image properly. The quality of your final SSTV scan depends heavily on the image you start with. Here are some tips for preparing your
- Choose the Right Format: Start with a high-resolution image in a commonly used format like JPG or PNG.
- Size Matters: Keep your image within the recommended dimensions, ideally between 320x240 and 640x480 pixels.
- Color Depth: Ensure your image has a suitable color depth (usually 8 bits per channel works well).
- Clear Background: Opt for images with minimal background noise to enhance the details in your SSTV scan.
Taking these steps will help ensure that your image translates well into the SSTV format, providing a clearer and more engaging final product.
Also Read This: Mastering the Art of Wearing a Square Hijab for Effortless Style
Steps to Convert an Image into SSTV Format

Now that your image is ready, it’s time to convert it into SSTV format. Here’s a straightforward guide to help you through the process:
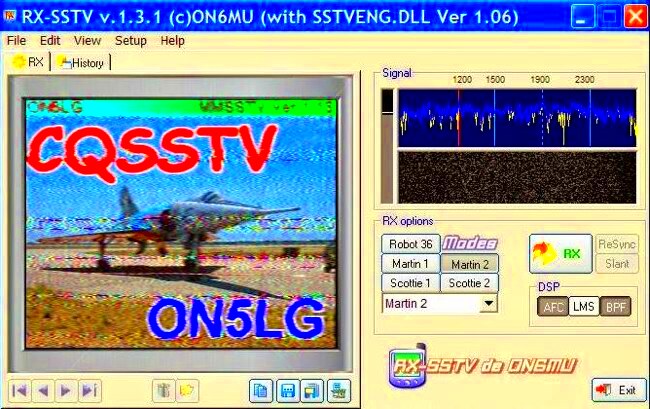
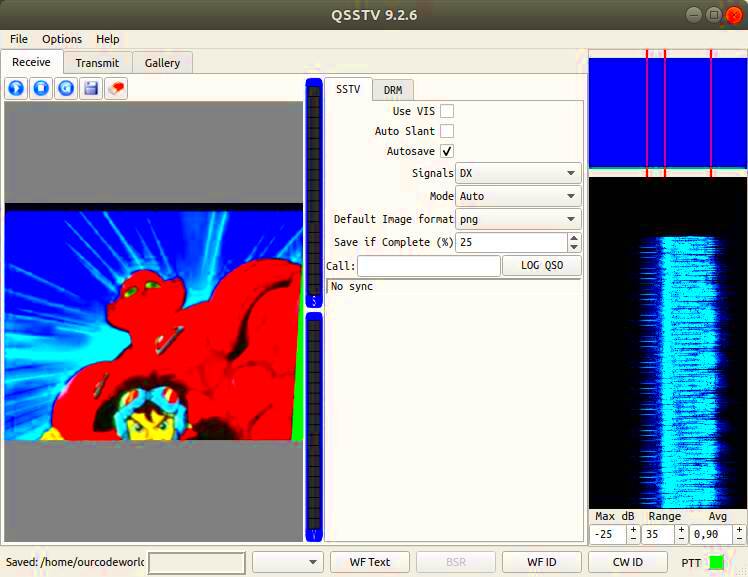
- Select Your SSTV Software: Choose a suitable SSTV software program that supports image conversion. Some popular options include MMSSTV and QSSTV.
- Open the Image: Launch your chosen software and load your prepared image file.
- Adjust Settings: Before conversion, make sure to adjust the settings according to your desired SSTV mode. Common modes include Scottie and Martin.
- Convert the Image: Initiate the conversion process within the software. This will transform your image into an SSTV format.
- Test Transmission: Finally, test your SSTV scan by transmitting it over the airwaves or sharing it with friends.
Following these steps will help you successfully create an SSTV scan from your image, ready to be shared with the world.
Also Read This: Pixelating Images for Privacy and Style
Using Canva Downloader for Image Conversion

If you're looking for an easy way to convert images for SSTV, Canva Downloader is a fantastic tool. Canva is known for its user-friendly interface and wide range of design features, making it a great choice for preparing images. Here’s how you can use Canva Downloader effectively:
- Create an Account: If you don’t have a Canva account yet, sign up for free. This will give you access to all their features.
- Design Your Image: Use Canva's templates or create your design from scratch. Be mindful of the dimensions; aim for a resolution that works well with SSTV.
- Download the Image: Once you're satisfied with your design, click the download button. Choose a compatible format, like PNG or JPG.
- Upload to SSTV Software: Open your SSTV software and upload the downloaded image to begin the conversion process.
Canva Downloader not only simplifies the design process but also ensures that your images are visually appealing and ready for SSTV conversion. It's an excellent choice for both beginners and experienced users alike!
Also Read This: Making Images Transparent in Paint
Tips for Optimizing Your SSTV Scans
Creating stunning SSTV scans goes beyond simply converting an image. Here are some tips to help you optimize your scans for better clarity and quality:
- Use High-Quality Images: Start with high-resolution images to ensure maximum detail in your scans.
- Reduce Noise: Clean up your image by removing unnecessary elements or noise. This can help the SSTV scan focus on what matters most.
- Experiment with Color: Use vibrant colors for better results, as SSTV can sometimes dull images. Adjust the saturation and contrast to enhance visibility.
- Test Different Formats: Don’t hesitate to experiment with various image formats to see which yields the best results in SSTV.
By following these tips, you'll ensure that your SSTV scans are as clear and engaging as possible, making your images stand out.
Also Read This: How to Upload Long Videos to YouTube
Common Issues in SSTV Scanning and How to Fix Them
SSTV scanning can be an exciting process, but you might encounter some common issues along the way. Here’s a list of frequent problems and simple solutions to help you troubleshoot:
| Issue | Possible Cause | Solution |
|---|---|---|
| Image is distorted | Incorrect settings in the SSTV software | Double-check your settings and try different SSTV modes. |
| Color loss in the scan | Low-quality image or incorrect color depth | Use higher quality images with appropriate color depth. |
| Scan is not transmitting | Incorrect audio settings | Ensure your audio settings are configured properly for transmission. |
| Slow transmission speed | Network issues or overloaded software | Check your internet connection and restart the software if needed. |
By addressing these common issues, you can enhance your SSTV scanning experience and create better images for sharing. Don't let minor problems deter you—each challenge is a chance to learn and improve!
Also Read This: The Perfect Size for Your YouTube Banner Design Tips and Recommendations
Exploring Different SSTV Modes
When working with Slow Scan Television (SSTV), it's essential to understand that there are various modes, each serving different purposes and offering unique characteristics. Each mode defines how the image is transmitted and affects the overall quality and detail of the SSTV scan. Let's dive into some popular SSTV modes:
- Martin Mode: This mode is one of the most widely used, known for its balance between quality and transmission speed. It’s suitable for standard images, making it a great starting point for beginners.
- Scottie Mode: This mode offers higher resolution and is excellent for transmitting detailed images. It's a bit slower than Martin but provides clearer results, making it popular among enthusiasts.
- PD Mode: Short for "Picture Data," this mode is specifically designed for transmitting monochrome images. While it lacks color, it’s very effective for simple graphics and text.
- JPG Mode: This mode allows you to transmit images in JPEG format. It's beneficial when you need to maintain quality but still want a smaller file size.
Choosing the right SSTV mode depends on your goals and the specific image you want to share. Experimenting with different modes can help you discover which one works best for your needs!
Also Read This: Linking a Video to Your Dailymotion Channel
Frequently Asked Questions
As you explore SSTV scanning, you might have some questions. Here are a few frequently asked questions that can help clarify your understanding:
- What equipment do I need for SSTV? To get started, you’ll need a computer with SSTV software, a radio transceiver, and an audio interface to connect everything.
- Can I use any image format for SSTV? While you can use various formats, JPG and PNG are the most commonly recommended due to their quality and compatibility.
- How long does it take to send an SSTV scan? Transmission time can vary based on the mode used. For example, Martin mode typically takes around 1-2 minutes for a standard image.
- Is SSTV legal everywhere? Regulations on SSTV usage can vary by country. Always check your local laws regarding amateur radio transmissions.
These questions are just a starting point. Don’t hesitate to reach out to the SSTV community for more insights and advice!
Conclusion on Creating Effective SSTV Scans
In conclusion, creating effective SSTV scans can be a rewarding and creative endeavor. By understanding the basics of SSTV, preparing your images correctly, and exploring different modes, you can enhance your scanning experience. Remember, it’s all about practice and experimentation. Here are a few key takeaways:
- Image Quality is Key: Start with high-quality images to ensure better results.
- Experiment with Modes: Don’t hesitate to try different SSTV modes to find the one that suits your needs.
- Stay Informed: Engage with the SSTV community and stay updated on best practices and tips.
With patience and persistence, you can master SSTV scanning and enjoy sharing your images in this unique format. Happy scanning!

 admin
admin


