In the beginning, tracing images in Photoshop might appear hard to some people but it is an important skill worth mastering. You can apply this for vector graphics, personalized illustrations or modifying pictures. It promotes inventiveness. This guide explains how to go about tracing pictures correctly while getting familiar with tools and methods used in Photoshop. Subsequently, one would come to realize that tracing is fun as well as rewarding after practicing.
Understanding the Basics of Image Tracing
It is important to understand what tracing means before studying it. Tracing an image means drawing a line around that particular image so as to make it easier for you to work on it later. The following are things worth noting:
- Raster vs. Vector: Raster images are made of pixels, while vector images are composed of paths. Tracing helps convert raster images into vector formats.
- Why Trace? Tracing allows for easier editing, scaling without losing quality, and creating unique designs based on existing images.
- Common Uses: Tracing is used in logo design, digital illustrations, and animations.
Tracing in Photoshop may sound simple, but it can be quite difficult if you are not familiar with the general principles. Therefore, understanding just the basics will enable you to build a strong platform from which you can begin your tracing expedition in Photoshop.
Also Read This: how to add an image to email signature
Preparing Your Workspace for Tracing
Your tracing experience can greatly improve simply by having a well set up work environment. These are some tips to help you configure Photoshop to produce quality results:
- Open Your Image: Start by opening the image you want to trace. Go to File > Open, and select your image file.
- Adjust Canvas Size: Make sure your canvas is large enough for your tracing needs. You can resize it by going to Image > Canvas Size.
- Set Up Layers: Create a new layer for your tracing. This keeps your traced paths separate from the original image, allowing for easier adjustments. You can add a new layer by clicking on the New Layer icon at the bottom of the Layers panel.
- Adjust Opacity: Lower the opacity of the image layer so that your traced paths stand out. This can be done by selecting the image layer and adjusting the opacity slider in the Layers panel.
Once your work area is all done up, you will be good to go before long – well on your way to tracing those images comfortably.
Also Read This: how to tell if the image water mark
Using the Pen Tool for Precise Tracing
If it’s about accurately tracing, the Pen Tool in Photoshop is your reliable companion. It may require some practice before one can become perfect in using it but once learnt well, you will value its control. Therefore here are some helpful tips on how to effectively make use of the Pen Tool:
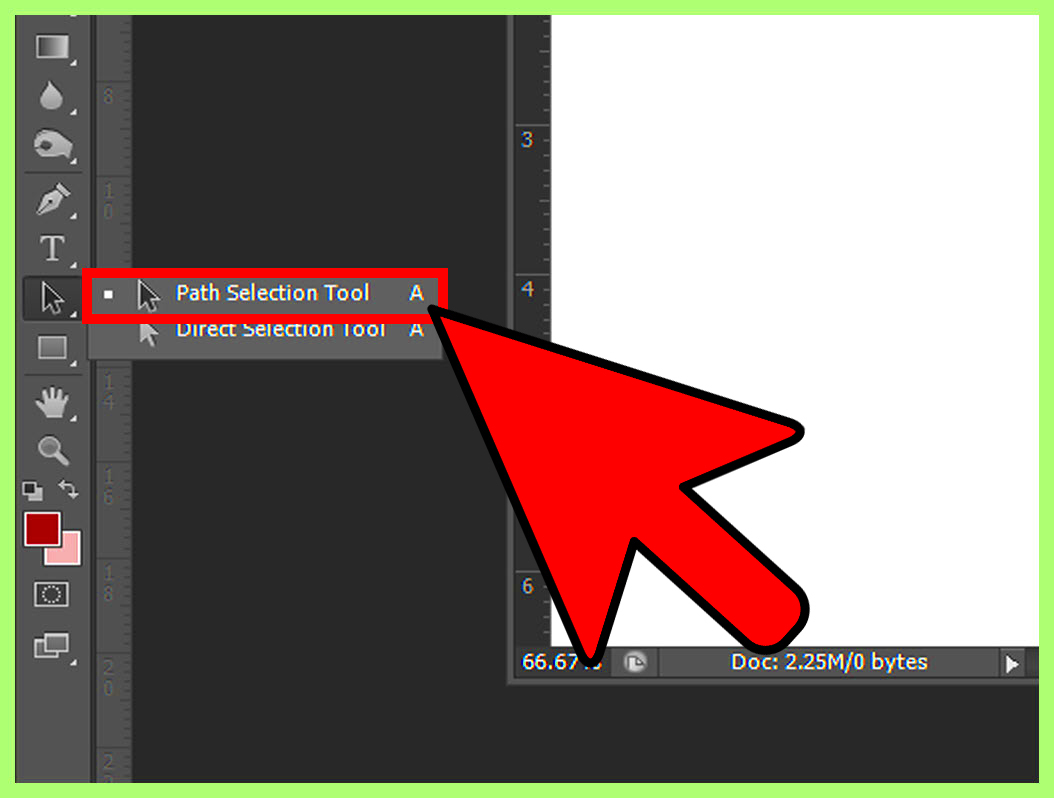
- Select the Pen Tool: You can find the Pen Tool in the toolbar or by pressing the letter P on your keyboard.
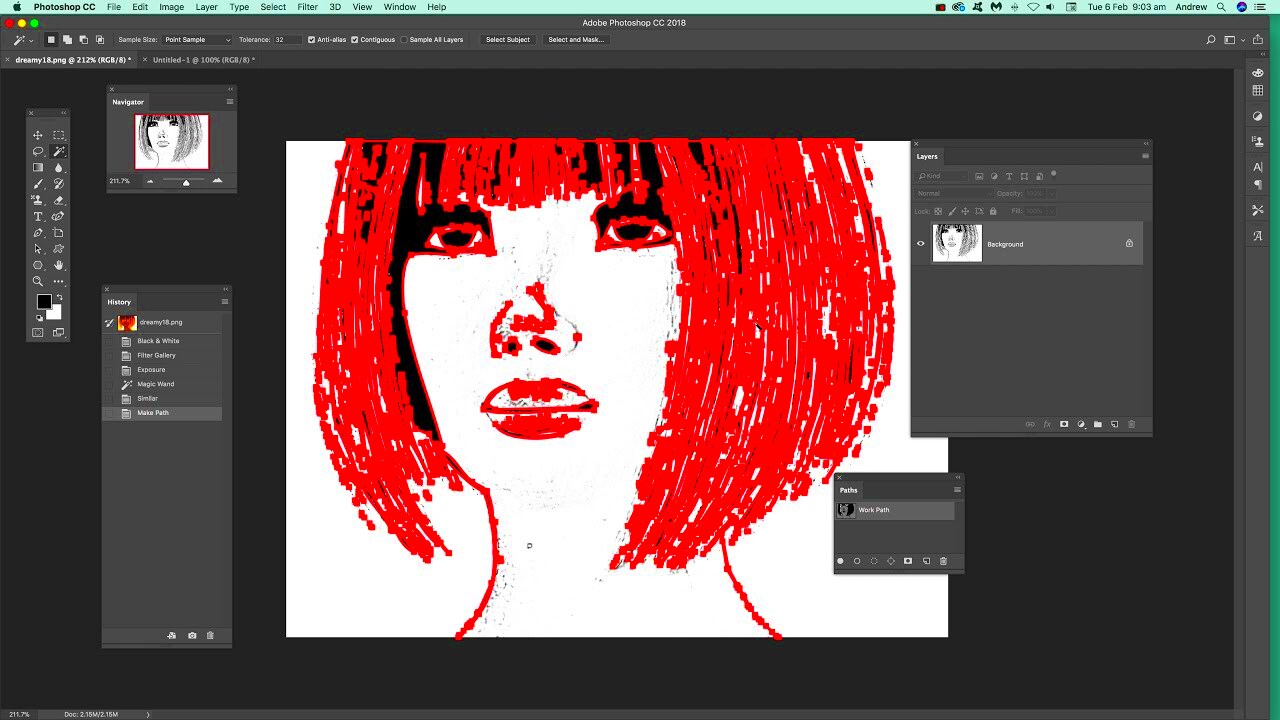
- Create Anchor Points: Click on the image to create anchor points. These points define the path you’re tracing. The more points you add, the more detail you can capture.
- Curved Lines: To create curves, click and drag the anchor points. This will give you handles that allow for smooth transitions.
- Close Your Path: Once you’ve traced the outline, connect the last point to the first to close the path. This makes it easier to fill with color later.
Do not forget to engage in practicing! When you utilize the Pen Tool frequently, you will be able to handle it more easily. As time goes on, you will notice that it becomes second nature which means you can trace with precision and detail.
Also Read This: How to Upload a Video to YouTube Using Your iPhone
Applying Color and Effects After Tracing
After finishing your tracing, it’s now the time to add some life into it. Colors and effects may help enliven the image that you traced. That is how you can go about it:
- Fill the Path: Select your traced path, then go to Layer > New Fill Layer > Solid Color. Choose your desired color and click OK.
- Layer Styles: Enhance your design by adding layer styles. Right-click on the layer and select Blending Options. Here, you can add shadows, strokes, or gradients.
- Brush Effects: Use different brush tools to add textures or details. You can change the brush settings to create various effects.
- Opacity Adjustments: Don’t be afraid to adjust the opacity of your layers. This can create depth and make your image more visually interesting.
Test out a range of shades and effects for your design to discover what suits it best. The amazing thing about using Photoshop is that you can reverse or adjust all your choices anytime until you are happy!
Also Read This: Filling Text with an Image for a Creative Effect
Saving and Exporting Your Traced Images
Exporting and saving your traced images accurately is important after all of your devoted work. Here’s the correct procedure:
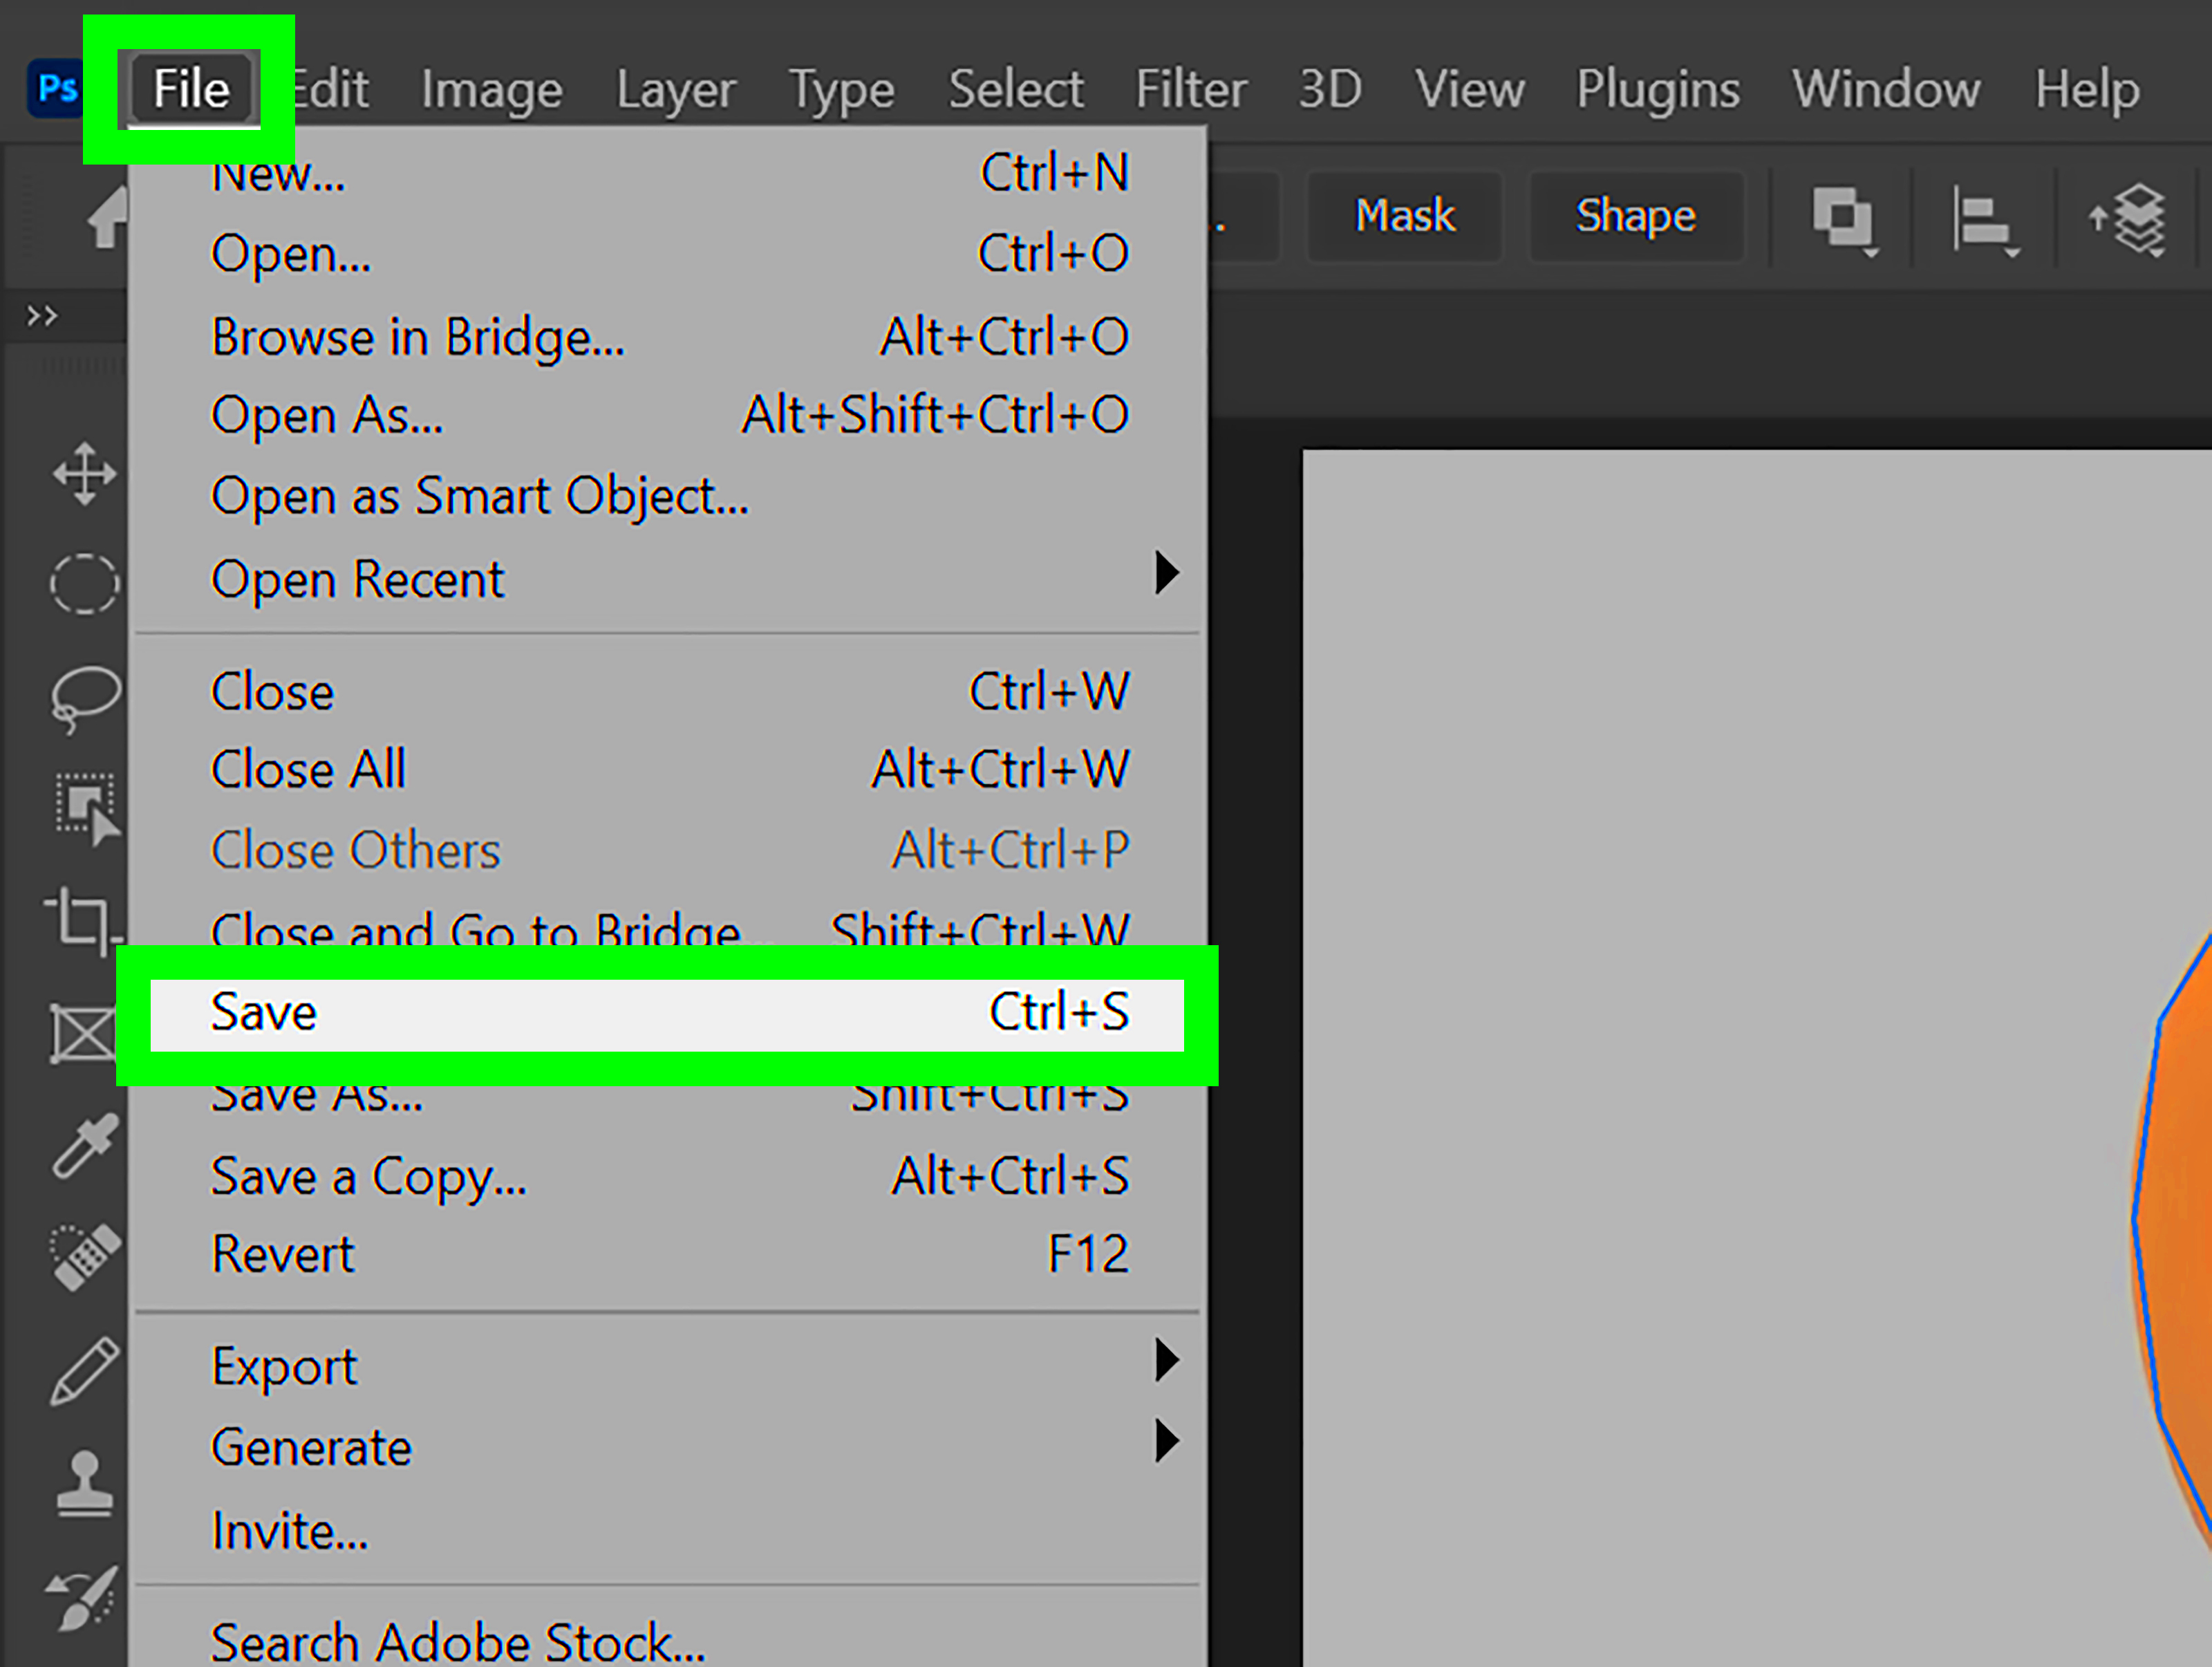
- Save Your Project: First, save your project in Photoshop format (.PSD) to retain all layers and settings. Go to File > Save As, and choose Photoshop as the file type.
- Export for Different Uses: Depending on where you plan to use the image, you might need to export it in different formats:
- Choose Export Settings: When exporting, select the appropriate settings for your chosen format. Pay attention to options like quality and size.
- Finalize and Save: After adjusting settings, click Export. Make sure to save your files in a location where you can easily find them later!
| Format | Best For |
|---|---|
| JPEG | Web use, photos |
| PNG | Images with transparency |
| SVG | Vector graphics |
You will be prepared to share your traced photographs with the planet after following these guidelines. Have fun while doing this and let your imagination take flight!
Also Read This: Understanding Earnings from Adobe Stock Downloads
Common Mistakes to Avoid While Tracing
It’s a lot of fun to trace images, but it can also be very frustrating since it’s easy to make mistakes. Therefore, this article will highlight some of the most common pitfalls you should avoid when tracing pictures:
- Too Many Anchor Points: While it might be tempting to place a lot of anchor points for detail, this can actually make your path more complicated. Aim for fewer, well-placed points to create smooth curves.
- Not Using Layers: Forgetting to use layers can make your work messy and hard to edit. Always create a new layer for your traced path to keep things organized.
- Ignoring Image Quality: Starting with a low-resolution image can lead to poor tracing results. Always use high-quality images for the best outcome.
- Skipping the Practice: Tracing is a skill that takes practice. Don’t expect to be perfect on your first try. Keep practicing to improve your technique.
- Rushing the Process: Tracing can be time-consuming, but rushing can lead to mistakes. Take your time to ensure accuracy and quality.
For any of the common mistakes to be avoided, therefore improving your tracing experience and producing better results in Photoshop.
Also Read This: Creating Unique Handbags at Home with Dailymotion DIY Videos
Tips for Improving Your Tracing Skills
It does require time, energy and persistence to develop your tracing skills but there are several techniques that can help you out. Some strategies include:
- Practice Regularly: The more you practice, the better you’ll get. Try tracing different types of images to expand your skills.
- Study Others’ Work: Look at the work of experienced artists. Analyzing their techniques can give you insights into how to improve your own tracing.
- Use Keyboard Shortcuts: Familiarize yourself with Photoshop’s keyboard shortcuts. They can speed up your workflow and make tracing more efficient.
- Experiment with Different Tools: Try using various tools, like the Brush Tool or Shape Tool, alongside the Pen Tool for different effects.
- Seek Feedback: Share your work with friends or online communities. Constructive feedback can help you identify areas for improvement.
Integrating these guidelines into your day-to-day activities will see remarkable improvement in tracing skills and enhancement of self-assurance in handling Photoshop!
Also Read This: How to Make Dresses at Home with a Simple DIY Clothing Tutorial
Frequently Asked Questions About Image Tracing
Beginning people may be quite questioning about image tracing. Some of the frequently asked questions and their answers are given:
- What is image tracing? Image tracing is the process of creating a vector representation of a raster image by defining paths around the shapes and colors within the image.
- Why should I use the Pen Tool for tracing? The Pen Tool allows for precision and control when creating paths, making it ideal for detailed tracing work.
- Can I trace images for commercial use? Always check the licensing of the original image. If the image is copyrighted, you may need permission to use it commercially.
- What file formats can I export my traced images to? You can export traced images in various formats, including JPEG, PNG, and SVG, depending on your needs.
- How can I practice tracing? You can practice by tracing over different images, experimenting with various tools in Photoshop, and trying out different styles.
In case there are any more inquiries or if further elaboration is needed, you can always reach out for more assistance or get in touch with those who are knowledgeable in the subject matter!
Conclusion and Final Thoughts on Tracing Images
Photoshop tracing images is important for creating new opportunities for art and design. If you want to achieve a beautiful piece of artwork, begin with the basics of tracing, learn about important equipment like the Pen Tool, and carefully apply colors and effects. Common errors must be avoided at all costs and you have to keep on improving your level of expertise. Perpetual practice is essential as you become more certain and skilled through it. Immerse yourself into the process, try out various styles or approaches and do not shy away from experimentation. Through hard work and inventiveness, digital art can change completely by tracing!
 admin
admin


