Tracing images online has become a simple and effective way to create vector versions of raster images or replicate designs. With the rise of digital tools, anyone can trace images without needing expensive software or advanced skills. Whether you're a designer, artist, or hobbyist, tracing images can help you create cleaner, more versatile visuals that are perfect for editing, printing, or personal projects. By using online tracing tools, you can get professional-quality results with ease, even if you're just starting out. The best part? Many tools are user-friendly and accessible to everyone.
Why You Might Need to Trace an Image

Tracing an image is a popular technique for a number of reasons, especially when dealing with digital artwork, designs, or photographs. Below are some common reasons why people trace images online:
- Design Replication: If you have a design that you want to replicate or modify, tracing it gives you a cleaner and editable version.
- Creating Vector Images: Tracing is often used to convert raster images (like JPEGs) into scalable vector images (such as SVGs) for better quality and resizing flexibility.
- Improving Image Quality: Tracing allows you to clean up blurry or pixelated images by recreating them with sharper lines.
- Logo and Branding Work: Businesses often need vector versions of logos and designs. Tracing allows you to create precise, professional versions that can be used for multiple formats.
- Educational or Artistic Purposes: Artists and students may use image tracing to practice sketching techniques or learn design fundamentals.
Tracing an image can be a simple solution when you need to work with a design that needs to be more flexible or editable. Whether you're creating graphics, logos, or illustrations, tracing can help you turn any image into a usable format.
Also Read This: A Famous Psychic Becomes a YouTube Sensation
Tools Available for Tracing Images Online

There are a variety of online tools available that make tracing images easy and accessible. These tools range from simple websites that automatically trace images to more complex programs that give you full control over the tracing process. Here are some of the most popular tools:
- PNGWing: This tool allows you to trace and download transparent PNG images from various sources, offering a simple way to trace objects with a clean background.
- Vector Magic: A powerful tool that automatically traces raster images and converts them into vector art with excellent accuracy and quality.
- Autotracer.org: A free online tool that converts raster images into vector formats. It's easy to use and perfect for beginners.
- Photopea: A free alternative to Photoshop that offers tools for both image editing and tracing. It works well for users who need more control over the tracing process.
- Adobe Illustrator (Online Version): While Illustrator is not completely free, Adobe offers an online version that includes tools for image tracing with a high level of precision.
These tools vary in terms of complexity and cost, but most offer a user-friendly interface that allows you to trace an image easily. Whether you're looking for a fast solution or a more advanced tool for customizations, there's an online tool that can meet your needs.
Also Read This: Adobe Stock Watermark Remover: Free and Paid Tools
Step-by-Step Guide on How to Trace an Image Online

Tracing an image online can seem daunting at first, but with the right approach, it's a simple and quick process. Here's a step-by-step guide to help you trace your images with ease:
- Choose the Right Tool: Select an online image tracing tool that suits your needs. If you're looking for automatic tracing, tools like Vector Magic or AutoTracer are great options. If you want more control, Photopea or Adobe Illustrator might be the better choice.
- Upload Your Image: Most tools will have an option to upload your image. Ensure your image is high-quality for the best tracing results. You can usually drag and drop or browse your files to select the image.
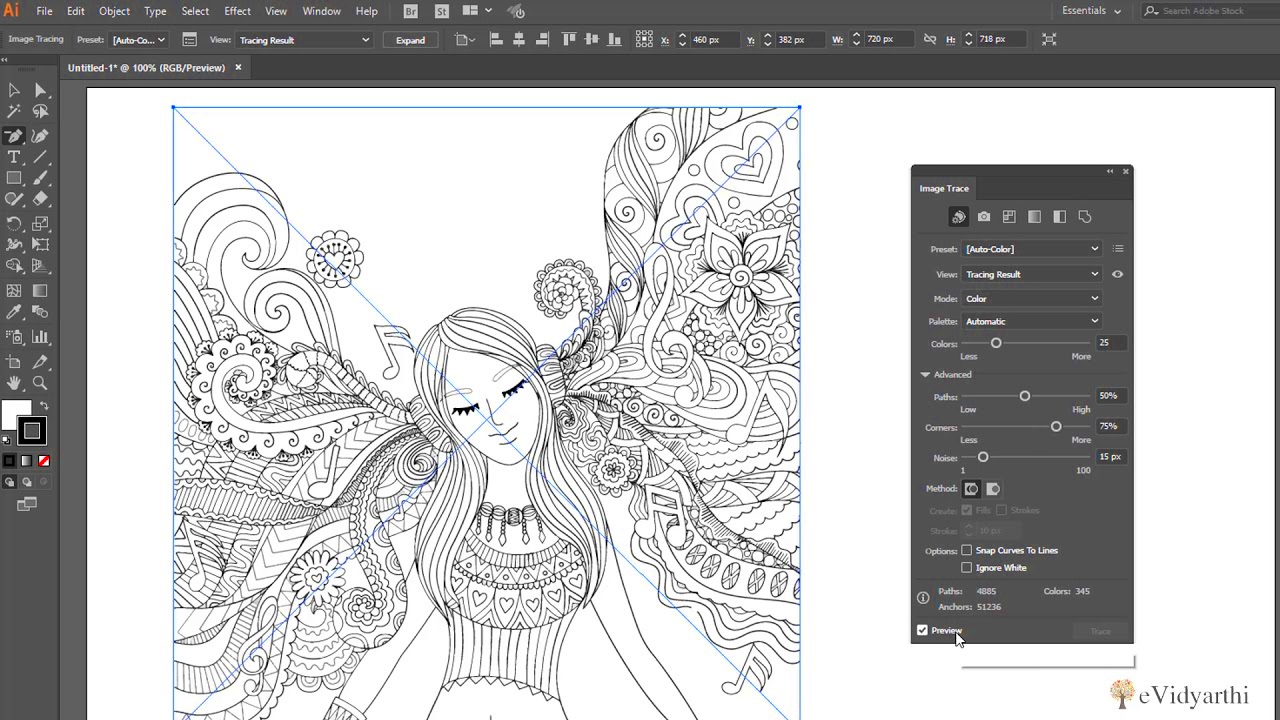
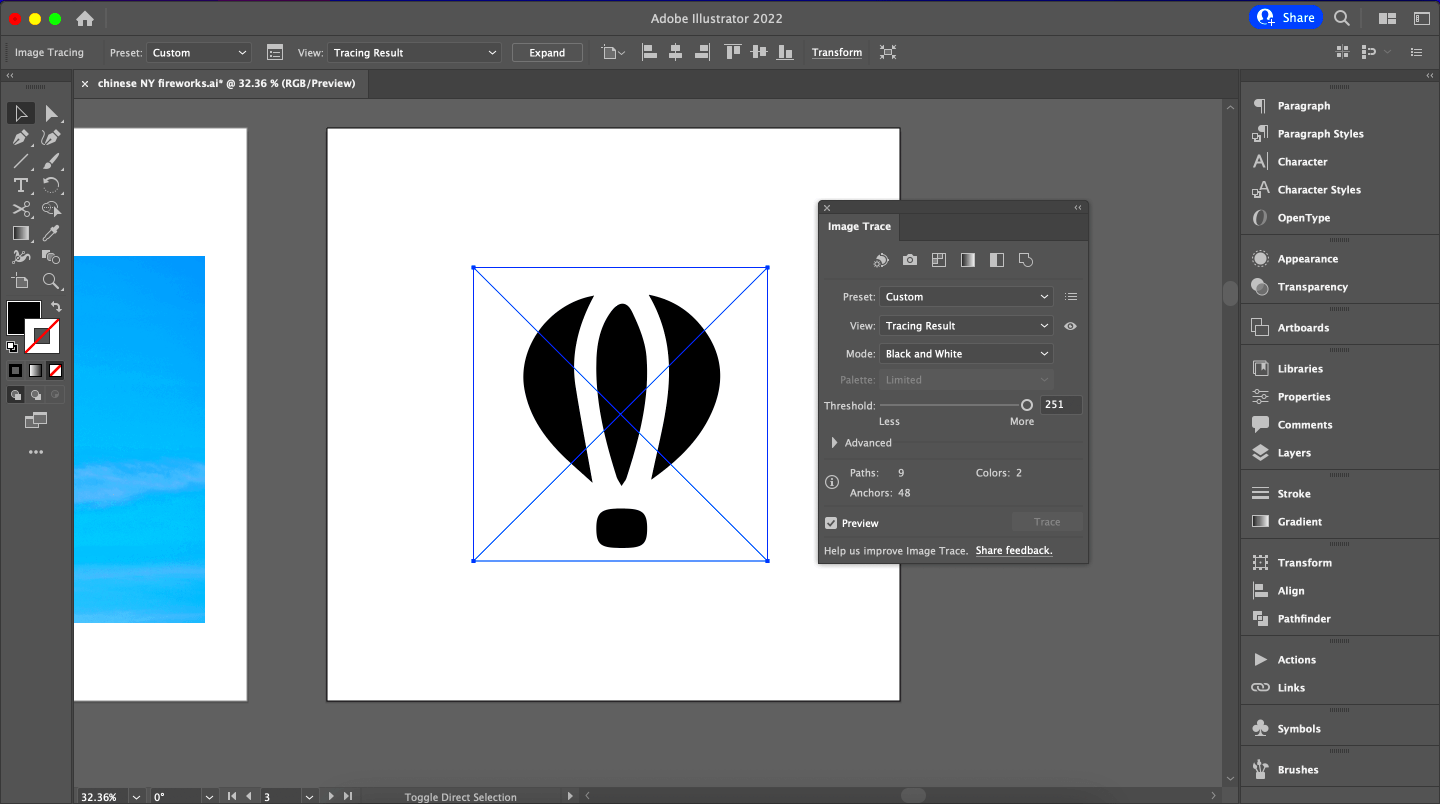
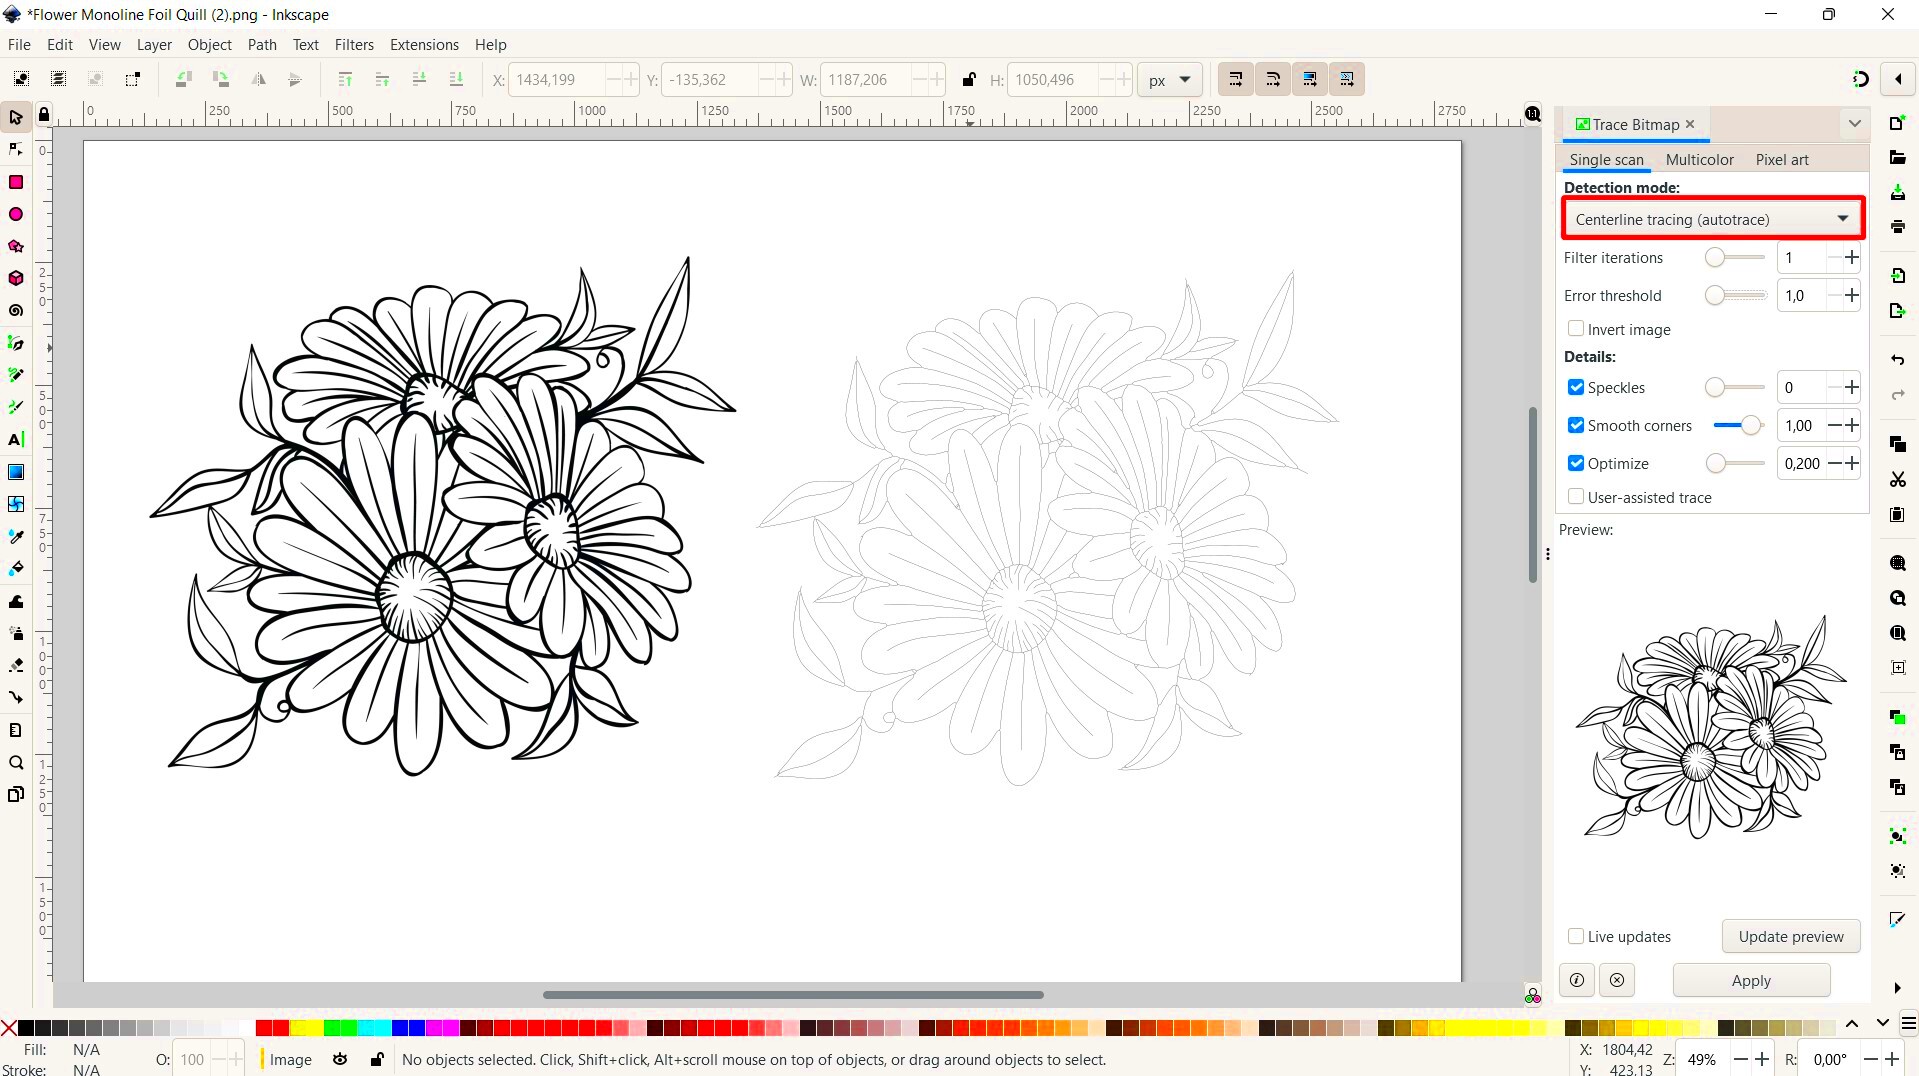
- Select Tracing Settings: Depending on the tool, you’ll be able to adjust settings like color palette, line thickness, or detail level. Play around with these options to get the best outcome based on your project.
- Start the Tracing Process: Once you’ve adjusted your settings, click the ‘trace’ or ‘convert’ button. The tool will automatically create a vector version of your image or give you paths to manually trace over.
- Refine Your Trace: If the tool allows for manual adjustments, fine-tune your trace. You may want to clean up lines, add or remove details, or tweak the colors to match your vision.
- Save and Download: After completing the tracing process, download your traced image in the desired format (e.g., PNG, SVG, or PDF). You can now use it for your design, project, or any other purpose!
By following these simple steps, you'll be able to quickly and efficiently trace images online. Whether you're a professional or a beginner, the process can be easy with the right tools and a little practice.
Also Read This: How to Save a Full Web Page as an Image for Offline Access
Tips for Effective Image Tracing
To get the best results when tracing images online, here are some helpful tips you can follow:
- Use High-Quality Images: The clearer and more detailed the image, the better your tracing result will be. High-resolution images are less likely to have pixelation, making the tracing process smoother.
- Adjust Contrast and Brightness: Before uploading your image, adjust the brightness and contrast. High contrast helps the tool better distinguish between different parts of the image, leading to cleaner traces.
- Clean Your Image First: If there’s any background noise or unwanted details in the image, clean it up using an image editor before tracing. Tools like Photopea or Photoshop can help remove unnecessary parts of the image.
- Choose Simple Images: Images with fewer details tend to trace more easily. Highly complex photos may require more manual intervention to get the desired outcome.
- Experiment with Settings: Don’t settle for the first trace. Try adjusting the tracing settings (like color, line thickness, and detail) to get the best results for your specific image.
- Practice Makes Perfect: Tracing can take time to master. Start with simple images and work your way up to more complex ones as you get comfortable with the process.
By following these tips, you'll be able to achieve cleaner and more professional-looking results in your image tracing projects. Whether you’re creating logos, illustrations, or design elements, these tips will help you trace effectively.
Also Read This: Top Platforms to Help You Earn as Much Money as iStock
How to Avoid Common Mistakes While Tracing Images
Tracing an image can sometimes lead to mistakes that affect the quality of the final result. To avoid these issues, here are some common mistakes to watch out for and how to prevent them:
- Ignoring Image Quality: Tracing a low-quality image can lead to pixelated or unclear lines. Always start with a high-resolution image for the best results.
- Overcomplicating the Trace: One of the most common mistakes is adding too much detail. Tracing simple, clean shapes makes the process easier and the results more professional. Avoid overloading your traced image with unnecessary details.
- Not Adjusting Tracing Settings: Many tools allow you to adjust settings for the level of detail or line thickness. Not using these settings can result in poor tracing quality. Make sure to fine-tune the settings based on your image and project.
- Skipping the Manual Cleanup: Sometimes automatic tracing tools leave behind imperfect lines or shapes. Always review and manually adjust the traced paths if necessary to ensure the image looks polished and professional.
- Using the Wrong File Format: After tracing, be sure to save your image in the right format. SVG is ideal for vector images, while PNG is perfect for transparent backgrounds. Choosing the wrong format can lead to quality loss or format incompatibility.
- Not Taking Time to Experiment: Don't rush through the tracing process. Experiment with different settings, refine the trace, and make adjustments where needed. Quality work takes time!
By keeping these mistakes in mind and making the necessary adjustments, you can avoid common pitfalls and ensure your image tracing is clean and professional. Remember, practice is key, and learning from your mistakes will improve your tracing skills over time.
Also Read This: How Unsplash Is Impacting Getty and iStock Photos
FAQs About Tracing Images Online
Tracing images online is a useful skill for many different purposes, but you may have some questions before you get started. Here are answers to some frequently asked questions to help clear up any confusion:
- What is the best tool for tracing images online? There are many options available, but the best tool depends on your needs. For automatic tracing, tools like Vector Magic and AutoTracer work well. For more control, try Photopea or Adobe Illustrator. If you need transparent PNGs, consider using PNGWing.
- Can I trace any image online? Yes, you can trace most images online, but it works best with high-quality, high-resolution images. Low-quality images may result in unclear traces or pixelation.
- Do I need to be an expert to trace images? Not at all! Many online tracing tools are designed for beginners, and with a little practice, anyone can trace images successfully. Start with simple designs and gradually work your way up to more complex images.
- Can I trace images for commercial use? Tracing an image doesn’t automatically grant you the right to use it commercially. You must ensure that you have the proper licenses or permissions to use the original image for commercial purposes. Always check copyright laws before using traced images in business.
- What file formats can I use when tracing? Most tools allow you to trace images and save them in a variety of formats. Common formats include PNG, SVG, JPEG, and PDF. The format you choose depends on your project needs (e.g., SVG is best for vector use).
- How long does it take to trace an image? The time it takes to trace an image depends on its complexity and the tool you’re using. Simple images can be traced in minutes, while more detailed images may take longer, especially if you need to make manual adjustments.
These FAQs should give you a clearer understanding of what to expect when tracing images online. If you have any more questions, don’t hesitate to explore the tools or reach out to communities for further support!
Conclusion: Start Tracing Images with Confidence
Now that you have a clear understanding of how to trace images online and the tools available, it's time to start practicing. Whether you're creating designs, converting raster images to vectors, or simply improving your artwork, online tracing tools make it easier than ever. Keep refining your technique, experiment with different settings, and you'll soon be able to trace images like a pro. Start today and embrace the creative possibilities!


