Image tracing is a simple yet powerful technique used by artists and designers to transfer an image onto a canvas. Whether you’re creating a painting, sketch, or design, tracing can help you replicate proportions and details accurately. It’s a great way to ensure your final artwork is true to your vision.
At its core, tracing involves transferring the outlines or details of an image onto a surface. This can be done manually using tools like tracing paper or digitally using software and projectors. Understanding the basics is crucial as it forms the foundation for more advanced techniques.
Here are some common reasons to trace images:
- It helps beginners practice proportions and details.
- It saves time for professionals working on complex designs.
- It ensures consistency across multiple projects.
Whether you're tracing by hand or with the help of modern tools, knowing how it works is the first step toward mastering the process.
Choosing the Right Tools for Tracing

Using the right tools can make or break your image tracing experience. Each tool has its own unique features, so it’s important to choose based on your specific needs and preferences.
Here’s a quick guide to some common tracing tools:
| Tool | Best For |
|---|---|
| Tracing Paper | Simple designs and sketches |
| Graphite Transfer Paper | Transferring detailed images |
| Lightbox | Tracing in low-light conditions |
| Projector | Scaling up images for large projects |
Additionally, make sure you have basic supplies like a pencil, eraser, and masking tape for holding everything in place. Picking the right combination of tools will make the process smoother and more enjoyable.
Also Read This: How to Make a Clutch Purse Out of Cardboard
Preparing Your Canvas for Image Tracing

Preparing your canvas is an essential step before you start tracing an image. A well-prepped surface ensures that the image transfers cleanly and stays intact throughout your project.
Here’s how you can prepare your canvas:
- Clean the surface: Wipe your canvas with a dry, lint-free cloth to remove dust and debris.
- Prime the canvas: Apply a layer of gesso if you’re working on an unprimed canvas. This helps create a smooth, non-porous surface.
- Secure the canvas: Use masking tape to attach your canvas to a sturdy surface to prevent movement while tracing.
If you’re working on a dark-colored canvas, consider using white transfer paper for better visibility. Similarly, for textured canvases, pressing firmly with your tracing tool can help the lines transfer more effectively. Preparing the canvas might seem like an extra step, but it’s well worth the effort for a polished result.
Also Read This: Slicing Images on Cricut for Custom Designs
Different Methods to Trace an Image
Tracing an image can be done using a variety of methods, depending on the tools you have and the level of detail required. Whether you prefer traditional techniques or modern technology, there’s a method that works for everyone.
Here are some popular methods for image tracing:
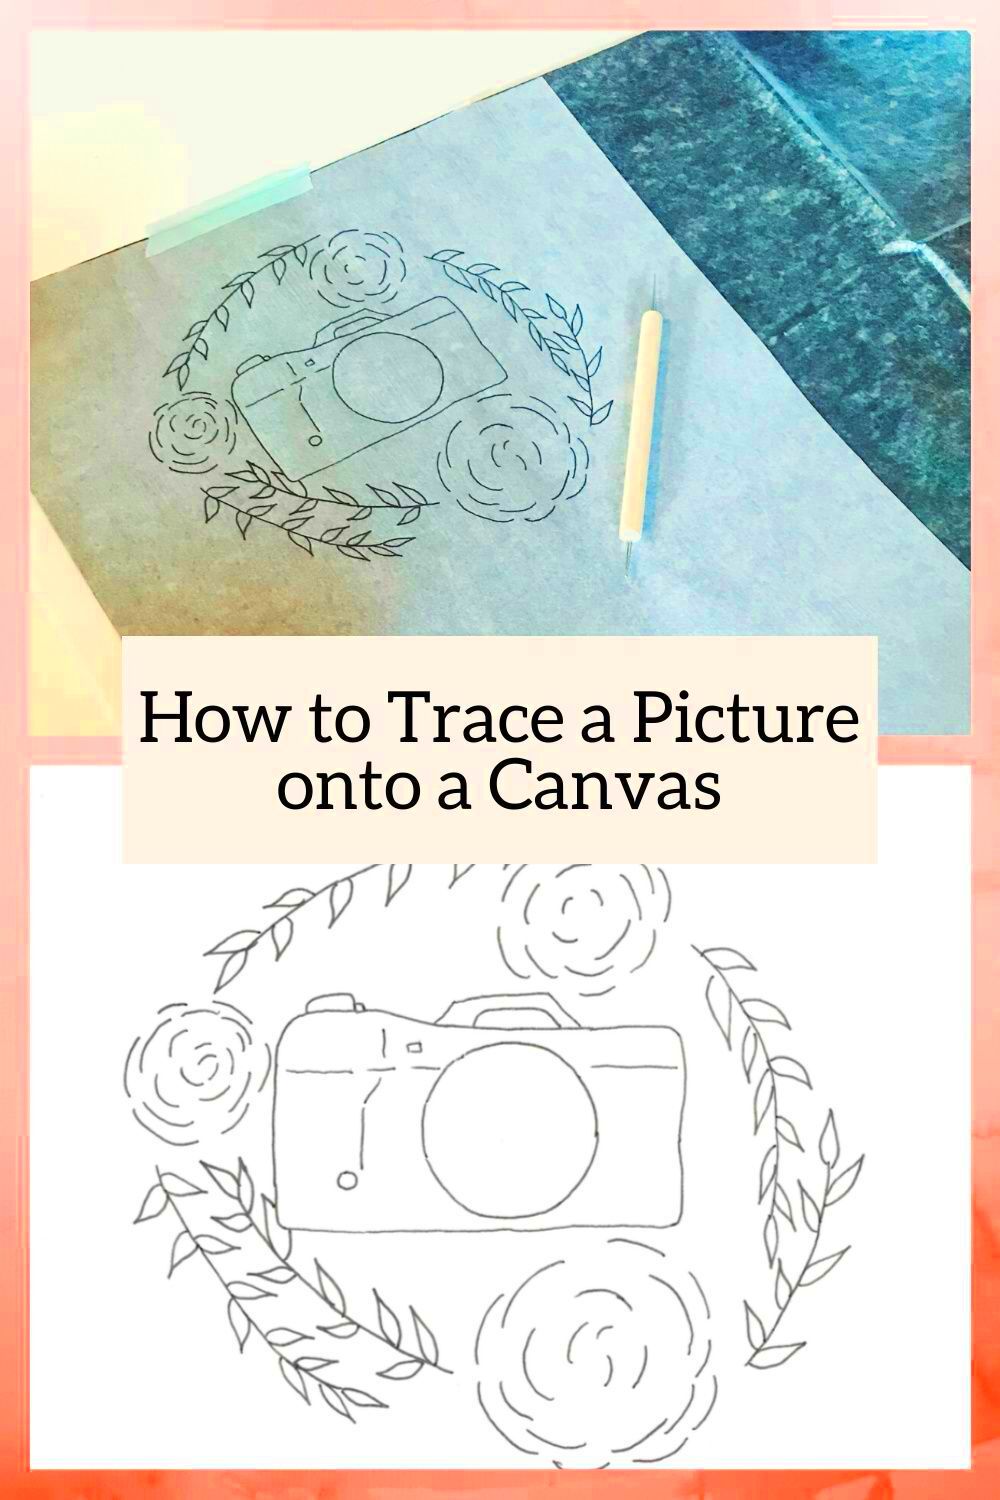
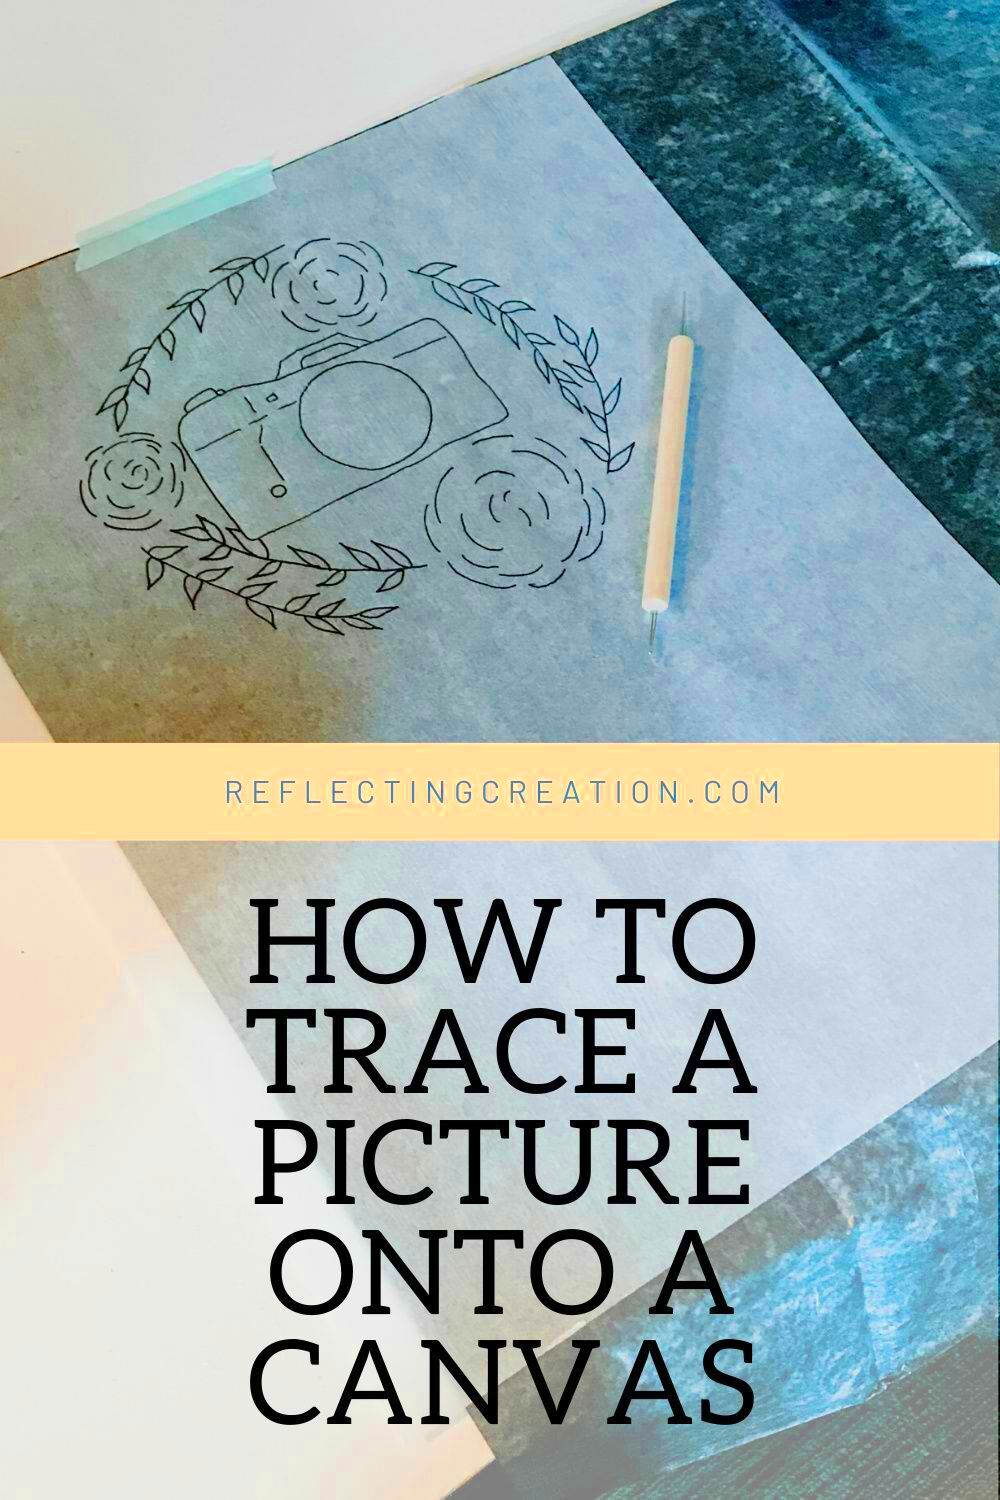
- Using Tracing Paper: Place tracing paper over the image, trace the outlines, and transfer it to your canvas. This method is simple and great for beginners.
- Graphite Transfer: Shade the back of your image with graphite, place it on the canvas, and trace over the design. The pressure transfers the graphite onto the surface.
- Lightbox or Window: For clear images, use a lightbox or tape your image and canvas to a window. The light helps you see and trace the outlines easily.
- Projector: Use a projector to enlarge the image onto your canvas. This is ideal for large or intricate projects.
- Carbon Paper: Similar to graphite transfer, carbon paper allows you to press and transfer designs quickly.
Each method has its advantages. For example, tracing paper and graphite transfer are budget-friendly, while projectors are more versatile. Choose the one that best fits your project’s needs and your comfort level.
Also Read This: How to Embed Video on Behance to Showcase Your Creative Work
Tips for Accurate Image Tracing
Getting precise results while tracing requires a bit of care and attention to detail. Small adjustments can make a big difference in the accuracy of your traced image.
Follow these tips for the best outcomes:
- Use sharp tools: A sharp pencil or fine-tipped pen ensures clean and visible lines.
- Secure everything: Tape your canvas and image in place to prevent shifting during tracing.
- Work in good lighting: Proper lighting helps you see details clearly, reducing the risk of mistakes.
- Check alignment: Double-check that your image is straight and aligned before starting.
- Trace lightly: Avoid pressing too hard, as this can damage the canvas or leave grooves.
Lastly, take breaks if you’re working on a large design. Fresh eyes can help you spot areas that need adjustments, ensuring a flawless result.
Also Read This: Simple Makeup at Home for Everyday Beauty
Common Mistakes to Avoid While Tracing
Even experienced artists can make mistakes while tracing. Being aware of these common errors can save you time and frustration.
Here are some pitfalls to watch out for:
- Skipping preparation: Forgetting to clean or prime your canvas can lead to uneven transfers.
- Using the wrong tools: For example, using a dull pencil can result in faint or uneven lines.
- Pressing too hard: Excessive pressure can damage your canvas or make the traced lines difficult to erase.
- Ignoring alignment: Misaligned images can throw off the entire design, especially for symmetrical or patterned artwork.
- Tracing freehand prematurely: Rushing to trace without securing the image can lead to errors in proportion or detail.
To avoid these mistakes, take your time and double-check your setup. If an error does occur, don’t panic—most can be fixed with a little patience and creativity.
Also Read This: The Symbolism Behind the Sound in A Rumble in the Jungle
FAQs About Image Tracing on Canvas
Image tracing on canvas often raises questions, especially for beginners. To help you feel more confident, here are answers to some frequently asked questions:
1. Can I trace directly onto a painted canvas?
Yes, but it’s easier to trace on an unpainted surface. If the canvas is already painted, use tools like white transfer paper or a lightbox to ensure the lines are visible.
2. What’s the best pencil for tracing on canvas?
A soft graphite pencil (e.g., 4B or 6B) works well as it creates clear lines that are easy to see and erase. Avoid pens unless you’re certain about the design.
3. How do I fix tracing errors?
For pencil lines, use a soft eraser to remove mistakes gently. If using transfer paper, a damp cloth can sometimes help lighten errors without damaging the canvas.
4. Can I trace a photo onto canvas?
Absolutely! Methods like projectors or graphite transfer are great for tracing photographs. Ensure the image is scaled appropriately for your canvas size.
5. Do I need to seal the traced lines?
If you’re painting over the traced lines, sealing isn’t necessary. However, if you’re worried about smudging, a light spray of fixative can help preserve the design.
These answers should help clear up any confusion and make the tracing process smoother. If you have unique challenges, experimenting with different methods is often the best way to find a solution.
Conclusion on Tracing Images Effectively
Tracing images on a canvas is an invaluable skill for both artists and designers. By choosing the right tools, preparing your canvas, and using accurate techniques, you can create stunning artwork with ease. Avoid common mistakes, follow tips for precision, and explore methods that suit your style for the best results. Happy tracing!


