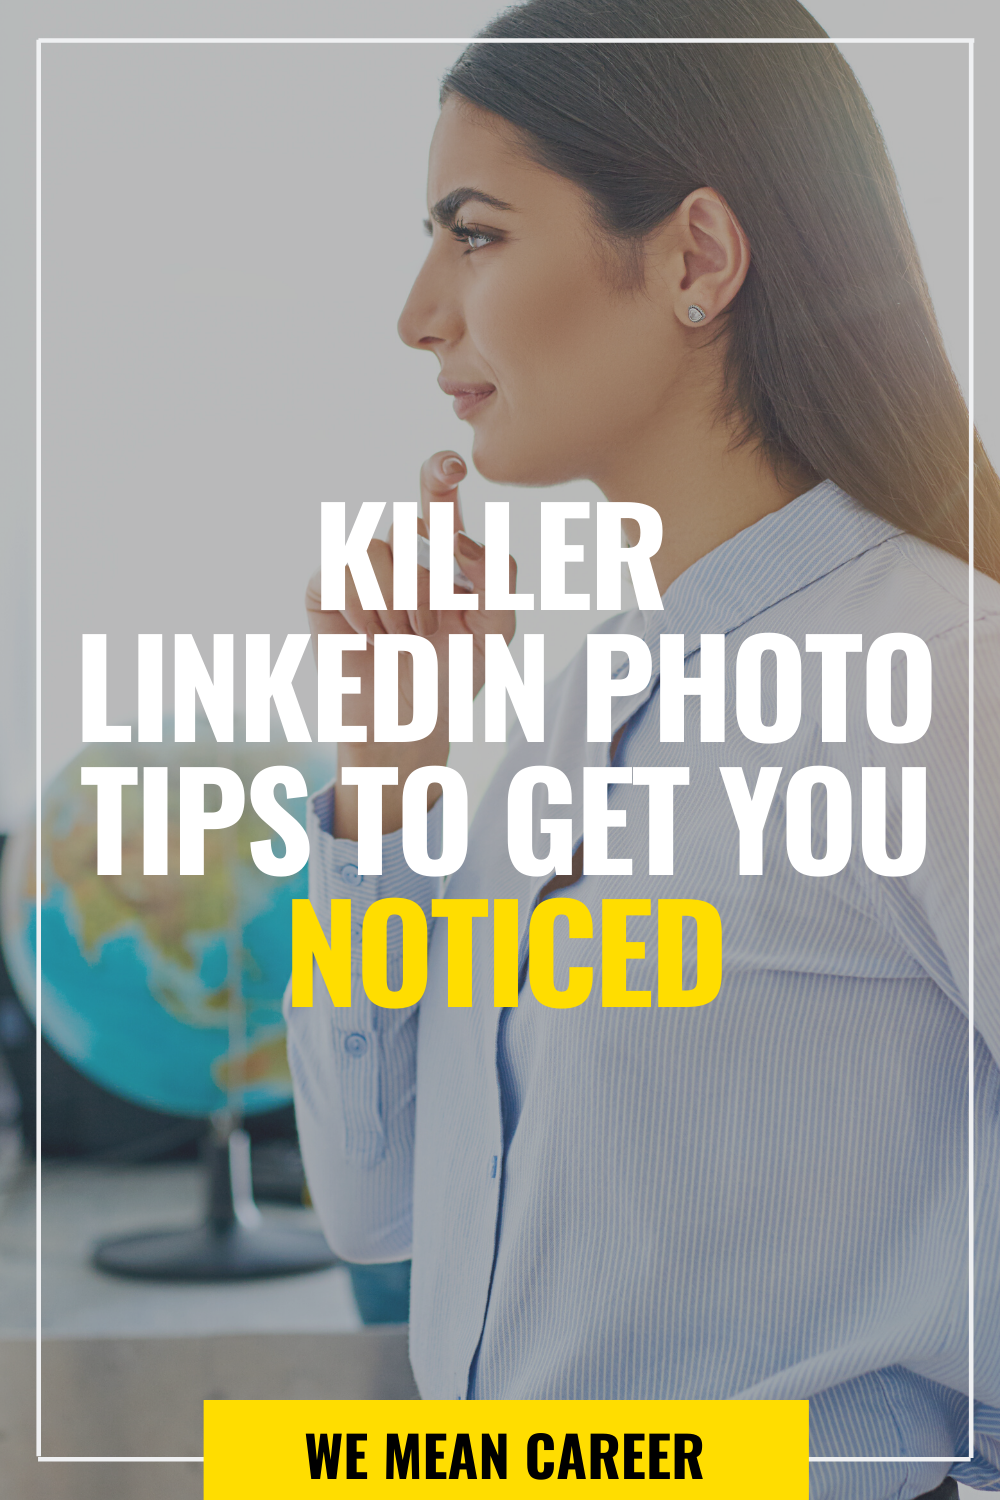
Have you ever considered the impact your LinkedIn headshot can have on your professional image? In today's digital world, your online presence is often the first impression potential employers, clients, or collaborators will have of you. A great LinkedIn headshot isn’t just a formality; it’s a powerful tool that can make you memorable and convey confidence and professionalism.
Studies suggest that users with professional-looking headshots receive more connection requests and messages. This is because a high-quality image establishes trust and approachability. Think about it: Would you rather connect with a profile featuring a blurry, poorly lit selfie or one with a clear, polished photo? Exactly!
Moreover, a well-executed headshot can reflect your personality and brand. Whether you’re aiming for a serious, corporate vibe or a more relaxed, creative feel, your photo can subtly communicate your professional identity. Remember, consistency is key—if your LinkedIn profile looks professional, it encourages people to perceive you as someone who takes their career seriously.
So, before you grab your camera or phone, take a moment to reflect on what you want your professional image to convey. Investing time into crafting a standout LinkedIn headshot is worth it, and with a few tips and tricks, you can achieve a polished look from the comfort of your home!
Essential Equipment for a Home Headshot

Getting that perfect LinkedIn headshot at home doesn’t require a professional studio, but having the right equipment can make all the difference. Here’s a breakdown of essential tools you might consider using:
- Camera: A quality camera is crucial. While professional cameras are excellent, don't fret if you only have a smartphone. Modern smartphones have impressive cameras that can capture high-resolution images. Just make sure the lens is clean!
- Tripod or Stable Surface: Shaky photos are a no-go. Using a tripod will give you stability and allow you to get the right angle without having to hassle with holding the camera. If you don’t have a tripod, make sure your camera is resting on a stable surface.
- Lighting: Natural light is your best friend! Position yourself facing a window to take advantage of soft, diffused light. If the weather isn’t cooperating, consider using a ring light or other lights to maintain even illumination.
- Backdrop: A clutter-free background is essential for keeping the focus on you. Think about using a clean wall, a simple piece of fabric, or even outdoor spaces that aren't too busy. Avoid backgrounds that distract or take away from your professional presence.
- Props (Optional): If you want to add a little flair to your shot, consider a few subtle props—a laptop, books, or a mug can create a warm and inviting atmosphere without overwhelming the image.
Once you have your equipment set up, it's time to think about composition, angle, and outfit. Remember, the goal is to present yourself in the best light (literally and figuratively) so that viewers feel drawn to connect with you. Take your time, experiment with your setup, and don’t hesitate to take multiple shots. After all, this is your opportunity to make a striking first impression!
Also Read This: How to Find a Headhunter on LinkedIn: Steps to Expand Your Job Search
3. Choosing the Right Background for Your Photo
When it comes to taking a professional LinkedIn headshot, the background plays a crucial role in how you come across. The right background will ensure that you, not the surroundings, are the focal point of your photo. Here are some tips to help you choose the perfect backdrop:
- Keep it Simple: A plain background often works best. Think of solid colors like white, gray, or soft pastels that won’t distract from your face. Avoid busy patterns or overly decorative elements that can pull attention away from you.
- Indoor Options: A simple wall or bookshelf can serve as a great backdrop. Just make sure there are no clutter or distracting objects behind you. Ideally, choose a location with neutral colors that complement your outfit.
- Outdoor Settings: If you prefer an outdoor shot, look for a natural setting such as a park or garden. Soft greenery can add a nice touch, but avoid areas that are too crowded or have a lot of people in the background.
- Consider Your Profession: Think about the message you want to convey through your background. For example, a corporate professional might opt for a sleek, indoor backdrop, while someone in a creative field may prefer a more vibrant or artistic option.
Ultimately, the goal is to create a background that enhances your headshot while keeping the focus on you. Don't hesitate to experiment with different backgrounds until you find one that feels right. Remember, this is about showcasing your professional self in the best light possible!
Also Read This: Why Can’t I Message Someone on LinkedIn? Troubleshooting Tips
4. Lighting Tips for a Flawless Headshot
Lighting can make or break your LinkedIn headshot. The right lighting not only enhances your features but also creates a polished and professional look. Here are some essential lighting tips to achieve that flawless headshot:
- Use Natural Light: Natural light is your best friend when it comes to photography. If possible, set up your shot near a window where soft, diffused light can illuminate your face. Try to take your photo during the golden hours—early morning or late afternoon—when the light is warm and flattering.
- Avoid Harsh Lighting: Direct sunlight can create unflattering shadows and highlights on your face. If you’re outdoors, seek shade, or wait for a cloud to diffuse the sunlight. Indoors, avoid overhead lights and opt for side lighting instead.
- Experiment with Angles: Position yourself so that the light hits your face from the front or slightly to the side. This helps avoid harsh shadows and ensures your features are evenly lit. Try a few different angles to see what works best.
- Use Reflectors: If you want to bounce light onto your face for a more even glow, you can use simple reflectors. A white poster board or a large piece of white fabric can work wonders to fill in shadows.
- Test and Adjust: Before snapping your final shot, take a few test photos to see how the lighting looks on camera. Adjust your position or the light source as needed until you feel it’s just right.
Remember, the goal is to look approachable and professional! Proper lighting helps achieve that polished appearance that is crucial for making a great impression on LinkedIn. With a little patience and experimentation, you’ll be able to capture a stunning headshot that truly represents your professional brand.
Also Read This: How to Remove Someone from LinkedIn: A Guide to Managing Your Network
5. Camera Settings and Angles to Consider
When it comes to capturing the perfect LinkedIn headshot, your camera settings and angles can make a world of difference. Whether you’re using a smartphone or a DSLR, understanding how to manipulate these settings can elevate your photo from ordinary to extraordinary.
1. Use the Right Resolution: Always opt for the highest resolution your camera can provide. This ensures that your photo remains crisp and clear, even when it’s resized for your LinkedIn profile. Most smartphones will handle this without much fuss, but for DSLRs, be sure to check your settings.
2. Focus on the Eyes: The eyes are the windows to your personality, and they should be the focal point of your headshot. Ensure that the camera is focused on your eyes to draw viewers in. If you're using a smartphone, tap on your eyes on the screen to set the focus before taking the shot.
3. Experiment with Angles: Finding the right angle is crucial for a flattering headshot. Try positioning the camera at eye level, or slightly above, to avoid unflattering perspectives. A slight tilt of the head can also add a touch of dynamism to your shot. Don't be afraid to take multiple photos with different angles so you can choose the best one later.
4. Lighting is Key: Natural light is your best friend. Position yourself so that the light falls evenly on your face. Avoid harsh shadows, which can be created by direct overhead lighting. If you're indoors, facing a window can provide beautiful, soft lighting. If you’re shooting outside, try to take pictures during the “golden hour,” which is just after sunrise or before sunset, for a warm glow.
5. Adjust Your Background: The background can make or break your headshot. Ideally, you want a clean, uncluttered backdrop that emphasizes you without distracting the viewer. Consider using a plain wall, a soft-focus garden, or a professional setting related to your industry. Just ensure that the colors complement your outfit!
In short, take the time to experiment with various settings and angles. The perfect shot is often just a click away, but don’t hesitate to try multiple combinations until you find the angle and settings that truly highlight your best features!
Also Read This: How to Add a Link to LinkedIn Post for Increased Engagement
6. Wardrobe Choices for a Professional Look
Your choice of wardrobe can greatly influence the overall impact of your LinkedIn headshot. A well-chosen outfit can convey professionalism, confidence, and personality. Here are some tips to help you select the perfect attire for your headshot:
1. Stick with Solid Colors: While patterns can be fun, they often distract from your face. Solid colors are a safe bet as they can make you look polished and focused. Look for colors that complement your skin tone, and avoid overly vibrant shades that might overpower your features.
2. Dress for Your Industry: Your outfit should align with the professional standards of your industry. A corporate lawyer might opt for a tailored suit, while a creative professional might choose a smart-casual look. Always aim to reflect the image you want to project to potential employers or clients.
3. Pay Attention to Fit: Regardless of your style choice, ensure your clothes fit well. Ill-fitting clothing can give off an impression of lack of care or professionalism. It’s worth investing time in finding outfits that make you feel comfortable and confident.
- For Women: Consider wearing a fitted blazer over a simple blouse, or a professional dress. Accessories should be minimal and tasteful.
- For Men: A crisp button-up shirt, with or without a blazer, can look clean and polished. A nice tie can add a touch of flair, but ensure it doesn't overshadow the overall look.
4. Avoid Logos and Distracting Elements: While showing off your personal style can be fun, logos and gimmicky attire can make the headshot feel less professional. Keep it simple and timeless.
At the end of the day, choose a wardrobe that reflects who you are while maintaining a professional demeanor. When you look good, you feel good, and that confidence will shine through in your headshot—setting the stage for the opportunities you seek on LinkedIn!
Also Read This: What to Say When Messaging a Hiring Manager on LinkedIn
7. Taking the Perfect Shot: Posing Techniques
When it comes to your LinkedIn headshot, how you pose can make all the difference! A great pose helps convey confidence and professionalism while ensuring you look approachable. Here are some tips on how to strike the perfect pose without feeling stiff or awkward:
- Stand Tall: Good posture is key. Stand up straight, roll your shoulders back, and try to elongate your neck. This not only makes you look taller but also projects confidence.
- Angle Your Body: Instead of facing the camera head-on, angle your body slightly to one side. This creates a more dynamic image and can help you look slimmer.
- Relax Your Face: Take a deep breath and let go of any tension. A relaxed face looks more inviting. You might want to practice your smile in the mirror beforehand to find the one that feels best.
- Use Your Hands: Hands can convey energy! Avoid letting them hang limply at your sides. Instead, try placing one hand on your hip or crossing your arms gently in front of you. Just don’t go overboard—subtlety is key.
- Chin Forward: Many people tuck their chins in, which can create unflattering angles. Instead, bring your chin slightly forward and down. This can help define your jawline and prevent double chins.
- Engage Your Eyes: Your eyes can communicate a lot, so make sure they are engaged and alive. Think of something that makes you happy or excited—and try to convey that emotion through your gaze.
- Practice Makes Perfect: Don’t be afraid to take multiple shots! Experiment with different poses to see what works for you. Sometimes, the best expressions come when you let yourself relax and have fun with it.
Remember, the goal is to look comfortable and confident, so take your time to find what poses feel the most authentic to you.
Also Read This: How to Post Images on LinkedIn Like a Pro
8. Editing Your Headshot for a Polished Finish
Post-shoot, it's time to add the finishing touches to your LinkedIn headshot. Editing can help enhance your image, ensuring you present yourself in the best light (pun intended!). Here are some editing tips to consider:
- Choose the Right Software: You don’t need professional software like Photoshop to edit your headshot. There are plenty of user-friendly options available, such as Canva, Pixlr, or even mobile apps like Snapseed that offer great capabilities.
- Adjust Lighting: A common issue in home photography is subpar lighting. Use editing tools to brighten the image or enhance contrast, but be careful not to overdo it! The goal is to have a natural look.
- Crop Effectively: Consider the framing of your photo. A head-and-shoulders crop typically works best for LinkedIn. Make sure your face is centered and takes up a good portion of the frame.
- Retouch Sparingly: While some retouching can help improve the photo, avoid making yourself look overly edited. A little smoothing for blemishes is fine, but maintain your unique features—this is your professional image!
- Color Balance: Check that the colors in your photo look natural. Adjust the hue and saturation if necessary, particularly in skin tones, to ensure you appear as you do in real life.
- Save in High Resolution: Lastly, when saving your edited photo, be sure to select a high-resolution option. LinkedIn compresses images, so starting with a higher quality will ensure your photo looks crisp and professional.
Editing can elevate your LinkedIn headshot from 'nice try' to 'wow!' Just remember to keep it natural, ensuring you’re still recognizable in your final image.
Also Read This: What Does the Green Dot on LinkedIn Mean? Real-Time Status Explained
9. How to Upload and Optimize Your Headshot on LinkedIn
Now that you've captured the perfect headshot, it’s time to upload it to LinkedIn and make sure it shines! Here’s how to do it effectively:
- Log into Your LinkedIn Account: Start by signing into your LinkedIn profile. If you don't have an account, you'll need to create one to post your headshot.
- Navigating to Your Profile: Click on your profile picture or the “Me” icon at the top of the LinkedIn homepage and select “View Profile.” You’ll land on your profile overview.
- Add or Change Your Photo: Click on your profile picture icon. If you don’t have one yet, you’ll see a default avatar. Click it, then select “Add Photo.” For updating, just click on your current photo. From there, you can either upload your newly taken headshot or choose to take a new photo using your webcam.
- Select the Right Format: LinkedIn recommends using a JPEG, PNG, or GIF format for your headshot. Make sure your image is high-quality and doesn’t exceed the maximum file size (usually around 8MB).
- Optimize the Size: A good headshot should be 400 x 400 pixels for optimal visibility on the platform. However, if it’s slightly larger, LinkedIn will automatically resize it to fit.
- Adjust Your Photo: Once uploaded, you can adjust the cropping and positioning. Focus on your face, ensuring it’s well-centered and prominent. Pay attention to background elements and adjust as needed.
- Visibility Settings: After uploading your headshot, consider adjusting the visibility settings. You can make your profile picture visible to everyone, just your connections, or only your network. Opting for “Public” will generally help you stand out more.
- Save Changes: Once you’re satisfied with your new headshot and all the adjustments, don't forget to click on the “Save” button. Your headshot will now be live for your connections and the broader LinkedIn community to see!
- Regular Updates: Remember, your LinkedIn profile, including your headshot, should reflect your current self. Update your image regularly, especially if there are significant changes in your appearance or when you level up in your career.
By following these steps, you can ensure that your professional LinkedIn headshot is not only uploaded correctly but also looks its absolute best, effectively presenting your personal brand to potential employers and connections!
10. Conclusion and Final Tips for Your LinkedIn Profile
Congratulations! You’re now equipped with all the knowledge to take a stunning LinkedIn headshot that can make a great first impression. But your profile is more than just your headshot. Here are some final tips to enhance your LinkedIn presence:
- Complete Your Profile: A professional photo is just one part of the puzzle. Make sure your profile is complete with a compelling headline, a detailed summary, and a comprehensive list of your skills and experiences. A fully fleshed-out profile attracts more opportunities!
- Utilize Keywords: When crafting your summary and experiences, think about the keywords that are relevant to your industry. This will improve your chances of appearing in searches by recruiters looking to fill positions.
- Engage with Others: Don’t just set it and forget it. Engage with your network by sharing industry-related articles, commenting on posts, and endorsing skills of your connections. This helps in maintaining visibility in your network.
- Recommendations Count: Ask for recommendations from coworkers or clients. These endorsements add credibility to your profile and can enhance your professional reputation.
- Keep It Professional: While LinkedIn is a social network, maintaining professionalism is key. Avoid controversial topics and stay focused on building your professional identity.
- Be Authentic: Authenticity resonates well with others on LinkedIn. Let your true personality shine through your profile summary and posts, as it makes you relatable and memorable.
- Analyze and Adapt: Monitor the engagement on your profile and posts using LinkedIn’s analytics tools. Adapt your approach based on what works best in terms of engagement and connections.
In conclusion, your LinkedIn profile is your professional window to the world. A great headshot, coupled with a complete and engaging profile, can do wonders for your career. So take these tips to heart, and start making the most out of your LinkedIn experience!
 admin
admin


