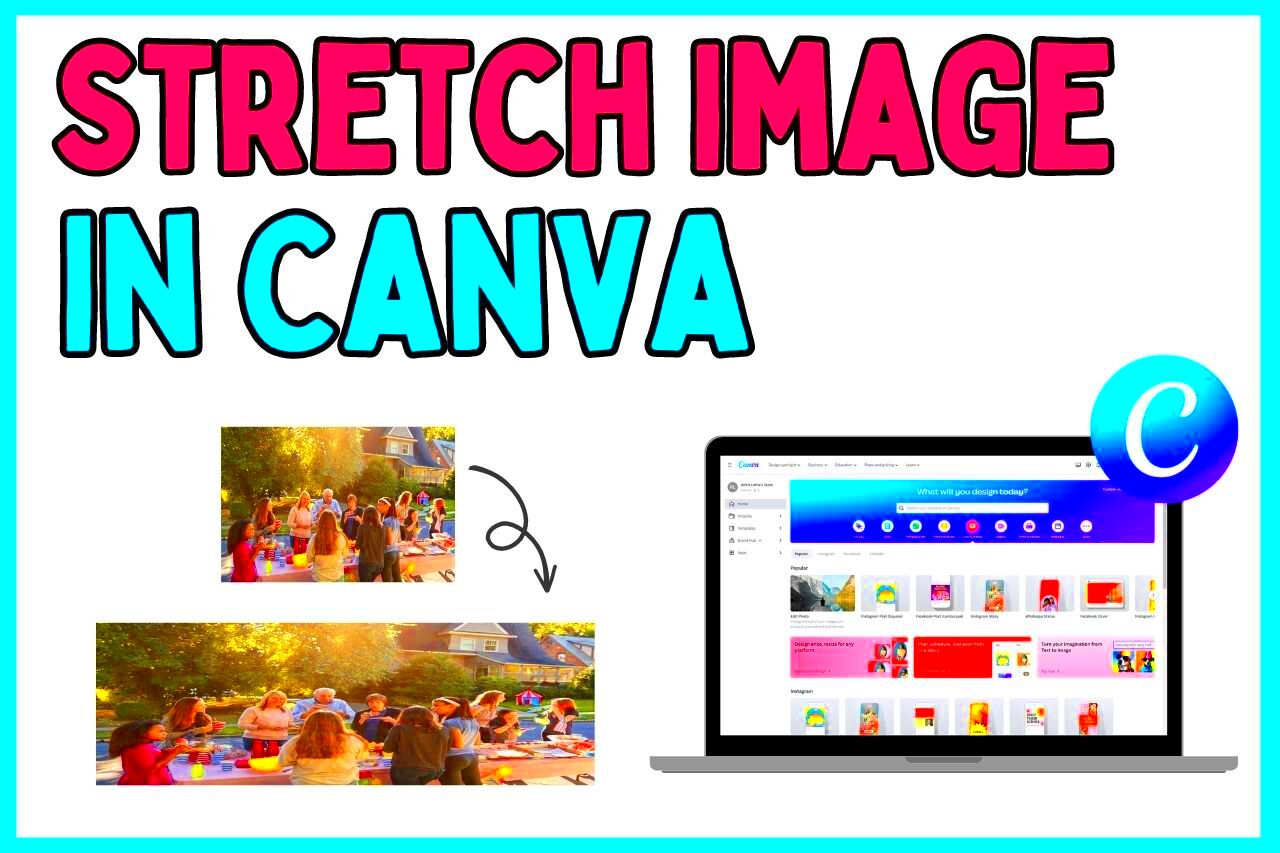
When you're working with Canva, you might find yourself in need of resizing or stretching an image to fit a custom design. Stretching images allows you to adjust their size without the need to crop or cut any parts out. Whether you're designing a banner, a social media post, or a custom product image, knowing how to stretch images in Canva can be incredibly helpful for making sure everything fits perfectly.
In this section, we’ll walk you through the basics of stretching images in Canva, explain when and why you might want to stretch an image, and provide an easy-to-follow guide to get you started.
Why Stretching Images is Necessary in Canva

Stretching images in Canva is often necessary when you want to make sure your image fits within a custom-sized template without distorting the overall layout of your design. Sometimes, you may have an image that doesn't quite fit the dimensions of the template you're using, and stretching can help you match the desired size without losing any important details.
Here’s why stretching images might be helpful:
- Custom Dimensions: Stretching allows you to adjust the image to your exact design size without any gaps or white space.
- Perfect Fit: Whether you're designing a flyer, website graphic, or social media post, stretching helps images fit the template seamlessly.
- Adaptability: With Canva, you can stretch or resize images easily, adapting them to different design needs without needing to find new ones.
- Avoid Cropping: Sometimes, cropping can cut out essential parts of your image. Stretching lets you resize without losing anything important.
Although stretching images can be very useful, it's important to do it carefully, as stretching too much can lead to pixelation or distortion. The key is finding the right balance between size and clarity.
Also Read This: How to Apply Lip Liner and Lipstick for a Long-Lasting Look on Dailymotion
Step-by-Step Guide to Stretching Images in Canva

Ready to stretch images in Canva? Here’s a simple step-by-step guide to get you started:
- Open Canva: Start by opening your design project in Canva, whether it's a blank canvas or a pre-existing template.
- Upload Your Image: If you haven’t already, upload the image you want to stretch by clicking on the “Uploads” button in the left toolbar and selecting the image from your files.
- Drag the Image into Your Design: Click on the uploaded image, and drag it into the design area. It will automatically appear as a box with handles at the corners and sides.
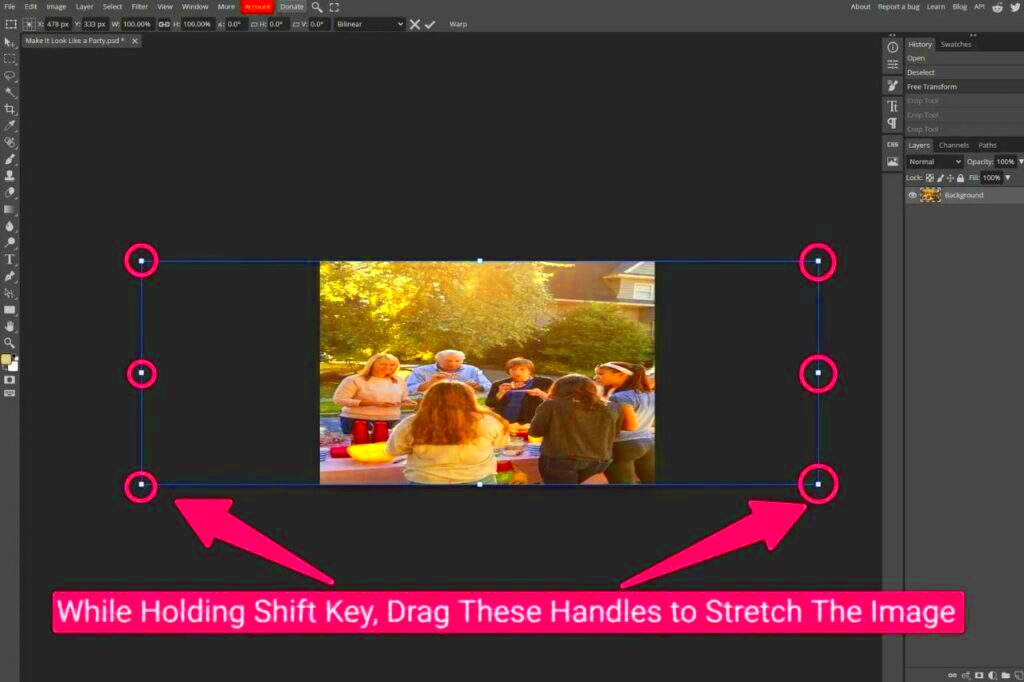
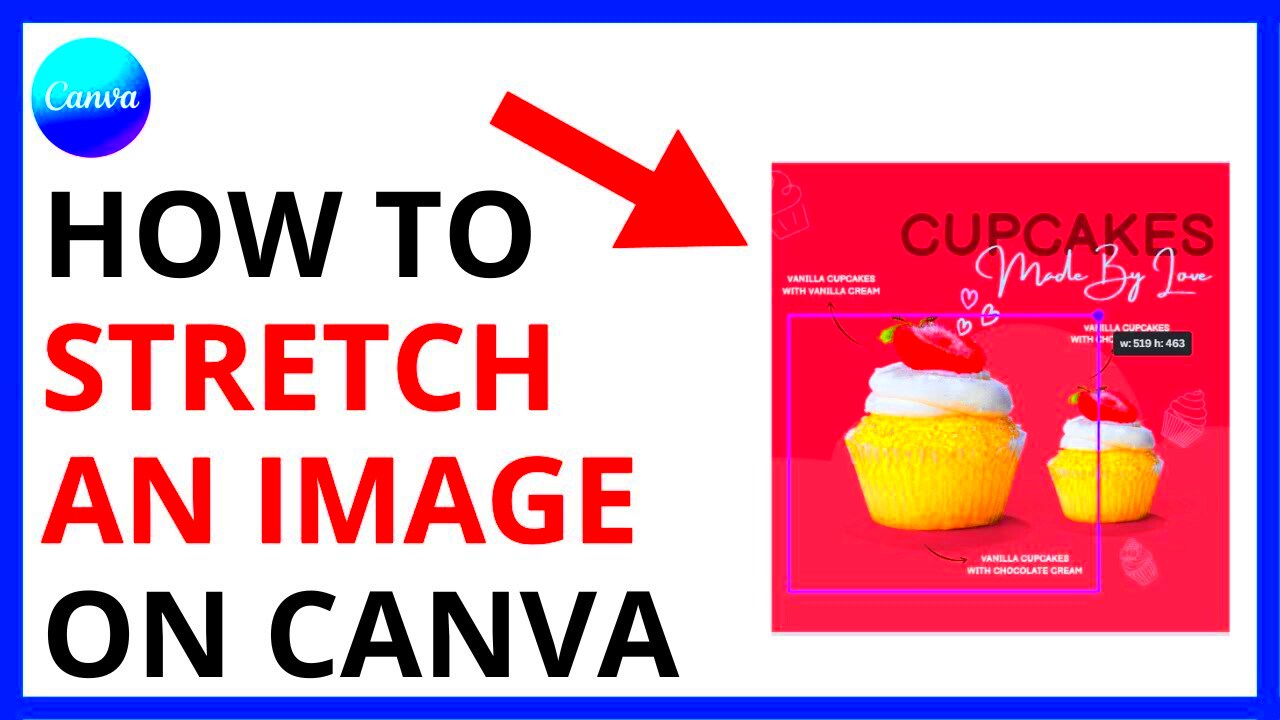
- Resize the Image: To stretch the image, click and hold one of the corner handles. Drag it in or out to resize the image. You can stretch it horizontally or vertically depending on your needs.
- Adjust Proportions (Optional): If you want to maintain the image's proportions and prevent distortion, hold down the Shift key while dragging a corner. This ensures the image stretches evenly without becoming stretched out of shape.
- Preview Your Design: Once you're happy with the stretched image, take a step back and preview your design. Make sure the image fits well within your template and that it looks natural.
By following these simple steps, you can stretch images in Canva to suit your custom design needs. It’s an easy process, but always remember to keep the image’s quality in mind. Stretching too far can cause pixelation and make the image look blurry, so it’s a good idea to only stretch images as much as necessary.
Also Read This: How to Host a Successful YouTube Giveaway
Choosing the Right Image Size for Your Design
Choosing the right image size for your design in Canva is crucial for ensuring your visuals look sharp and professional. An image that’s too small can appear pixelated when stretched, while an
Here’s how to pick the best image size for your design:
- Know Your Design Dimensions: Before uploading an image, it’s essential to understand the dimensions of your design. Canva allows you to select custom sizes for your project. Whether you're working on a social media post, flyer, or website banner, having the correct dimensions will help you choose the right image size.
- Use High-Resolution Images: Always choose high-resolution images to ensure they remain clear when resized. Images with low resolution may become blurry or pixelated when stretched, so opt for images with a resolution of at least 300 DPI for best results.
- Avoid Stretching Too Much: Choose an image that’s slightly larger than the size you need so that you can stretch it without compromising quality. Stretching too much can cause distortion or pixelation.
- Consider the Image’s Aspect Ratio: The aspect ratio determines the relationship between the image’s width and height. Choosing an image with a similar aspect ratio to your design template can help avoid unnecessary distortion.
When you use the right image size, you won’t need to stretch it too much, which means your design will look more polished and professional.
Also Read This: Download Movies in MP4 Format from IMDB with This Tool
Adjusting Image Proportions in Canva
Sometimes, stretching an image isn’t enough. You may need to adjust the image's proportions to make it fit better within your design. Fortunately, Canva offers easy tools to manipulate the proportions of your image, allowing you to customize it for a perfect fit.
Here’s how to adjust image proportions in Canva:
- Use the Image Resizing Tool: When you click on your image in Canva, you’ll see handles appear around it. Drag these handles to resize the image. If you want to adjust the width or height independently, just drag a side handle. Canva automatically adjusts the proportions by default.
- Maintain Proportions (Hold Shift Key): If you want to maintain the image’s original aspect ratio while resizing, hold down the Shift key as you drag one of the corner handles. This ensures that the image resizes evenly without distortion.
- Unlock Aspect Ratio: If you need to change the proportions of the image (stretch it without preserving the aspect ratio), you can unlock the aspect ratio by clicking the lock icon that appears when you click on the image. This will allow you to drag the corners independently to fit the image as you need.
- Crop for Better Fit: Sometimes it’s easier to crop the image before stretching it. You can use the crop tool in Canva to remove any unnecessary parts of the image before resizing it.
Adjusting image proportions ensures that your design elements align properly and fit within the template, making your work look more polished and visually appealing.
Also Read This: How to Post Research on LinkedIn Sharing Your Research Insights with Your Network
Common Issues When Stretching Images and How to Fix Them
Stretching images in Canva can be a great way to customize your design, but it doesn’t always come without issues. If you stretch an image too much or incorrectly, you may run into problems like distortion, pixelation, or misalignment. Let’s look at some common issues and how you can fix them.
Here are some problems you may encounter and tips to resolve them:
- Pixelation: When you stretch an image beyond its resolution limits, it may appear blurry or pixelated. To avoid this, always use high-resolution images (at least 300 DPI). If you must stretch an image, try to do so minimally, ensuring it doesn't exceed the image's natural size.
- Distortion: If an image appears stretched unevenly, this is typically due to improper resizing. To fix this, hold the Shift key while resizing to maintain the aspect ratio and avoid distorting the image.
- Misalignment with Design Elements: Sometimes, stretching an image can cause it to shift or misalign with other elements in your design. To fix this, use Canva’s alignment guides and snap-to-grid feature to make sure the image stays centered and well-placed within the template.
- Unwanted White Space: Stretching an image might leave empty spaces in your design. To resolve this, try cropping the image before stretching it to ensure it covers the full space needed for your design.
- Low Quality After Stretching: After stretching, if the image quality isn’t as expected, try using a vector image or a higher-quality photo. You can also adjust the image’s sharpness or apply filters to improve its appearance.
By being aware of these common issues and following the solutions provided, you can stretch your images effectively in Canva and create high-quality designs with ease.
Also Read This: How to Crop an Image in Google Sheets
Tips for Maintaining Image Quality While Stretching
When you stretch an image in Canva, it’s easy to lose quality if you’re not careful. Whether you're resizing an image for a social media post, website banner, or any other design, maintaining quality is essential for a polished and professional look. Stretching too much can result in pixelation, blurriness, or distortion, so it's crucial to approach the process with some strategy.
Here are some helpful tips to maintain image quality while stretching:
- Use High-Resolution Images: Always start with an image that has a high resolution. Images with higher DPI (dots per inch) can withstand more stretching without losing quality. Aim for images that are at least 300 DPI.
- Stretch Gradually: Avoid drastic stretching. Gradual adjustments help maintain the integrity of the image and reduce the risk of pixelation.
- Lock Aspect Ratio: To ensure your image doesn’t get distorted while stretching, hold the Shift key as you resize. This maintains the aspect ratio and helps prevent unnatural stretching.
- Resize Before Stretching: If possible, try resizing the image proportionally to fit your design before stretching it. This minimizes the amount of stretching you’ll need to do and helps retain quality.
- Consider Using Vector Images: Vector images are scalable without losing quality. If you need to stretch an image significantly, try using vector-based graphics like illustrations or icons, as they won't lose quality when resized.
- Apply Filters for Enhancement: If your stretched image looks a bit blurry, applying subtle filters can sometimes enhance its sharpness and give it a clearer appearance.
By following these tips, you can keep your stretched images looking crisp, clear, and professional in Canva.
Also Read This: How to Pixelate an Image for Privacy or Artistic Effects
Conclusion: Mastering Image Stretching in Canva for Custom Designs
Stretching images in Canva is a simple yet powerful tool that can help you create customized designs for a variety of projects. Whether you're working on a social media post, a website banner, or any other graphic, understanding how to stretch your images effectively will give you the flexibility to work with different dimensions and formats.
By choosing the right image size, adjusting proportions, and following best practices for stretching, you can ensure that your designs stay sharp and visually appealing. Remember to always start with high-resolution images, stretch carefully, and use the tools Canva provides to make the process smoother.
With a little practice, you'll be able to master image stretching and unlock the potential of Canva's design features. The more you experiment with stretching and resizing, the better your custom designs will become. So, go ahead and start creating stunning visuals with confidence!
FAQ
1. Can I stretch any image in Canva?
Yes, most images can be stretched in Canva. However, images with low resolution may become blurry or pixelated when stretched significantly. It's best to use high-resolution images for the best results.
2. Will stretching an image affect its quality?
Stretching an image too much can reduce its quality, leading to pixelation or distortion. To maintain quality, use high-resolution images and avoid stretching too far.
3. How can I avoid distortion when stretching images in Canva?
To prevent distortion, hold the Shift key while resizing the image. This will keep the image’s aspect ratio intact and ensure the proportions remain correct.
4. What is the best resolution for images in Canva?
For best results, use images with a resolution of 300 DPI or higher. This ensures that the images can be stretched or resized without losing quality.
5. Can I stretch vector images without losing quality?
Yes, vector images are designed to be scalable. You can stretch them to any size without losing image quality, making them a great option for custom designs.
6. How do I fix pixelation after stretching an image?
Once an image is pixelated, it’s difficult to fix completely. To prevent this, start with a higher resolution image. If the image is already pixelated, consider replacing it with a higher-quality one.


