Are your inbox and smartphone buzzing constantly with LinkedIn notifications? You’re not alone! Many users find the influx of emails overwhelming. Luckily, managing your LinkedIn email preferences can help you regain control and reduce unnecessary notifications. In this article, we’ll dive into understanding
Understanding LinkedIn Email Notifications
LinkedIn is a powerful networking tool, but with its power comes a flood of emails. These notifications can range from connection requests, updates on job postings, messages from recruiters, to articles in your feed. Understanding these notifications is the first step in managing them effectively.
Here’s a breakdown of the types of email notifications LinkedIn typically sends:
- Connection Requests: Alerts you when someone wants to connect with you.
- Messages: Notifications for any direct messages you receive.
- Engagement Alerts: Updates about likes, comments, and shares of your posts.
- Job Alerts: Notifications about job postings that match your profile.
- Community Updates: News and updates in groups you belong to.
- Recommendations: Suggestions for users you might know or want to connect with.
Here’s a simple table summarizing how you might feel about each type:
| Notification Type | Value |
|---|---|
| Connection Requests | High |
| Messages | High |
| Engagement Alerts | Medium |
| Job Alerts | High |
| Community Updates | Low |
| Recommendations | Medium |
By understanding what these notifications mean and their relevance to your LinkedIn experience, you can make informed decisions about which ones to keep and which ones to minimize or even eliminate altogether.
Also Read This: How to Unsubscribe from LinkedIn Premium: Cancelling Your Premium Subscription
Accessing Your LinkedIn Email Preferences
Managing your LinkedIn email preferences is essential if you want to control the flow of notifications you receive. Thankfully, accessing these preferences is quite straightforward. Just follow these simple steps:
- Log into LinkedIn: Start by visiting the LinkedIn website or opening the LinkedIn app on your mobile device. Enter your credentials to log in.
- Go to Your Profile: Once logged in, click on your profile picture, usually located at the top right corner of the screen. This will take you to your profile page.
- Access Settings & Privacy: From your profile, look for the “Me” icon next to your profile picture. Click on it, and select “Settings & Privacy” from the dropdown menu.
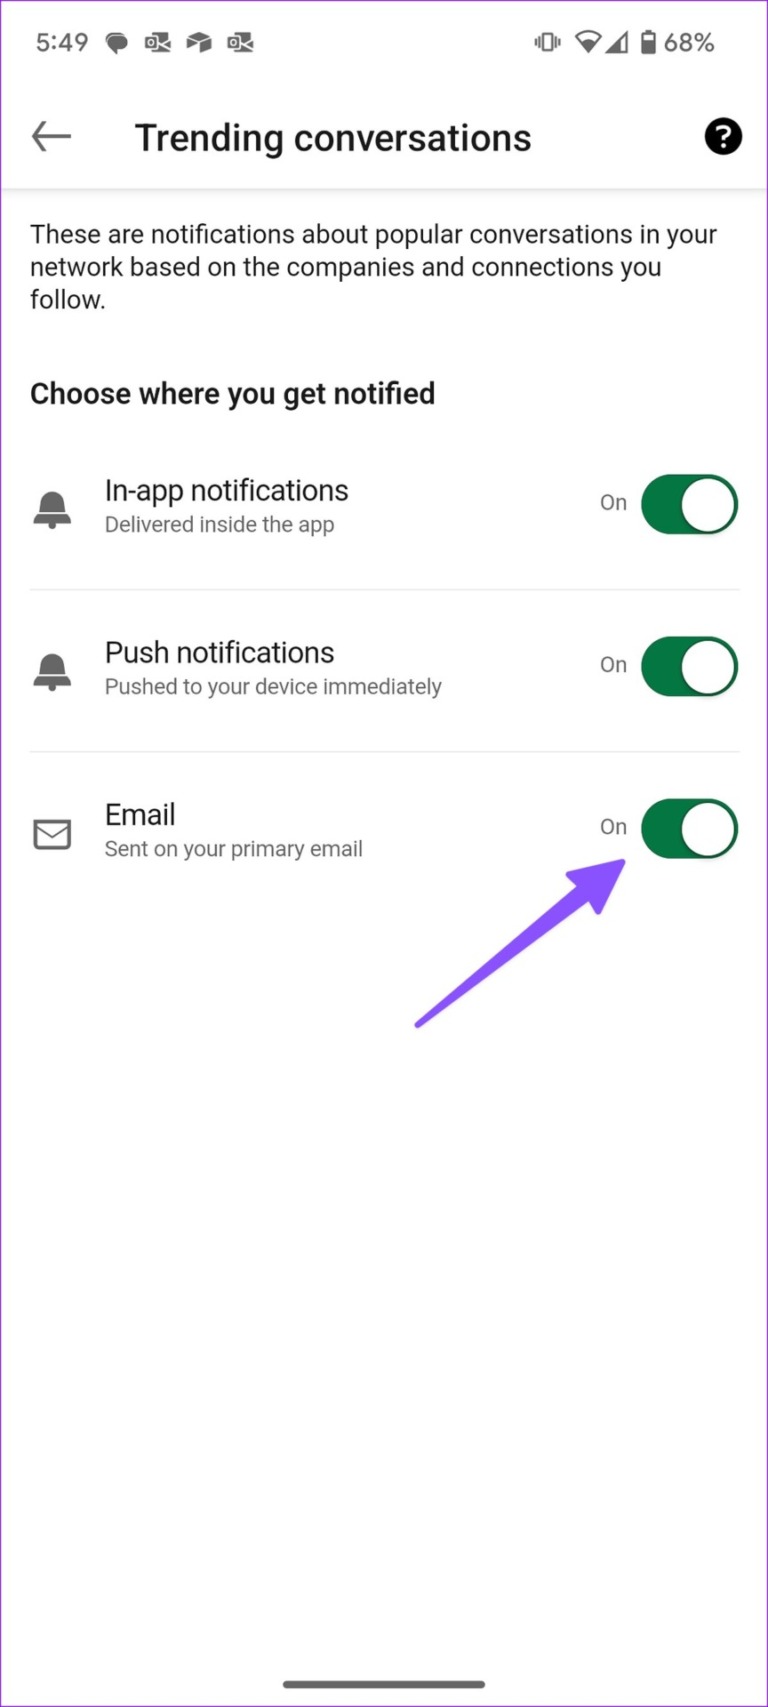
- Email Preferences: Within the settings menu, navigate to the “Communications” tab. Here, you’ll find “Email” settings that allow you to manage your email preferences.
In this section, you can see all the types of emails LinkedIn sends out, from connection requests to job suggestions. It’s a great opportunity to assess and decide which notifications are truly important to you. By regularly visiting this section, you can stay on top of your email preferences and ensure that your LinkedIn experience is tailored just right!
Also Read This: Citing LinkedIn Sources in APA Format: A Complete Guide
Customizing Your Email Settings
Now that you’ve accessed your LinkedIn email preferences, it’s time to customize your settings to fit your needs. Here’s how you can fine-tune what emails you receive:
- Types of Notifications: LinkedIn provides various notification categories, including:
- Connection requests
- Job alerts
- InMail messages
- Engagement alerts (likes, comments)
- Group activity
- Turning Notifications On or Off: For each category, you can toggle notifications on or off. For example, if you’re tired of job alerts, simply turn that option off!
- Frequency Settings: LinkedIn also allows you to choose how often you receive these emails—immediately, daily, or weekly summaries.
- Special Interests: If you’re interested in specific topics, such as industry news, you can opt-in for those newsletters to keep informed without the clutter.
Remember, customizing your email settings isn’t just about reducing clutter. It’s about enhancing your LinkedIn experience so that every email you receive adds value to your professional journey. Take a few moments to explore and adjust your settings, and enjoy a more streamlined connection with your network!
Also Read This: Can People See When You Search Them on LinkedIn
5. Reducing Unnecessary Notifications
Are you feeling overwhelmed by a flood of LinkedIn emails? You're not alone! Many users find themselves drowning in notifications that don’t add much value. Luckily, curating your email preferences can help ease that burden. Here’s how to reduce those unnecessary notifications:
- Focus on the Essentials: Start by identifying what really matters to you. Do you want updates on job applications, or are you more interested in networking notifications? By focusing on what’s essential, you can eliminate the noise.
- Access Email Preferences: Navigate to your LinkedIn settings by clicking on your profile picture, then selecting “Settings & Privacy.” From there, look for the “Communications” tab to adjust your email settings.
- Customize Notifications: Within the settings, you’ll find various categories for notifications. Deselect the options that don’t resonate with you. For example, if you’re not keen on getting updates about LinkedIn groups, simply turn those off!
- Frequency Matters: Some users find it helpful to change the frequency of notifications. Opt for a daily digest instead of real-time alerts to get a summary without being bombarded.
- Turn Off Unwanted Emails: Don’t forget to unsubscribe from email lists that no longer serve you. LinkedIn often sends promotional emails—if they’re not of interest, it’s time to say goodbye!
By taking these steps, you can reclaim your inbox space and ensure that you’re only receiving information that truly matters to you!
Also Read This: What Should I Post on LinkedIn for Engaging Your Professional Network
6. Best Practices for Managing LinkedIn Emails
Managing LinkedIn emails doesn’t have to be a daunting task! With a few best practices, you can streamline your email experience and make sure you’re only receiving what you need. Here are some tips to get you started:
- Set Clear Goals: Determine why you use LinkedIn. Are you job hunting, networking, or building your brand? This clarity will guide your email preferences.
- Check Your Preferences Regularly: LinkedIn often updates its features, so make it a habit to revisit your email preferences every few months. This ensures you’re not missing out on useful updates while keeping unwanted emails at bay.
- Utilize Folders and Filters: If you’re still receiving emails that you can’t bear to part with, create folders or filters in your email client. This way, you can easily categorize and prioritize your LinkedIn emails.
- Engage with Relevant Content: The more you interact with the content that matters to you, the better LinkedIn will tailor its email suggestions. Like, comment, and share relevant posts to signal your interests.
- Stay Updated on Changes: LinkedIn often rolls out changes to its email notifications. Follow their blog or check their updates to stay informed about new features or settings that might enhance your experience.
By implementing these best practices, you’ll not only manage your LinkedIn emails more effectively but also make the most out of your LinkedIn experience!
How to Stop Emails from LinkedIn: Managing LinkedIn Email Preferences to Reduce Notifications
LinkedIn can be an invaluable tool for networking and job searching, but the flood of email notifications can often become overwhelming. Fortunately, LinkedIn offers extensive email preferences that allow you to customize what notifications you receive. Here’s how to manage your email preferences effectively:
Follow these steps to access and modify your LinkedIn email settings:
- Log into your LinkedIn account.
- Click on your profile picture in the top right corner and select Settings & Privacy.
- Navigate to the Communications section on the left sidebar.
- Under Email notifications, click on Change.
Once you’re in the email notifications section, you’ll see a list of categories to manage:
| Notification Type | Status |
|---|---|
| Connection Requests | On/Off |
| Messages from Connections | On/Off |
| Job Alerts | On/Off |
| Weekly Updates | On/Off |
By adjusting these settings, you can significantly reduce the volume of emails you receive, ensuring that only the most important notifications are delivered to your inbox. Remember to save your changes before exiting.
In conclusion, managing your LinkedIn email preferences is a straightforward process that can help you maintain focus and reduce distraction from unnecessary notifications, allowing you to make the most of your networking experience.
 admin
admin


