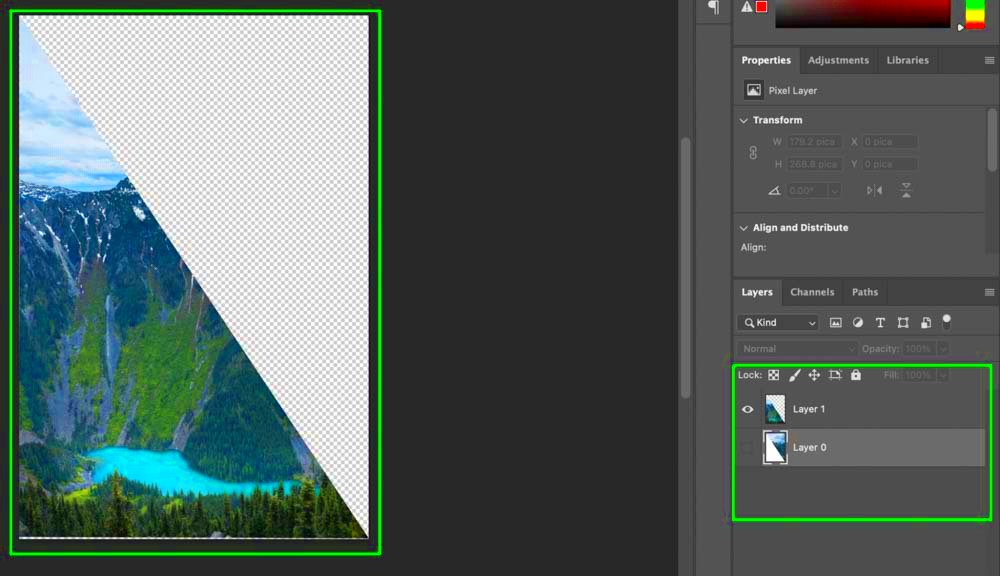
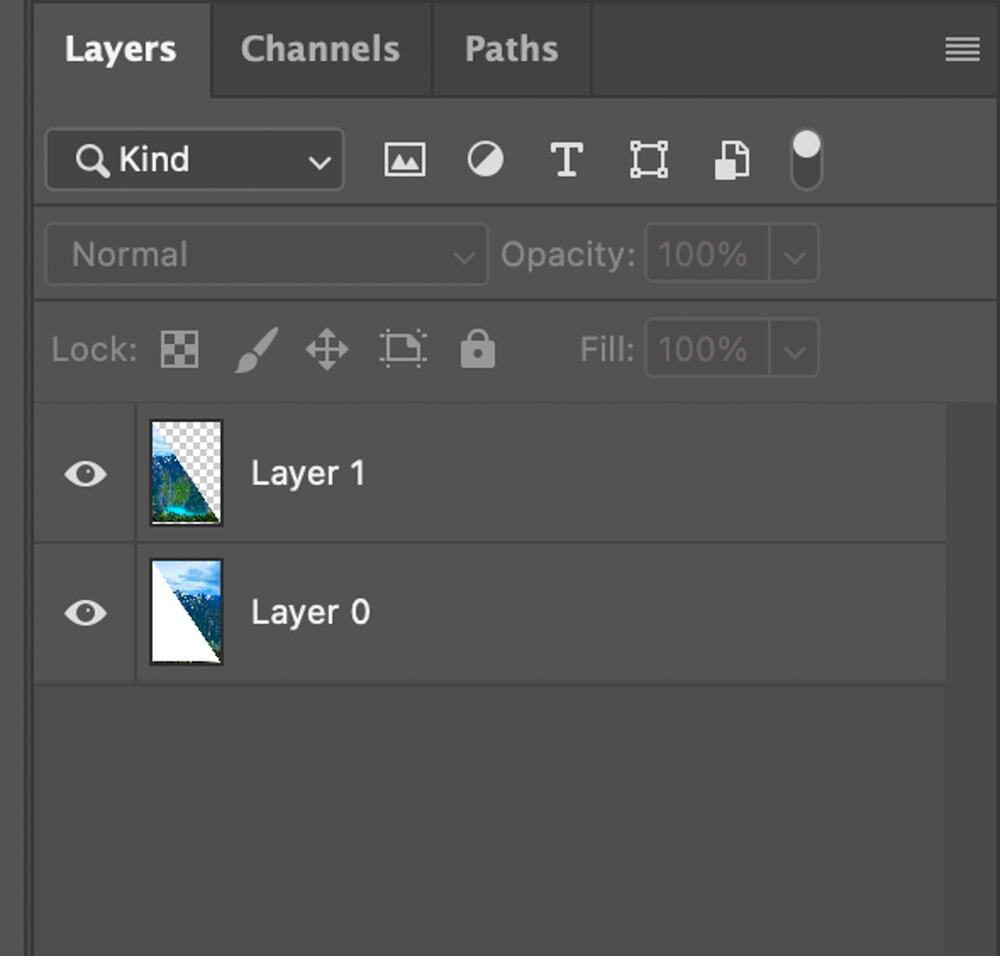
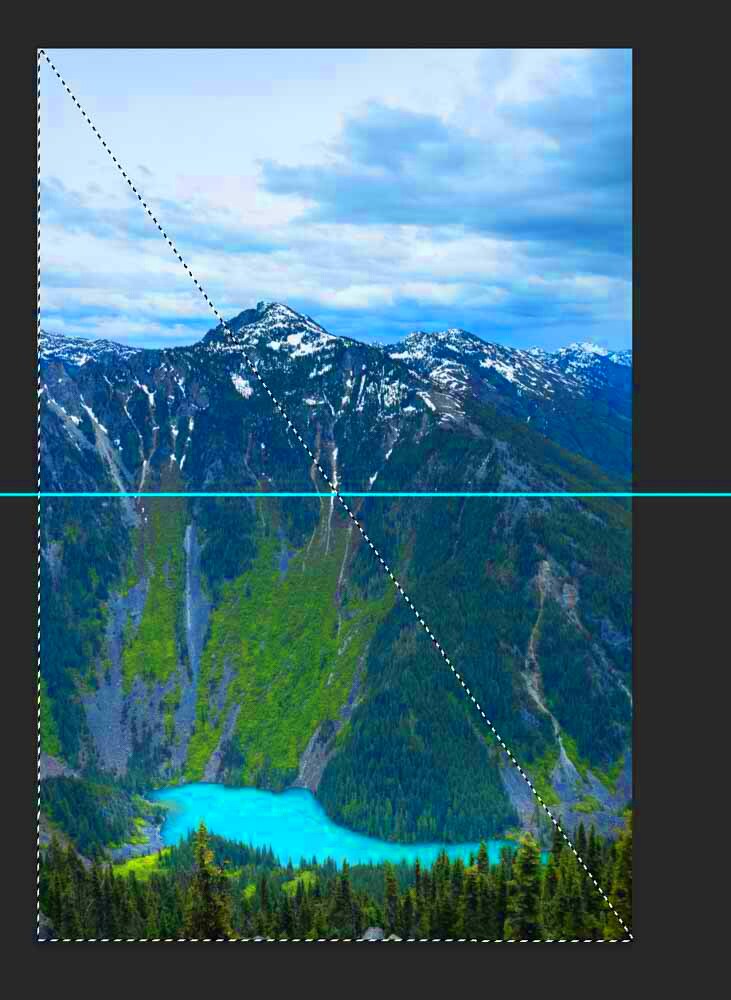
Splitting an image in half might seem tricky at first, but it's a simple task with the right tools. Canva offers an intuitive platform for making these kinds of edits quickly. Whether you're preparing an image for a project or trying to create a unique design, splitting an
Why Split an Image in Canva?

There are several reasons why you might want to split an image in half, and Canva makes this process easy for users at all skill levels. Here are some of the main benefits:
- Creating visual balance: Splitting an image allows you to create symmetry or asymmetry, depending on how you use each half.
- Adding interest to layouts: By breaking up your images, you can bring focus to different areas of your design, making it more engaging.
- Using in social media posts: Splitting an image allows you to use one half in a post and the other half for a different purpose, maintaining a consistent theme.
- Saving space: Sometimes, splitting an image helps you fit visuals into smaller or more precise spaces, without losing their impact.
Whether for personal projects, presentations, or social media, splitting images offers creative flexibility. Canva's easy-to-use platform makes this possible without needing expensive software or advanced editing skills.
Also Read This: How to Widescreen Dailymotion Videos
Steps to Split an Image in Half in Canva

Here's a quick guide on how to split an image in half using Canva:
- Open Canva: Start by logging into your Canva account and creating a new design. You can choose a custom size or use a template, depending on your project needs.
- Upload your image: Next, upload the image you want to split. You can do this by clicking on the "Uploads" tab and selecting your file.
- Insert the image onto the canvas: Once uploaded, drag the image into your workspace.
- Resize and align the image: To make splitting easier, adjust the size of your image so that it fits the canvas properly. You can resize it by dragging the corners.
- Use the grid feature: Canva offers a grid feature that helps you divide the image evenly. Select a grid with two equal parts and drag your image into one of the slots.
- Duplicate the image: To ensure the other half is aligned, duplicate the image by pressing Ctrl + D (Windows) or Cmd + D (Mac).
- Crop the image: Click on the first image and use Canva’s crop tool to remove the half you don't need. Do the same for the duplicated image but crop the opposite half.
- Adjust and save: After splitting, you can adjust the positioning of each half. Once you're satisfied, download your design in your preferred format.
That's it! With just a few steps, you can easily split an image in half using Canva's straightforward tools.
Also Read This: Learn How to Make a Link for a Video to Share Your Streamable Videos with Others
Adjusting Image Size for Precision

When splitting an image in half, getting the size just right is important to ensure both halves are equal and look neat. Canva gives you easy tools to adjust your image size for precise editing. Here’s how you can fine-tune the size for accuracy:
- Manual resizing: After placing your image on the canvas, you can click and drag the corners to resize it. If you want more precision, hold the Shift key while resizing to maintain the proportions.
- Use Canva’s ruler and gridlines: Canva has built-in rulers and gridlines to help with alignment and sizing. Enable the gridlines from the 'File' menu by selecting 'Show Rulers' and 'Show Guides'. This will help you split the image evenly.
- Exact dimensions: If you need exact pixel dimensions, click on the image and input the height and width manually in the size fields at the top of the editor. This is useful when you’re working on a professional project that requires precision.
To ensure both halves of your image are perfectly aligned, Canva allows you to zoom in on your project. You can use the zoom tool to get a closer look, which will help with minor adjustments. Once the image size is set to your liking, splitting it will be much easier.
Accuracy is key, especially if you plan to print or use the split image in designs where symmetry matters. Canva’s simple yet powerful tools make this process smooth, so you don’t have to worry about uneven halves or misalignment.
Also Read This: How to Legally Use Storyblocks Content on Your YouTube Channel
Saving and Downloading the Split Image
After you've split your image, the final step is to save and download it. Canva offers a variety of file formats for saving your work, depending on how you plan to use the image. Here’s a quick guide on what you can do:
- Click 'Download': Once your image is split and ready, go to the top-right corner of the Canva editor and click the 'Download' button.
- Select your file type: Canva provides several file types for downloading:
- PNG: Best for high-quality images and transparent backgrounds.
- JPG: A smaller file size, ideal for web use and sharing on social media.
- PDF: Useful if you need to print the split image, maintaining high resolution.
- SVG: Perfect for designs that need to be scalable without losing quality (useful if your split image is part of a larger design).
- Choose your resolution: For high-quality prints, select the highest resolution available. For web use, a standard resolution is fine.
- Click 'Download': After selecting the file type and resolution, click the 'Download' button again, and your split image will be saved to your device.
Once downloaded, your image can be uploaded directly to your website, used in presentations, or shared across social media. Always double-check the saved image to ensure both halves are correctly aligned before using it in your projects.
Also Read This: Guide to Adding a Beat Effect to Images in Shotcut
Using the Split Image in Different Projects
Now that your image is split, you might wonder how to make the most of it in different projects. A split image can add a creative touch to various designs. Here are some ways you can use it:
- Web design: Use each half of the image as part of a website layout. For example, one half could go on the homepage, while the other is used on a secondary page for continuity.
- Social media: Split images can create engaging social media posts. Post one half of the image as a teaser and the other half in a follow-up post or story.
- Printed materials: For brochures or flyers, you can use each half in a different section of the design. This can create visual interest and lead the reader's eye across the page.
- Creative presentations: In presentations, splitting an image can help you emphasize different points. For instance, show one half of the image to introduce a topic, and the other half to conclude it.
Splitting an image offers versatility across various platforms, from digital to print. You can experiment with different layouts, sizes, and uses to make the most out of your split design. Canva’s simplicity allows you to seamlessly incorporate split images into any project, ensuring they fit perfectly with your creative vision.
Also Read This: How to Make Money with Rumble and Boost Your Earnings Using Its Tools
Common Mistakes and How to Avoid Them
Splitting an image in Canva is a straightforward process, but there are a few common mistakes people make along the way. Here’s what to watch out for and how to avoid these pitfalls:
- Uneven splits: One of the most frequent issues is not getting the split perfectly even. To avoid this, use Canva’s grid or ruler tools to guide you. Zooming in can also help ensure precision.
- Not duplicating the image: Some users forget to duplicate the image before cropping, which leads to them having only one half of the image. Always duplicate the original image before splitting it to make sure both halves are saved.
- Low image resolution: After splitting the image, some users download it in a low resolution, which can result in blurry or pixelated images, especially when printing. Always choose a higher resolution if you plan to print or use the image in high-quality designs.
- Incorrect file format: Selecting the wrong file format can cause issues later. For example, using JPG instead of PNG may lead to lower quality if you need transparency. Choose the file format based on your project’s needs.
By paying attention to these details, you can avoid common mistakes and ensure that your split image looks sharp and professional. Canva offers tools that make it easy to avoid these issues if used properly.
Also Read This: Mirroring an Image in PowerPoint
Frequently Asked Questions
Here are some common questions that users have when splitting images in Canva:
| Question | Answer |
|---|---|
| Can I split an image into more than two parts? | Yes, you can split an image into multiple parts. Simply follow the same steps but use additional grid lines or duplicate the image multiple times and crop accordingly. |
| Does Canva offer preset grid options? | Yes, Canva has built-in grid templates that can make splitting images easier. You can access these under the 'Elements' tab, where you’ll find grids with various divisions, including two equal parts. |
| Can I split an image and retain the transparent background? | Yes, if your original image has a transparent background and you download the split version in PNG format, Canva will preserve the transparency. |
| Is it possible to split images on the mobile app? | Yes, Canva’s mobile app allows you to split images using the same tools available on the desktop version. The process is nearly identical, with slight adjustments for touchscreen functionality. |
Conclusion
Splitting an image in half using Canva is an easy task, whether you're a beginner or an experienced designer. With just a few simple steps, you can divide an image evenly and use it creatively across different projects. By paying attention to details like image size, resolution, and format, you can ensure that your final product looks polished and professional. Whether you're designing for the web, social media, or print, Canva provides all the tools you need to split images quickly and efficiently.
Now that you know how to split an image in Canva, you can explore new ways to use this technique in your future projects, adding an extra layer of creativity and flexibility to your designs.

 admin
admin


