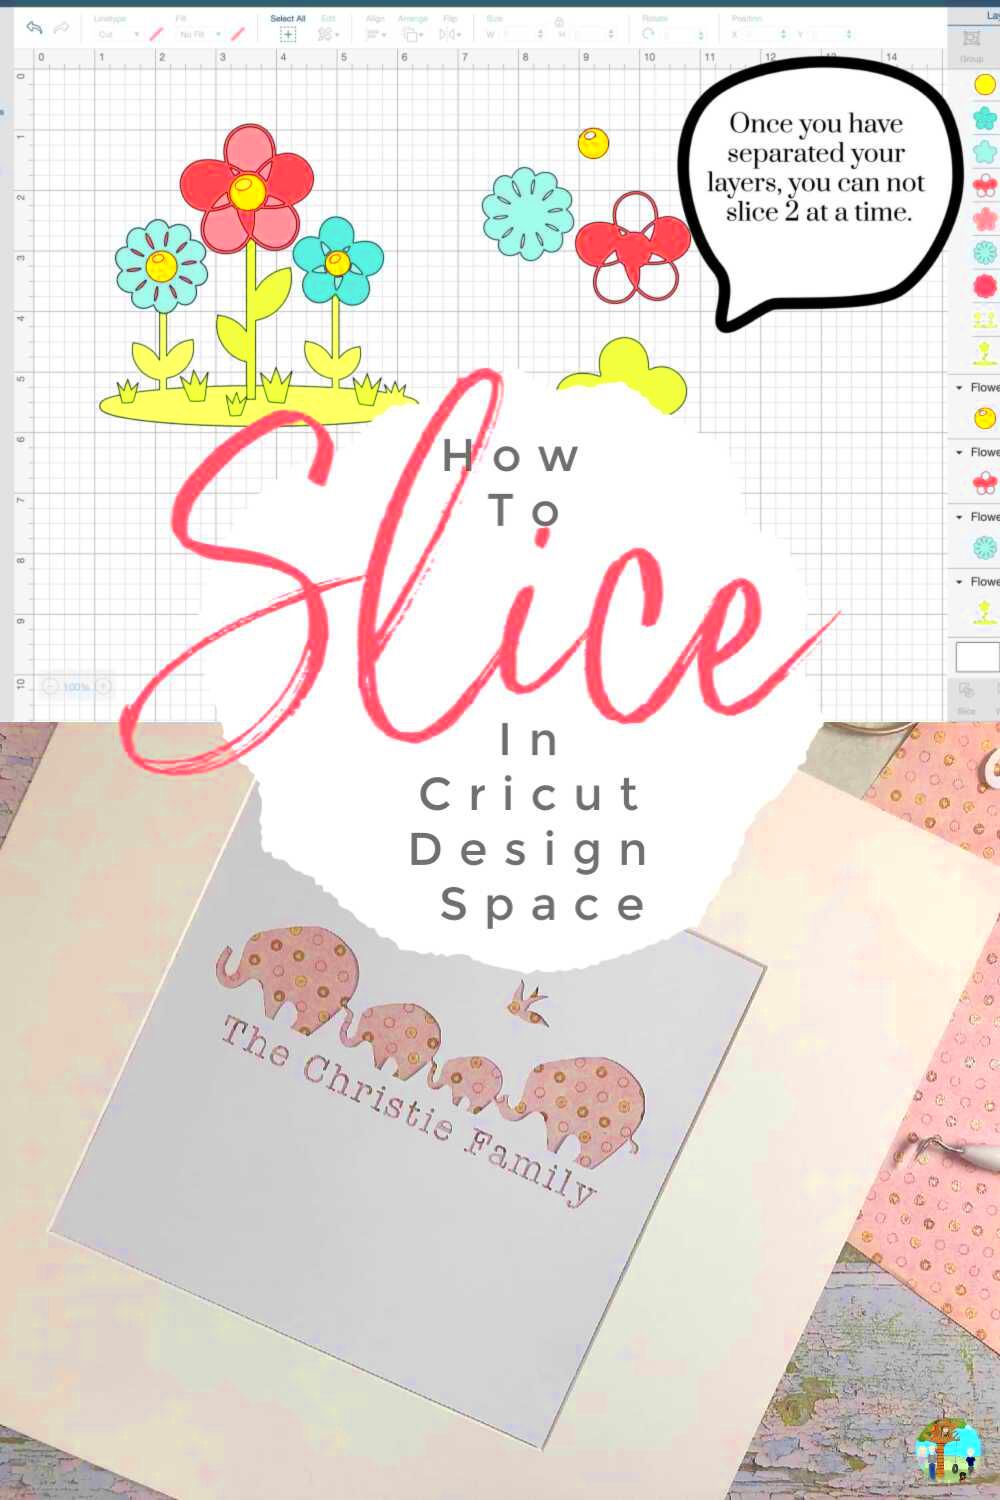
Slicing images on Cricut is a game-changer for any crafting project. Whether you’re a seasoned crafter or just starting, this technique allows you to break down complex designs into manageable parts. The slicing function in Cricut Design Space is perfect for creating intricate, customized projects like greeting cards, t-shirts, or home decor. In this section, we’ll explore why learning how to slice is an essential skill, and how it can help you elevate your craft game.
When you slice an image, you’re essentially cutting it into sections to make it easier to work with. This process is especially useful when you want to combine different images or create multiple layers for a project. It allows you to personalize designs by separating certain elements or removing unwanted portions.
Understanding the Basics of Cricut Design Space
Cricut Design Space is the software that powers your Cricut machine. It’s where you can create, edit, and prepare your designs for cutting or printing. If you’re new to Cricut, understanding the basics of Design Space is the first step in becoming a successful crafter. It’s a user-friendly platform, but it offers a wide range of features that allow for complete design freedom.
Here’s a breakdown of some important features in Cricut Design Space:
- Canvas Area: This is where you’ll create and arrange your designs. Think of it as your virtual workspace.
- Toolbar: Located on the left, it includes tools like text, shapes, and images to help you create your design.
- Layers Panel: This panel shows you all the elements of your design and allows you to control their order and visibility.
- Cutting Tools: These include options like “Cut,” “Score,” and “Draw,” allowing you to customize how your Cricut machine interacts with your material.
Once you’re comfortable with the basics of Design Space, you’ll be ready to start slicing images and bringing your projects to life!
Also Read This: Refund Realms: Delving into AliExpress Refund Duration
How to Upload Images to Cricut Design Space
Before you can slice an image in Cricut, you need to upload it to Design Space. The process is simple and straightforward, but knowing how to do it properly ensures your images are ready for customization. In this section, we’ll guide you through the steps to upload your own images or use free ones from Cricut’s library.
Follow these steps to upload an image to Cricut Design Space:
- Step 1: Open Cricut Design Space. Launch the software on your computer or mobile device and start a new project.
- Step 2: Select “Upload” from the sidebar. This button allows you to bring in your own image files.
- Step 3: Choose your image type. You’ll have the option to upload JPG, PNG, GIF, SVG, and DXF files. Select the one that best suits your design needs.
- Step 4: Clean up your image. If you’re uploading a PNG with a transparent background, Cricut Design Space will let you clean up any extra portions of the image using the “Erase” tool.
- Step 5: Name your image. Give your file a name so you can easily find it later. After naming it, click “Save” to store it in your library.
- Step 6: Insert Image into Canvas. Once your image is uploaded, you can select it from your library and add it to your design canvas to start working with it.
Now your image is ready for editing! You can resize, reposition, or start the slicing process to break it down into smaller sections. Keep in mind that some image types might require a little extra attention during the upload process to ensure they’re compatible with Cricut’s cutting tools.
Also Read This: Maximizing Discoverability on 123RF: Tips for Increasing Exposure
How to Prepare Images for Slicing
Preparing your images properly before slicing is crucial to getting a clean and crisp result. Images that are not prepared correctly can cause issues like uneven cuts or undesired layers. So, let’s walk through the steps you need to take to ensure your image is ready for slicing.
Here are the key steps to prepare your image for slicing:
- Choose High-Quality Images: Start with high-resolution images. Low-quality or pixelated images will produce poor results when sliced.
- Remove the Background: If your image has a background you don’t need, it’s best to remove it. Cricut Design Space offers an easy tool for removing backgrounds.
- Convert Text to Paths (for text-based images): If your image contains text, you should convert it to paths. This ensures the Cricut machine can read and cut the text properly.
- Check for Overlapping Objects: Images with overlapping or grouped elements should be cleaned up. Remove any extra parts that won’t add value to your design.
- Resize Your Image: Resize the image to fit the project you’re working on. Make sure it’s large enough to be sliced, but not so large that it exceeds your Cricut’s cutting area.
By following these preparation steps, your image will be ready to be sliced cleanly, making the whole crafting process smoother and more efficient.
Also Read This: Here Is Your Ultimate Guide to Download Facebook Reel Video
Step-by-Step Guide to Slicing Images
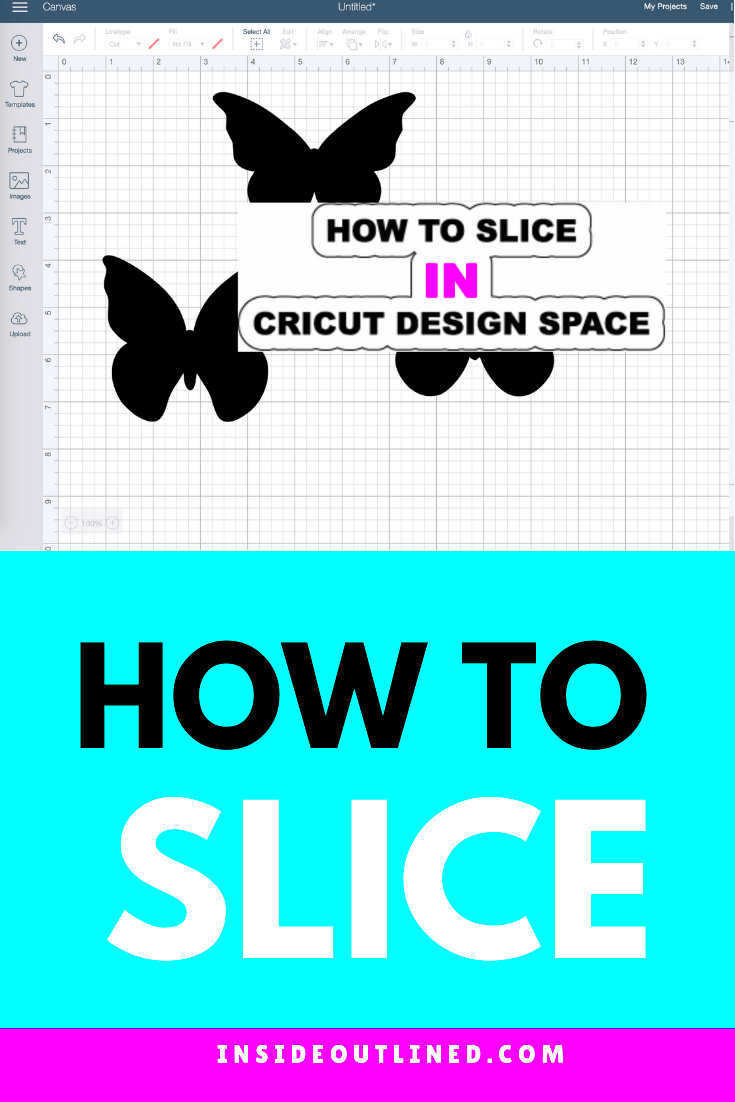
Now that your image is prepared, it’s time to slice it. Cricut Design Space makes the slicing process simple with its intuitive tools. Here's a step-by-step guide to slicing images:
- Open Your Image in Cricut Design Space: First, upload your image into the Cricut Design Space canvas. Make sure it’s clean and ready to go, as we discussed earlier.
- Select the Image You Want to Slice: Click on the image to select it. You can also combine multiple images for more complex designs.
- Add a Shape to Slice With: You need a shape to slice the image. For example, if you want to slice an image in half, use a rectangle or circle. Position the shape over the part of the image you want to keep or remove.
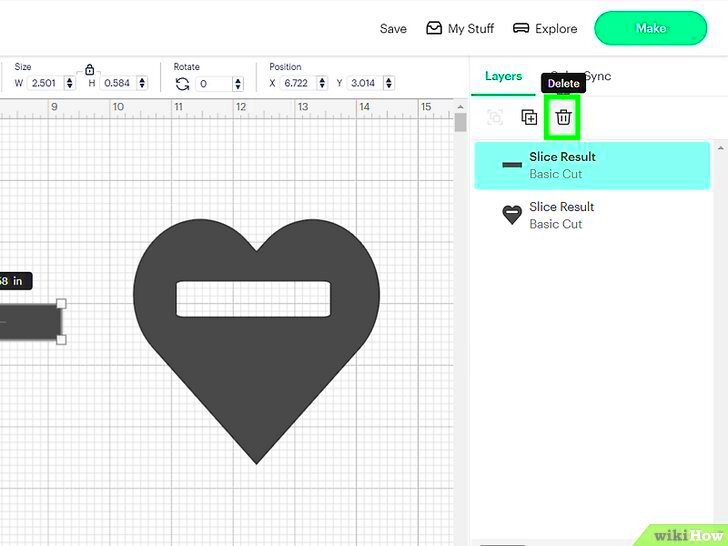
- Use the Slice Tool: With both the image and shape selected, click the “Slice” button at the bottom of the Layers panel. This will cut the image based on the shape’s outline.
- Remove Unwanted Parts: After slicing, you’ll have multiple pieces. Delete any parts of the image that are no longer needed.
- Final Adjustments: Move, resize, or adjust the slices to fit your design. You can also combine different slices to create layered effects.
That’s it! You’ve now sliced your image, and it’s ready for cutting. This process gives you the flexibility to create more intricate and unique designs for all your craft projects.
Also Read This: How to Adjust Gamma for Better Image Quality
Common Mistakes to Avoid When Slicing Images
Slicing images in Cricut Design Space can be a lot of fun, but there are some common mistakes that can lead to frustration or poor results. Let’s go over some of the most frequent errors people make when slicing images and how to avoid them:
- Using Low-Resolution Images: Low-quality images don’t slice well and can cause jagged edges or poor cuts. Always start with high-resolution images to ensure a clean slice.
- Not Removing the Background: If your image has an unnecessary background, it can interfere with the slicing process. Always remove backgrounds before starting to slice.
- Incorrectly Sizing the Image: If your image is too large for the Cricut machine to cut, or too small to maintain detail, it can ruin your design. Ensure your image fits within the Cricut’s cutting area and is scaled correctly.
- Forgetting to Group Images: If you are slicing multiple images at once, make sure they are grouped together before using the Slice tool. Otherwise, Cricut will slice them individually, leading to unexpected results.
- Using the Slice Tool Too Often: While the Slice tool is powerful, it can only be used twice on any given layer. Overusing it can lead to confusing layers or broken designs. Be mindful of how often you slice the same object.
- Not Adjusting the Layers Properly: After slicing, make sure to arrange the layers correctly. If they’re not aligned or positioned as you want them, it can affect the final output.
Avoiding these mistakes will help you achieve the best results when slicing images. Take your time to prepare your images properly, and always double-check your work before finalizing your design.
Also Read This: How to Alter Text in an Image
Advanced Tips for Slicing Complex Images
Once you're comfortable with basic image slicing on Cricut, you might want to tackle more complex designs. These could include multi-layered images, overlapping elements, or intricate details. Slicing complex images requires a bit more attention to detail, but with the right approach, it can be done smoothly. Here are some advanced tips to help you slice complex images like a pro:
- Use Multiple Shapes: For intricate slices, use more than one shape to guide your cuts. For example, you can combine a rectangle with a circle or other shapes to create custom slices.
- Layer Your Cuts: When working with multi-layered images, slice one section at a time. This helps keep your layers organized and avoids cutting parts you don’t want to change.
- Adjust Image Paths: If parts of your image have complicated paths or overlapping areas, you may need to adjust the paths manually. This ensures that the Slice tool works efficiently and doesn’t cut through unwanted areas.
- Preview Your Cuts: Always preview your slices before finalizing. This step lets you check if the slices are accurate and if everything is in place. It's easier to make adjustments at this point.
- Use the Contour Tool: If parts of your design are not slicing correctly, the Contour tool can help you hide or eliminate unwanted areas without affecting the overall design.
With these advanced techniques, you'll be able to take on more challenging images and create even more refined and professional-looking designs for your Cricut projects.
Also Read This: How to Promote Your Shutterstock Portfolio on LinkedIn: A Comprehensive Guide
How to Save and Export Your Sliced Images
After you’ve sliced your image and are happy with the design, the next step is saving and exporting it for use in your Cricut projects. Whether you want to cut it right away or use it later, Cricut Design Space makes it easy to save your images. Here’s how you can save and export your sliced images:
- Save the Image in Cricut Design Space: Once you’ve completed your design, click “Save” in the top right corner of the screen. This saves your image in the Cricut cloud, where you can access it later for any project.
- Export for Cutting: To export the sliced image for cutting, select “Make It” in Cricut Design Space. This will take you to the cutting setup screen where you can adjust the material settings and choose your cutting options.
- Download as SVG (for other uses): If you need to use your sliced image in other design programs or projects, you can download it as an SVG file. This file format preserves the vector quality of your design for use in other graphic programs.
- Export for Print: If your project involves printing as well as cutting, make sure to select the appropriate print settings. You can print the design on your printer and then send it to Cricut for cutting.
- Save to Your Computer: If you want to keep a backup of your image, you can download it as a PNG or JPEG file and store it on your computer or external storage.
Saving and exporting your sliced images correctly ensures that they are ready for cutting or use in future projects, providing you with more flexibility in your craft work.
Also Read This: Achieve a Radiant Glow with Shimmer Application Techniques on Your Face
FAQ: Frequently Asked Questions About Slicing Images on Cricut
If you’re new to slicing images on Cricut, you might have some questions or concerns. To help clear up any confusion, we’ve answered some of the most frequently asked questions about this process:
- What type of images can I slice on Cricut? You can slice both raster (JPEG, PNG) and vector (SVG) images. However, vector images often yield cleaner results, especially when working with detailed designs.
- Can I slice text? Yes! But you’ll need to convert your text into paths before slicing. This ensures that Cricut can read and cut the text properly.
- How do I avoid cutting through unwanted parts of my image? One way to avoid this is by using the “Contour” tool to hide or eliminate unwanted sections of the image. This helps you focus the Slice tool on the right areas.
- Can I slice multiple images at once? Yes, you can slice multiple images together by selecting them all and then applying the Slice tool. Just make sure the images are properly aligned and grouped.
- Why isn’t the Slice tool working? The Slice tool only works when two or more layers are selected, and it can only be used twice on any one layer. Make sure your layers are properly selected and check for any overlapping issues.
- Can I undo a slice? Yes! If you don’t like the result of your slice, simply press “Undo” in the top left corner of Cricut Design Space to revert the image back to its original state.
By answering these questions, we hope to make your image slicing experience more enjoyable and less confusing. Don’t hesitate to experiment and explore Cricut Design Space—it's a great tool for all kinds of creative projects!
Conclusion: Mastering Image Slicing for Crafting Success
Mastering image slicing on Cricut opens up endless possibilities for your crafting projects. With the right preparation, understanding of Cricut Design Space, and attention to detail, you can transform any image into a perfect cutout, ready for use in T-shirts, cards, home decor, and more. By following the steps outlined in this guide, you can confidently slice complex designs, avoid common mistakes, and achieve professional results.
Remember, the key to success lies in practice and experimenting with different techniques. As you become more familiar with the process, you’ll be able to tackle increasingly intricate images and create unique, personalized crafts with ease. The more you work with Cricut Design Space, the quicker and more skilled you’ll become at slicing images and using them to elevate your crafting projects.
So, keep exploring new ideas, perfect your slicing technique, and enjoy the creative freedom that Cricut provides. Happy crafting!
