However, it’s not as complicated as it seems to be when it comes to sending images from an iPhone to an Android device. There are different methods that can be used depending on whether you intend to send family photos; share memorable moments or critical pictures. Therefore this guide looks at various high-quality ways of sending pictures without losing their clarity and detail. So let’s get started and find out how these two varied platforms can be bridged.
Understanding Image Quality and Formats
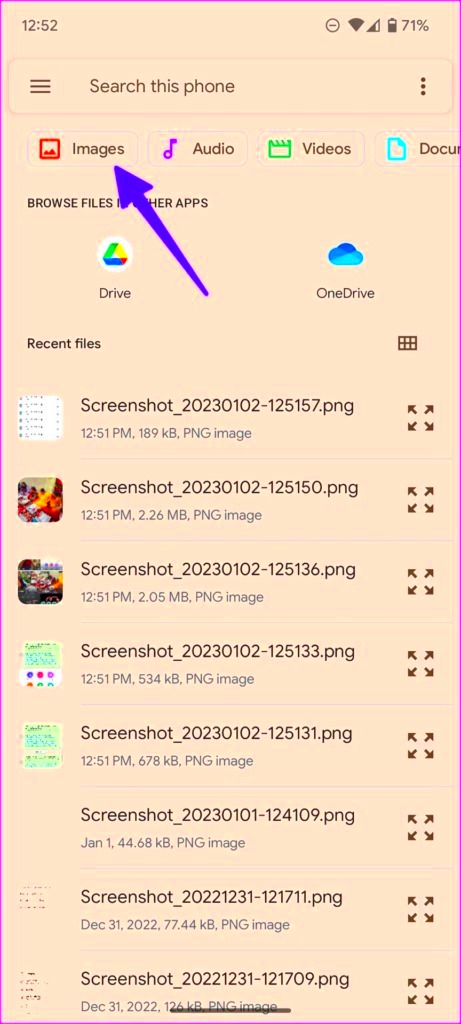
Image-sharing is one key area concerned with. Transferring images may differ in quality based on the devices involved due to adoption of different image formats in the devices.Some of the image formats you might come across include:
- JPEG: A widely used format that balances quality and file size.
- PNG: Ideal for images needing transparency, retaining high quality but often larger in size.
- HEIC: A newer format used by iPhones that offers high quality with smaller file sizes.
Therefore, it is really important to adjust for these formats while sharing images through iPhone and Android. The image will not appear correctly unless the recipient’s hardware supports it. If you aren’t certain, it may be better to change pictures into JPEG format because this format is commonly accepted anywhere.
Methods for Transferring Images
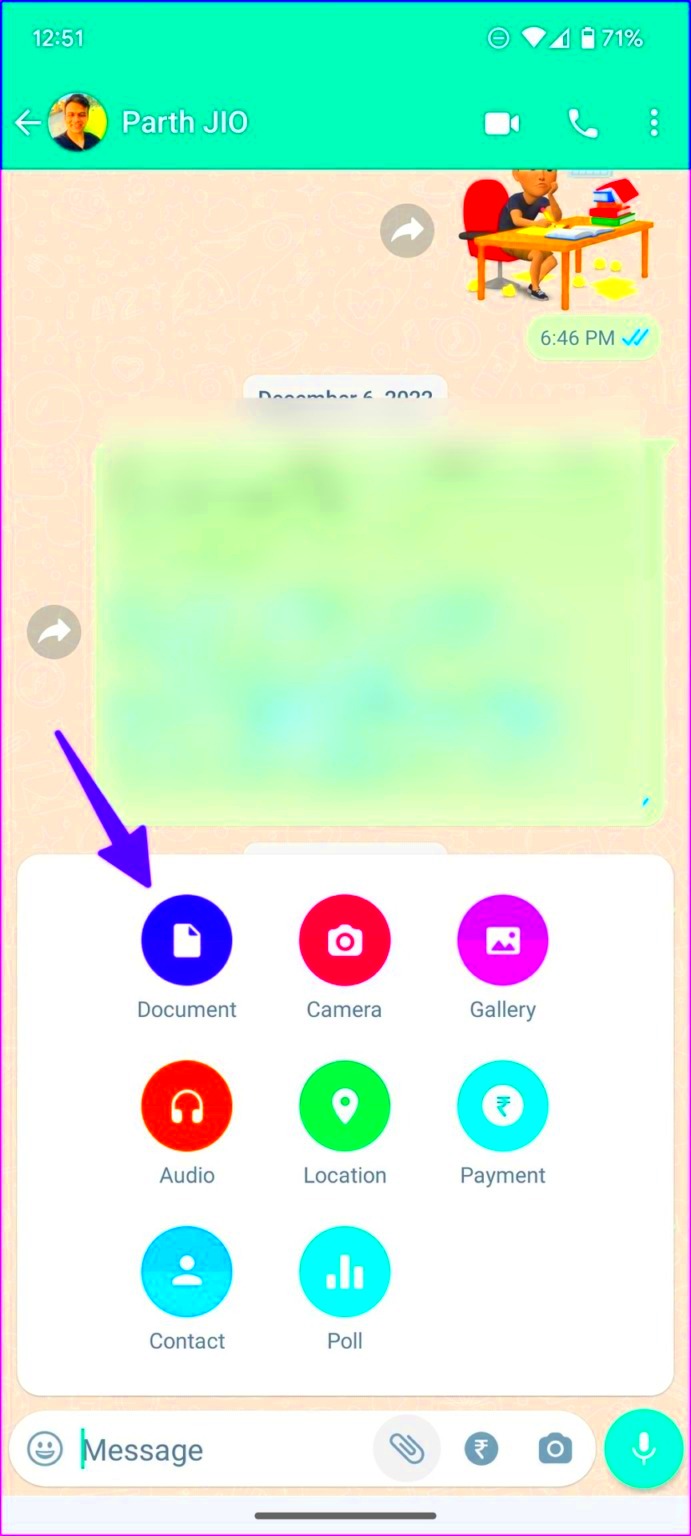
Having grasped the fundamental principles governing image quality as well as different formats, we can now look into how to transfer images from an iPhone to an Android phone. Here are some usable techniques:
- Email: Sending images via email is straightforward. Simply attach the image to your email and send it to the Android user. Make sure the file size isn’t too large to avoid delivery issues.
- Cloud Storage: Use services like Google Drive or Dropbox. Upload your images to the cloud and share the link with the Android user. This method maintains image quality and allows easy access.
- Third-Party Apps: Consider using apps like SHAREit or Send Anywhere. These apps enable fast, quality image transfer without needing an internet connection. Both users must install the app for this method.
- Bluetooth: If both devices have Bluetooth, you can pair them and send images directly. However, this method may take longer and depends on the device's compatibility.
All strategies have merits and demerits; hence, pick that which is suitable for your situation. Image transfer should be easy with these choices!
Using Email for Image Transfer
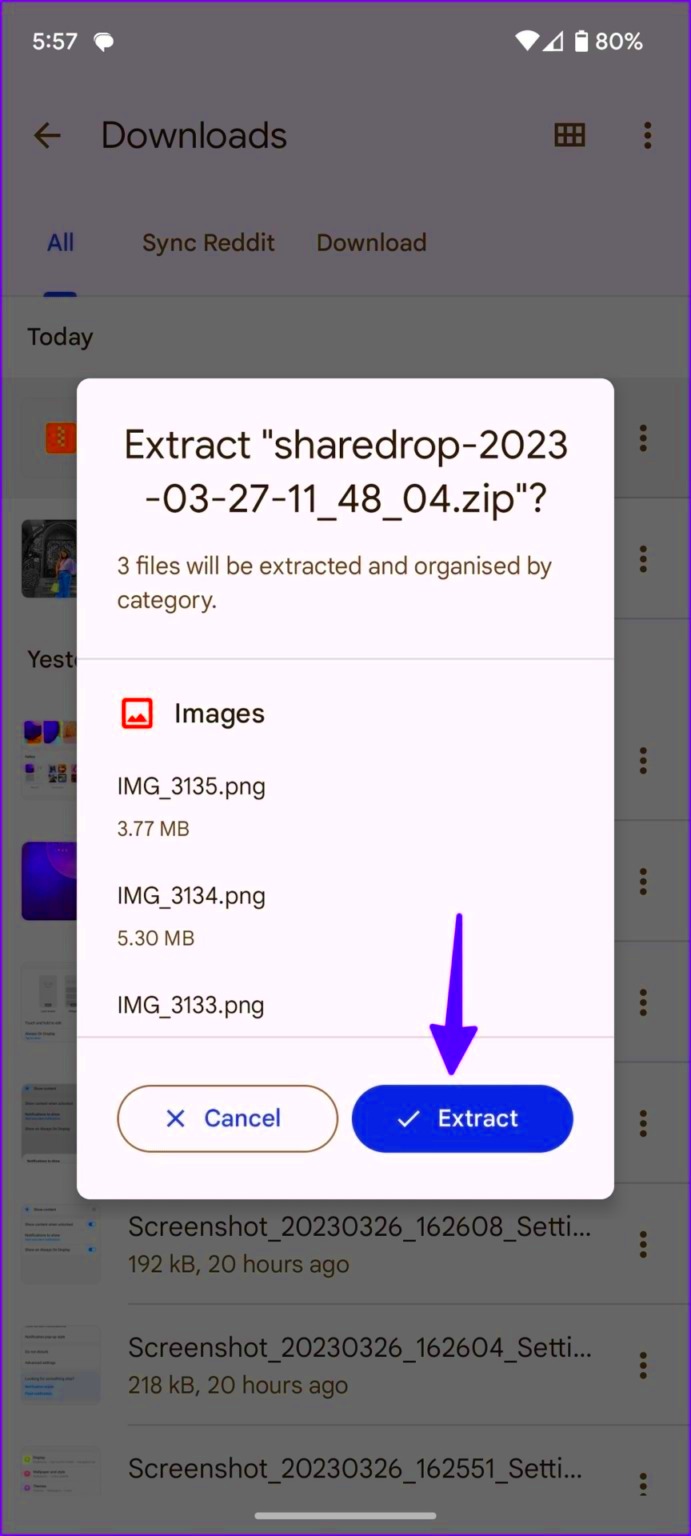
If you want to transfer photos easily from iPhone device to Android phone, email could be a great option. It is far that most have their own email accounts; thus this method is simple and more often used by people. In order to achieve this follow the steps below:
- Open Your Email App: Start by opening the email app on your iPhone, such as Mail or Gmail.
- Create a New Email: Tap on the option to compose a new email. Enter the recipient’s email address, add a subject line, and write a brief message if you wish.
- Attach Your Image: Look for the paperclip or attachment icon. Tap it and choose the images you want to send from your gallery. Remember, most email services have a file size limit, usually around 25MB, so keep that in mind.
- Send the Email: Once everything is ready, hit send!
When they sign in to Gmail from an Android device, the recipient can easily open the email and save any pictures included in it. It really is that simple! Just make sure that your photos are in some kind of accepted format such as JPEG or PNG; this way there will not be any problems with presentation.
Transferring via Cloud Storage Services
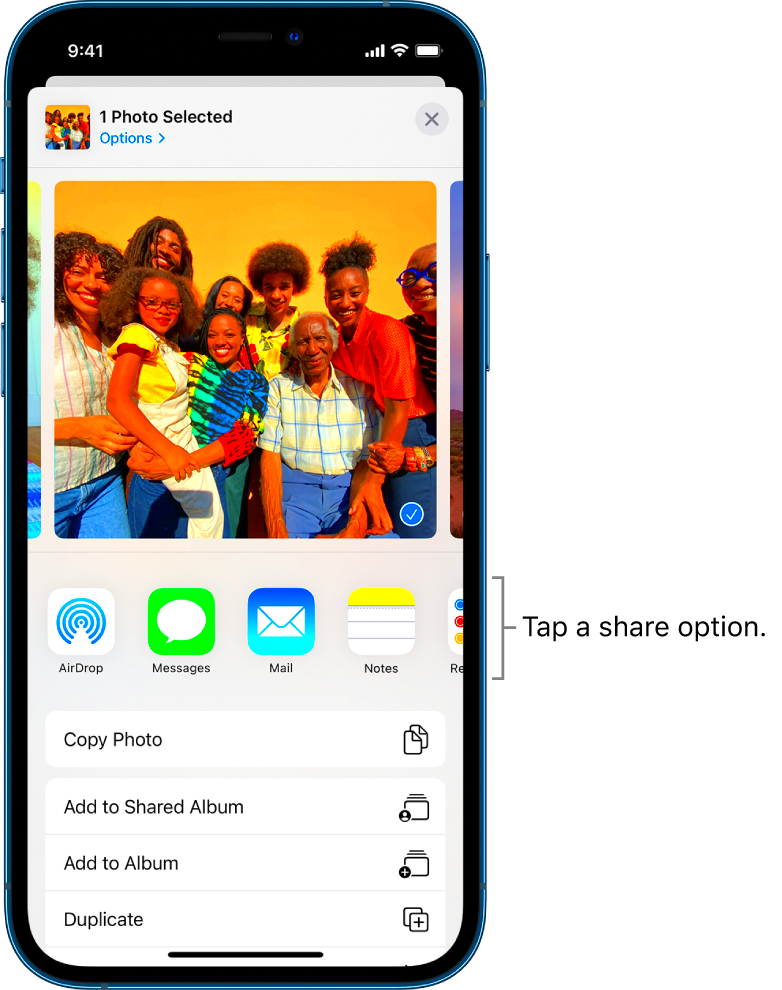
In a nutshell, if you want to share images without sacrificing their quality, use cloud storage services such as Google Drive, Dropbox and OneDrive as they are the most convenient. This approach is especially applicable for big files sharing purposes. This is how it can be achieved:
- Choose a Cloud Service: If you don’t have one already, sign up for a cloud storage service. Google Drive is often recommended for its ease of use and free storage options.
- Upload Your Images: Open the app on your iPhone and upload the images you want to share. You can do this by tapping the "+" button or "Upload" option.
- Get Shareable Link: Once uploaded, find the image or folder, tap on the three dots, and select “Get Link” or “Share.” Make sure the sharing settings allow anyone with the link to view the files.
- Send the Link: Copy the link and paste it into an email or text message to the Android user. They can click the link to access and download the images directly.
Unlike before, it was much kind of difficult for one to keep their files while preserving their images without which one could not even think of keeping it in order to access them later. It is now possible to have those who may not want clicks on their online platform, yet they still retain the copyrights over those photos. The use of cloud storage eliminates file size limits for both users!
Using Third-Party Apps for Easy Transfer
Third-party applications are the best way to transfer pictures from an iPhone to an Android phone very fast. They are specially made for this hence they are fast and simple to operate. Some of them are:
- SHAREit: This app allows you to transfer files without the need for an internet connection. Both users need to install SHAREit, and the transfer is typically fast.
- Send Anywhere: Send Anywhere works similarly, enabling you to send images without needing a USB cable or Wi-Fi. You just need a code generated by the app for the transfer.
- Xender: Another popular app, Xender lets you transfer files quickly and supports various file formats.
To employ these applications:
- Download the App: Install the chosen app on both devices from the App Store or Google Play Store.
- Connect Devices: Follow the app instructions to connect your iPhone and Android device, usually through Wi-Fi Direct or QR codes.
- Select Images: Choose the images you want to transfer and send them.
It's super easy to share images as well as other types of files with these applications. They also sometimes have other features, such as compression and a transfer history, which add to the experience.
Tips for Maintaining High Quality During Transfer
While transmitting photographs from an iPhone to an Android gadget, it is crucial that their quality is preserved. Losing details or clarity could be infuriating especially if those pictures are of great importance the holder. Some of the ways to go about keeping your pictures at their best include:
- Choose the Right Format: As mentioned earlier, formats like JPEG and PNG are best for quality. If you're using HEIC on your iPhone, consider converting it to JPEG before sending.
- Check File Sizes: Large file sizes can lead to compression during transfer. Aim to keep your images under the email size limit or adjust settings in your cloud storage to maintain quality.
- Use Wi-Fi for Transfers: If you’re using cloud storage or third-party apps, make sure you’re connected to Wi-Fi. This ensures a stable connection, preventing interruptions that could compromise quality.
- Preview Before Sending: Take a moment to preview the images you’re about to send. Ensure they are the correct files and appear as expected. This step can help catch any mistakes before the transfer.
- Limit Compression Settings: If you’re using an app to transfer images, check its settings for file compression options. Some apps allow you to select high-quality transfer settings.
If you want your images to remain the same quality during transfer, just follow these tips for peace of mind.
Frequently Asked Questions
These are the typical questions that people ask when sending images from iPhone to Android devices. It is hoped that this will bring any confusions to rest:
- Can I send large files without losing quality? Yes, using cloud storage or dedicated apps is the best way to send large files without compromising quality.
- What if the recipient can’t open the image format? Stick to widely accepted formats like JPEG or PNG. If you send an unsupported format, consider converting it before sending.
- Is there a limit to how many images I can send? Limits depend on the method you use. Email typically allows around 25MB per email, while cloud storage can handle larger files.
- Are there any free apps for transferring images? Yes, many apps like SHAREit and Send Anywhere are free and user-friendly for transferring images.
Explore such possibilities, the community behind sharing pictures is really wide and it may be observed that perhaps other person has ever asked a similar query! Thus, if there are further inquiries, do not hesitate to ask them or alternatively make a cursory web search.
Conclusion on Sending High Quality Images
It’s easy to send photos from an iPhone to an Android phone in high quality. The key is knowing how to do it right. The first thing you must do is make sure that you have chosen the right file format, taken care of the files’ sizes and also take advantage of some other tools in this regard so that your transition is seamless. You can choose email, cloud storage or third party apps; all these ways will always be helpful in keeping the image exactly as it should be.
Eventually, you want to keep those treasured photographs just as they were in your memory when you first took them. Therefore do not hesitate to utilize these techniques and enjoy sharing your pretty pictures with friends.
 admin
admin


