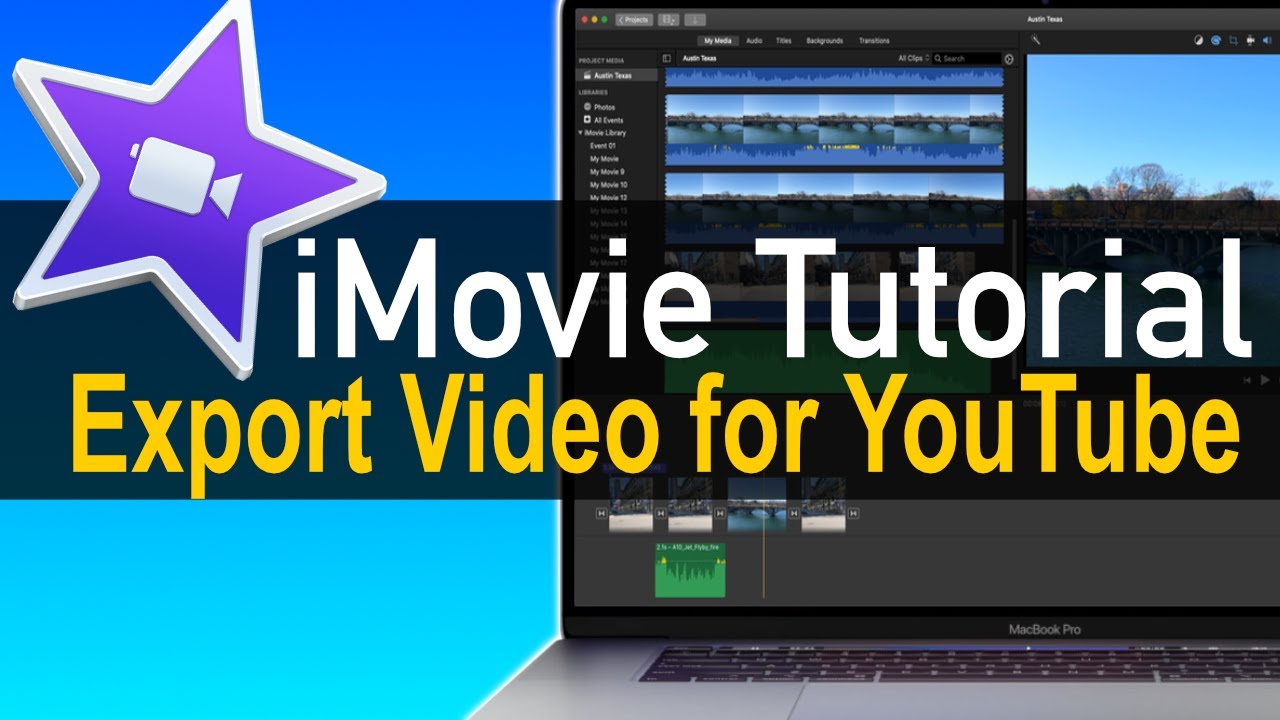
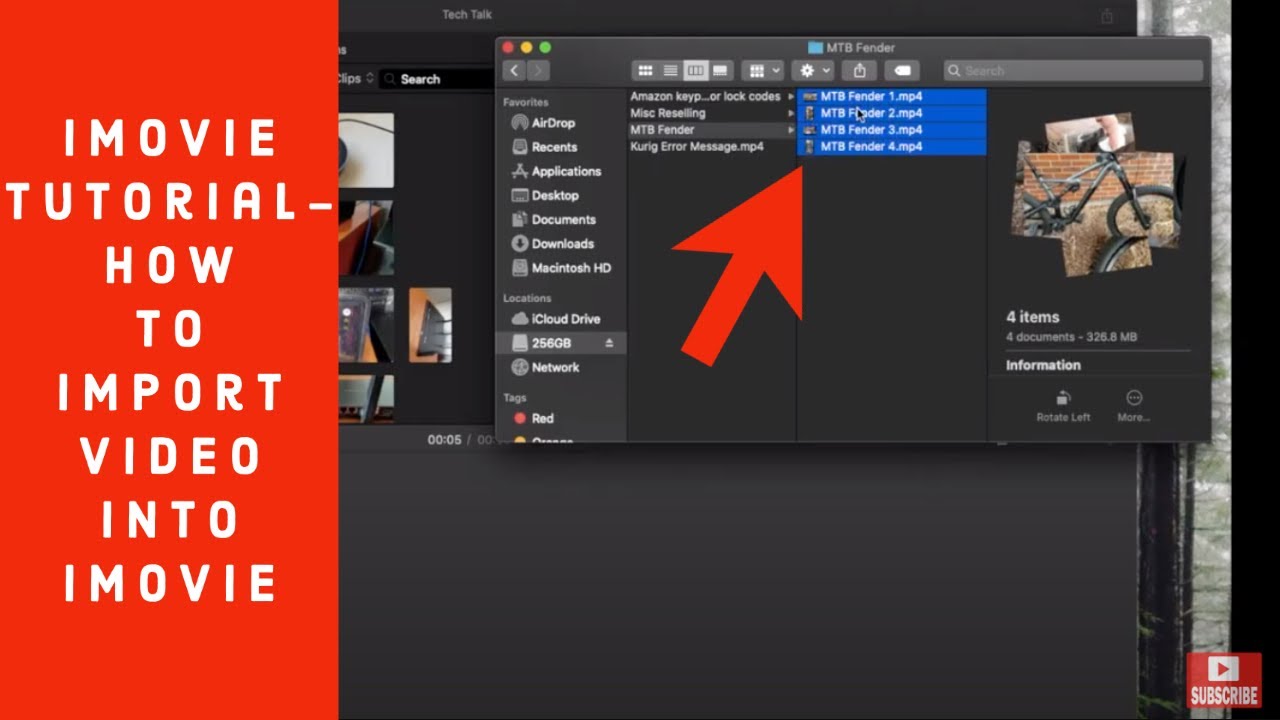
Sending your iMovie videos to YouTube can be a rewarding way to share your creativity with the world. Whether you're crafting a travel vlog, a tutorial, or capturing special moments, getting your project out there is the final step. This guide walks you through everything you'll need to know, from preparing your iMovie project to uploading it seamlessly on YouTube. Let’s dive in!
Preparing Your iMovie Project

Before you jump into the exporting process, it's crucial to ensure your iMovie project is polished and ready for YouTube. Here are the steps you should follow:
- Review Your Edit: Go through your project from start to finish. Check for any unwanted clips, audio issues, or typos in overlay texts. Play it back to ensure everything flows smoothly.
- Add Titles and Transitions: Consider adding catchy titles and smooth transitions to enhance the viewer's experience. Make sure they align with the tone of your video.
- Choose the Right Aspect Ratio: YouTube typically uses a 16:9 aspect ratio. Ensure that your video settings in iMovie match this for the best viewing experience.
- Audio Levels: Ensure your audio is clear and properly balanced. iMovie allows you to adjust the volume and add background music. Just be mindful of copyright issues if you’re including music from outside sources.
- Color Correcting: If necessary, tweak the colors in your clips. Adjust brightness, contrast, and saturation to make your video visually appealing.
Taking the time to prepare your iMovie project correctly will set you up for success when it’s time to upload to YouTube. Happy editing!
Also Read This: Beach Houses by the Ocean in the USA Captured in Beautiful Images
3. Exporting Your Video from iMovie

Once you've polished your masterpiece in iMovie, it’s time to export it. This step transforms your project into a shareable format, ready for YouTube's audience. Let's break it down into simple steps:
- Open Your Project: Launch iMovie and click on the project you want to export.
- Select the Export Option: Locate the File menu at the top left of your screen. Click on it and choose Share, then select File… from the options.
- Adjust Settings: A new window will pop up. Here you can set the following:
- Title: Name your video something catchy.
- Resolution: For YouTube, either 1080p or 720p is great.
- Quality: Go for High, to retain the best visual quality.
- Compress: Choose Better Quality for video exports.
- Click Next and Choose Destination: Decide where on your computer you want to save the file.
- Save Your Video: Hit the Save button and wait for iMovie to export your video. The time taken will depend on the length and quality of your footage.
And voilà! You’ve successfully exported your video and are one step closer to uploading it to YouTube.
Also Read This: Stacking Images in Photoshop for Astrophotography
4. Setting Up Your YouTube Video Details
Before making your video public on YouTube, you need to set it up just right. This not only helps viewers find your video but also makes it more appealing. Let's walk through the essentials:
- Sign In to YouTube: Open YouTube and sign in with your Google account.
- Click on the Upload Button: It usually looks like a camera with a plus sign at the top right. Click it and select Upload Video.
- Upload Your Video: Drag and drop the file you exported from iMovie, or select it from your files.
- Fill in Video Details: This is crucial for visibility. Here’s what you should include:
- Title: Create an engaging title that encapsulates your content.
- Description: Add a brief description explaining what your video covers. Include relevant keywords!
- Tags: Use tags to help improve searchability. Think of words that best describe your video.
- Thumbnail: Choose an eye-catching thumbnail that represents your video well.
- Set Visibility: You can choose from Public, Unlisted, or Private, depending on your sharing preference.
- Hit Publish: Once you’ve reviewed everything, click the Publish button, and your video is officially live!
And there you go! You've set up your YouTube video with everything in place to attract an audience.
Also Read This: Becoming an Adobe Stock Contributor: A Guide to Selling Your Images
Uploading Your Video to YouTube
Alright, now that you've finalized your iMovie project and exported your video file, it’s time to get it onto YouTube. This step is straightforward but requires your attention to detail for the best results.
First, head over to the YouTube website and sign in to your account. If you don’t have an account yet, you’ll need to create one. The good news is that it’s free and doesn’t take long.
Once you’re logged in, look for the big upload icon. It usually looks like a camera with a plus sign. Click on it, and a new interface will pop up, prompting you to select your video file. Go ahead and find that exported iMovie video on your computer or device. You can either drag and drop it into the upload window or click the “Select files” button to browse for it.
As your video uploads, you’ll be able to fill in essential details. This is where you can:
- Add a Title: Make it catchy and relevant to attract viewers.
- Write a Description: Summarize what your video is about. Use keywords that will help people find it.
- Select a Thumbnail: Choose an eye-catching image or create a custom one to stand out.
Don't forget to set the visibility — you can opt for Public, Unlisted, or Private. Once you finish setting everything up, click “Next,” and follow the instructions until the video starts processing. This stage might take a moment, depending on your video length and resolution.
Also Read This: How To Photoshoot Stock Images: A Complete Guide For Beginners
Final Checks and Publishing
Before hitting that publish button, it's essential to run some final checks. You want your video to look great and convey what you intended, right? Let’s walk through these last steps together.
First, click on “Settings” before publishing. Here are a few things to focus on:
- Video Quality: Ensure your video is upload-ready. YouTube typically processes HD videos well, so check that your original file meets these standards.
- Subtitles and Captions: If your content is crucial for broader audiences, consider adding subtitles to make it accessible for everyone.
- Visibility Settings: Double-check whether you want your video to be public, unlisted, or private. Remember, unlisted videos can be shared with anyone who has the link, while private ones can only be accessed by you.
Once you’re satisfied with these settings, it’s time for the final hurdle! Click on the “Publish” button. Voila! Your shiny new video is live on YouTube. Make sure to share the link on your social platforms to reach your audience!
Also Read This: The Ultimate Guide for Photographers Partnering with Imago Images
Troubleshooting Common Issues
So, you’ve put in the time and creativity to make your iMovie video just right, and now you're ready to share it on YouTube. But wait! Sometimes, things don't go as smoothly as we'd like. Let’s dive into some common issues users face when trying to upload their iMovie videos to YouTube, along with easy solutions to get you back on track.
- Problem: The Video Won't Export. This is a common hiccup. If you encounter this, make sure your iMovie app is up-to-date. Restarting your device can also help reset any temporary glitches.
- Problem: Video Format Issues. YouTube accepts formats like MP4 and MOV. If your video is exporting in a different format, try changing the export settings in iMovie. You can do this by selecting the appropriate option when exporting.
- Problem: Slow Upload Speeds. Sometimes, uploading can feel like watching paint dry. This could be due to your internet connection. Check your connection speed and try uploading during off-peak hours when the internet traffic is lower.
- Problem: YouTube Error Messages. Encountering specific error codes? Make sure you’re not hitting any size limits (YouTube has a cap of 128GB or 12 hours). If you are above that, consider trimming your video.
Remember, don’t get frustrated! Most issues can be resolved easily with a little patience and troubleshooting.
Conclusion
Well, there you have it! Sharing your iMovie creations on YouTube can be a delightful experience, allowing you to connect with a wider audience and showcase your creativity. We've walked through the step-by-step process of exporting your video, uploading it, and even troubleshooting some common issues. Now, it's time to let your work shine!
Before hitting that publish button, take a moment to:
- Review your video for any last-minute changes.
- Craft an engaging title and description to attract viewers.
- Choose appropriate tags to make your video more discoverable.
Uploading can feel a bit daunting at first, but remember that practice makes perfect. Each video you share is an opportunity to learn and improve. So don’t hold back! Dive into the world of YouTube and let your creativity take center stage. Happy uploading!
 admin
admin


