When working with AutoCAD, scaling images is a fundamental task. Whether you’re adding a logo, a diagram, or a scanned drawing, the ability to adjust the size of images is crucial for creating accurate and well-proportioned designs. Scaling an image means changing its size to fit a specific space or align with other objects in your drawing. However, it’s not just about resizing the image—it’s about maintaining proportions and
Understanding Image Scaling in AutoCAD
Scaling an image in AutoCAD involves resizing it while keeping certain design elements in mind. Unlike vector objects, images are raster-based, meaning they consist of pixels rather than paths and shapes. This can lead to some challenges when scaling, as enlarging or shrinking an image can cause pixelation, blurring, or loss of detail.
It’s important to understand that scaling in AutoCAD doesn't just affect the visual appearance of the image; it can also affect its relationship with other objects in the drawing. When an image is scaled improperly, it can misalign with other elements or distort the intended proportions of your design.
Here’s what you need to consider:
- Resolution: A high-resolution image will scale better without losing quality, while a low-resolution image may appear blurry when scaled.
- Aspect Ratio: The aspect ratio ensures the image maintains its correct proportions when resized.
- Context: How does the image relate to the other objects in your drawing? Scaling should align with your overall design purpose.
Understanding these aspects will help you scale your images accurately and maintain a professional, clear design in AutoCAD.
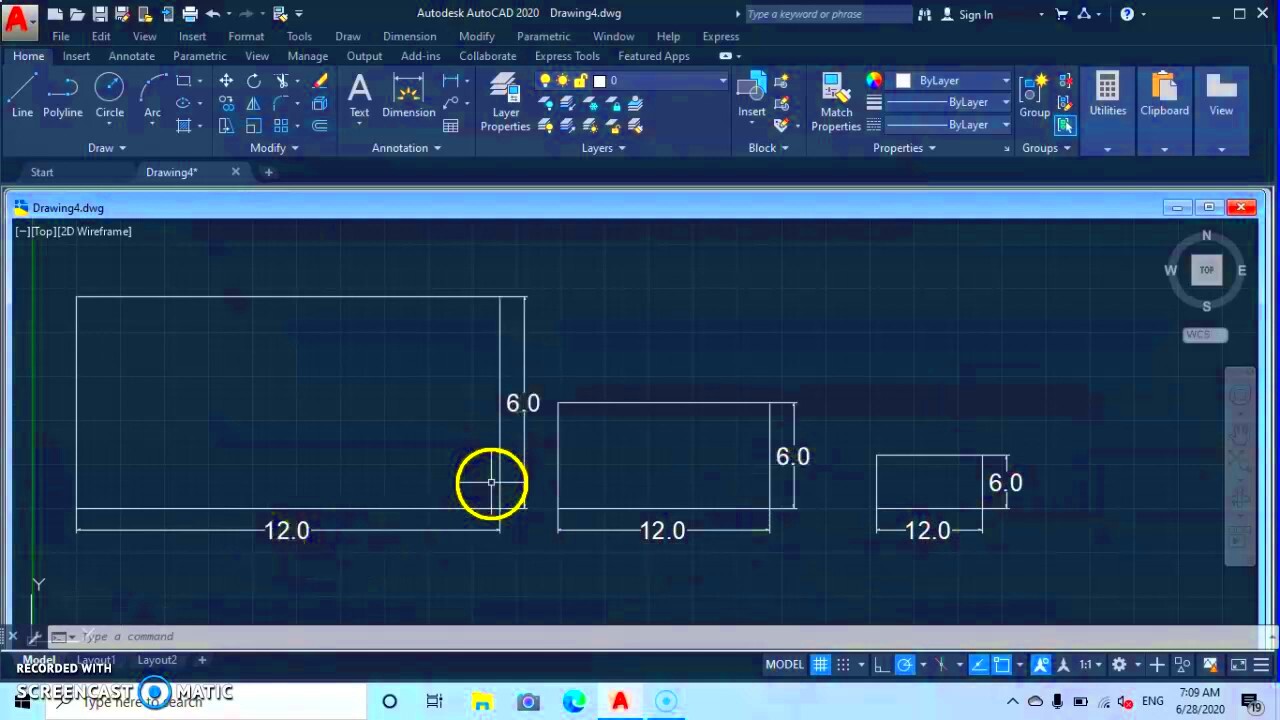
Steps to Scale an Image in AutoCAD
Scaling an image in AutoCAD is a straightforward process, but it’s important to follow the correct steps to avoid mistakes. Here’s a step-by-step guide to scaling images within the program:
- Step 1: Insert the Image
If you haven't already added the image to your drawing, you can do so by typing
INSERTin the command line or using the "Attach" command to bring the image into your workspace. - Step 2: Select the Image
Click on the image you want to scale. You’ll see a set of grips or control points appear around the image.
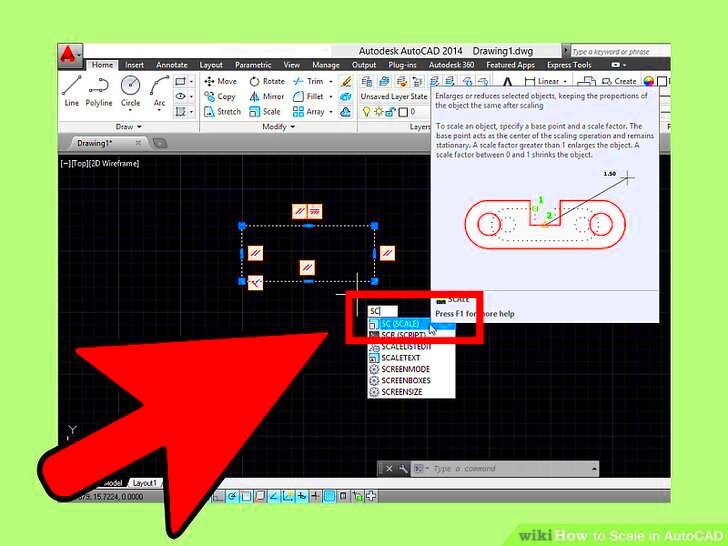
- Step 3: Use the SCALE Command
Type
SCALEin the command line, or select the scale tool from the modify panel. After selecting the image, AutoCAD will ask you to specify a base point. - Step 4: Specify the Base Point
The base point is where scaling will start. You can choose any point on the image or somewhere else in your drawing, depending on how you want to scale the image.
- Step 5: Choose the Scaling Method
There are two main ways to scale your image:
- Scale by a Reference: Specify a reference length on the image and then provide the new length.
- Scale by a Factor: Enter a scaling factor to increase or decrease the image size. A value greater than 1 enlarges the image, while a value less than 1 shrinks it.
- Step 6: Finalize the Scale
After selecting your scaling method and specifying the scale factor or reference, hit Enter. Your image will be resized according to the settings you’ve chosen.
These steps should help you resize your images accurately in AutoCAD, ensuring they fit your drawing properly and maintain the right proportions.
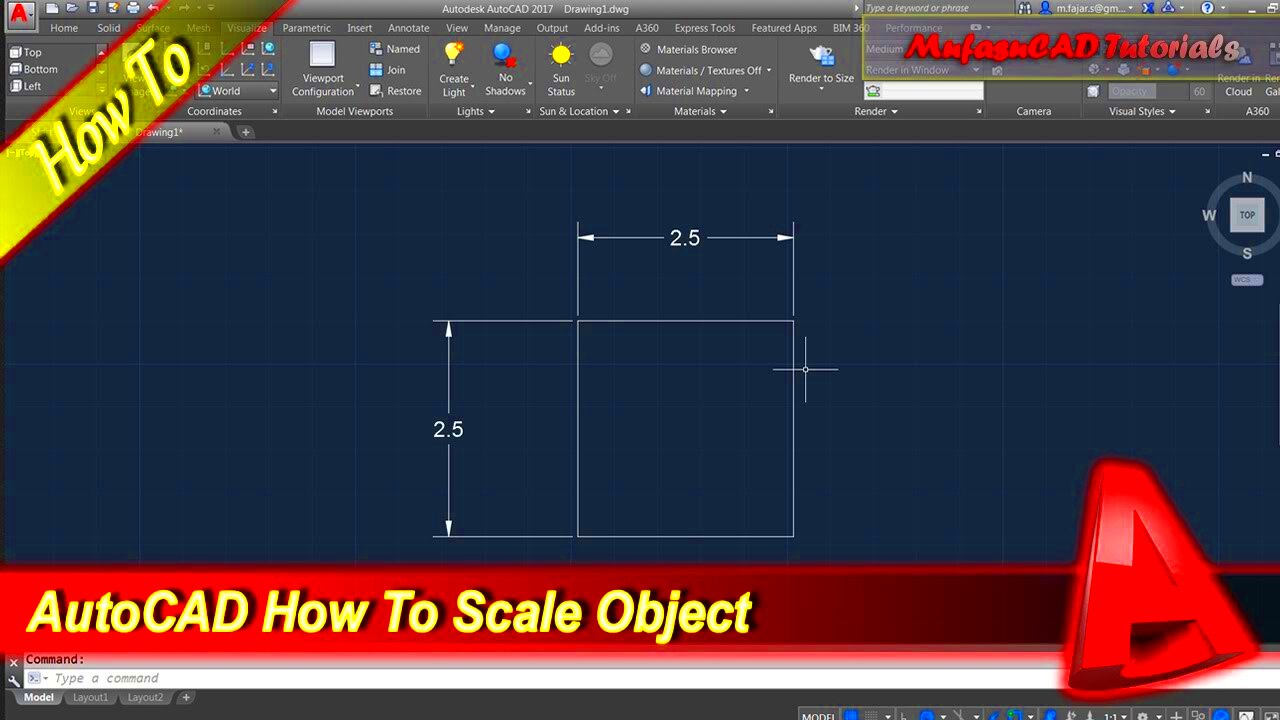
Using the SCALE Command for Image Adjustment
The SCALE command in AutoCAD is an essential tool for resizing both vector objects and raster images. When you need to adjust the size of an image, this command offers a straightforward way to do so while preserving the relationship between the image and other objects in your drawing. The SCALE command is particularly useful because it allows you to control the scaling factor or use reference points to maintain accuracy. In this section, we’ll explore how to use the SCALE command effectively to adjust your images in AutoCAD.
Here’s how the SCALE command works for image adjustment:
- Step 1: Initiate the Command
Type
SCALEinto the command line or select the scale tool from the Modify panel in AutoCAD. This will prompt you to select the object you want to scale—choose the image you wish to resize. - Step 2: Choose the Base Point
The base point defines where the scaling will begin. It’s crucial to choose a location that makes sense for your design, especially when dealing with images. For example, you may choose the center, corner, or any other reference point.
- Step 3: Input the Scaling Factor
Once the base point is set, AutoCAD will prompt you for a scaling factor. A value of 1 means no change in size, a value greater than 1 enlarges the image, and a value less than 1 reduces the size of the image.
- Step 4: Adjust the Image
After entering the scaling factor, press Enter. The image will scale according to the factor you specified. Keep in mind that scaling an image using this method can distort it if not done carefully, especially if the aspect ratio is not maintained.
The SCALE command is a powerful way to resize images in AutoCAD, but it’s essential to be precise with your base point and scaling factor to ensure accurate results.
Setting a Base Point for Scaling
The base point is a critical part of the scaling process in AutoCAD. It defines the reference location around which the image will be resized. Think of it as the anchor point—when you scale an image, this point stays fixed, while the rest of the image stretches or shrinks accordingly. Setting the right base point is crucial for ensuring the image scales properly in relation to other elements in your design.
Here’s how to set a base point for scaling:
- Step 1: Select the Image
Click on the image you want to scale. Once selected, you'll be able to access the image’s grips and other manipulation tools.
- Step 2: Activate the SCALE Command
Type
SCALEin the command line and select the image again when prompted. - Step 3: Choose the Base Point
AutoCAD will ask you to specify the base point. This can be any point on the image or a point in the drawing where you want the image to pivot from. For example, if you want the image to scale outward from its center, choose the center as the base point.
- Step 4: Consider Using Object Snaps
If you want precision, you can use object snaps (OSNAP) to select exact points, like the corner of an object or the midpoint of a line, as your base point. This helps maintain alignment when scaling.
Choosing the right base point is essential for controlling how the image is scaled. By setting it carefully, you can prevent unwanted distortions and ensure that the image fits perfectly into your design.
Scaling with Reference Points in AutoCAD
Scaling with reference points in AutoCAD offers more control over how an image is resized. Instead of using a scaling factor alone, you can use reference points to specify how much larger or smaller the image should be in relation to an existing part of the image or drawing. This method is particularly helpful when you need to maintain proportions or fit the image to specific dimensions.
Here’s how to scale using reference points in AutoCAD:
- Step 1: Select the Image
Click on the image you wish to scale and ensure it’s selected before proceeding.
- Step 2: Start the SCALE Command
Type
SCALEinto the command line or select the scale tool from the Modify panel. AutoCAD will then ask you to specify a base point for scaling. - Step 3: Specify the Reference Length
When prompted for the scale factor, choose the Reference option. This allows you to select a part of the image (for example, a line or distance) that you want to use as a reference for scaling.
- Step 4: Enter the New Length
After selecting your reference point, AutoCAD will ask you to input the new length for the reference. This defines how much the image should be scaled to fit the new size.
- Step 5: Finalize the Scaling
After entering the new reference length, press Enter to apply the scaling. The image will now be resized based on the reference distance, and the proportions will be maintained.
Using reference points gives you more precise control over how the image is scaled, ensuring that it aligns perfectly with other elements in your design. This method is especially useful when you need to fit the image to a specific size or proportion, rather than relying on arbitrary scaling factors.
Common Challenges When Scaling Images
Scaling images in AutoCAD may seem straightforward, but there are several challenges you may encounter. Understanding these common issues is the first step toward overcoming them. Scaling raster images—unlike vector graphics—can sometimes lead to unwanted distortions or quality loss. It’s crucial to be mindful of factors such as image resolution, aspect ratio, and base points to avoid these pitfalls. In this section, we’ll cover some of the most frequent challenges you might face and how to tackle them efficiently.
Here are some common challenges when scaling images in AutoCAD:
- Loss of Image Quality:
When enlarging an image, especially a low-resolution one, it may become pixelated or blurry. The more you scale an image up, the more its quality degrades, especially if it was not high resolution to begin with.
- Distortion of Aspect Ratio:
If you scale an image without maintaining its aspect ratio (the proportional relationship between its width and height), the image can become stretched or squished. This is a common problem, particularly when scaling an image manually without using reference points.
- Alignment Issues:
Improper scaling can lead to alignment problems with other objects in the drawing. If the base point is not set correctly, the image might not align properly with the other elements in your design, causing misplacement and affecting overall accuracy.
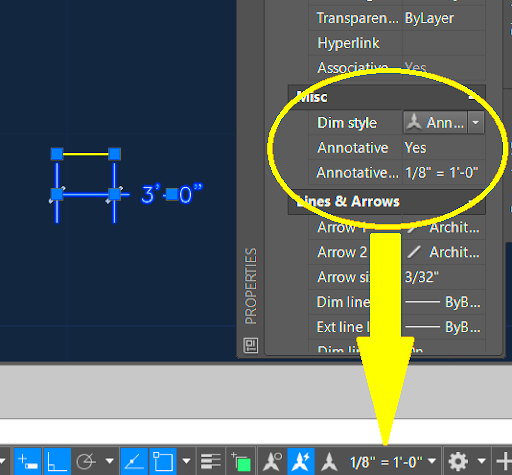
- Scaling in the Wrong Units:
If you’re working with a specific unit of measurement (inches, millimeters, etc.), scaling an image without considering the units can result in inaccuracies. Make sure your drawing units match the scale you need for proper alignment and proportions.
By being aware of these challenges, you can take proactive steps to avoid them and ensure your scaled images fit perfectly within your design. Pay close attention to resolution, aspect ratio, and base point settings to prevent issues from arising.
Tips for Maintaining Image Quality During Scaling
One of the biggest concerns when scaling images in AutoCAD is maintaining image quality. Unlike vector-based drawings, images in AutoCAD are made up of pixels, which means they can lose sharpness or clarity when resized. Fortunately, there are several tips you can follow to minimize quality loss and keep your images looking sharp even after scaling. Let’s take a look at some practical steps you can take to preserve image quality.
Here are some useful tips for maintaining image quality during scaling:
- Use High-Resolution Images:
The higher the resolution of your image, the better it will scale. High-resolution images contain more pixel data, so they can handle scaling without losing much detail or clarity. Always try to work with the highest quality version of an image available.
- Keep the Aspect Ratio Locked:
Maintaining the aspect ratio of the image ensures that it scales proportionally. In AutoCAD, when using the SCALE command, make sure the reference option is selected so that the proportions are maintained and the image doesn’t get distorted.
- Avoid Excessive Resizing:
Avoid enlarging images too much, especially if they have low resolution. Each time you scale an image significantly, you risk losing quality. Try to avoid extreme scaling and instead focus on getting the correct image size before inserting it into the drawing.
- Use Vector Files Instead of Raster Files:
Whenever possible, use vector-based files like .DWG or .SVG, which don’t lose quality when scaled. If you’re working with a raster image (like a .JPG or .PNG), be aware that enlarging it may result in pixelation, especially if the resolution isn’t high enough.
- Resize in Stages:
If the image needs to be significantly resized, try scaling in smaller increments. This approach allows you to control the image’s quality better and avoid dramatic loss of resolution.
By following these tips, you can preserve the clarity and precision of your images in AutoCAD, even when resizing them to fit your design requirements. Just remember that the key to maintaining image quality lies in choosing the right image, scaling wisely, and using the proper tools.
FAQ
In this section, we address some of the most frequently asked questions about scaling images in AutoCAD. If you're new to the process or facing challenges, these answers should help clarify some common concerns and guide you through the process.
- Q: How do I scale an image without distorting it?
A: To avoid distortion, always maintain the aspect ratio when scaling. You can do this by using the reference option in the SCALE command or by holding down the Shift key while scaling to constrain the proportions.
- Q: Can I scale an image in AutoCAD without losing quality?
A: Scaling an image can cause quality loss, but you can minimize it by using high-resolution images. Avoid scaling images too much, and if possible, use vector-based files instead of raster images.
- Q: How do I set the base point when scaling an image?
A: The base point is the anchor point around which the image will scale. When you start the SCALE command, AutoCAD will prompt you to specify the base point. You can choose any point on the image or in the drawing. It’s often helpful to choose a corner or the center of the image as the base point for better control.
- Q: Why does my image become blurry when I scale it?
A: Blurry images typically result from enlarging low-resolution images. If an image appears blurry after scaling, try using a higher resolution version, or reduce the amount of scaling applied.
- Q: Can I scale multiple images at once in AutoCAD?
A: Yes, you can scale multiple images simultaneously. Simply select all the images you want to scale before activating the SCALE command. The scaling factor or reference point will apply to all selected images.
Conclusion
Scaling images in AutoCAD is an essential skill for anyone working with visual designs, architectural plans, or technical drawings. By understanding the basic principles of image scaling, such as resolution, base points, and aspect ratio, you can ensure your images are resized accurately without losing quality or distorting your design. The tools available in AutoCAD, like the SCALE command and reference scaling, provide precise control over how images are adjusted, making it easier to integrate them into your drawings.
By following the steps outlined in this guide and avoiding common scaling challenges, you can achieve professional results every time. Remember to use high-resolution images, lock the aspect ratio, and scale carefully to maintain the integrity of your design. Whether you are working on a small graphic or a detailed architectural project, mastering image scaling will allow you to create accurate and visually appealing work in AutoCAD.


