Sometimes, you might want to save an image from a Word document without needing to save the entire document. This can be useful for various reasons – whether you're trying to reuse an image for a project or just want to save it separately. Luckily, there are multiple ways to extract and save images from Word documents. In this article, we’ll cover some of the most straightforward methods to help you save images with ease. Whether you’re a beginner or an experienced user, these methods will suit your needs.
Understanding Different Ways to Save Images

Saving images from a Word document is simpler than it sounds. There are a few different techniques you can use, depending on your preferences and the tools you have available. Here are some common methods to extract images:
- Saving images using the Word document itself: This is probably the easiest method for beginners. By saving the document in a different format, you can extract the images quickly.
- Extracting images from the folder: If you save the Word document as a .zip file, you can easily access the images stored inside.
- Taking a screenshot: Sometimes, taking a screenshot of the image is the quickest way to save it, especially if you don’t want to bother with extra steps.
- Using online tools: There are many online services that can help you extract images from a Word document without needing special software.
Each of these methods has its benefits and might be better suited to different situations. We'll take a closer look at each method, so you can choose the one that works best for you.
Method 1: Saving Images Using the 'Save As' Feature

The 'Save As' feature in Microsoft Word is one of the easiest ways to save images from your document. This method works well if you want to extract all images at once without manually selecting them. Here’s how you can do it:
- Step 1: Open the Word document that contains the images you want to save.
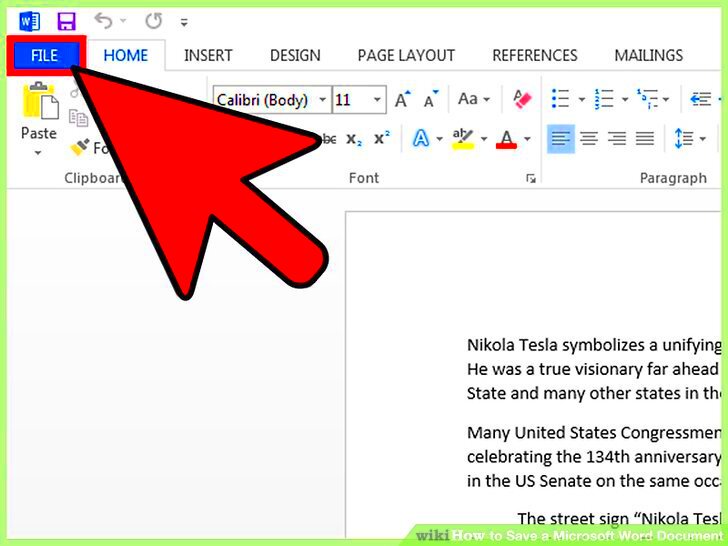
- Step 2: Click on "File" in the top left corner of your screen.
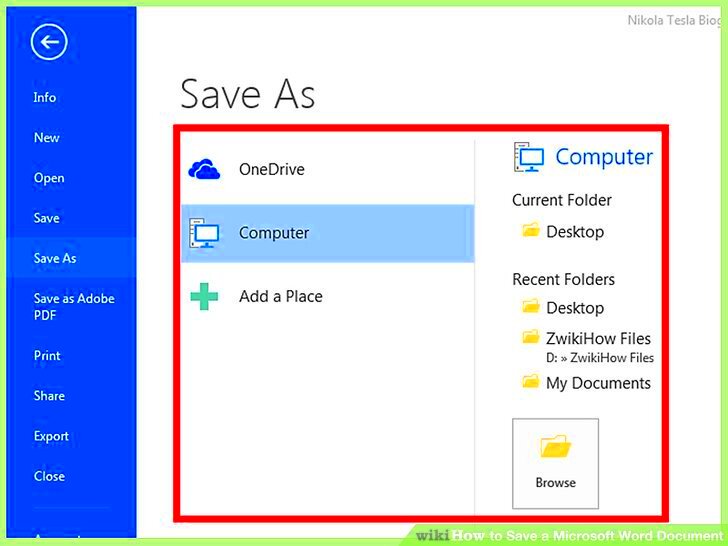
- Step 3: Select "Save As" from the menu.
- Step 4: Choose "Web Page" as the file type and click "Save." You can save it to any folder on your computer.
- Step 5: After saving the document, go to the folder where you saved it. You'll find a folder with the same name as your Word document.
- Step 6: Open the folder, and you'll see a list of all the images embedded in the Word document. You can now copy these images to your computer.
Why is this method effective? The 'Save As' feature converts the Word document into a format that extracts all embedded images automatically, making it a fast and efficient way to save multiple images at once.
Method 2: Extracting Images Through the Document's Folder
Another efficient way to save images from a Word document is by accessing the images through the document’s folder. This method works by essentially extracting the content of the Word document, allowing you to find and copy the images directly from the folder. Here’s how you can do it:
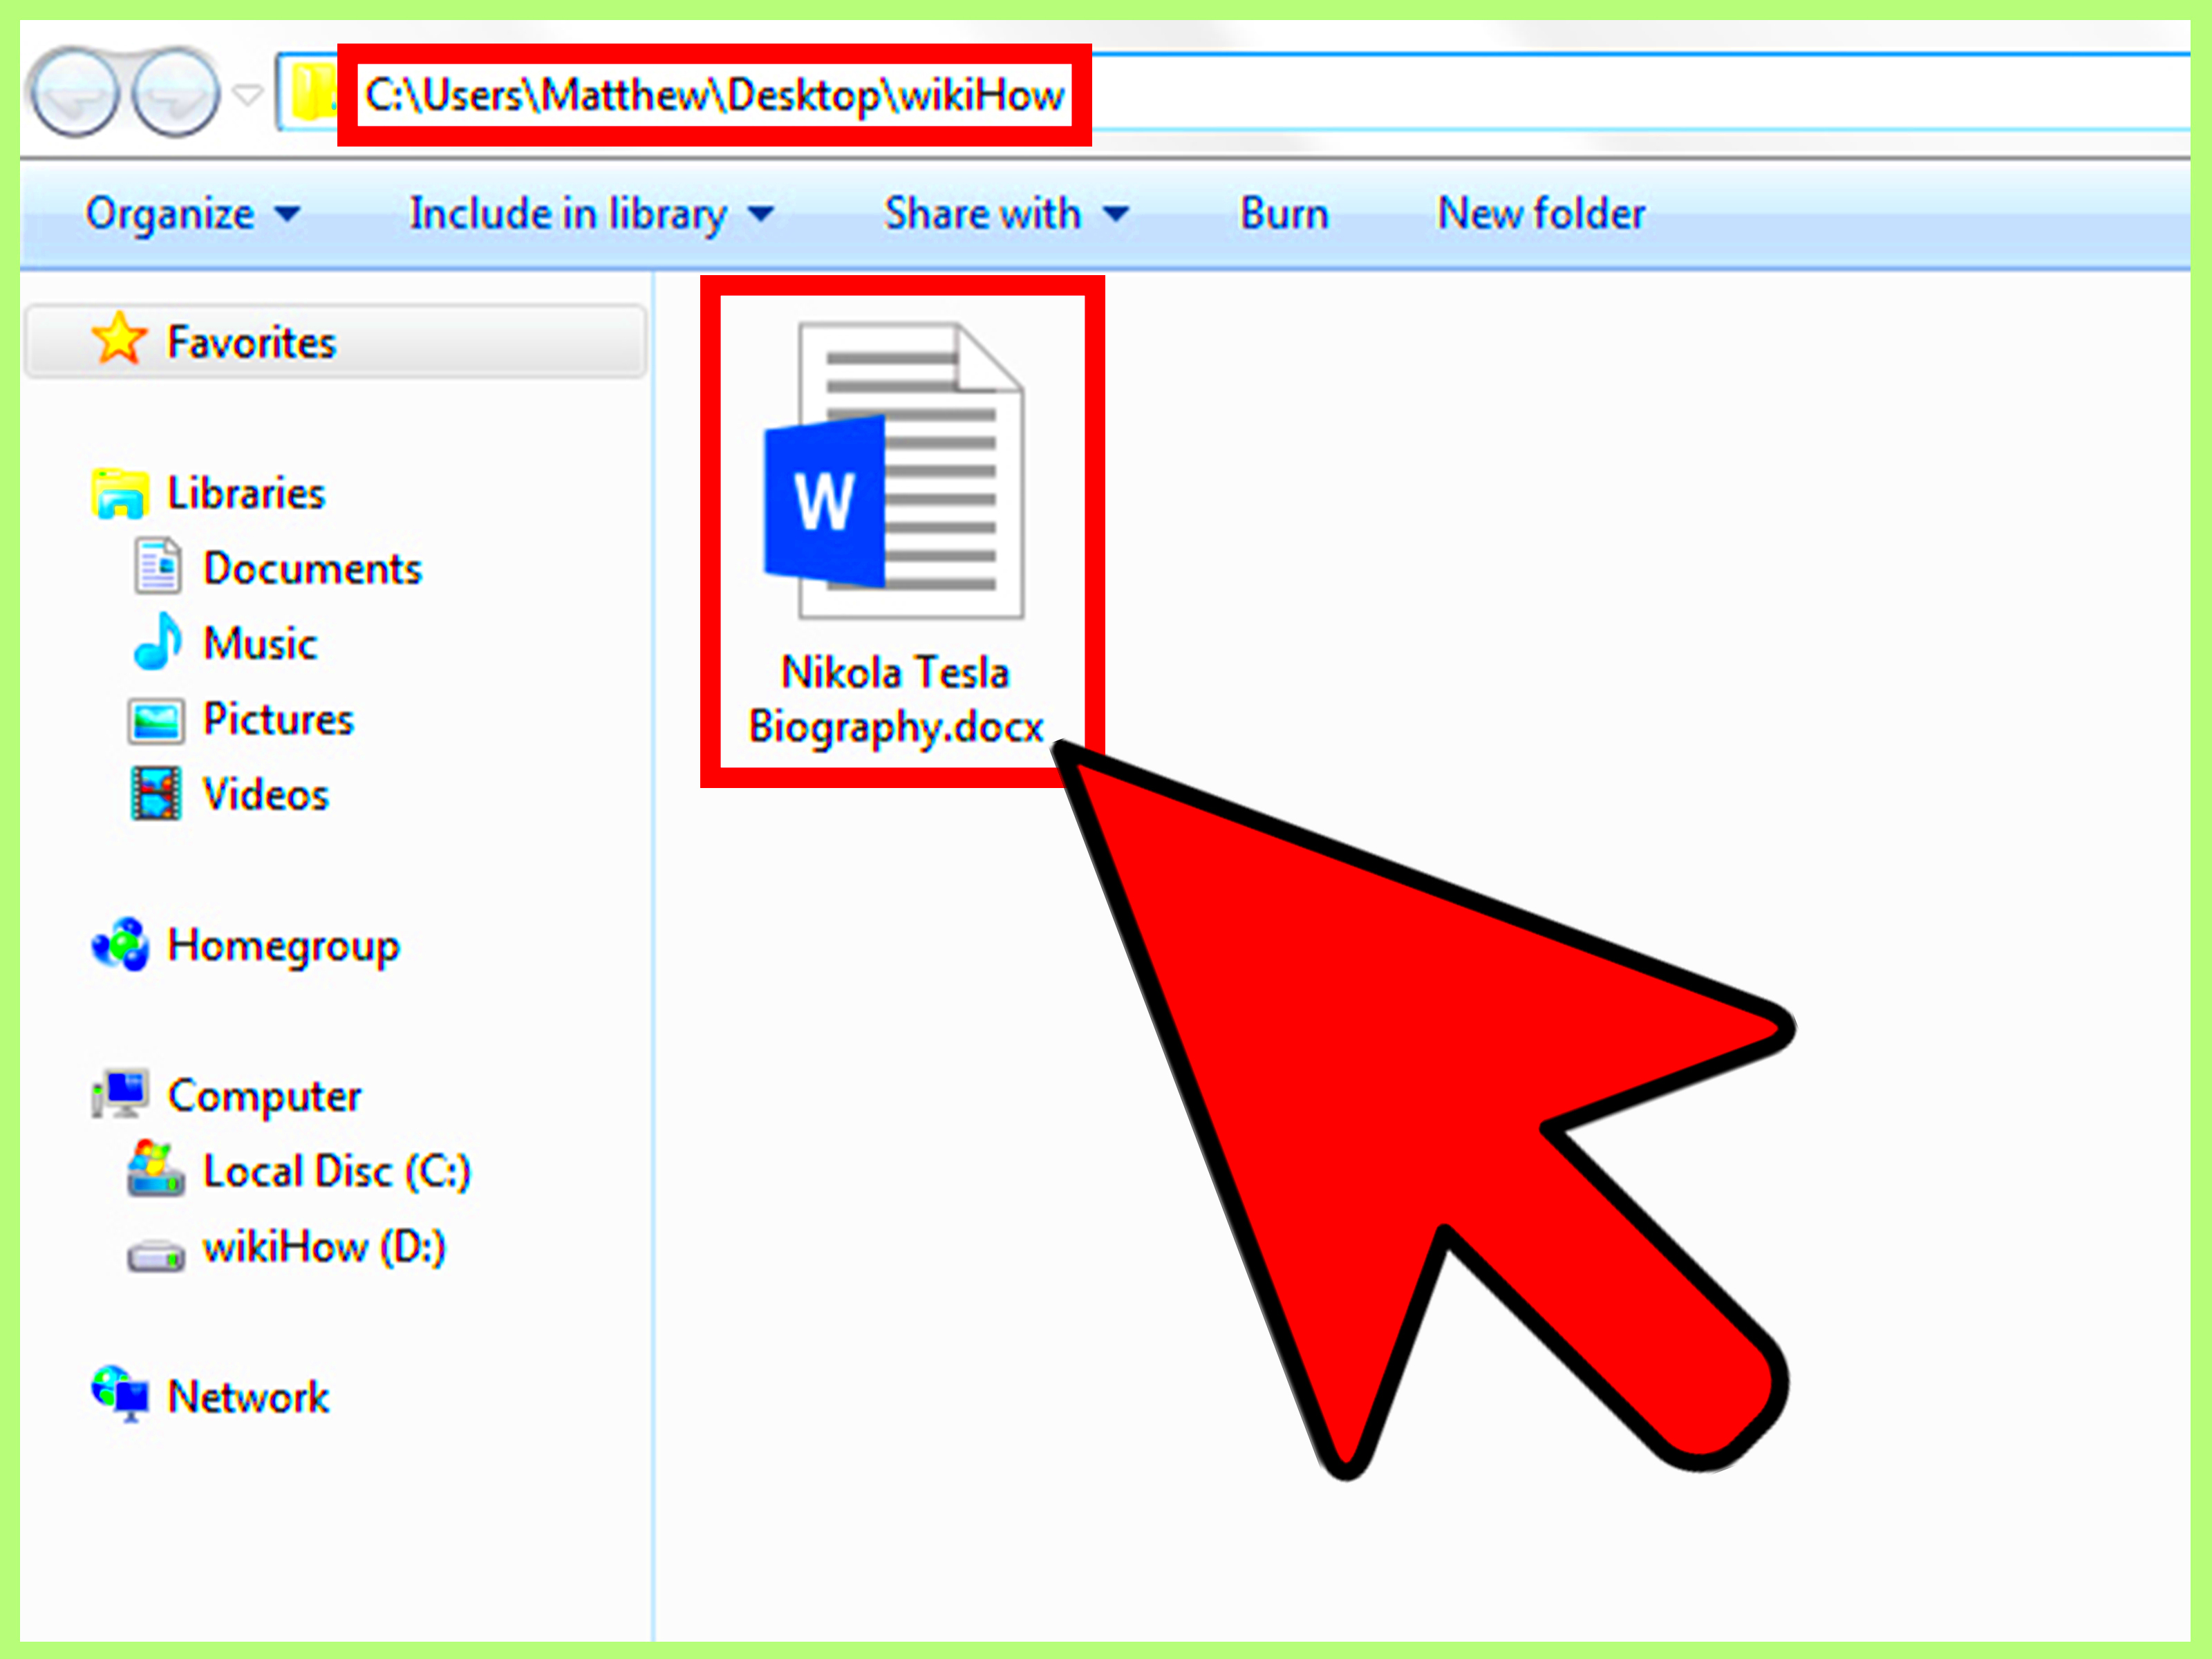
- Step 1: Start by saving your Word document to your computer if you haven’t already done so.
- Step 2: Change the file extension of the Word document from .docx to .zip. You can do this by right-clicking the file, selecting "Rename," and then changing the extension to .zip. Be sure to confirm any warnings that may appear about changing file types.
- Step 3: Now, right-click on the .zip file and select “Extract All” to open the contents of the document.
- Step 4: Once extracted, navigate to the folder where the images are stored. Typically, images will be found in a folder named "word" within the extracted content. From there, you’ll find all the images embedded in the document in their original format.
- Step 5: You can now copy the images to your computer or use them for whatever you need.
This method is particularly useful when you need to save multiple images at once. It allows you to access all the images embedded in the document without manually selecting each one. Keep in mind that this method only works for .docx files, and it may not work with older Word formats.
Method 3: Using Screenshots for Image Extraction
If the previous methods seem a bit too technical or if you only need a single image, taking a screenshot can be a simple and quick way to extract images from a Word document. While this method might not always provide the highest resolution, it’s still effective for quick use. Here's how you can do it:
- Step 1: Open the Word document and navigate to the image you want to save.
- Step 2: On Windows, press the “PrtScn” (Print Screen) button on your keyboard to capture the entire screen. Alternatively, you can use the “Snipping Tool” or “Snip & Sketch” app for a more precise screenshot of the image.
- Step 3: On Mac, press “Command + Shift + 4” to capture a specific area of the screen, then select the area around the image you want to save.
- Step 4: After capturing the screenshot, open an image editor or word processor (like Microsoft Paint or Preview) and paste the screenshot using “Ctrl + V” (Windows) or “Command + V” (Mac).
- Step 5: Crop the image to remove unnecessary parts, leaving only the image you want to save. Then, save it in your preferred file format (e.g., PNG, JPG).
While screenshots aren’t ideal for saving high-quality images, they’re a great option when you need something quick and don’t mind a bit of quality loss. This method works well if the image is small or you don’t need to use it at a high resolution.
Method 4: Using Online Tools to Extract Images
If you prefer a hassle-free way to extract images from a Word document, online tools are a great option. These tools allow you to upload your Word document and instantly download all the images in it. Here’s how you can use an online tool:
- Step 1: Search for a reliable online tool that specializes in extracting images from Word documents. Some popular tools include iLovePDF and Zamzar.
- Step 2: Upload your Word document to the online tool. The website will prompt you to select the file from your computer or drag and drop the file.
- Step 3: Once the file is uploaded, select the output format for the images (usually JPG, PNG, or GIF). Some tools will give you the option to download the images individually or as a zipped folder.
- Step 4: After the extraction process is complete, download the images to your computer.
Using online tools is one of the fastest and most convenient methods. You don’t need to worry about changing file formats or installing additional software. However, keep in mind that uploading sensitive documents to online platforms may not be suitable for confidential information. Always check the security policies of the website you’re using.
FAQ About Saving Images from Word Documents
When saving images from a Word document, many users have questions about the best methods or how to deal with specific situations. Below are some frequently asked questions (FAQs) that can help clear up any confusion and guide you through the process:
- Can I save images from a Word document without losing quality? Yes, if you use methods like 'Save As' or extracting the images through the folder, you can preserve the original quality of the images. However, methods like taking screenshots may cause a loss in quality depending on the resolution of your screen.
- What if the images are embedded in text boxes or shapes? If the images are embedded in text boxes or shapes, you can still extract them. The 'Save As' method or the folder extraction method works in these cases. Just make sure you check the folder after saving as a web page.
- Are there any free tools to extract images from Word documents? Yes, there are several free online tools available, such as iLovePDF, Zamzar, or Online2PDF, that can help you extract images without needing to install any software.
- Can I extract images from older Word document formats? The methods discussed primarily apply to .docx files, which are the newer formats. For older .doc files, you might need to convert them to .docx first or use alternative methods like screenshots.
- Do I need special software to extract images from Word documents? No special software is required if you're using methods like 'Save As' or folder extraction. However, if you prefer an easier option, free online tools can simplify the process.
Conclusion: Choosing the Best Method to Save Images
Choosing the best method to save images from a Word document depends on your specific needs. If you’re looking for a quick, high-quality solution, using the 'Save As' method or extracting images from the document’s folder are your best bets. For a simple and fast approach, screenshots are great, though they may not preserve the image quality. Online tools offer an easy and convenient alternative, especially if you don’t want to deal with file formats. Ultimately, pick the method that suits your situation, whether you need high-quality images, ease of use, or speed.


