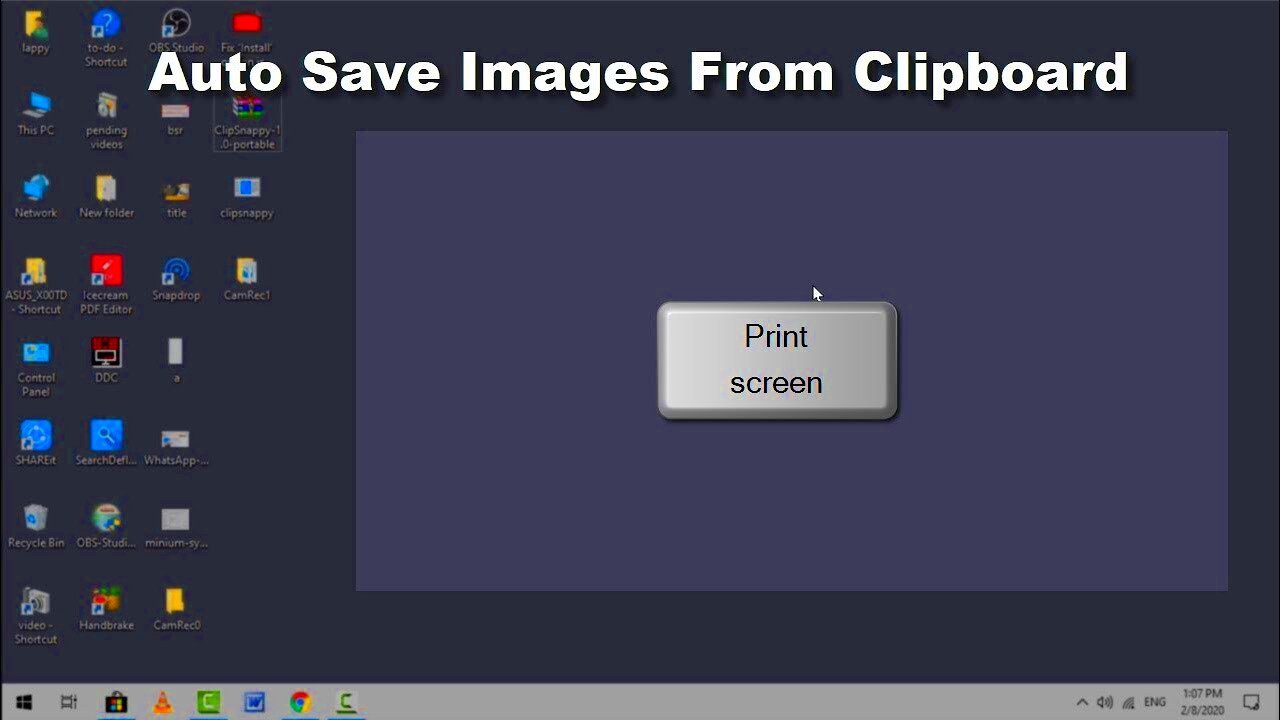
The clipboard is a temporary storage area that your computer uses to hold data you copy or cut. It allows you to easily transfer information between different applications. Clipboard images are a special kind of data that you can capture from your screen, such as pictures or graphics, and paste them into documents or image editing software. Understanding how clipboard images work can help you manage your graphics more efficiently.When you copy an image, it is stored in your clipboard until you replace it with something new or turn off your computer. This makes it super convenient for quick edits, sharing, or saving images. However, many people are unsure how to save these images permanently. In the following sections, we’ll explore the various methods to access and save clipboard images on different operating systems.
Ways to Access Clipboard Images

Accessing clipboard images is simple and varies depending on the device you are using. Here are some common methods:
- Keyboard Shortcuts: You can copy an image by selecting it and pressing
Ctrl + C (Windows) or Command + C (Mac). - Context Menu: Right-click on the image and choose the “Copy” option from the menu.
- Screenshot Tools: Use built-in tools like Snipping Tool on Windows or Screenshot on Mac to capture images directly to the clipboard.
Once you've copied an image to the clipboard, you can paste it into any compatible application using
Ctrl + V (Windows) or
Command + V (Mac). It's as easy as that!
Saving Clipboard Images on Windows

Saving clipboard images on Windows is straightforward. Here’s a step-by-step guide to help you do it:
- Copy the Image: Use the methods mentioned above to copy your desired image to the clipboard.
- Open an Image Editor: Launch an application like Microsoft Paint or any other image editing software.
- Paste the Image: Once the application is open, paste the image by pressing
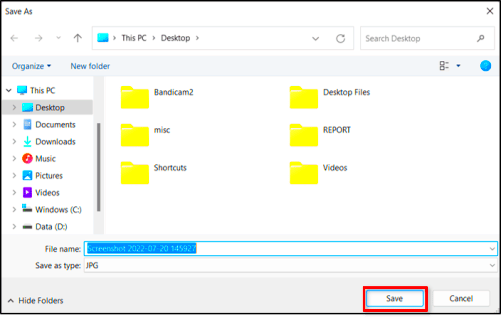
Ctrl + V. - Save the Image: Click on “File” in the menu, then select “Save As.” Choose your preferred file format (e.g., JPEG, PNG) and save the image to your desired location.
Here’s a quick summary of file formats you might consider:
| Format | Best For |
|---|
| JPEG | Photographs and complex images |
| PNG | Images with transparency and simple graphics |
| GIF | Simple animations and graphics with fewer colors |
By following these steps, you can easily save images from your clipboard and use them in you
Saving Clipboard Images on Mac

If you're using a Mac, saving clipboard images is just as easy as on Windows. The Mac operating system offers several user-friendly options to help you save images quickly and effectively. Let's break down the steps so you can start saving those images right away!
- Copy the Image: Select the image you want to save and use the shortcut
Command + C to copy it to your clipboard. - Open Preview: Launch the Preview application, which is typically found in your Applications folder. You can also find it by searching in Spotlight.
- Paste the Image: With Preview open, press
Command + N to create a new file. Then, paste the image by pressing Command + V. - Save the Image: Click on “File” in the menu bar and select “Save.” Choose your preferred file format and location to save the image.
Here's a quick overview of common image formats:
| Format | Best For |
|---|
| JPEG | High-quality photographs |
| PNG | Images needing transparency |
| TIFF | High-quality images for printing |
By following these steps, you can efficiently save clipboard images on your Mac and use them in your projects or presentations.
Using Online Tools for Image Saving
If you prefer not to use desktop applications or need to save images from your clipboard while on the go, online tools can be a lifesaver. There are many websites that allow you to paste images directly from your clipboard and save them instantly. Here’s how to do it:
- Copy the Image: First, ensure that the image is copied to your clipboard.
- Visit an Online Tool: Go to a website like ImgBB or Postimages.
- Paste the Image: Click on the area provided for uploading images and press
Ctrl + V (or Command + V on Mac) to paste. - Save the Image: Follow the site’s instructions to save the image. You may need to create an account for longer-term storage.
Here are some advantages of using online tools:
- Accessibility: Access your saved images from any device with internet access.
- Easy Sharing: Quickly share links to your images with others.
FAQ
1. What is the clipboard?
The clipboard is a temporary storage area on your computer that holds data you copy or cut, allowing you to transfer information between applications.
2. How can I copy an image to the clipboard?
You can copy an image using keyboard shortcuts (Ctrl + C for Windows, Command + C for Mac), by right-clicking on the image and selecting "Copy," or by using screenshot tools.
3. How do I save clipboard images on Windows?
To save clipboard images on Windows, copy the image, open an image editor like Microsoft Paint, paste the image (Ctrl + V), and then save it by selecting "File" > "Save As."
4. What formats can I save images in on Windows?
Common formats include JPEG for photographs, PNG for images with transparency, and GIF for simple animations.
5. How do I save clipboard images on Mac?
On a Mac, copy the image, open Preview, create a new file (Command + N), paste the image (Command + V), and save it by selecting "File" > "Save."
6. Can I use online tools to save clipboard images?
Yes, you can use online tools like ImgBB or Postimages. Simply paste the image from your clipboard and follow the site’s instructions to save it.
7. What are the advantages of using online tools?
Online tools offer accessibility from any device, easy sharing options, and eliminate the need to install software.
Conclusion
Saving clipboard images is a simple yet effective way to manage graphics on your computer. Whether you're using Windows, Mac, or online tools, the methods outlined in this guide provide straightforward steps to ensure your images are saved permanently. By understanding how to access and store clipboard images efficiently, you can enhance your productivity and streamline your workflow. Don't hesitate to utilize these methods for quick edits, sharing, or incorporating images into your projects!
 Accessing clipboard images is simple and varies depending on the device you are using. Here are some common methods:
 Saving clipboard images on Windows is straightforward. Here’s a step-by-step guide to help you do it:
 If you're using a Mac, saving clipboard images is just as easy as on Windows. The Mac operating system offers several user-friendly options to help you save images quickly and effectively. Let's break down the steps so you can start saving those images right away!
 admin
admin


