Google Drive is a powerful tool for storing and managing your files, including images. It offers several features that help you organize, share, and edit your photos. Here are some key features:
- Cloud Storage: Store your images securely online and access them from any device.
- Sharing Options: Easily share images with friends or colleagues via links or direct access.
- Image Editing: Perform basic edits, like rotating or cropping, directly within the Drive.
- Integration: Works well with other Google services like Google Docs and Google Slides.
These features make Google Drive an excellent choice for anyone looking to manage their image library effectively.
Accessing Your Images in Google Drive

To access your images in Google Drive, follow these simple steps:
- Open Google Drive: Go to drive.google.com and sign in with your Google account.
- Navigate to Your Files: Use the left sidebar to explore your folders or use the search bar at the top to find specific images.
- Click on the Image: Once you locate the image you want to edit, simply click on it to open it in preview mode.
If you have a lot of images, consider creating folders to keep everything organized. This will save you time in the future when you need to find specific files.
Also Read This: How to Download Music from Shutterstock: A Step-by-Step Guide
Steps for Rotating Images

Rotating images in Google Drive is quick and easy. Here’s how you can do it:
- Open the Image: Click on the image to open it in preview mode.
- Access the Toolbar: Look for the toolbar at the top of the preview window.
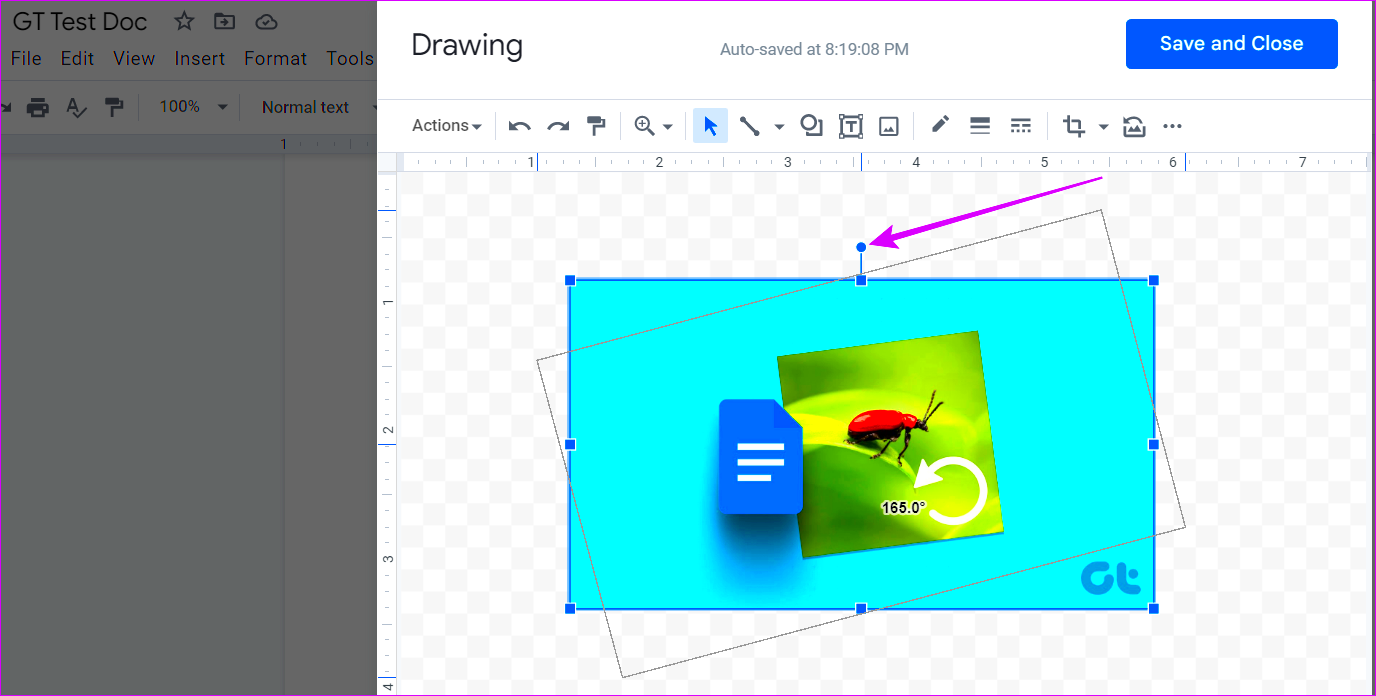
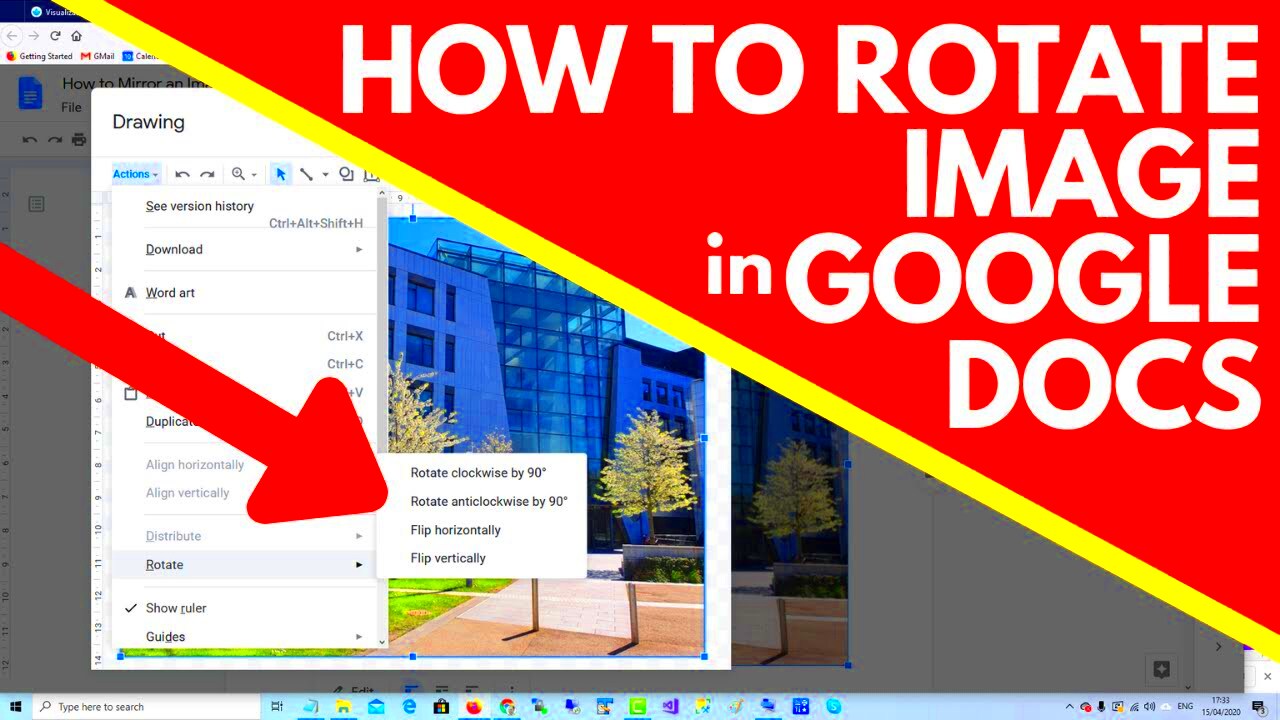
- Find the Rotate Option: Click on the “Rotate” icon, which usually looks like a circular arrow.
- Choose Your Rotation: Each click rotates the image 90 degrees. Keep clicking until the image is in the desired orientation.
- Close the Preview: Once you’re satisfied with the rotation, you can close the preview window.
That's it! Your image is now rotated and ready to use. If you need to make further edits, remember that Google Drive offers additional editing options.
Also Read This: How to Convert an Image to EPS Format
Saving Your Rotated Images

After you’ve successfully rotated your images in Google Drive, saving them is a straightforward process. It’s important to ensure that your edits are preserved, so let’s walk through how to save those changes effectively.
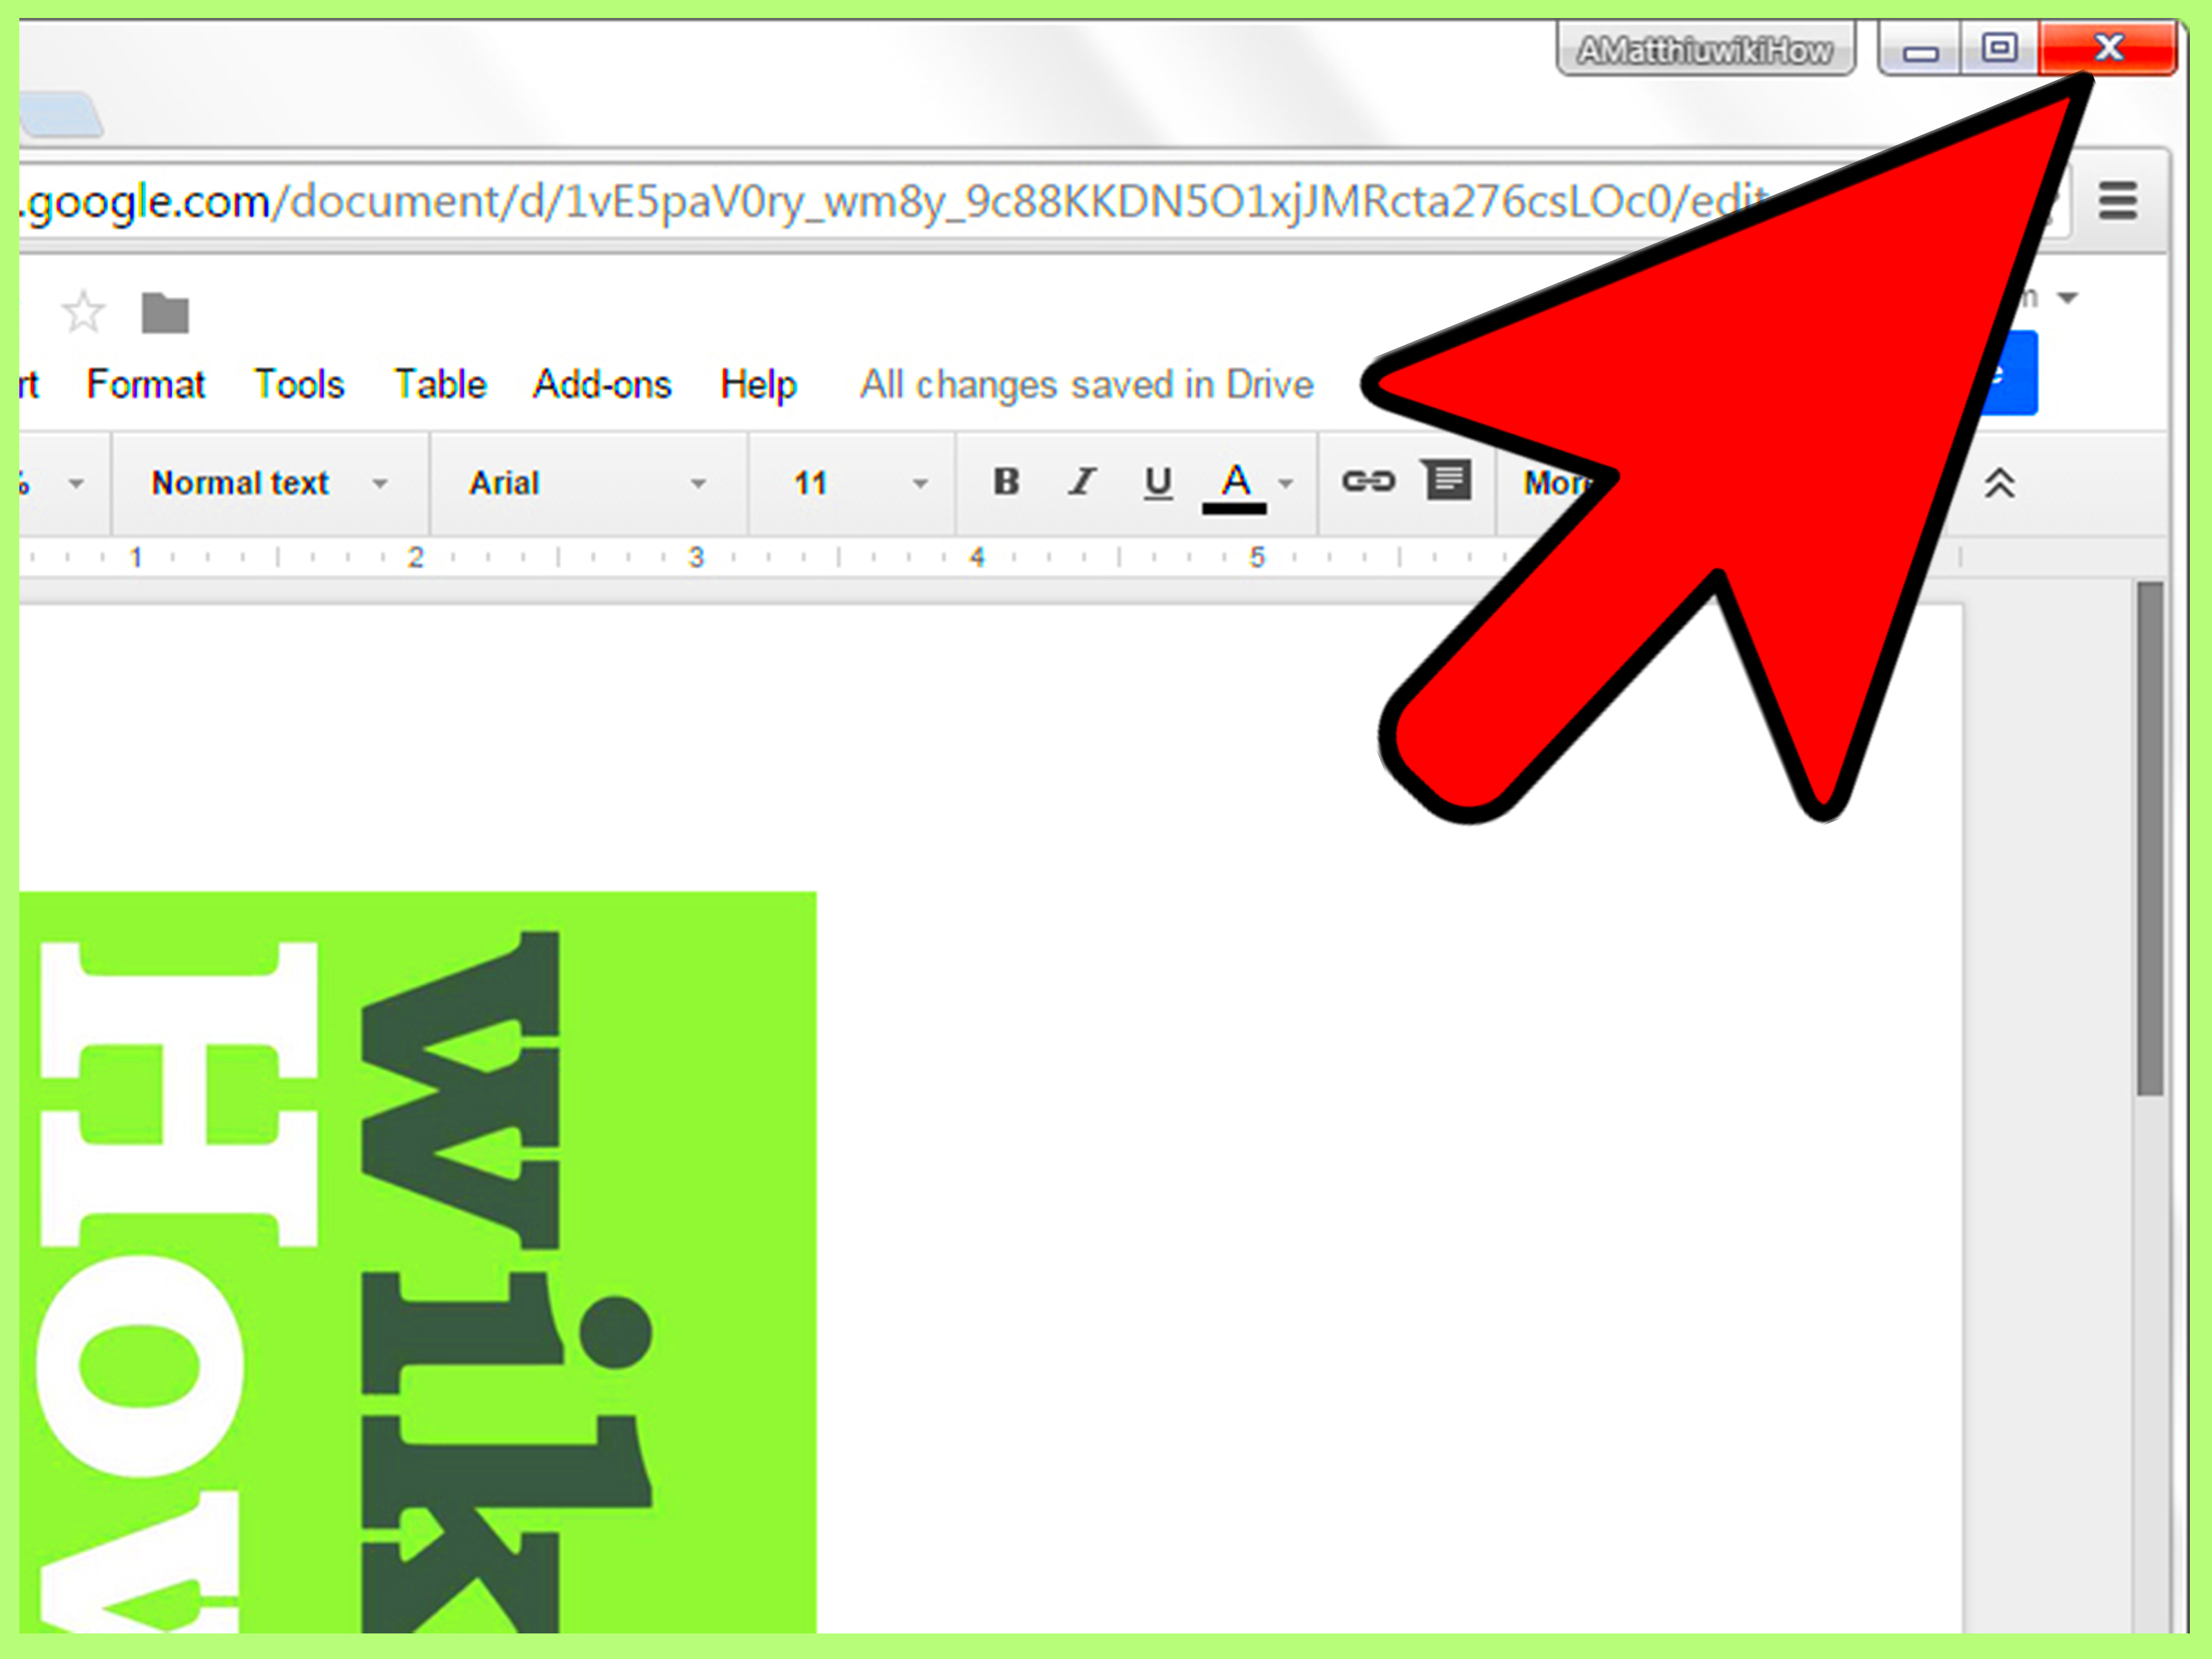
- Close the Preview Window: Once you are happy with how your image looks, simply click the "X" in the upper right corner to close the preview window.
- Check the Changes: Your rotated image should automatically save the changes in Google Drive. You can click on the image again to confirm that it has retained its new orientation.
- Version History: If you ever need to revert to the original image, Google Drive has a built-in version history. Right-click the image and select “Manage versions” to see previous versions.
- Download if Necessary: If you need to use the rotated image outside of Google Drive, simply right-click on the image and select “Download” to save it to your device.
By following these steps, you can be sure that your images are saved just as you want them. It’s always a good idea to double-check that your edits are saved correctly!
Also Read This: How to Reach a Getty Images Photographer for Licensing and Permissions
Common Issues When Rotating Images
While rotating images in Google Drive is usually a breeze, sometimes issues can pop up. Here are a few common problems you might encounter and how to resolve them:
- Image Not Rotating: If you click the rotate icon but nothing happens, try refreshing the page or re-opening the image.
- Loss of Quality: After saving, if the image appears pixelated, ensure that you are not downloading a lower-quality version. Always check the file size and format.
- Image Appears Upside Down: If your image rotates unexpectedly, it may be due to its original orientation metadata. Sometimes, rotating it multiple times can fix this issue.
- Slow Loading Times: If Google Drive is slow when accessing or editing images, it could be due to internet connectivity issues. Check your connection and try again.
If you encounter any other problems, don’t hesitate to check Google Drive’s help resources for more guidance. They have extensive support documentation that can assist you!
Also Read This: how to save high quality images from midjourney
Tips for Better Image Management
Managing your images effectively in Google Drive can save you time and frustration. Here are some handy tips to keep your photo library organized:
- Create Folders: Organize your images into folders based on events, themes, or projects. This makes it easier to locate specific images later.
- Use Descriptive File Names: Instead of generic names, give your images clear, descriptive names. For example, instead of “IMG1234.jpg,” use “Family_Vacation_2023.jpg.”
- Regularly Backup Your Files: Even though Google Drive is reliable, consider backing up important images to an external hard drive or another cloud service.
- Utilize Google Photos: For more advanced photo editing and organization options, consider linking your Google Drive to Google Photos.
- Set Sharing Permissions Carefully: When sharing images, be mindful of the permissions you set. Decide whether you want others to edit, view, or comment on your images.
Implementing these tips can help you maintain a tidy and efficient image library in Google Drive. Happy organizing!
Also Read This: how to get a custom image for espn fantasy football
Frequently Asked Questions
When it comes to rotating images in Google Drive, users often have a few common questions. Here are some of the most frequently asked questions along with their answers:
- Can I rotate multiple images at once?
Currently, Google Drive does not support batch rotating images. You will need to rotate each image individually. - Will my original image be deleted after rotating?
No, Google Drive automatically saves the rotated image while keeping the original intact. You can always revert to the original if needed. - Can I rotate images from my mobile device?
Yes! The Google Drive app on your smartphone allows you to rotate images just like the desktop version. - What formats can I upload to Google Drive?
Google Drive supports various image formats, including JPEG, PNG, GIF, and BMP. Make sure your images are in one of these formats for optimal performance. - Is there a way to recover a deleted image?
If you've accidentally deleted an image, you can find it in the Trash folder within Google Drive. You have 30 days to restore it before it is permanently deleted.
If you have other questions or need more specific help, feel free to check Google Drive’s help center or community forums. There are plenty of resources available to assist you!
Conclusion
In summary, rotating images in Google Drive is a simple yet essential task for anyone looking to manage their photos effectively. With just a few clicks, you can change the orientation of your images, ensuring they look just the way you want. By understanding the features of Google Drive, addressing common issues, and implementing good image management practices, you can enhance your overall experience. Happy editing!

 admin
admin


