Rotating an image in Google Docs is a handy skill that can enhance your documents. Whether you're trying to fix an image orientation or creatively layout your visuals, this guide has you covered. With just a few simple steps, you can easily rotate any
Accessing Google Docs
Before you can rotate an image, you need to open Google Docs. If you're new to this platform, don’t worry; it’s super simple! Follow these steps:
- Open Your Browser: Launch your favorite web browser. Google Chrome works best for Google Docs, but others like Firefox or Safari will do just fine.
- Go to Google Docs: Type docs.google.com in the address bar and hit Enter.
- Sign In: If you’re not already signed in, you'll need to enter your Google account credentials. Don’t have an account? You can create one for free!
- Create a New Document: Once you're on the Google Docs homepage, click on the plus sign (+) to create a new blank document. You can also open an existing document from your drive.
- Access the Insert Menu: Now that you have your document open, navigate to the Insert menu at the top of the page.
Now, you’re all set to insert and rotate images! It’s truly that easy to access Google Docs. In the next sections, we’ll explore how to add images and get them spinning! Stay tuned!
Also Read This: Mastering Stock Vector Graphics in Adobe Illustrator
3. Inserting an Image
Before you can rotate an image in Google Docs, you first need to insert it into your document. Don’t worry; the process is straightforward and user-friendly. Here’s how you can do it:
- Open Your Document: Start by opening the Google Docs document where you want to insert your image.
- Insert the Image: Go to the menu at the top and click on Insert. From the dropdown, hover over Image to reveal more options.
- Choose Image Source: You’ll see several options like:
- Upload from computer: Select this if you have images saved on your device.
- Search the web: Google Docs allows you to search for images online directly.
- Drive: If you have images stored in Google Drive, this is a great option to use.
- Photos: Access any images from your Google Photos account.
- By URL: If you have a direct link to an image, you can paste it here.
- Select Your Image: After choosing your method, either upload or select the desired image. Once you’ve made your choice, it will automatically be inserted into your document.
And there you have it! Your image is now part of your document, ready for some adjustments. It’s as easy as pie! Let’s move on to the fun part—rotating your newly inserted image.
Also Read This: How to Contribute to Shutterstock: A Complete Guide
4. Steps to Rotate an Image
Rotating an image in Google Docs is a breeze and can give your document a fresh, dynamic look. Whether you want to tilt a photo to fit a design or make it a little quirky, here’s how you can rotate your image:
- Select the Image: Click on the image you just inserted. Once selected, you’ll notice a blue border with small squares (handles) along the edges.
- Find the Rotate Handle: Look for the circular handle located at the top of the image. This is your rotation tool, and it’s easy to spot!
- Rotate the Image: Click and hold the rotation handle. As you drag it left or right, you’ll see the image rotate. You can rotate it in small increments or make a full 360-degree turn, depending on how you move your mouse.
- Release to Set: Once you’re happy with the rotation angle, release the mouse button to set the image in its new position. Trust your instincts here; if it looks good, it is good!
Additionally, if you need to rotate the image to a precise angle, you can do this as well:
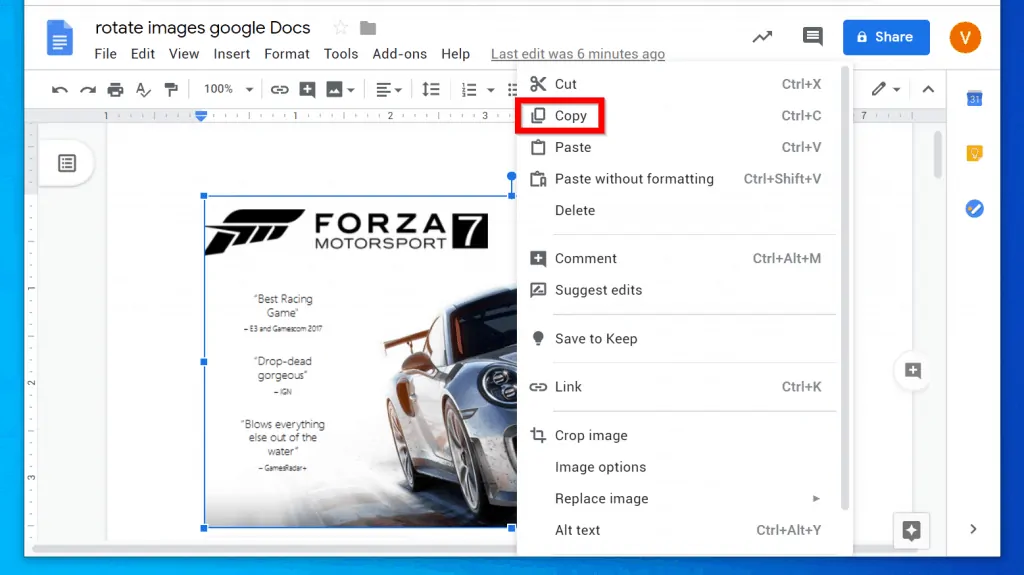
- Right-click on the Image: This opens up a context menu.
- Select “Image options”: Here, you can find more advanced settings.
- Adjust the Rotation Angle: Under the “Size & Rotation” section, you can manually enter the rotation degree for exact precision.
And voila! You’ve successfully rotated an image in Google Docs. This little creative touch can really enhance your document’s visual appeal, making it stand out. So go ahead, experiment, and have fun with it!
Also Read This: Adobe Stock vs Getty Images: Comparing Two Leading Stock Photography Platforms
5. Adjusting the Image Position
Once you've rotated your image in Google Docs, you might find that it doesn't sit exactly where you want it on the page. No worries! Adjusting the image position is straightforward and can greatly enhance the overall look of your document.
To start, click on the image you want to adjust. You'll notice a blue border appear around it, along with several small squares (handles) on the edges. These are your friends! Here’s how to use them:
- Drag to Move: Simply click and hold anywhere on the image (but not on the handles), then drag it to your desired location. You’ll see it move freely around the page.
- Resize if Needed: If the image is too large or too small after rotation, grab one of the corner handles and drag inward or outward to resize it. This helps maintain the aspect ratio, so your image doesn’t get distorted.
- Use Alignment Options: Google Docs provides alignment options to help you position your image perfectly. After selecting the image, look for the toolbar that appears above. You can align it left, center, or right by clicking the corresponding icons.
- Wrap Text or Break Text: To change how text flows around your image, click on the image and select the option that appears directly beneath it. If you choose “Wrap text,” the text will flow around the image, while “Break text” will place the image on a line of its own, separating it from the text above and below.
Finally, don’t forget to preview your document! Go to File > Print or use the shortcut Ctrl + P (or Cmd + P on Mac) to see how your adjustments look in a printed format. This step is crucial to ensure everything appears just as you envisioned!
6. Saving and Sharing Your Document
After putting in all that effort to rotate and adjust your image, the last thing you want is to lose your work. Luckily, Google Docs automatically saves your document as you go, but it’s always good to double-check. Here’s how to ensure your masterpiece is saved and ready to share:
- Check Auto-Save: Look in the upper left corner of your document; if it says “All changes saved in Drive,” you’re good to go! This means Google Docs is continuously saving your work in real-time.
- Manual Save (if needed): If you’re feeling a bit paranoid, you can force a manual save by clicking on File > Save or just hitting Ctrl + S (or Cmd + S on Mac).
- Share Your Document: To share your document with others, click the Share button in the upper right corner. You can enter email addresses, set permissions (view, comment, or edit), and even add a message. Imagine how handy it is to work collaboratively in real-time!
- Export Options: If you need your document in a different format, go to File > Download. You can save your work as a Microsoft Word document, PDF, or even plain text. This flexibility makes it easy to share your document across different platforms.
And that’s it! With these final steps, your beautifully rotated image is not just a part of a document; it’s ready to be shared and appreciated by others. Whether it’s for a presentation, a school project, or just a fun newsletter, you’ve nailed it!
 admin
admin


