Welcome to your quick guide on rotating images in Behance! Whether you're a designer looking to showcase your work or a creative wanting to make your portfolio pop, knowing how to rotate images can make a huge difference. This simple skill can help you present your visuals just the way you envision them. Let’s dive into the steps to get you rotating images like a pro!
Accessing Your Project
Before you can rotate your images, you need to access the correct project within Behance. Follow these easy steps to locate your project:
- Log into Behance: Start by logging into your Behance account. If you don’t have one, it’s quick and easy to create an account.
- Navigate to Your Profile: Once logged in, click on your profile icon in the top right corner. This will take you to your personal page where all your projects are displayed.
- Find the Right Project: Scroll through your projects to find the one you want to edit. You can also use the search bar if you have many projects.
- Open the Project: Click on the project thumbnail to open it. This will bring you to the project’s detailed view where you can see all included images.
- Edit Mode: Look for the “Edit” button, usually located in the top right corner. Click it to enter editing mode where you can make changes to your images.
Once you're in edit mode, you're all set to rotate your images! Keep an eye out for the options that will allow you to adjust your visuals perfectly.
Also Read This: Upload Your Resume to Behance and Boost Your Creative Profile
Choosing the Image to Rotate
When it comes to rotating an image in Behance, the first step is selecting the right image. This may seem straightforward, but it’s crucial to consider a few factors to ensure your rotation enhances the overall look of your project.
Here are some tips for choosing the best image to rotate:
- Relevance: Ensure that the image aligns with your project's theme. For instance, if you’re showcasing graphic design work, choose an image that complements your style.
- Quality: High-resolution images are key. A blurry or pixelated image might not look good, even after rotation. Aim for images that are at least 300 DPI.
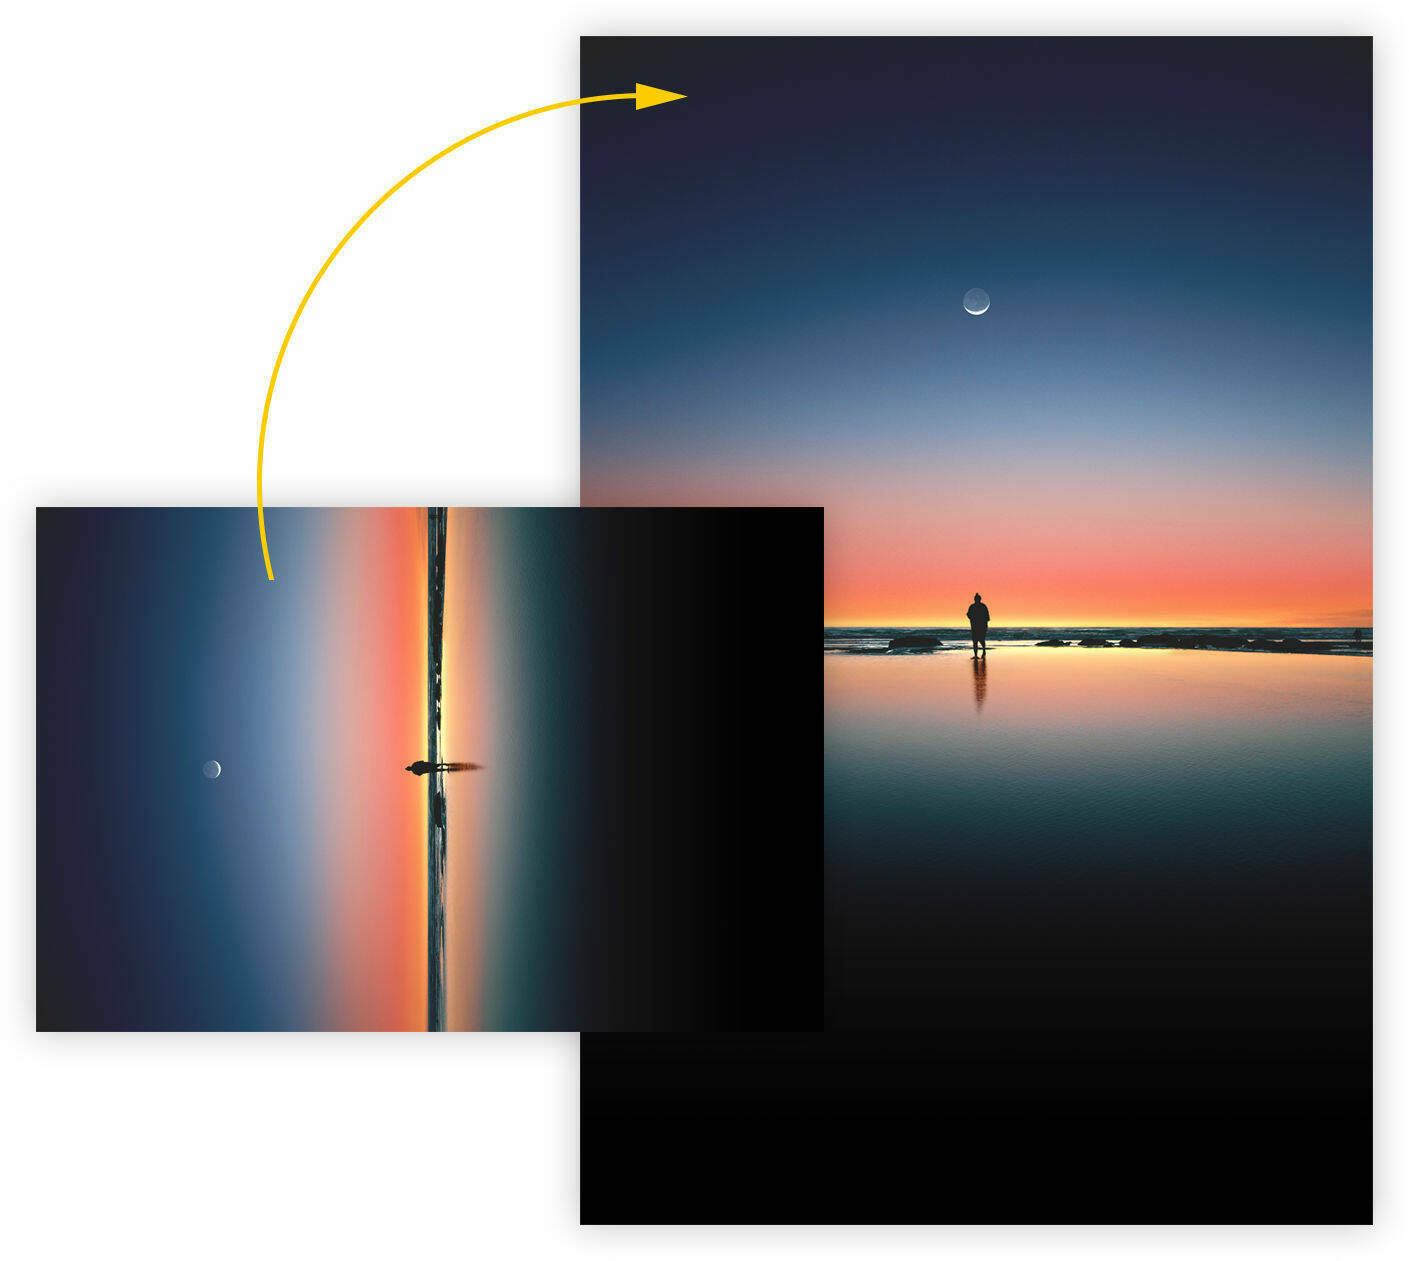
- Composition: Consider the original composition of the image. An image with dynamic angles or interesting subjects may benefit more from rotation than a static one.
- Orientation: Pay attention to the orientation of the image. Landscape images might require a different angle compared to portrait ones, so think about what rotation would best showcase your work.
Once you have selected the image, you are ready to move on to the editing stage, where you’ll make those crucial adjustments!
Also Read This: Step by Step Guide to Uploading an Illustrator File to Behance
Using the Editing Tools
Now that you’ve chosen your image, let’s dive into the editing tools available on Behance for rotating your image. The platform provides an intuitive and user-friendly interface that allows for seamless editing.
To rotate your image, follow these steps:
- Open the Project: Start by opening the specific project where your image is located.
- Select the Image: Click on the image you want to rotate. This action will activate the edit mode.
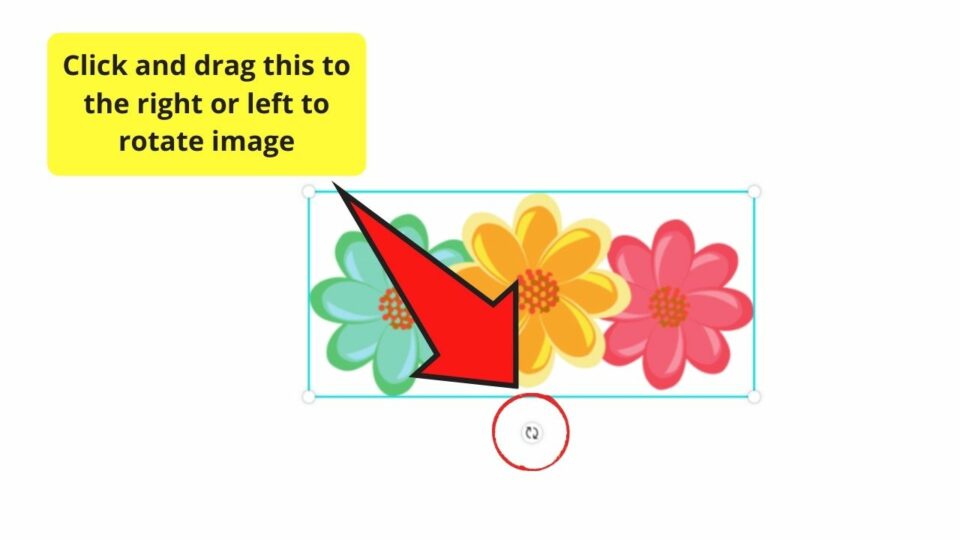
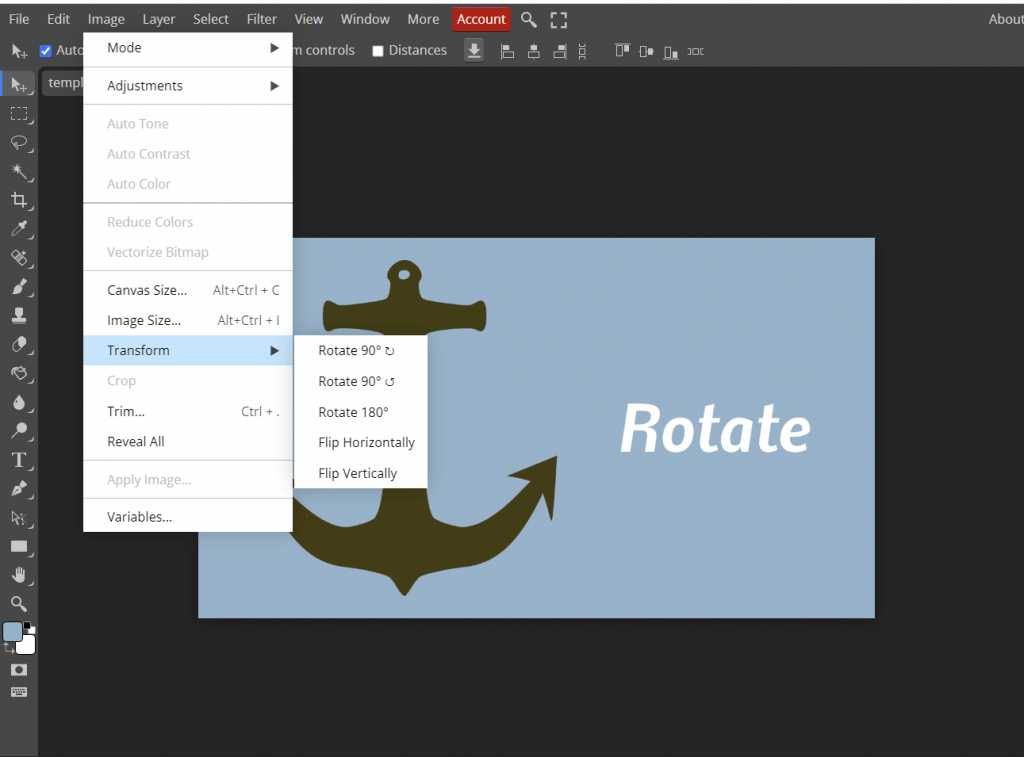
- Access the Editing Toolbar: Look for the editing tools usually located at the top or side of the screen. The rotate function is typically represented by a circular arrow icon.
- Rotate the Image: Click on the rotation tool. You can adjust the angle by either dragging the image or entering a degree of rotation (like 90°, 180°, etc.).
- Preview Changes: Always preview your changes to see how the rotation affects the overall appearance.
- Save Your Edits: Once satisfied, don’t forget to save your changes to ensure they’re applied to your project.
And there you have it! Using Behance's editing tools is a breeze, allowing you to enhance your images effortlessly. Happy editing!
Also Read This: How to Contact Behance by Phone Number
5. Saving Your Changes
Once you've rotated your image to perfection on Behance, the next step is to save those changes. It's crucial to ensure that your hard work doesn't go to waste!
Here’s how to save your adjustments:
- Preview Your Work: Before saving, take a moment to preview your project. Click on the “Preview” button to see how your rotation looks in the context of your overall design.
- Save Changes: After confirming that everything looks good, find the “Save” button, usually located at the top right corner of your editing interface. Click it to save your adjustments.
- Publish Updates: If your project is already live, you’ll need to hit the “Update” button to push your changes to the public. This ensures your audience sees the latest version.
- Check the Final Output: Once saved, revisit your project page to ensure the rotated image displays correctly in the live version.
Remember, saving frequently while editing can prevent any loss of progress, especially if you're tweaking multiple images!
6. Conclusion
Rotating an image in Behance may seem like a small step, but it can significantly enhance the overall aesthetic of your project. Whether you're adjusting an image for better alignment, correcting perspective, or just getting creative with your design, understanding how to effectively rotate images is key.
In summary, here’s why mastering this skill is beneficial:
- Enhances Visual Appeal: A well-placed image can draw attention and make your project stand out.
- Improves User Engagement: Thoughtful design choices, like image rotation, can keep viewers interested and engaged with your work.
- Professional Presentation: Properly aligned images reflect a polished and professional approach to your portfolio.
So, the next time you’re working on your Behance project, don’t underestimate the power of a simple image rotation. Happy designing!
 admin
admin


