Image resizing is the process of changing the dimensions of an image, making it larger or smaller without altering its content. This adjustment is often necessary for various purposes like fitting an
Resizing matters because it helps maintain the visual appeal of your content while ensuring quick loading times on websites. Properly sized images enhance user experience and prevent awkward cropping or distortion. Whether you're a graphic designer, blogger, or casual user, knowing how to resize images can save time and improve results.
Here are some benefits of resizing images effectively:
- Faster website loading: Smaller image sizes mean quicker load times for your site visitors.
- Professional presentation: Properly resized images look more polished and appealing.
- Space-saving: Optimized images take up less storage on your device or server.
Understanding Microsoft Paint for Image Editing

Microsoft Paint is a simple yet effective tool for basic image editing tasks, including resizing. Available on almost all Windows devices, Paint is beginner-friendly and doesn’t require advanced skills to use. It’s a handy solution for quick edits when professional software isn’t accessible.
Some key features of Paint for image editing include:
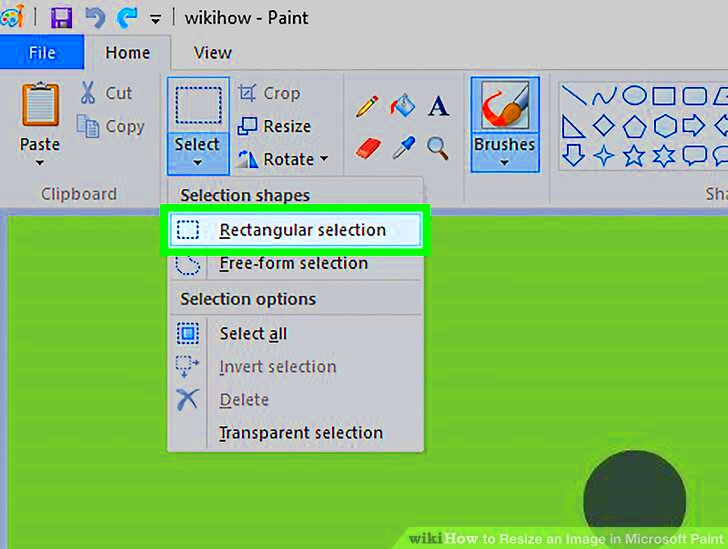
- Resizing and cropping: Easily adjust image dimensions or remove unwanted areas.
- Basic drawing tools: Add shapes, lines, or text to images.
- File format conversion: Save images in different formats like JPEG, PNG, or BMP.
Paint is ideal for those who need straightforward tools for everyday tasks without delving into complex software. If you're just starting, it’s a great place to begin your image editing journey.
Also Read This: How to Use Mixcloud? Tips and Tricks for You
Steps to Resize Images Using Paint

Resizing images in Paint is a straightforward process. Follow these simple steps to adjust your image dimensions:
- Open the image in Paint: Right-click the image file, choose “Open With,” and select “Paint.”
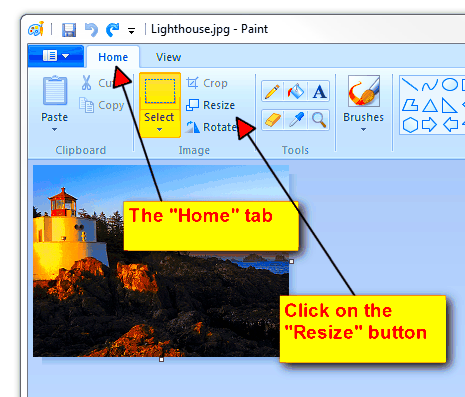
- Click on the Resize option: In the toolbar, find and click the “Resize” button. A new window will open.
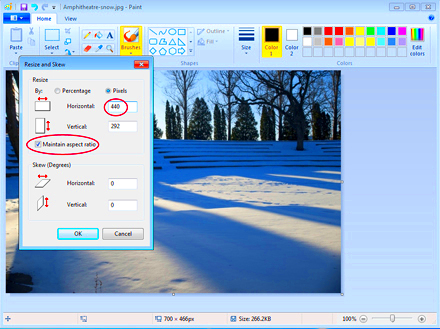
- Choose resizing method:
- Percentage: Scale the image by a specific percentage of its original size.
- Pixels: Enter exact dimensions in pixels for more precise control.
- Maintain aspect ratio: Check the box to keep the image’s proportions consistent, avoiding distortion.
- Preview and save: Click “OK” to apply changes, then save the resized image by pressing Ctrl+S or using the “Save As” option to keep the original file intact.
With these steps, resizing images in Paint becomes quick and hassle-free. It’s a simple solution for anyone needing basic adjustments without additional software.
Also Read This: Discover the Quick and Easy Way to Download Facebook Stories Online for Seamless Sharing
Tips for Keeping Image Quality Intact While Resizing

When resizing images, preserving quality can be challenging. Resizing too much or in the wrong way can lead to pixelation or blurriness. However, with the right approach, you can maintain sharpness and clarity even after adjustments.
Here are some helpful tips to keep your images looking their best:
- Use high-resolution images: Start with a high-quality image. The higher the resolution, the better the results after resizing.
- Maintain aspect ratio: Always ensure the aspect ratio is locked. This prevents distortion, keeping the image’s proportions consistent.
- Resize in smaller steps: Instead of making drastic size changes, resize in increments to avoid losing quality.
- Choose the right tool: Use software like Paint, Photoshop, or online tools that offer precise control and better algorithms for resizing.
- Sharpen after resizing: Apply a slight sharpening filter if the image looks soft after resizing. This helps restore some of the lost details.
By following these tips, you can confidently resize your images while keeping them sharp and professional-looking.
Also Read This: Sonic Slowdown: How to Decelerate Songs on Spotify for a Unique Listening Experience
Common Mistakes to Avoid When Resizing Images
Resizing images may seem simple, but common mistakes can lead to poor results. Avoiding these errors can save you time and ensure your images look great after adjustments.
Here are some common mistakes to watch out for:
- Ignoring aspect ratio: Skipping this step can stretch or compress your image, making it look unnatural.
- Resizing excessively: Drastically increasing or decreasing size can cause pixelation or loss of detail.
- Overwriting the original: Always save a copy before resizing to preserve the original file.
- Using poor-quality tools: Low-quality tools might not handle resizing well, leading to blurry results.
- Resizing already resized images: Repeated resizing further degrades quality. Work with the original whenever possible.
By being aware of these pitfalls, you can avoid frustration and achieve better outcomes.
Also Read This: Can I Use iStock Photos on My Website
Best Practices for Resizing Images for Online Use
When resizing images for online use, it’s important to balance quality and file size. Large images can slow down loading times, while overly compressed ones may look unprofessional. Following best practices ensures your images are optimized for the web.
Here are some key practices to keep in mind:
| Practice | Why It Matters |
|---|---|
| Optimize file size: | Smaller files load faster, improving website performance and user experience. |
| Use web-friendly formats: | Formats like JPEG and PNG are widely supported and offer a good balance of quality and size. |
| Resize for intended use: | Match dimensions to the platform’s requirements, such as social media or website banners. |
| Test on multiple devices: | Ensure resized images look good on desktops, tablets, and phones. |
By following these practices, you can create images that not only look great but also enhance the functionality and appearance of your website.
Also Read This: How to Remove Space Between Images in Behance Adjusting Your Portfolio Layout
Frequently Asked Questions
Here are some common questions people have about resizing images and using tools like Microsoft Paint:
| Question | Answer |
|---|---|
| Does resizing an image reduce its quality? | It can, especially if the image is resized significantly. Using high-quality tools and following best practices helps maintain quality. |
| Can I resize multiple images at once in Paint? | No, Paint can only handle one image at a time. For bulk resizing, you might need dedicated tools like Photoshop or online resizing services. |
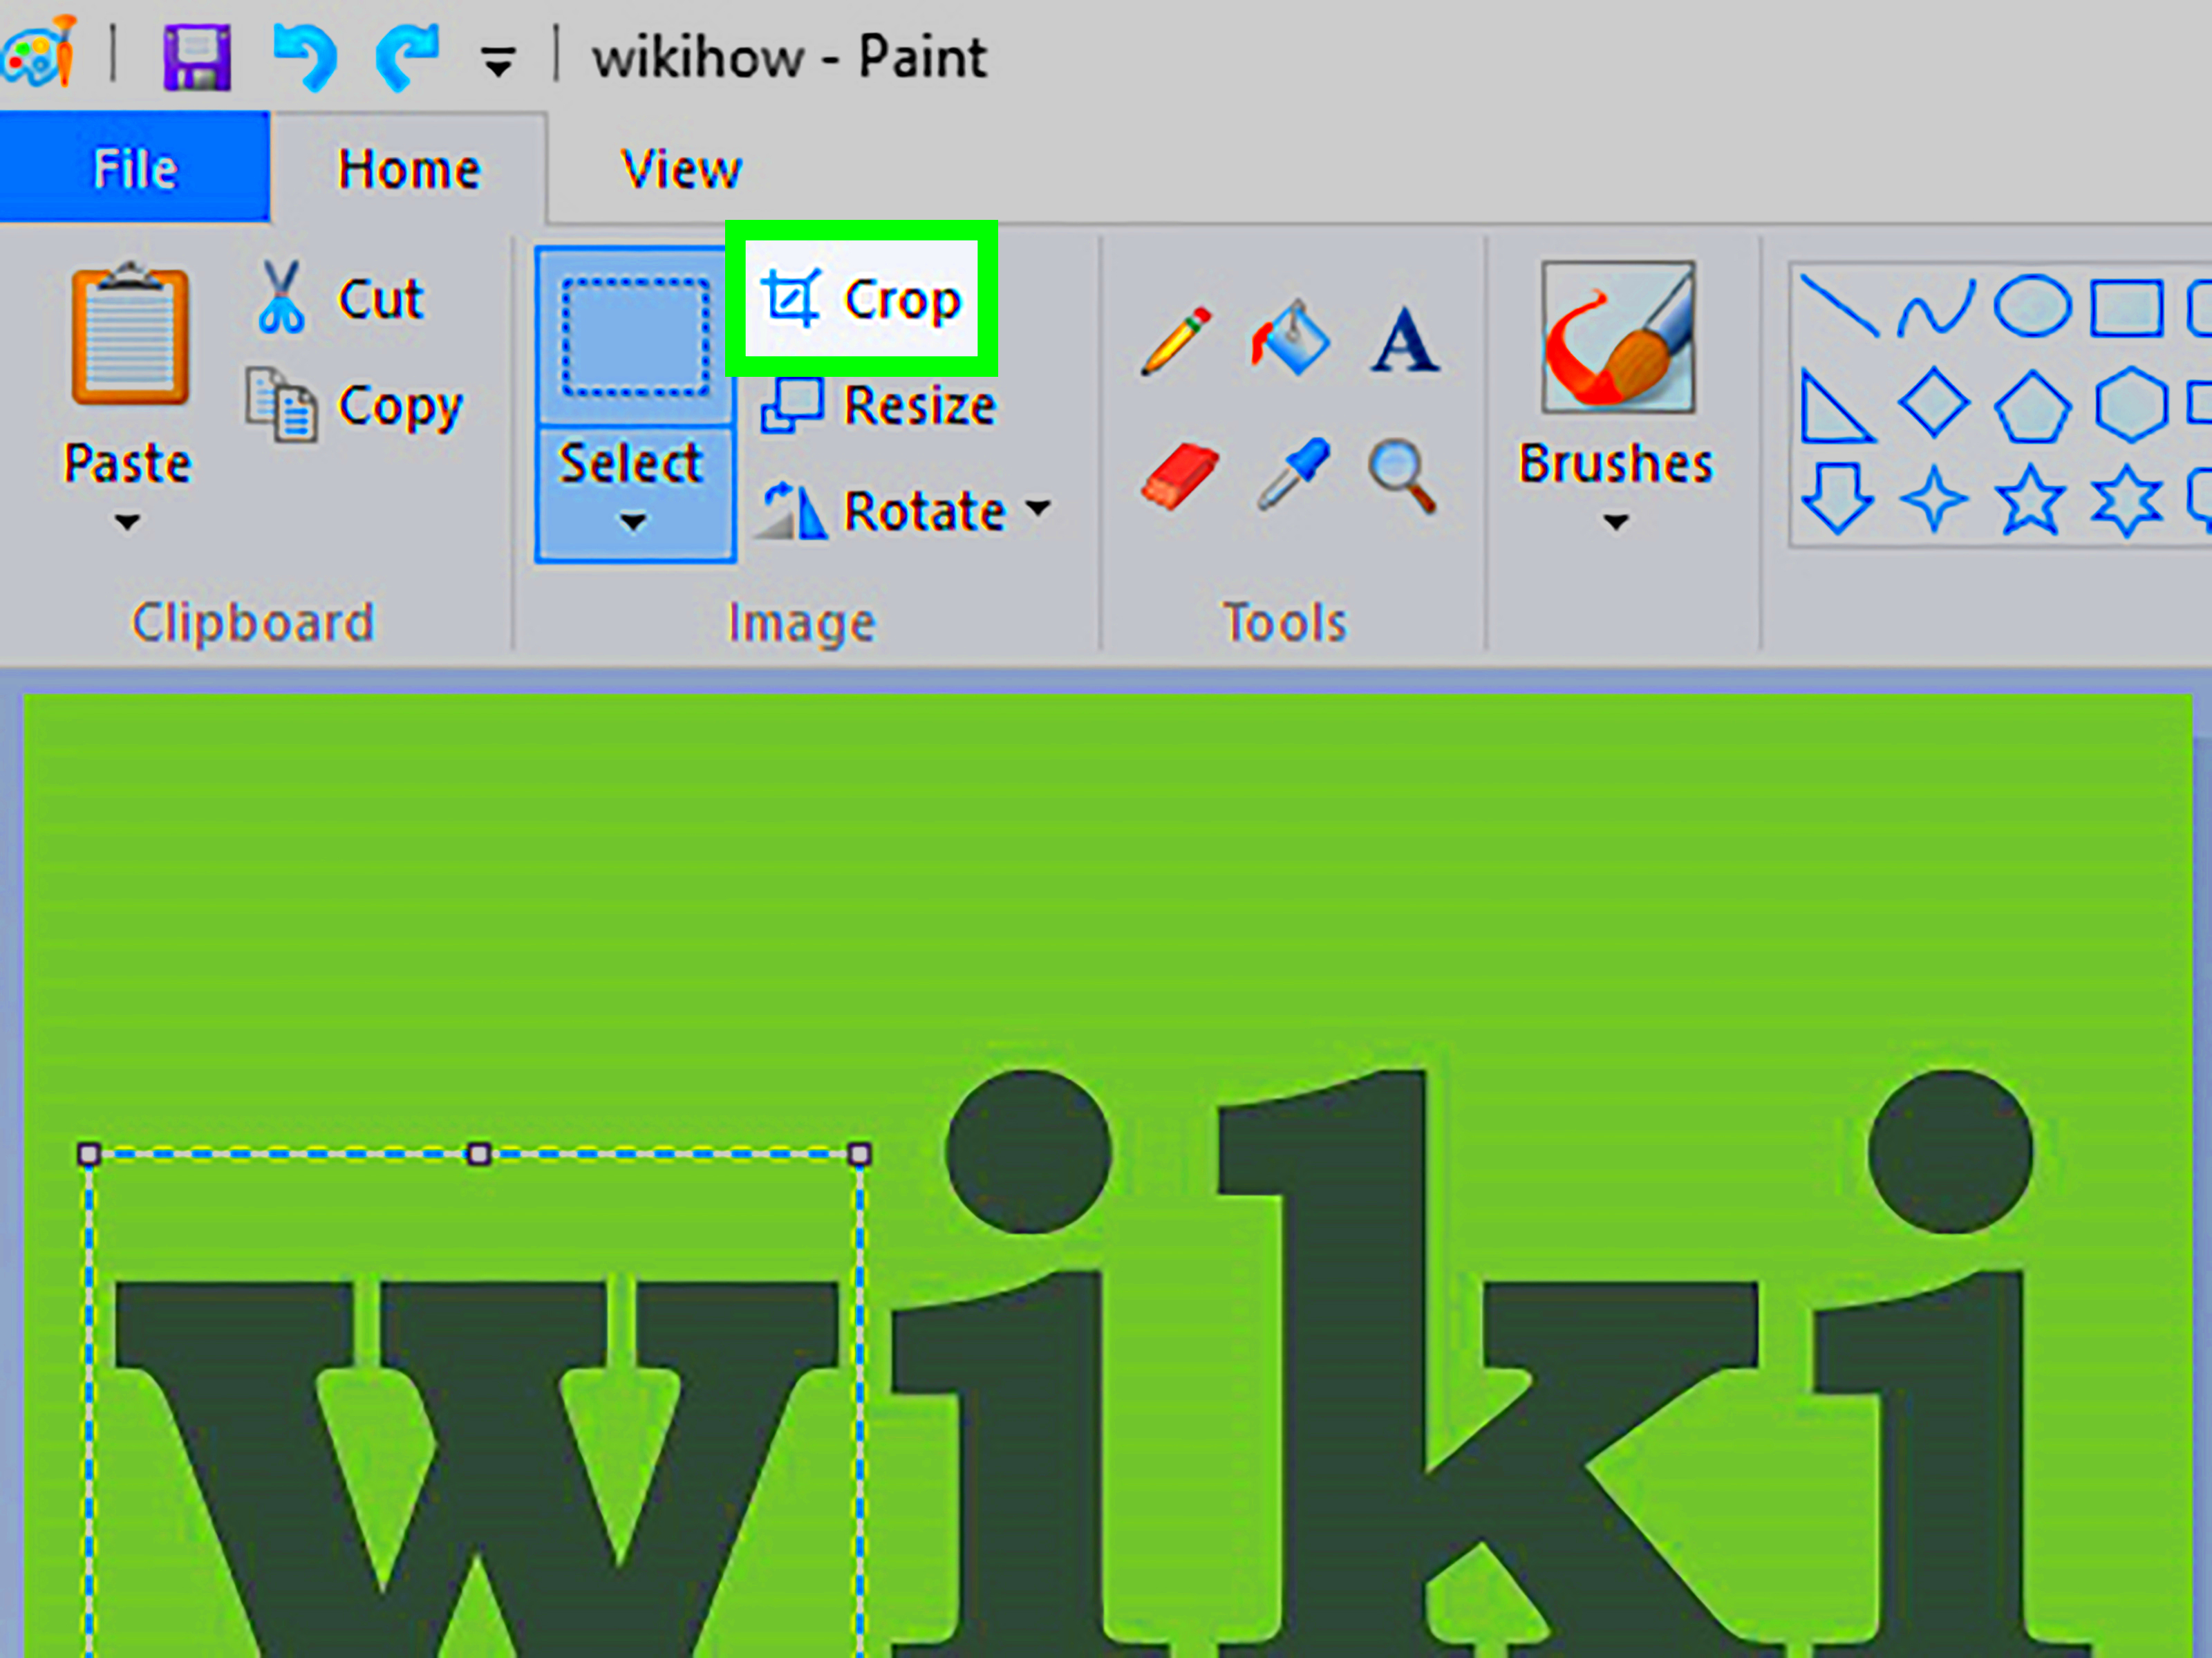
| What’s the difference between resizing and cropping? | Resizing changes the dimensions of the entire image, while cropping removes parts of the image to focus on specific areas. |
| What format should I save resized images in? | It depends on the purpose. For web use, JPEG is great for smaller files, while PNG retains transparency and more detail. |
| How can I ensure my resized image isn’t blurry? | Always maintain the aspect ratio and avoid drastic resizing. Start with a high-resolution image whenever possible. |
Conclusion
Resizing images is an essential skill that ensures your visuals look great while meeting size and quality requirements. By understanding tools like Microsoft Paint and following best practices, you can achieve professional results without much effort. Start experimenting today to create perfectly resized images for any purpose!

 admin
admin


