It’s no secret that images are crucial in getting people’s attention and conveying messages in the digital age. Nevertheless, it is necessary to select an appropriate size of an illustration which will provide a sleek and polished arrangement. Changing dimensions of pictures can have a major effect on your site’s efficiency, the time it requires to load, as well as its entire usability.
Below are some reasons why it is necessary to change the size of an image:
- Improved Loading Speed: Large images can slow down your website. Resizing them helps improve load times, keeping visitors engaged.
- Better User Experience: Properly sized images ensure a clean and organized look, making it easier for users to navigate your content.
- Enhanced SEO: Optimized images contribute to better search engine rankings, as search engines favor fast-loading pages.
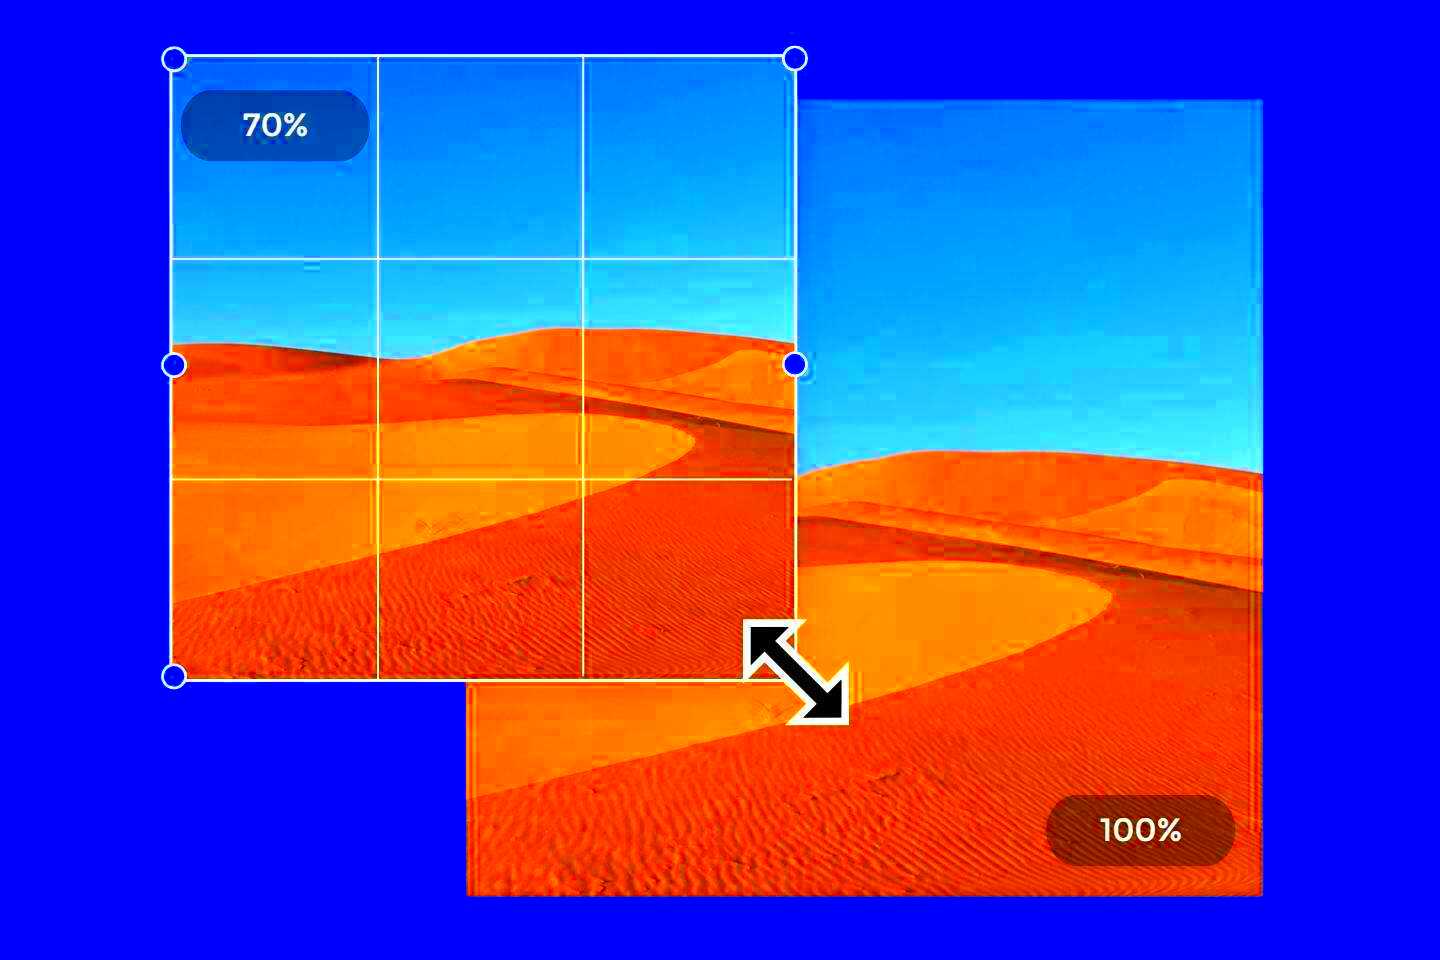
Basically, resizing photos isn’t only for beauty but also serves as a key point in making one’s digital visibility better.
Choosing the Right Image Dimensions
One aspect that leads to a harmonious and polished aesthetic is selecting the appropriate image sizes. Different aspects, for example, where you intend to use the image and what it is meant for determine the best size. Here are some suggestions on choosing appropriate sizes:
- Know Your Platform: Different platforms have specific requirements. For instance, social media images often need to be square or vertical, while website banners typically require horizontal dimensions.
- Consider the Content: The size should complement the content. For example, a detailed infographic may need a larger size to ensure clarity, while a small thumbnail can be smaller.
- Test and Adjust: Don't hesitate to experiment with different dimensions. Preview how images look on various devices to ensure they appear correctly.
To create images that fit within your layout without compromising their quality, always keep in mind the goal.
Also Read This: Chromatic Symphony: Changing the Color Theme of Your Spotify App
Using Online Tools for Image Resizing
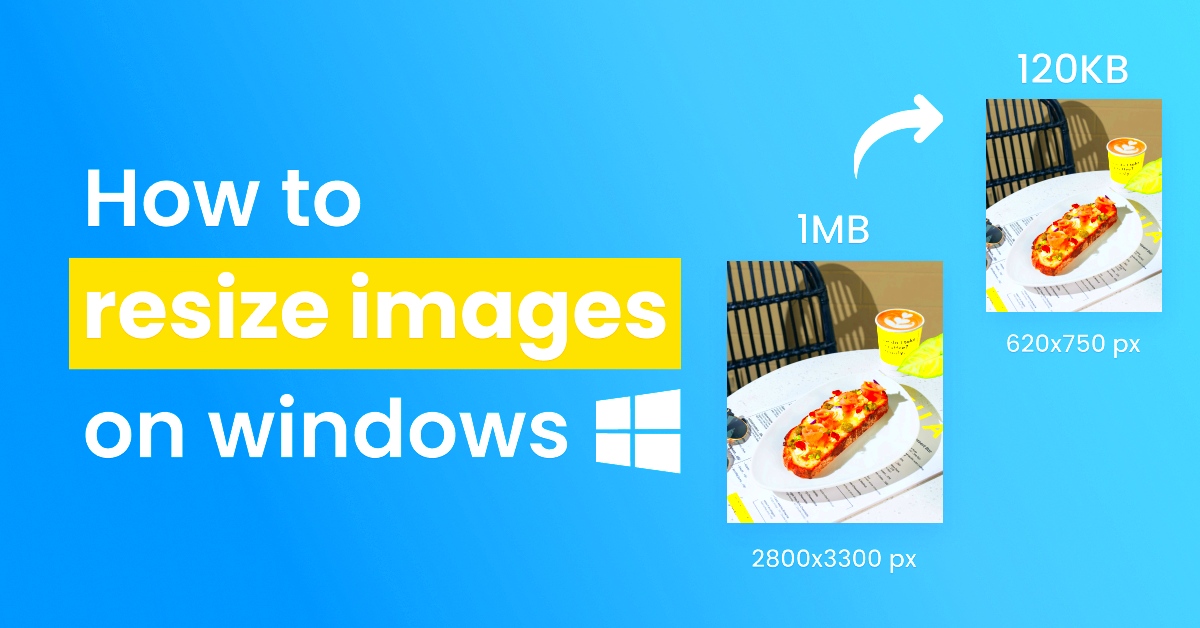
Thanks to online tools, resizing images has become simpler than it used to be. With these platforms, there’s no more need for complicated software just to resize pictures. You can maximize the potential of such kind of tools in the following manner:
Here are a few well-known online image compactor:
| Tool Name | Features | Website |
|---|---|---|
| Canva | User-friendly interface, various templates, and resizing options | www.canva.com |
| PicResize | Simple resizing, cropping, and adding effects | www.picresize.com |
| Fotor | Advanced editing tools and resizing options | www.fotor.com |
In order to make use of these instruments, follow these easy procedures:
- Upload your image.
- Select the desired dimensions.
- Download the resized image to your device.
Flexibility is brought about by online tools which not only saves time but also helps one to resize images easily without many problems.
Also Read This: How to Open Licensed Adobe Stock in Illustrator
How to Resize Images in Photoshop
A Photoshop image editor is quite user-friendly despite being in demand among the best image editing applications. Whether it’s for a website, slideshow or social media purposes, there are ways to compress photos in Photoshop that can make them more appealing and compatible with whatever design you have in mind.
Photoshop image resizing procedure is outlined below in a step-by-step manner:
- Open Your Image: Start by launching Photoshop and opening the image you want to resize.
- Select the Image: Go to the menu and click on Image, then select Image Size.
- Adjust Dimensions: In the dialog box, you can change the width and height. Make sure the Constrain Proportions option is checked to maintain the image’s aspect ratio.
- Set Resolution: Adjust the resolution to ensure good quality. A standard resolution for web images is 72 pixels per inch (ppi).
- Click OK: Once you’re satisfied with the adjustments, click OK to apply the changes.
- Save Your Image: Finally, save your resized image by going to File and selecting Save As to choose your desired format.
In it, there are few activities that might be done to obtain these effects.
Also Read This: How to Get into Getty Images for Aspiring Photographers
Adjusting Image Resolution for Better Quality
Whether or not to use image resolution is therefore a very important consideration when considering the quality of one’s images.
Also Read This: How to Easily Record Audio from YouTube Videos
Common Mistakes to Avoid When Resizing Images
Resizing images might appear uncomplicated but several individuals face certain common pitfalls. Avoiding these errors can conserve your time and energy while guaranteeing that photographs look good enough. We should examine some frequent mistakes people commit when they resize pictures.
- Not Maintaining Aspect Ratio: One of the biggest mistakes is resizing images without keeping the aspect ratio intact. This can stretch or squish the image, distorting its appearance. Always check the "Constrain Proportions" option in editing tools.
- Using Low-Resolution Images: Starting with a low-resolution image and resizing it to a larger dimension can result in a pixelated mess. Make sure to use high-resolution images whenever possible.
- Ignoring File Formats: Different formats serve different purposes. JPEGs are great for photographs, while PNGs are better for images requiring transparency. Using the wrong format can affect quality.
- Overlooking Compression: After resizing, don’t forget to compress your images. Large file sizes can slow down your website. Use tools like TinyPNG or Compressor.io to optimize them without losing quality.
- Not Testing on Different Devices: What looks good on a desktop may not look the same on a mobile device. Always preview your resized images on multiple screen sizes to ensure they display correctly.
By refusing through these usual errors, you can create images that significantly improve the quality of what you create and connect with your followers.
Also Read This: How to Register with Getty Images for New Contributors
FAQs About Image Resizing
In terms of image rescaling, frequently, there are much inquiries made by people. These are some regular queries that can clarify this task and its significance.
- What is the best image size for websites? The ideal size varies, but generally, aim for images that are 1200 pixels wide for full-width images and 600 pixels for smaller ones.
- How do I know if my image is too large? If your webpage takes too long to load, or images look blurry or pixelated, they may be too large or low resolution.
- Can I resize images without losing quality? Yes, using high-resolution images and proper resizing techniques can help maintain quality even after resizing.
- What tools can I use for resizing images? Popular tools include Photoshop, GIMP, and various online options like Canva and PicResize.
- Is it better to resize images before or after uploading them to a website? It’s usually best to resize images before uploading to ensure faster loading times and better performance.
In this session, we will be addressing the frequently asked questions concerning image resizing. Based on these frequently asked questions, you will not have problems understanding what it is all about.
Conclusion on Resizing Images for Cleaner Layouts
In summary, one of the most important aspects of making your designs look better by providing a clearer layout and improving usability is to resize images. Knowing about image size and resolution as well as using appropriate programs will enable you to have pictures that are not only beautiful but also serve their purpose. Keep in mind what not to do, find responses to the thoughts that may come into mind in order to avoid frequent errors, and make sure the design is responsive.
These are the essential points:
- Maintain Aspect Ratio: Always keep your images proportionate to avoid distortion.
- Use High-Quality Sources: Start with high-resolution images to ensure clarity.
- Optimize for Performance: Resize and compress images before uploading them to your website.
- Test on Different Devices: Ensure your images look great on all screen sizes.
If you follow these guidelines, it is possible to easily resize images that do not only appear better, but also make your site run faster.
 admin
admin


