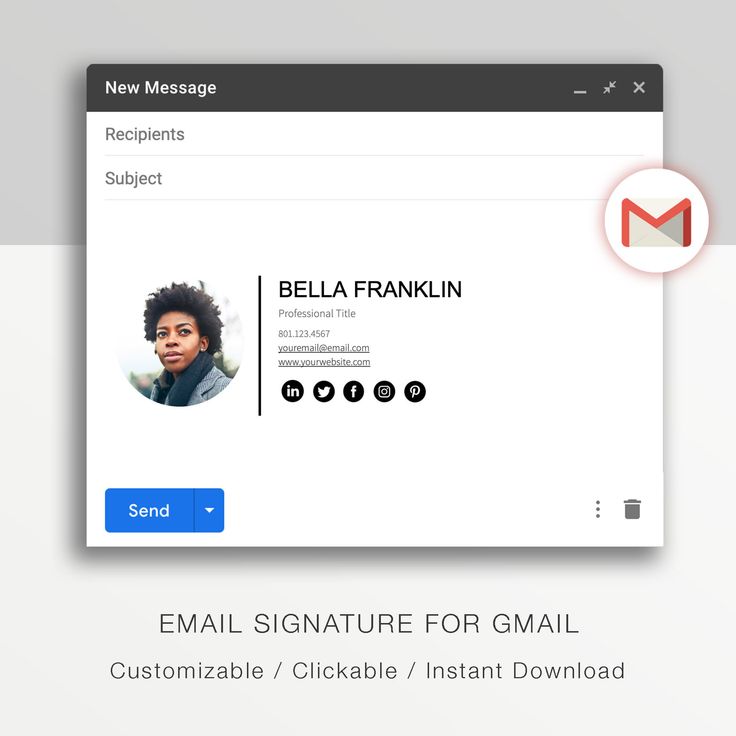
Adding a personal touch to your Gmail signature can be a great way to showcase your personality or brand. However, not all images fit perfectly within a signature. Sometimes they can appear too large, making your emails look unprofessional. Resizing images before sending them out can be a game changer. In this guide, we’ll explore why it's essential to resize images for your Gmail signature and how you can do it easily.
Why Resize Images in Your Gmail Signature?

When it comes to email communications, particularly in a professional setting, the details matter. Resizing images in your Gmail signature is more than just an aesthetic choice; it carries significant implications for impression management, functionality, and email performance. Here are some key reasons to consider:
- Professional Appearance: A well-sized image reflects professionalism. An image that’s too large can create an unbalanced look, while a very small one may be difficult to see, making your signature appear rushed or unfinished.
- Loading Speed: Large images can slow down email load times. If you're sending emails with large pictures, your recipients might grow impatient, especially if they're on slower connections. A properly sized image can help your emails load quickly and keep your audiences engaged.
- Screen Compatibility: Different devices and email clients have varying display capacities. By resizing your images, you can ensure your signature appears properly on both desktop and mobile views, maintaining readability and aesthetic appeal.
- File Size Management: Gmail has attachment size limits, and including large images can take up valuable space. Resizing reduces file size, allowing you to attach other important documents if needed.
- Branding: A consistently sized image can reflect your brand's professional image. Too many inconsistencies can confuse your audience about your brand identity.
In summary, resizing images for your Gmail signature is essential for both functionality and professionalism. Taking the time to ensure your signature looks polished can make a lasting impression on your recipients.
Also Read This: How to Save Images on Behance Saving Your Favorite Photos and Graphics
3. Step-by-Step Guide to Resizing Images

Resizing an image for your Gmail signature doesn’t have to be a daunting task. In fact, it's quite straightforward! Let’s break it down into easy steps. Grab your favorite image and let's get started.
- Choose Your Image: First, you’ll want to select an image that you want to use for your signature. It could be a logo, a photo, or any other graphic that represents you.
- Open an Image Editing Tool: You can use any image editing software available to you. Options like Microsoft Paint, Adobe Photoshop, or free online tools like Canva or Pixlr work great.
- Upload Your Image: Most tools allow you to either open a file directly from your computer or drag and drop the file into the workspace.
- Select Resize Option: Look for the "resize" option in the editing tool you’re using. This is often found under the “Image” menu.
- Adjust Dimensions: You can typically set the width and height in pixels. A common size for a signature logo is around 300x100 pixels. Make sure to maintain the aspect ratio if that option is available to avoid distortion.
- Save Your Image: Once you’re satisfied with the size, save the edited image. Choose a format like .jpg or .png, as those formats are widely supported.
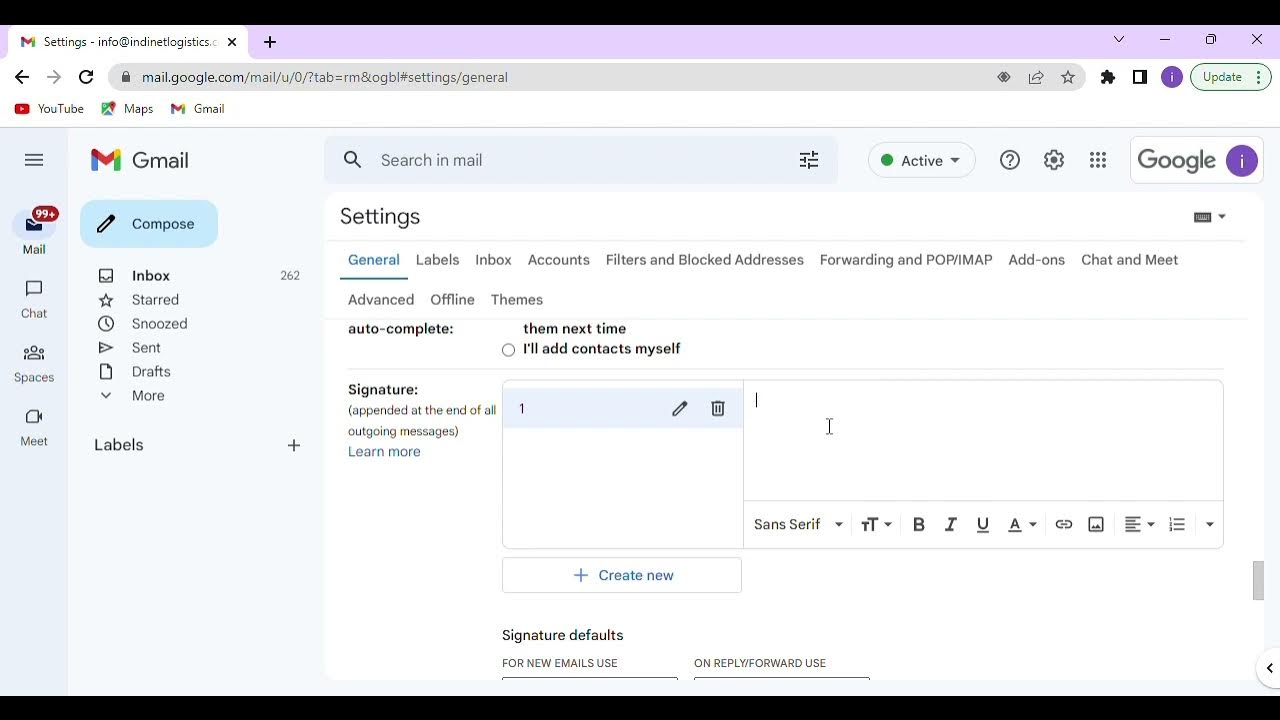
- Upload to Gmail: Go to your Gmail settings, find the signature section, and upload your resized image!
And that’s it! You’re all set to have a nicely resized image that fits perfectly within your Gmail signature.
Also Read This: Looking for Reliable Pinterest Downloader for Picture? Here’s the One at No Cost!
4. Using HTML to Resize Images
Did you know that you can use HTML to resize images in your Gmail signature? This method offers a bit more control over how your image appears. If you’re comfortable with a touch of coding, let’s dive in!
Here’s how you can do it:
| Step | Description |
|---|---|
| 1. Access Signature Settings | Go to your Gmail settings by clicking the gear icon in the top right and selecting "See all settings." |
| 2. HTML Editing | In the signature section, you may need to briefly switch to HTML mode. If there’s an editor that supports HTML, use that. |
| 3. Insert Image Tag | Use the HTML <img> tag to include your image. |
| 4. Specify Dimensions | Add width and height attributes to your <img> tag like this: <img src="URL" width="300" height="100">. |
| 5. Save Changes | Once you've crafted your HTML code, save your changes. Your Gmail signature will now reflect the resized image! |
Using HTML gives you the ability to adjust the size without needing to resize the actual image file itself. Just remember to always keep a backup of your original image in case you want to make changes later!
Also Read This: How Much Can I Make on Getty Images? Understanding Potential Earnings as a Contributor
Common Issues and Troubleshooting
When it comes to resizing an image in your Gmail signature, you might encounter a few bumps along the way. But don’t worry—these issues are usually straightforward to resolve. Here are some of the most common problems and how to troubleshoot them:
- Image Not Resizing Properly: Sometimes, after you’ve adjusted the size, the image may still look too large or too small. This often happens if you’re using the drag-and-drop method. Instead, try setting the dimensions explicitly in pixels for better accuracy.
- No Option to Resize: If you're in the signature settings and can't find the option to resize, make sure you're uploading a photo directly from your computer rather than from a URL. The URL images often have limitations.
- Image Quality Deterioration: After resizing, the image might look blurry or pixelated. Make sure you're starting with a high-resolution image, as lowering the size too much can compromise quality.
- Signature Not Saving: If your signature changes aren't saving, ensure that you're clicking the “Save Changes” button at the bottom of the settings page. Sometimes it’s easy to miss!
- Images Not Displaying: If your image doesn’t show up in emails, it could be a format issue. Gmail supports JPEG, PNG, and GIF formats, so double-check that your image is one of these types.
By navigating these common issues, you can create a polished email signature that represents you professionally. Don't hesitate to try troubleshooting steps listed above; they should guide you back on track!
Conclusion
Resizing an image for your Gmail signature is quite an undertaking, but it doesn’t have to be a daunting task! With just a few simple steps and some troubleshooting advice, you'll have a signature that’s perfectly tailored to your preferences.
To recap:
- Start by selecting a high-quality image.
- Use the Gmail settings to easily upload and resize your image.
- Remember to save your changes after editing!
- If you face any issues, refer to the troubleshooting tips we discussed.
Having a well-sized and professional signature enhances your emails and leaves a lasting impression on your recipients. So why not give it a try? Whether you're a seasoned pro or a Gmail newbie, you can take this small but significant step towards enhancing your email communication. Happy emailing!
 admin
admin


