Resizing an image might seem like a complicated task, but in reality, it’s quite simple—especially if you're using Paint! This basic, built-in tool in Windows allows you to adjust your images with just a few clicks. Whether you want to make an image smaller to fit into a blog or website, or you need it larger for printing purposes, Paint can help you make quick and effective changes. In this guide, we’ll walk you through the process of resizing your images in Paint so you can handle this task with confidence.
Why Resizing Images Is Important

Resizing images is a crucial part of digital image editing, and here's why:
- Optimizing for Web: Images that are too large may slow down website load times. Resizing ensures your pages load faster, improving user experience and SEO.
- Fitting Specific Dimensions: Sometimes, you need images to fit certain dimensions for projects like social media posts, presentations, or documents. Resizing makes sure your image fits perfectly in the available space.
- Reducing File Size: Large image files can take up too much storage space and may be too heavy to upload. Resizing reduces the file size without compromising too much on quality.
- Maintaining Proportions: Resizing helps you maintain an image's correct aspect ratio, so it doesn’t appear stretched or distorted.
Overall, resizing images helps with both performance and presentation. Whether it’s for online use, printing, or optimizing your digital storage, resizing is a valuable skill to have in your digital toolbox.
How to Open an Image in Paint

Before you can start resizing an image in Paint, you first need to open it. Here’s how to do it:
- Step 1: Click on the Start menu in the bottom left corner of your screen.
- Step 2: Type Paint in the search bar and select the Paint app from the search results.
- Step 3: Once Paint is open, click on the File menu at the top left corner of the screen.
- Step 4: From the dropdown menu, select Open and browse your computer for the image you want to resize.
- Step 5: Double-click on the image file, and it will open in Paint, ready for resizing.
That’s it! Once your image is open in Paint, you’re ready to start adjusting its size. This simple process takes just a few seconds and will give you all the tools you need to resize your image efficiently.
Understanding the Resize Option in Paint

When it comes to resizing images, Paint offers a simple yet effective resize tool. The "Resize" option lets you quickly change the dimensions of your image, either by percentage or by specifying exact pixel values. It’s essential to understand how this option works so you can get the best results when resizing your images.
Here’s a breakdown of what you’ll find in the Resize menu:
- Resize by Percentage: This option allows you to scale the image by a specific percentage of its original size. For example, if you want to reduce an image by half, you would input 50% for both the width and height.
- Resize by Pixels: With this option, you can specify exact dimensions in pixels (width and height) for the resized image. This is helpful when you need the image to fit a particular space.
- Maintain Aspect Ratio: When resizing, Paint gives you the option to "Maintain Aspect Ratio," which ensures that the image doesn’t get stretched or squished. This keeps the image’s proportions intact while resizing.
- Preview: Before finalizing the resize, you can preview the changes to see how the image looks at the new size.
Understanding these settings will help you resize images without distortion, ensuring they look just the way you want them to for your project.
Steps to Resize an Image Using Percentage
Resizing by percentage is a fast and easy way to scale an image. Whether you want to make an image smaller or bigger, this option is perfect when you want to keep the image’s proportions intact. Here’s how you can resize an image using percentage in Paint:
- Step 1: Open your image in Paint (as shown in the previous section).
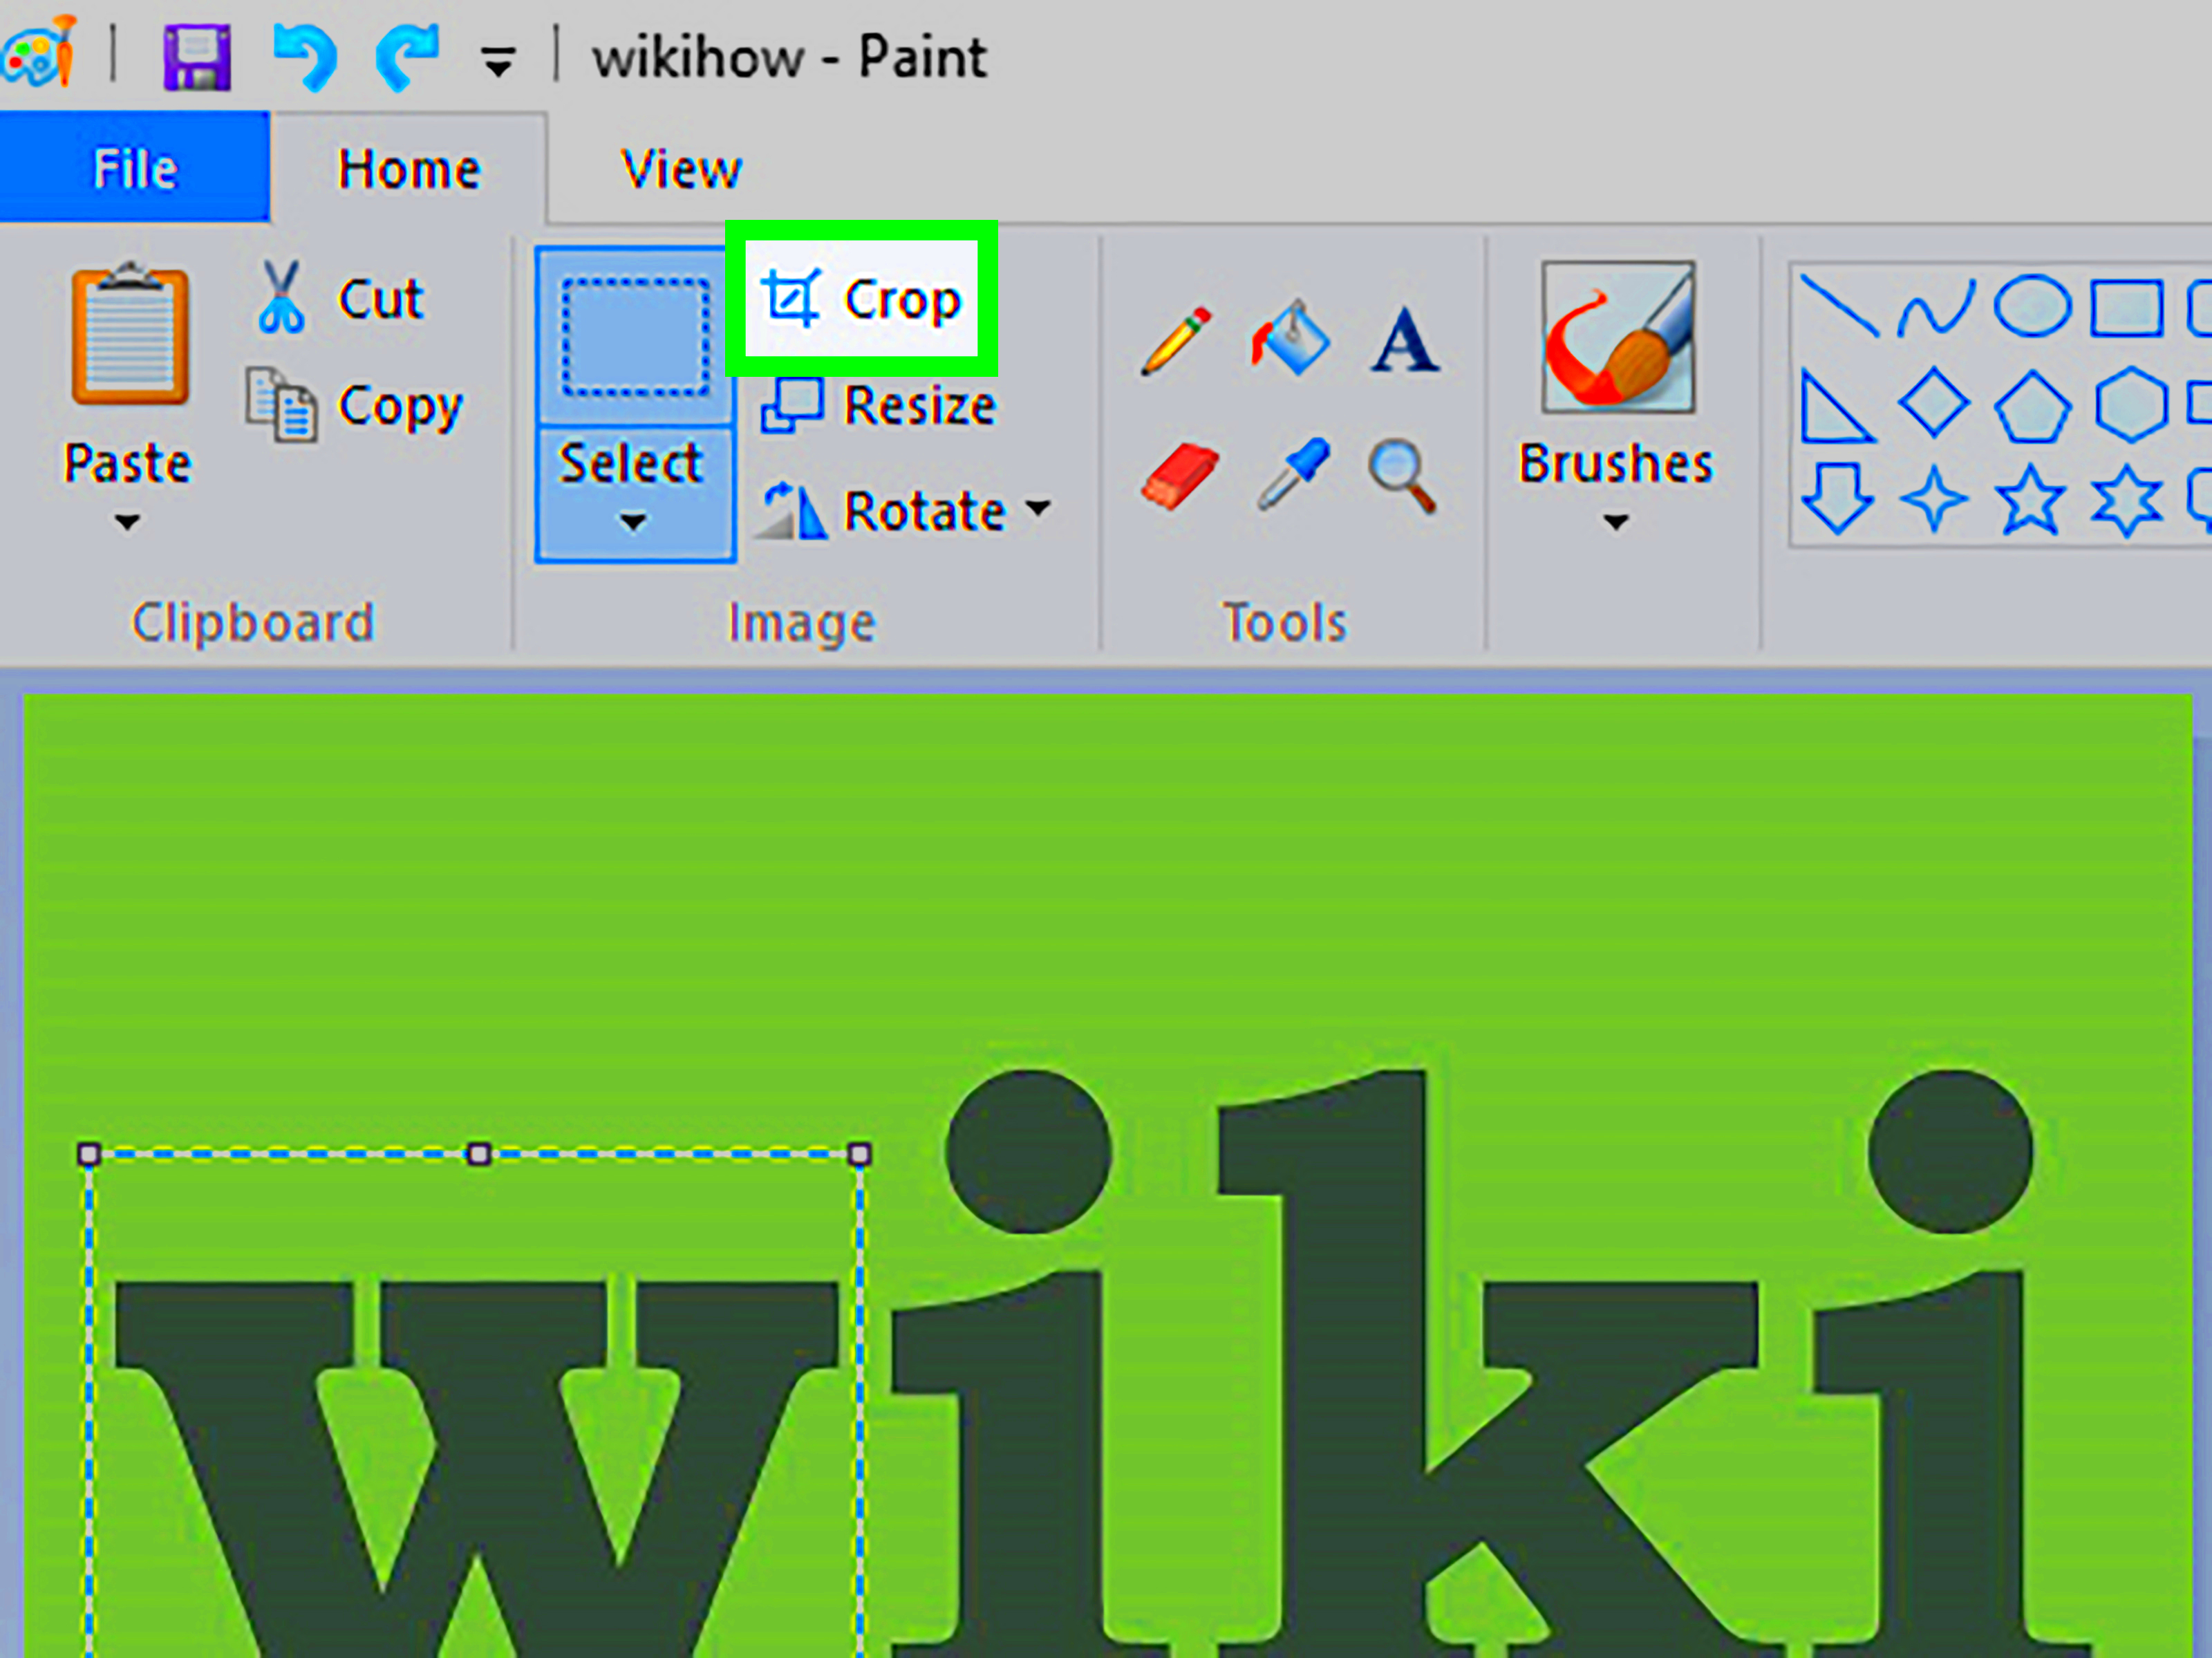
- Step 2: Click on the Resize button located in the toolbar under the Home tab.
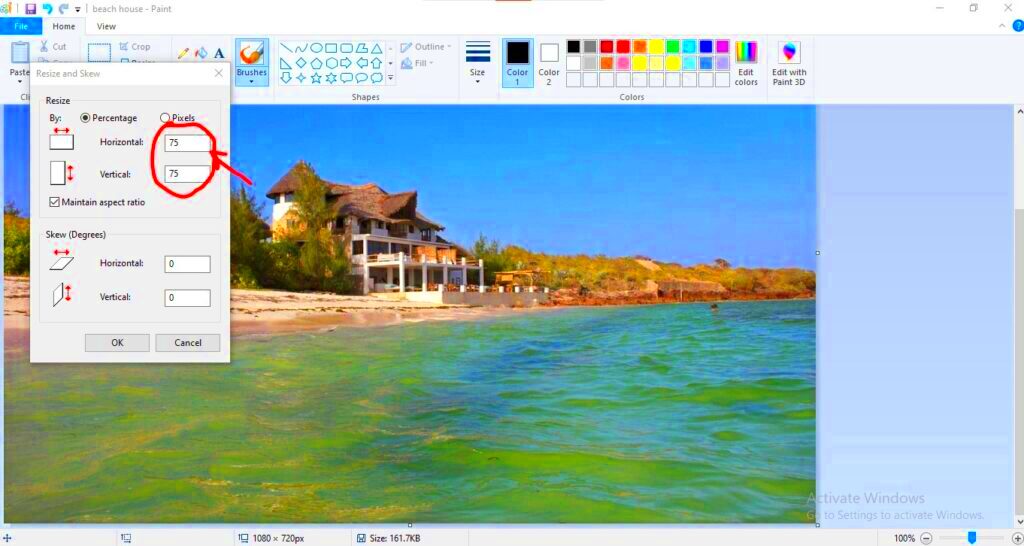
- Step 3: In the Resize and Skew window, make sure the Percentage option is selected.
- Step 4: Enter the percentage you want to scale the image by. For example, enter "50" to reduce the size by half, or "200" to double the size.
- Step 5: Ensure the Maintain Aspect Ratio checkbox is checked to avoid stretching the image.
- Step 6: Once you've input the desired percentage, click OK to apply the changes.
- Step 7: Save the resized image by clicking on the File menu and choosing Save As.
Using percentages is a great way to keep your image's proportions intact while adjusting the size to fit your needs. It’s especially useful when resizing images for social media or other digital platforms.
Steps to Resize an Image Using Pixels
If you need to resize an image to a specific size in pixels, Paint makes it easy to input exact measurements. This method is ideal when you have a particular pixel size requirement, like when resizing images for a website or digital document. Follow these simple steps to resize an image using pixels in Paint:
- Step 1: Open your image in Paint as explained earlier.
- Step 2: Click the Resize button in the Home tab.
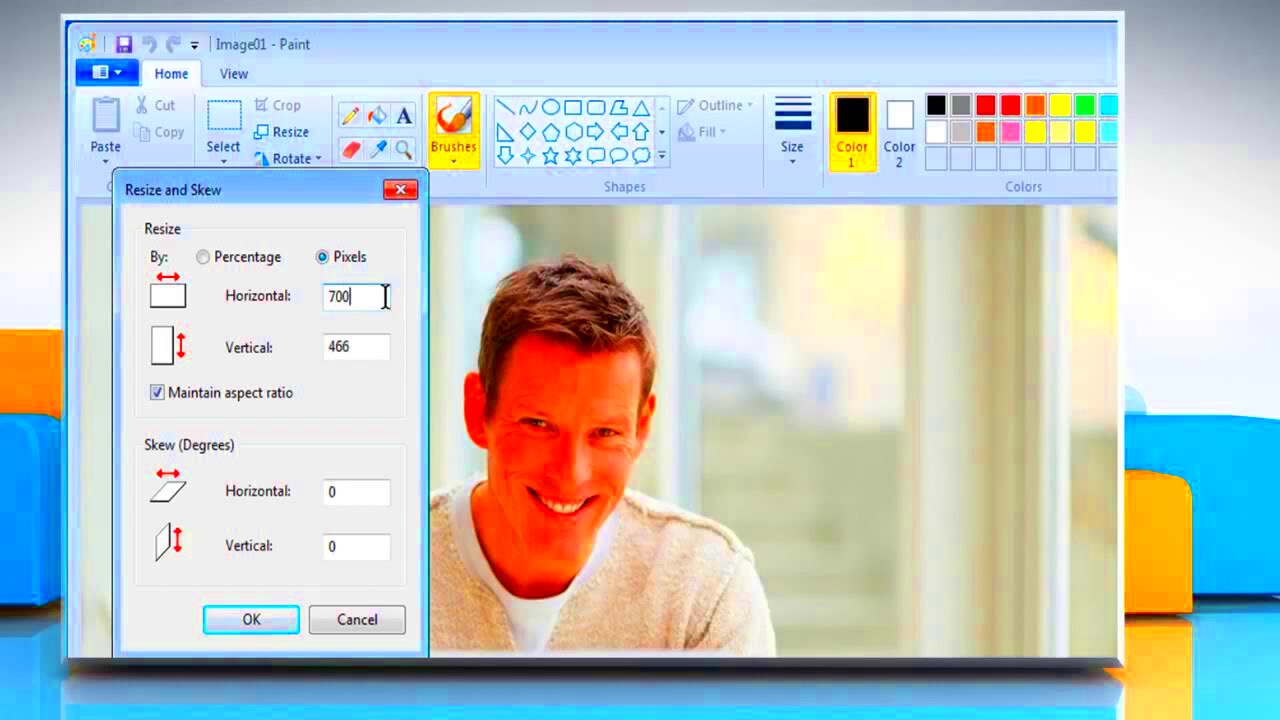
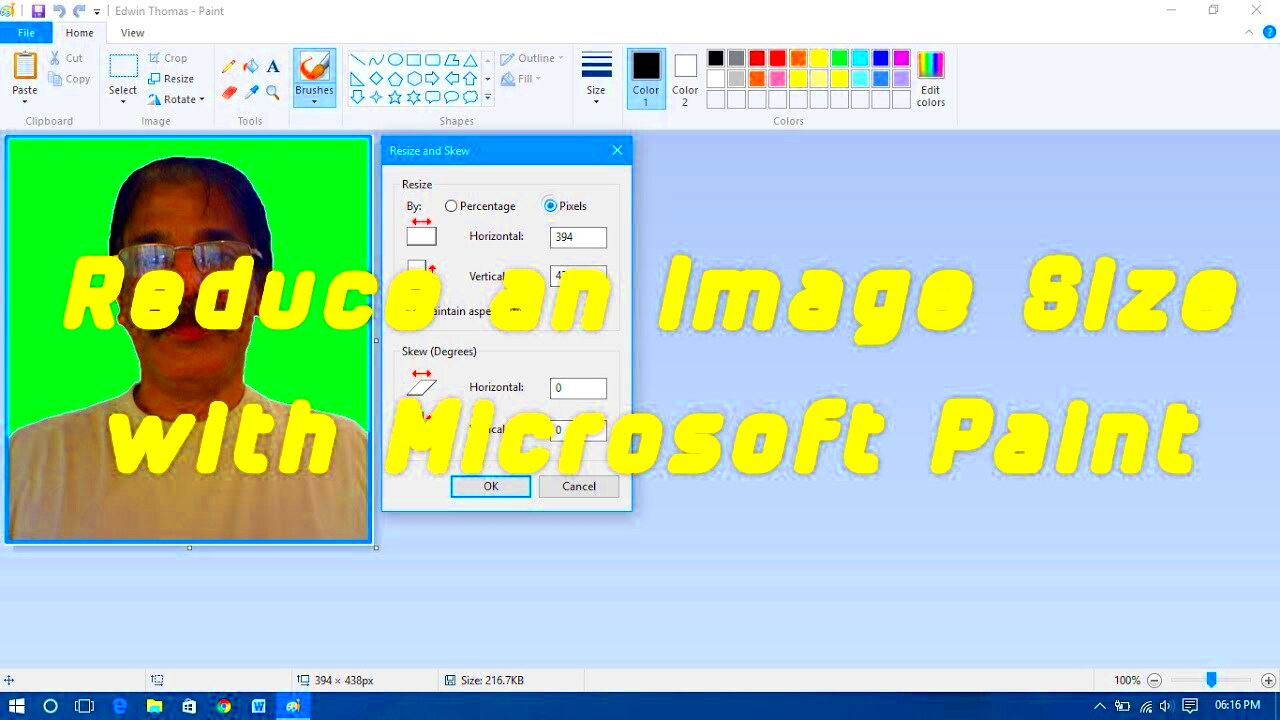
- Step 3: In the Resize and Skew window, select the Pixels option instead of Percentage.
- Step 4: Enter the new width and height in pixels. For example, if you want the image to be 800 pixels wide and 600 pixels tall, input these values.
- Step 5: If you want to keep the proportions of the image intact, make sure the Maintain Aspect Ratio box is checked. If not, you can adjust width and height independently, but the image may distort.
- Step 6: Click OK to apply the new size.
- Step 7: Save the resized image by going to the File menu and selecting Save As.
Resizing by pixels is an excellent choice when you need precise control over the image’s dimensions, ensuring it fits perfectly within the required space.
Previewing and Saving Your Resized Image
Once you’ve resized your image in Paint, it’s time to preview it and ensure it looks just right before saving. This step is essential to confirm that the image’s new dimensions fit your needs and that it hasn’t lost its quality. Paint gives you the option to view the resized image and make adjustments if necessary, so let’s walk through this process.
Here’s how you can preview and save your resized image:
- Step 1: After resizing the image, take a moment to examine it on the screen. Check if the image’s proportions look good and if there’s any distortion.
- Step 2: If you're happy with the changes, you can proceed to save it. If you need further adjustments, you can reopen the Resize menu and make tweaks.
- Step 3: To save the image, click on the File menu in the top left corner and select Save As.
- Step 4: Choose your preferred file format (such as PNG, JPEG, BMP, etc.) and select the location where you want to save the image on your computer.
- Step 5: Once saved, check the resized image in the saved location to ensure it appears as expected.
Previewing and saving your image properly ensures that the resized image maintains the desired quality and looks great for your intended use, whether it’s for digital projects or printing.
Tips for Resizing Images Without Losing Quality
When resizing images, one of the biggest challenges is maintaining quality. Shrinking or enlarging an image can result in a loss of sharpness, pixelation, or blurry edges. But don’t worry—there are some tips and techniques that can help you resize your images without compromising too much on quality.
Here are some tips to ensure your resized image looks great:
- Use a High-Resolution Image: The better the resolution of the original image, the better the resized version will look. Starting with a high-resolution image gives you more flexibility when resizing without loss of quality.
- Avoid Enlarging Images Too Much: Enlarging an image too much can cause pixelation. Try not to increase the size by more than 200% of the original size to keep it looking sharp.
- Resize Gradually: Instead of making a huge size change all at once, try resizing in smaller steps. This helps to maintain clarity while gradually adjusting the image size.
- Use "Maintain Aspect Ratio": This feature ensures that your image doesn’t get stretched or squished during resizing, helping to preserve its natural proportions and quality.
- Save in the Right Format: Choose an appropriate file format for the resized image. For example, JPEG is good for photographs, while PNG works well for images with transparent backgrounds.
By following these simple tips, you can resize your images without worrying too much about losing their quality, ensuring they remain crisp and professional-looking.
Frequently Asked Questions about Resizing Images in Paint
Resizing images in Paint is simple, but it’s common to have questions. Here are some of the most frequently asked questions about resizing images and how you can get the best results:
- 1. Will resizing an image in Paint affect its quality?
Resizing can affect image quality, especially when enlarging. To minimize quality loss, always start with a high-resolution image and try not to enlarge it too much. - 2. How do I make sure my image doesn’t get distorted when resizing?
To avoid distortion, make sure to check the Maintain Aspect Ratio box in the Resize menu. This keeps the image’s proportions intact as you resize. - 3. Can I resize an image in Paint to a specific pixel size?
Yes! You can resize images by entering specific pixel dimensions in the Resize menu. Just select the Pixels option and enter the width and height you need. - 4. How can I save the resized image in a different file format?
After resizing, go to the File menu, click Save As, and choose the desired file format, such as JPEG, PNG, or BMP. - 5. What happens if I don’t maintain the aspect ratio?
If you don’t maintain the aspect ratio, the image may become stretched or squished, causing it to lose its original look. It’s best to keep this option checked for proper proportions.
By keeping these frequently asked questions in mind, you’ll be able to resize your images with ease and confidence in Paint. Whether you're new to resizing or just looking for some tips, these answers should help guide you through the process.
Conclusion and Final Thoughts
Resizing an image in Paint is a simple yet effective process that can save you time and help you get the perfect dimensions for your project. Whether you’re working on images for a website, social media, or print, Paint’s easy-to-use tools allow you to adjust the size while maintaining the image’s quality. By understanding how to use both percentage and pixel-based resizing options, along with maintaining the aspect ratio, you can ensure your images fit perfectly without distortion.
Remember to always preview your resized image before saving, as this ensures you catch any issues early on. Also, keep in mind the tips for preserving image quality to avoid pixelation or blurriness when resizing. With these simple steps, resizing in Paint becomes a straightforward task that anyone can master, no matter their level of experience with image editing tools. Whether you’re resizing an image for personal use or professional projects, Paint makes it easy to get the job done with minimal effort and maximum results.


