Your Gmail signature is more than just a sign-off; it’s a reflection of your personal or professional brand. A properly sized signature not only enhances the visual appeal of your emails but also ensures that important information is easily visible. When your signature looks good, it creates a positive impression and can even improve communication clarity.
Imagine sending an email with a huge, pixelated image as your signature. It might distract your readers or make you appear unprofessional. Therefore, resizing your signature image correctly is crucial. Here’s why it matters:
- Professionalism: A well-sized image presents a polished look.
- Consistency: Maintaining uniformity across your emails helps in brand recognition.
- Readability: The right size ensures that your contact information is clear and easy to read.
- Loading Time: Smaller image files can lead to quicker email load times, enhancing user experience.
Step-by-Step Guide to Resizing an Image for Your Gmail Signature
Resizing an image for your Gmail signature can be straightforward if you follow these simple steps:
- Choose Your Image: Start by selecting the image you want to use. This could be a logo or a personal photo.
- Determine the Ideal Size: Generally, a width of 300-600 pixels and a height of 100-200 pixels works well. Keep the aspect ratio in mind.
- Use an Image Editing Tool: Open an image editing software or an online tool.
- Resize Your Image: Adjust the dimensions to the desired size. Make sure to maintain the aspect ratio to avoid distortion.
- Save Your Image: Save the resized image in a web-friendly format like JPEG or PNG.
- Add to Gmail Signature: Go to Gmail settings, find the signature section, and upload your image.
By following these steps, you can create a signature that not only looks great but also represents you well.
Also Read This: Easy Guide to Transferring Images onto Fabric
Using Online Tools to Resize Images Easily
If you’re not familiar with image editing software, don’t worry! There are plenty of online tools that make resizing images a breeze. Here are some popular options:
| Tool Name | Features | Website |
|---|---|---|
| Canva | User-friendly interface, drag-and-drop features | canva.com |
| PicResize | Resize, crop, and rotate images easily | picresize.com |
| ResizeImage.net | Resize, crop, and optimize images | resizeimage.net |
To use these tools, simply upload your image, set the new dimensions, and download the resized image. These online tools often offer additional features like filters and enhancements, giving you a chance to customize your
Also Read This: Page Ownership: Claiming Your IMDb Page – Taking Control of Your IMDb Presence
Adjusting Image Size Directly in Gmail Settings
Did you know that you can adjust the size of your image directly within Gmail? This feature makes it super easy to ensure your signature looks just right without needing external tools. Once you have your image uploaded to your signature, Gmail allows you to make simple adjustments that can enhance its appearance.
Here’s how to adjust your image size in Gmail:
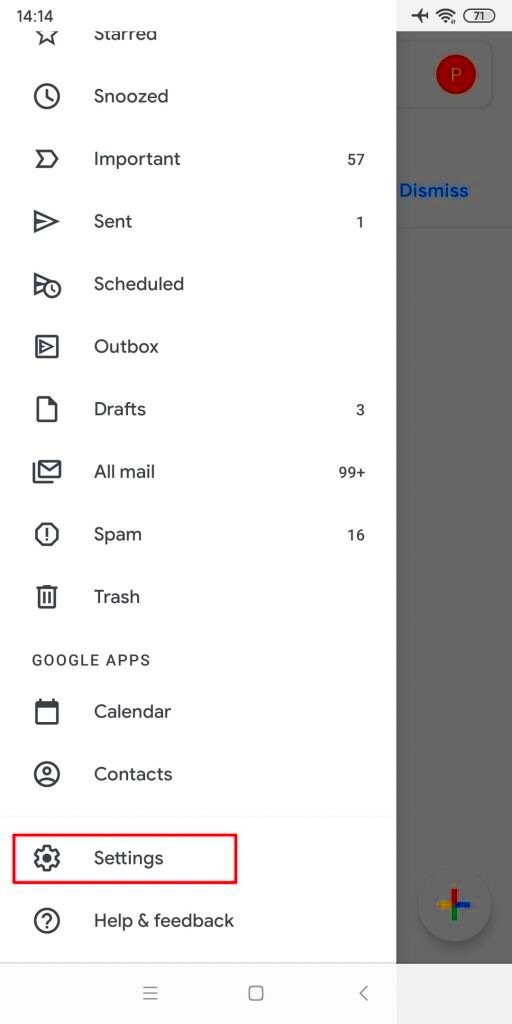
- Access Gmail Settings: Open Gmail and click on the gear icon in the top right corner. Select "See all settings."
- Go to the Signature Section: Scroll down to the "Signature" section. Here, you’ll see your current signature or the option to create a new one.
- Insert Your Image: If you haven’t already added your image, click on the image icon in the signature editor to upload it.
- Adjust Size: Click on the image once it's added. You’ll see sizing options such as "Small," "Medium," and "Large." Choose the one that fits your needs.
- Save Changes: Once satisfied, scroll down to the bottom and click "Save Changes" to apply your new signature settings.
This method is straightforward and can save you time, allowing you to focus more on what’s important—your email content.
Also Read This: Podcast Management: Removing a Podcast from Your Shows on Spotify
Best Practices for Choosing Images for Your Signature
Choosing the right image for your Gmail signature is key to making a strong impression. A well-chosen image can enhance your personal brand and make your emails more engaging. Here are some best practices to consider:
- Keep It Simple: Opt for a clean and simple design that reflects your style. Avoid overly complicated images that can distract from your message.
- Use High-Quality Images: Always select images that are clear and high-resolution. Blurry images can appear unprofessional.
- Stick to Your Brand Colors: If you have brand colors, incorporate them into your image for consistency.
- Choose the Right Format: JPEGs are great for photographs, while PNGs are better for logos and images with text.
- Consider Your Audience: Think about what your audience would appreciate. A casual photo may be fine for friends, but a professional logo works better for business emails.
By following these practices, you can select images that enhance your email signature and align with your personal or professional identity.
Also Read This: Enhancing Video Quality on YouTube with Creative Effects
Common Issues with Image Resizing in Gmail Signatures
Even with the best intentions, you might run into some common issues when resizing images for your Gmail signature. Understanding these challenges can help you troubleshoot effectively.
- Image Quality Loss: When resizing, especially if you’re scaling down too much, images can lose clarity. Always start with a high-resolution image.
- Inconsistent Display: Sometimes, images appear differently on various devices. Check how your signature looks on both desktop and mobile.
- Limited Size Options: Gmail only offers specific size settings (small, medium, large). This may not always meet your needs. Consider resizing your image beforehand if necessary.
- Image Not Showing: Occasionally, images might not display due to email settings or firewalls. To prevent this, ensure that your image is uploaded from a reliable source.
By being aware of these potential issues, you can take steps to avoid them and create a seamless experience for your email recipients.
Also Read This: How to Create Eye-Catching Borders for Your Images in GIMP
Tips for Maintaining Image Quality While Resizing
When it comes to resizing images for your Gmail signature, maintaining image quality is crucial. A well-resized image not only looks professional but also enhances the overall appearance of your emails. Here are some handy tips to help you preserve image quality while resizing:
- Start with a High-Resolution Image: Always begin with the highest quality image you can find. A high-resolution image has more pixels, which means it retains better quality when resized.
- Use Proper Tools: Utilize image editing software or reputable online tools designed for resizing. These tools typically provide better control over the resizing process.
- Maintain Aspect Ratio: When resizing, make sure to lock the aspect ratio. This prevents your image from stretching or looking distorted.
- Choose the Right File Format: Different formats handle quality differently. JPEGs are great for photos, while PNGs are better for images with transparency and text.
- Test the Image: After resizing, preview how the image looks in your Gmail signature. This way, you can make further adjustments if needed before finalizing.
By following these tips, you can ensure that your Gmail signature not only looks great but also represents you and your brand effectively.
Also Read This: Discover How to Vectorize an Image on Shutterstock
Frequently Asked Questions About Resizing Images in Gmail Signatures
Resizing images for your Gmail signature can raise several questions. Here are some of the most common queries and their answers to help you out:
- What size should my Gmail signature image be? Ideally, aim for dimensions between 300-600 pixels wide and 100-200 pixels high for best visibility.
- Can I use animated GIFs in my signature? Yes, but keep in mind that they might not display correctly on all devices or email clients.
- Why does my image look blurry after resizing? This usually happens if you start with a low-resolution image. Always use high-quality images for best results.
- Will my signature image show up on all devices? While most email clients will display images, some might block them. It's a good idea to check how your signature appears on different devices.
- How can I test my Gmail signature? Send a test email to yourself or a colleague to see how the signature looks in various email clients.
These FAQs should help clear up any confusion and make the process smoother for you.
Conclusion on Resizing Images for Your Gmail Signature
In conclusion, resizing images for your Gmail signature is an essential step in creating a professional email appearance. A well-sized and clear signature can leave a lasting impression on your recipients, enhancing your personal or business brand.
By understanding the importance of proper sizing, following a simple resizing process, and being aware of common issues, you can craft a signature that truly reflects your style. Remember to maintain image quality by starting with high-resolution images and using the right tools. With these tips in mind, you’ll be well on your way to creating an effective Gmail signature that stands out!
So go ahead and give it a try! Your emails deserve a signature that makes a statement.
 admin
admin