Rendering images with an animator in Twinmotion can bring your 3D models to life, offering dynamic and realistic animations. Whether you're creating architectural walkthroughs, interior designs, or urban planning visualizations, using the Animator tool can help you showcase motion in your scenes. In this guide, we'll walk you through the process of setting up and rendering images using an animator in Twinmotion. By the end, you'll understand how to capture stunning animations that make your projects stand out.
Understanding the Basics of Twinmotion and Animation

Twinmotion is a powerful real-time visualization tool that allows you to create high-quality 3D visualizations and animations. It’s widely used in architecture, urban planning, and interior design for creating realistic renderings and immersive experiences.
Animation in Twinmotion involves creating movement and transitions within a scene, which can include objects, cameras, or characters. This is done using keyframes, which mark specific points in time where changes occur in the animation. Once keyframes are set, the software calculates the transitions between them, producing a smooth animation.
To get started with animation in Twinmotion, you need to understand a few key concepts:
- Keyframes: These are crucial points where you set the starting and ending positions or properties of objects in your scene.
- Timeline: The timeline is where you can control the flow of your animation and adjust the duration and transitions of your keyframes.
- Animator: The Animator tool allows you to control the motion of objects and cameras, providing an easy interface for creating animations.
By combining these elements, you can bring your static 3D models to life and create dynamic presentations of your designs.
Setting Up Your Project for Animation Rendering

Before you start animating in Twinmotion, it’s important to properly set up your project. Proper preparation ensures that your animations are smooth and the rendering process is efficient. Here are the key steps to follow:
- Step 1: Import Your Model
Begin by importing your 3D model into Twinmotion. You can do this by dragging your file into the Twinmotion workspace or using the import feature. Ensure that your model is complete with textures and materials before proceeding. - Step 2: Set Up the Scene
Position your camera and adjust the scene’s lighting to match the desired mood. Lighting plays a significant role in the realism of your render, so make sure it’s properly set up before animating. - Step 3: Enable Animation Mode
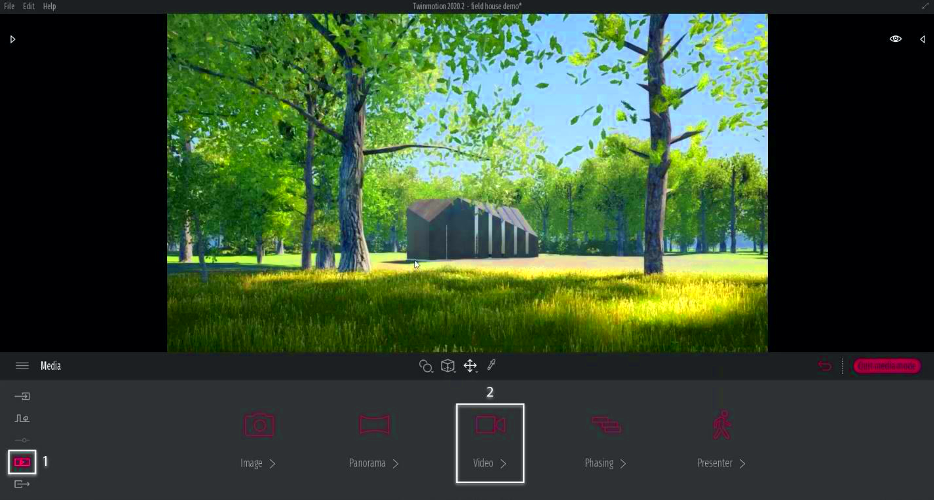
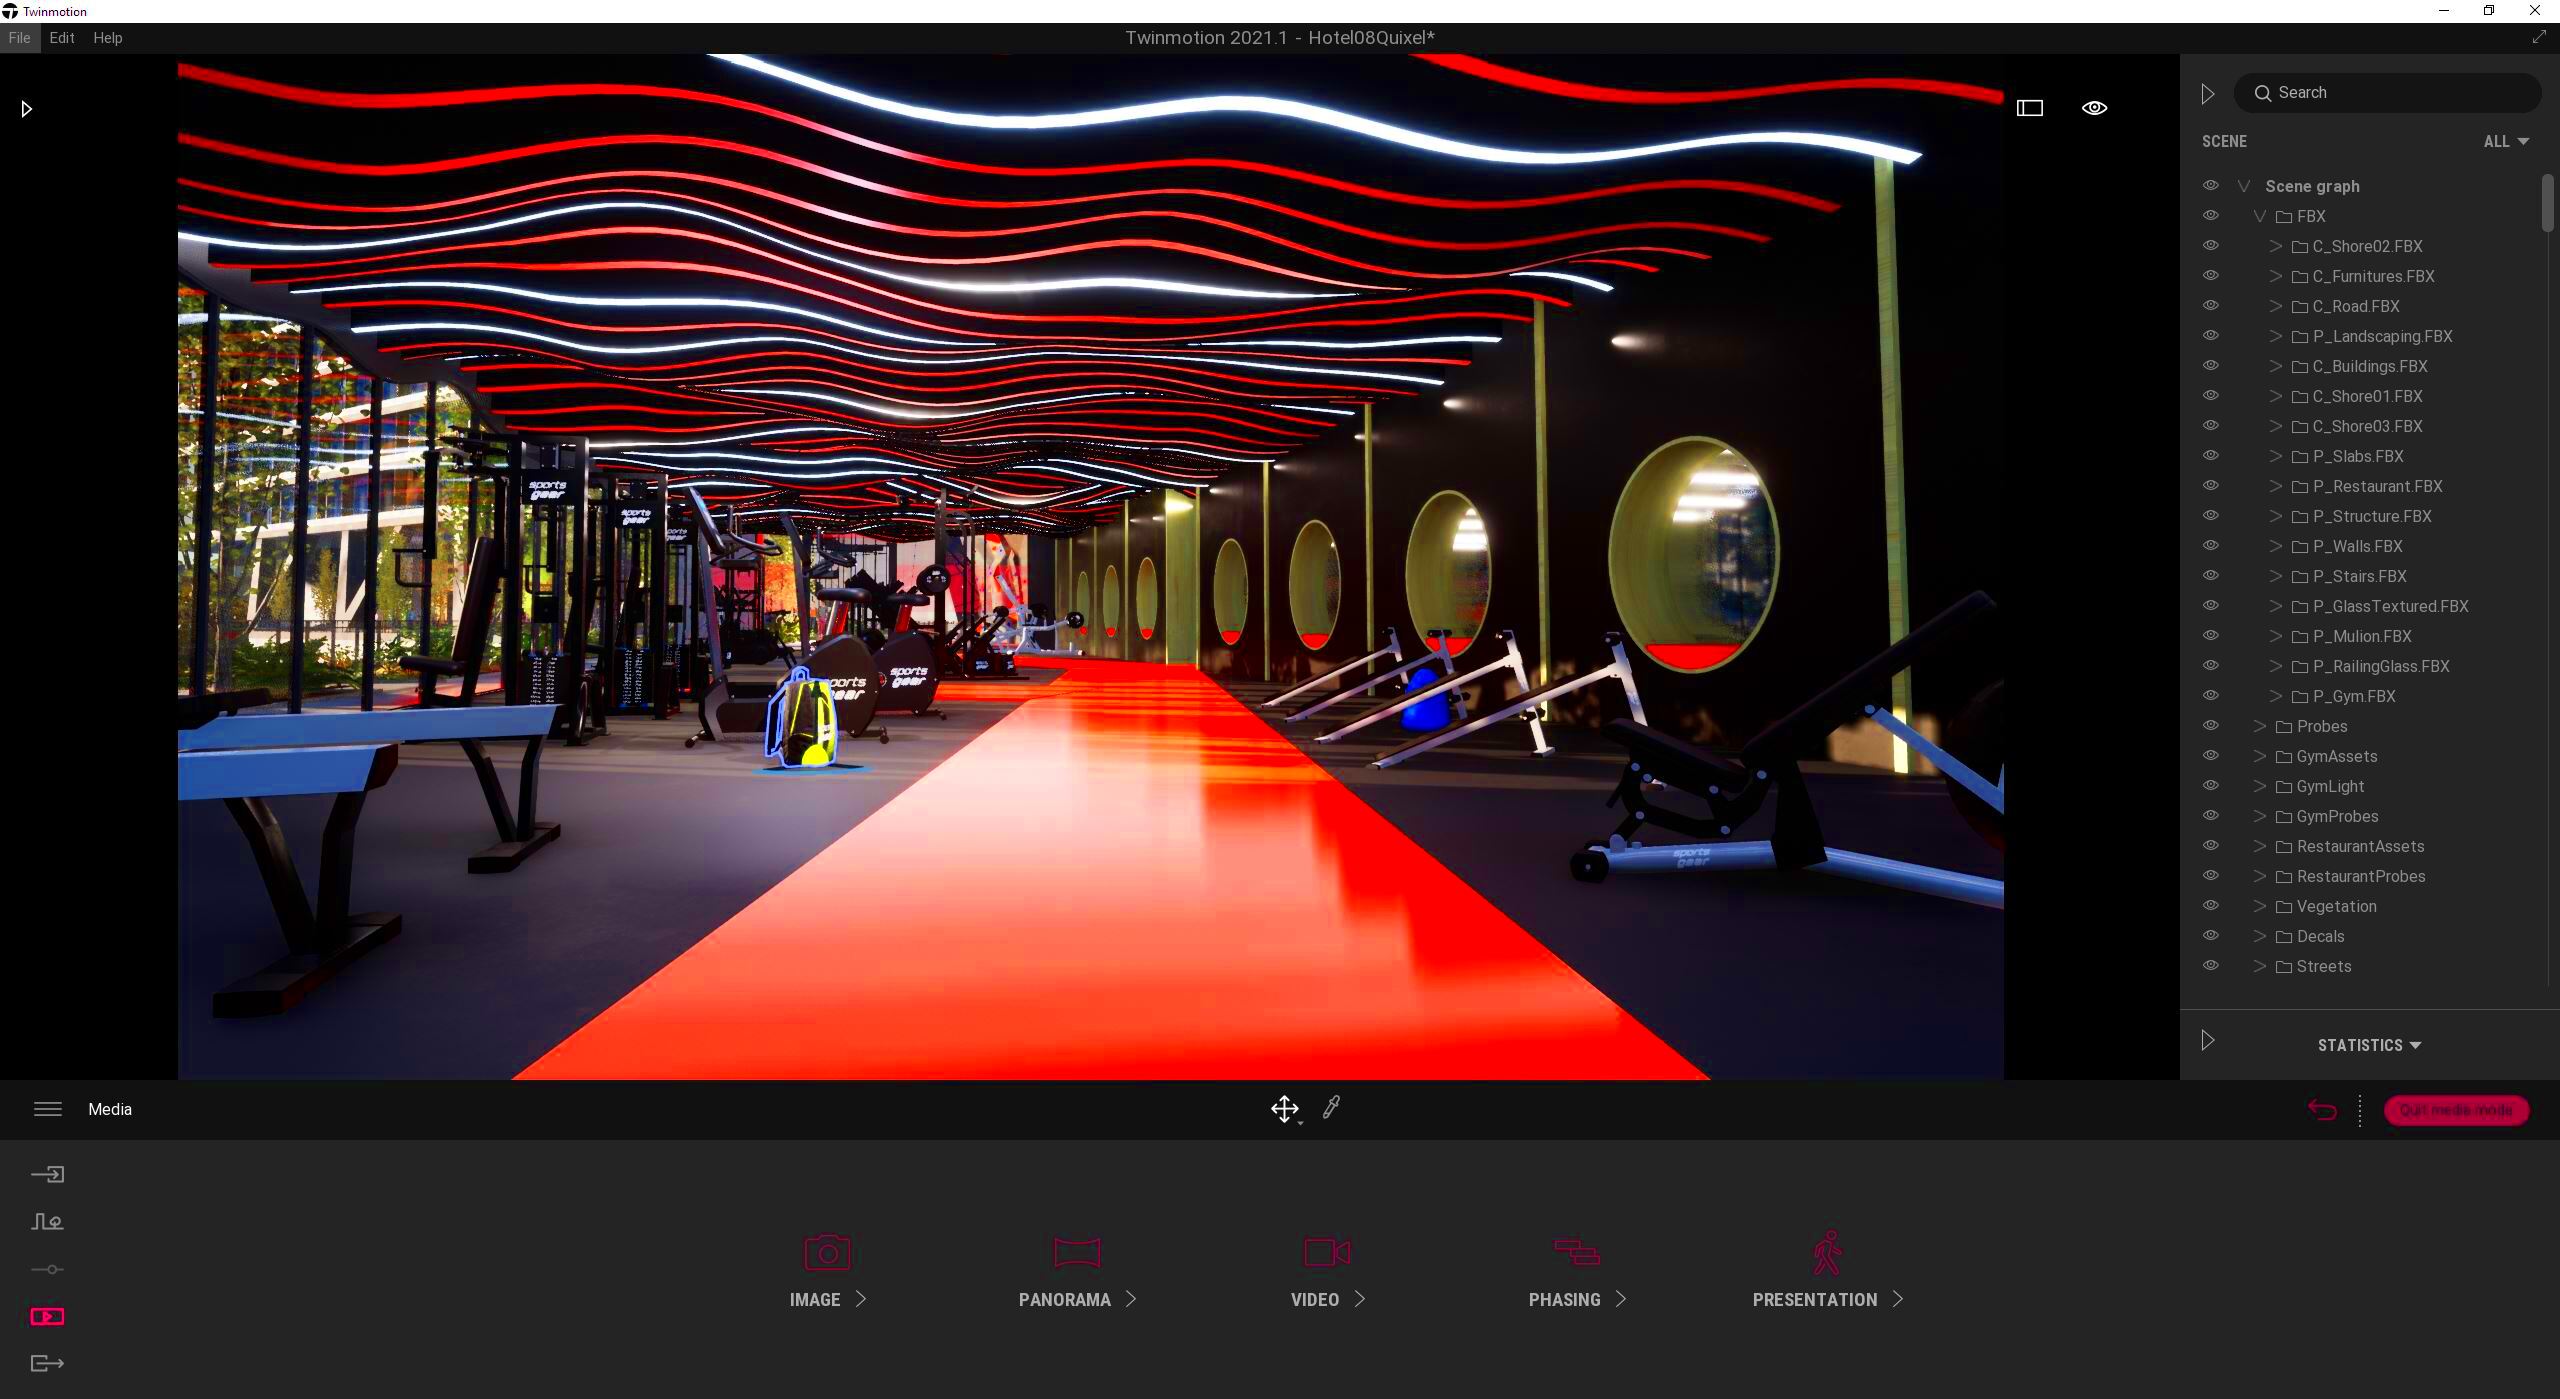
To access the animation tools, go to the Animation section of the interface. This is where you’ll find the Animator tool, along with the options for setting keyframes and adjusting animation settings. - Step 4: Choose What to Animate
Select the objects, cameras, or characters that you want to animate. This could be a moving vehicle, rotating object, or a walking figure. You can also animate environmental elements like trees or clouds for added realism. - Step 5: Set Your Timeline
Use the timeline to define the duration of your animation. You can stretch or shrink the timeline based on how long you want the animation to last.
With these steps completed, your project is ready to start animating. Make sure you review the setup before diving into creating keyframes to ensure everything looks perfect for the animation process.
How to Use the Animator Tool in Twinmotion
The Animator tool in Twinmotion is the key feature that allows you to add life to your scenes. Whether you’re looking to animate objects, cameras, or characters, this tool provides a user-friendly interface to create smooth animations with minimal effort. Let’s explore how to use the Animator tool step-by-step:
- Step 1: Access the Animator Tool
To get started, click on the “Animation” tab in the interface. This will open up the Animator panel where you can control all animation aspects, including the timeline and keyframe settings. - Step 2: Select What to Animate
Once you’re in the Animator panel, click on the object or camera you want to animate. You can animate anything from a simple object, like a chair, to more complex items like a moving car or a character walking. - Step 3: Set Keyframes
The Animator tool works by setting keyframes, which are specific points in time where changes happen. For example, if you’re animating a car moving along a path, set a keyframe at the starting position and another at the ending point. The software will automatically generate the motion between the two keyframes. - Step 4: Adjust Animation Speed
You can control the speed of the animation by adjusting the distance between keyframes on the timeline. A longer gap means slower movement, while a shorter gap results in faster motion. - Step 5: Preview the Animation
After setting your keyframes, use the playback feature to preview the animation. This will help you determine if the animation looks smooth or if any adjustments are needed.
With these steps, the Animator tool becomes a powerful way to bring motion and dynamism to your Twinmotion projects.
Creating Keyframes and Animating Objects
Keyframes are the backbone of any animation in Twinmotion. They define the positions, rotations, and properties of objects at specific points in time. Let’s dive into the process of creating keyframes and animating objects:
- Step 1: Select the Object to Animate
Click on the object or camera you want to animate in the viewport. This could be anything from a moving vehicle to a rotating light fixture. Once selected, you’re ready to create keyframes. - Step 2: Set the First Keyframe
Move to the desired point on the timeline where you want your animation to start. At this point, click on the "Add Keyframe" button. This will capture the current position and properties of the selected object. - Step 3: Move the Object and Add More Keyframes
Now, move the object to a new position, rotate it, or change its properties, depending on what kind of animation you want. After each change, add a new keyframe to capture the updated position or settings. - Step 4: Adjust the Timeline
The timeline shows where each keyframe is placed. You can adjust the timing of keyframes by dragging them along the timeline. The shorter the distance between keyframes, the faster the animation; the longer the distance, the slower it will be. - Step 5: Fine-Tune the Animation
Once you have your keyframes in place, playback the animation to ensure everything moves smoothly. If something feels off, adjust the timing or positions of the keyframes until you’re happy with the result.
By mastering keyframes, you’ll be able to animate a wide range of objects in your Twinmotion scenes, from simple motions to complex movements.
Rendering Animated Images with the Right Settings
Once you’ve created your animations, the next step is rendering them into images or video files. Twinmotion provides several settings to ensure that your animated images look as good as possible. Let’s look at how to render animated images with the right settings:
- Step 1: Choose Your Render Output
Decide if you want to render a still image, a series of images (for a time-lapse), or a full animation. You can access these options through the render settings menu in Twinmotion. - Step 2: Set the Render Quality
Twinmotion allows you to adjust the quality of your render. Choose between Low, Medium, and High settings, depending on how detailed you want your final render to be. Keep in mind that higher quality renders take longer to process. - Step 3: Adjust the Resolution
Resolution determines the clarity of your rendered image. Higher resolution means more detail, but it also requires more processing power. A resolution of 1920x1080 is a good standard for most images, while higher resolutions like 4K are great for more detailed work. - Step 4: Enable Animation Settings
For animated images, make sure the animation option is selected in the render settings. You’ll also want to adjust the frame rate (e.g., 30fps or 60fps) based on the fluidity you desire. - Step 5: Choose Output Format
Select the file format for your render, such as PNG, JPEG for still images, or MP4 for videos. Consider the needs of your project when making this decision. - Step 6: Render the Animation
Once you’ve made all the necessary adjustments, click on the render button to start the process. Depending on the complexity of the scene, rendering may take some time. Be patient and monitor the process until it’s complete.
After rendering is finished, you’ll have stunning animated images or videos to showcase your work. Twinmotion’s render settings provide plenty of customization options to ensure your animations come out just the way you want them.
Optimizing Render Quality for Animated Images
Optimizing render quality for animated images is crucial if you want your animations to look professional and realistic. Twinmotion offers several settings that allow you to fine-tune the quality of your renders. Here’s how to ensure you get the best possible results:
- Step 1: Choose the Right Render Preset
Twinmotion has multiple render quality presets ranging from low to high. Choose the highest setting for detailed and realistic animations, but keep in mind that it might take longer to render. For faster results, you can choose medium or low settings, especially for preview renders. - Step 2: Use Global Illumination and Reflections
Enable features like Global Illumination (GI) and reflections to enhance the lighting and realism of your animation. These effects simulate how light interacts with objects, creating more lifelike shadows and highlights. - Step 3: Adjust Anti-Aliasing Settings
Anti-aliasing helps smooth jagged edges in your render. For high-quality animation, make sure to turn on anti-aliasing, and choose higher sampling rates for smoother results. - Step 4: Fine-Tune the Depth of Field
Adjusting the depth of field adds a cinematic effect by blurring the background and emphasizing the focus area. This helps make your animation look more professional and polished. - Step 5: Use Post-Processing Effects
Twinmotion’s post-processing effects, such as bloom, lens flares, and color grading, can give your animation a more artistic and polished look. These settings can be tweaked to enhance the mood and tone of your animation.
By taking these steps, you can significantly improve the quality of your animated images. While higher settings require more time, the results will be worth it when you see your animations in their full glory.
Exporting and Sharing Your Rendered Images
Once your animation is ready, the next step is exporting and sharing it. Twinmotion makes it easy to export your renders in various formats. Here’s how to do it:
- Step 1: Choose the Export Format
Decide on the format you want to export your rendered image or animation. Twinmotion supports several formats, including PNG, JPEG, TIFF for still images, and MP4 for animations. Choose the format that best fits your needs. - Step 2: Set the Resolution
Set the resolution according to your project requirements. For still images, resolutions like 1920x1080 (Full HD) are common, while animations may require higher resolutions, such as 4K for ultra-sharp quality. - Step 3: Select the Frame Range (For Animations)
If you’re rendering an animation, choose the specific frame range you want to export. This could be the full animation or just a part of it. Make sure to adjust the start and end frames accordingly. - Step 4: Configure Export Settings
Before exporting, ensure your settings are configured correctly. Check the render quality, file format, and other settings like frame rate (for animations). This will help ensure that you export the highest quality version of your work. - Step 5: Export the File
Once everything is set, click the "Export" button to begin the rendering process. Depending on the complexity of your scene, this can take anywhere from a few minutes to several hours. Twinmotion will save the file in the chosen format and resolution. - Step 6: Sharing Your Renders
After exporting, you can easily share your work. For still images, you can upload them to websites, social media, or portfolios. For animations, share them via YouTube, Vimeo, or cloud storage services for easy access and viewing.
Exporting and sharing your rendered images has never been easier, and with Twinmotion’s flexible export settings, you can create stunning visuals ready for any platform.
Frequently Asked Questions
Here are some common questions that people have when working with animated images in Twinmotion:
- What file formats can I export my renders in?
Twinmotion supports multiple file formats, including PNG, JPEG, TIFF for still images, and MP4 for animations. You can choose the format that suits your project best. - How do I speed up the rendering process?
To speed up rendering, use lower quality settings or reduce the resolution. You can also try rendering smaller sections of your animation at a time and combining them later. - Can I render animations at a higher frame rate?
Yes, you can render animations at different frame rates. Higher frame rates, such as 60fps, result in smoother animations but take longer to render. Choose a frame rate that suits your project’s needs. - What is the best resolution for rendering animations?
The best resolution depends on the purpose of your animation. For standard projects, 1920x1080 (Full HD) is often sufficient. For high-end projects, consider 4K or higher resolutions for maximum detail. - How can I reduce rendering time while maintaining quality?
You can reduce rendering time by adjusting the render quality settings. Use medium or low settings for faster results, and enable features like “Global Illumination” only when necessary. You can also render smaller sections and stitch them together later.
If you have more questions, feel free to explore Twinmotion’s user manual or check out online forums where other users share tips and troubleshooting advice.
Conclusion
In conclusion, rendering images with an animator in Twinmotion is a great way to create dynamic and realistic animations for your 3D projects. By understanding how to use the Animator tool, creating keyframes, and optimizing render settings, you can produce high-quality visuals that will captivate your audience. Additionally, exporting and sharing your rendered images is simple and straightforward, allowing you to showcase your work on various platforms. With the steps outlined in this guide, you’re now ready to bring your Twinmotion animations to life and share them with the world!


