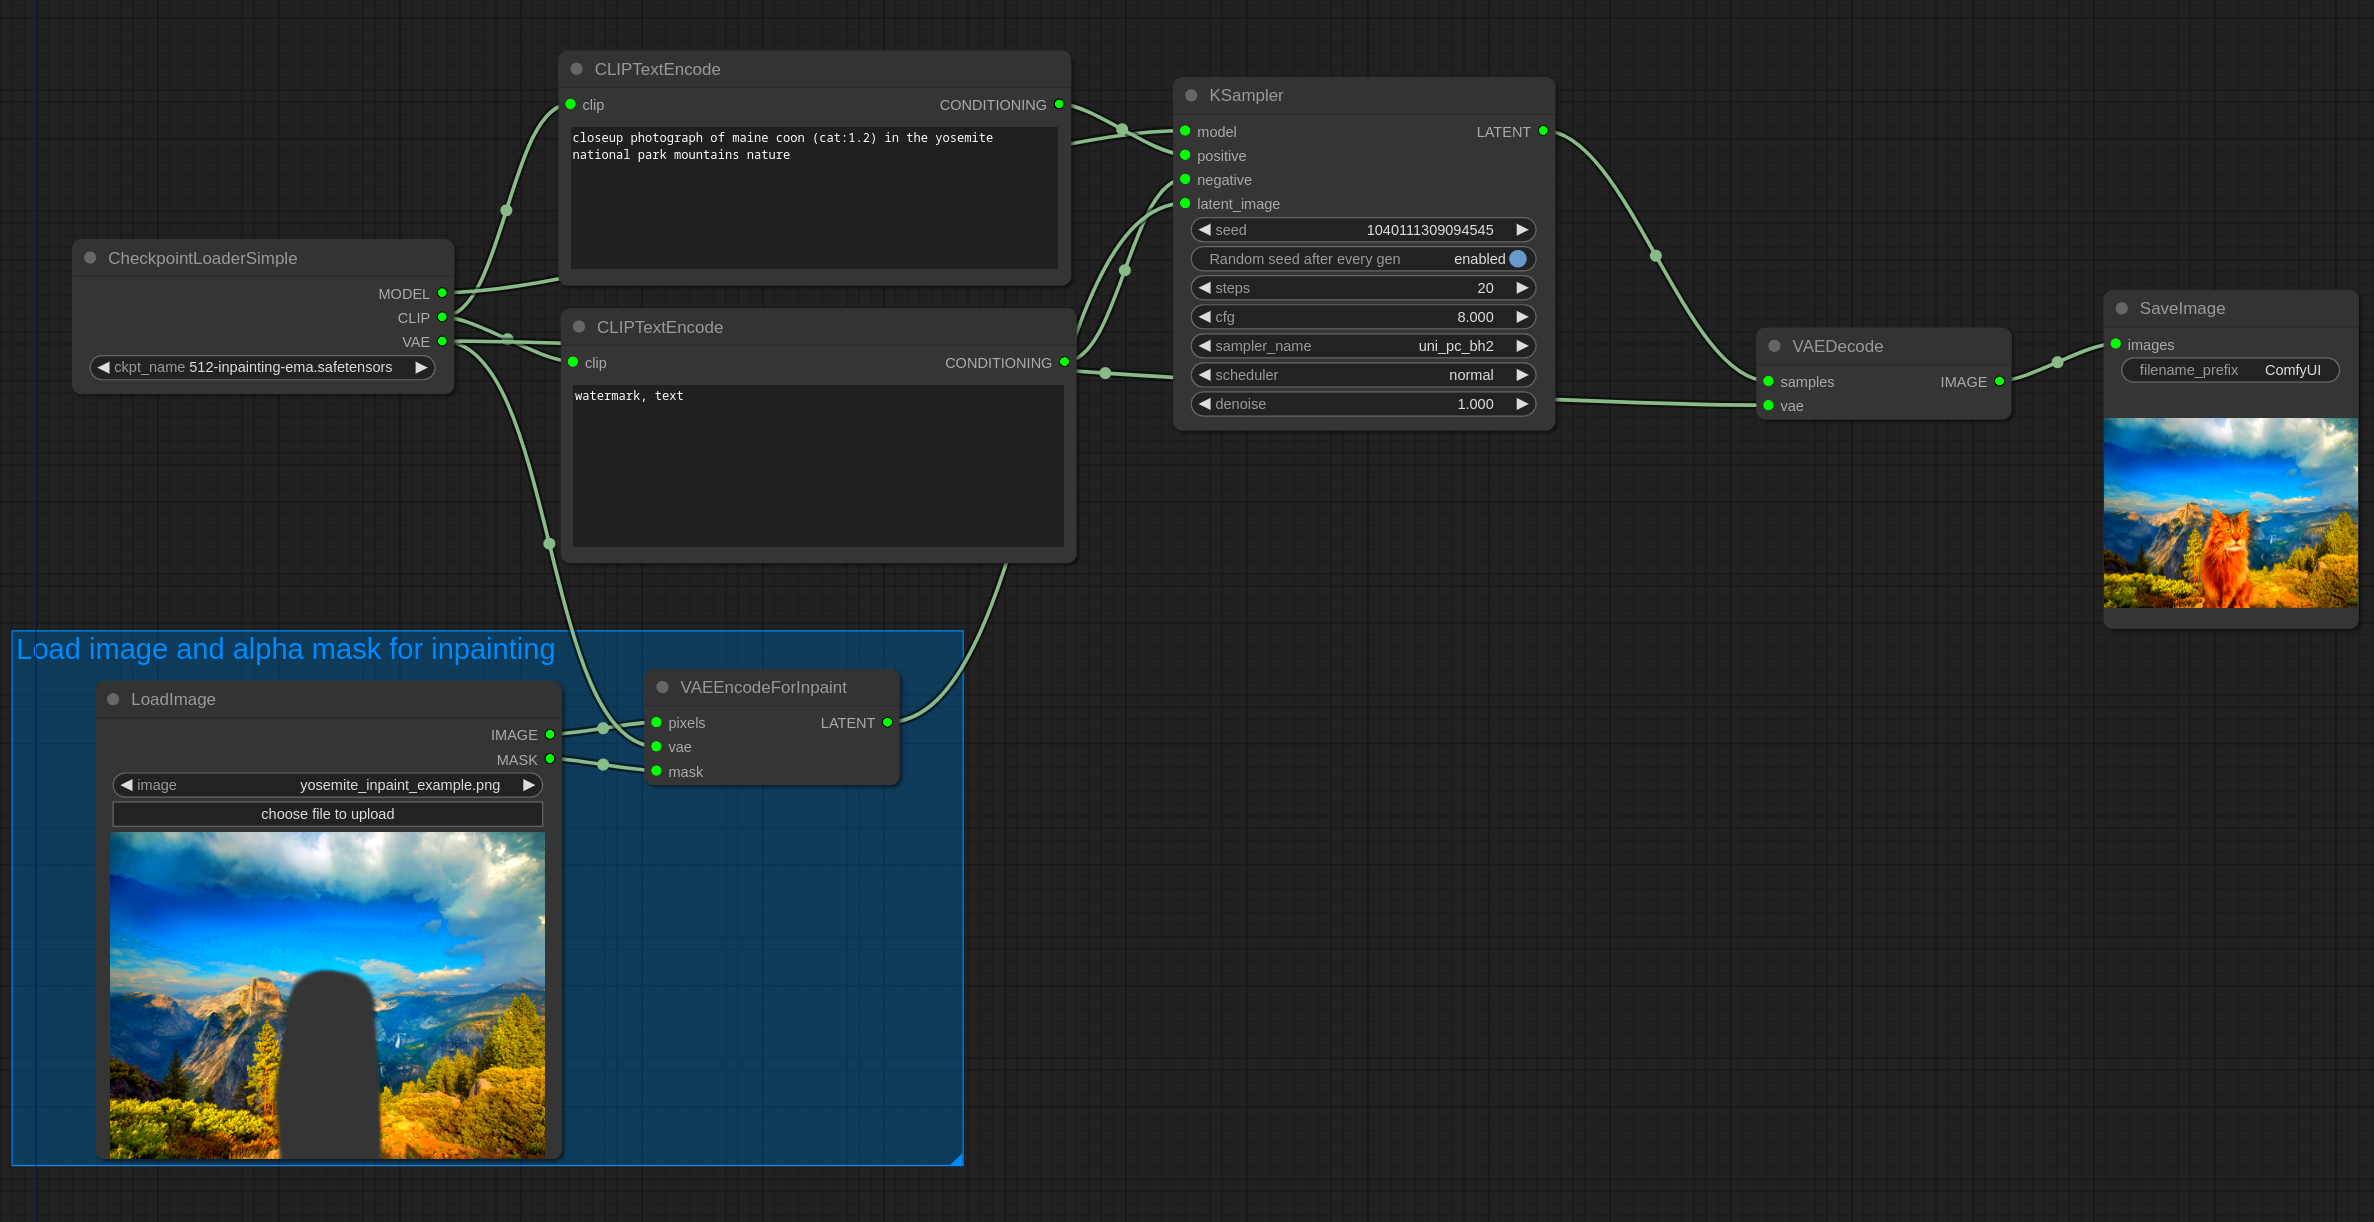
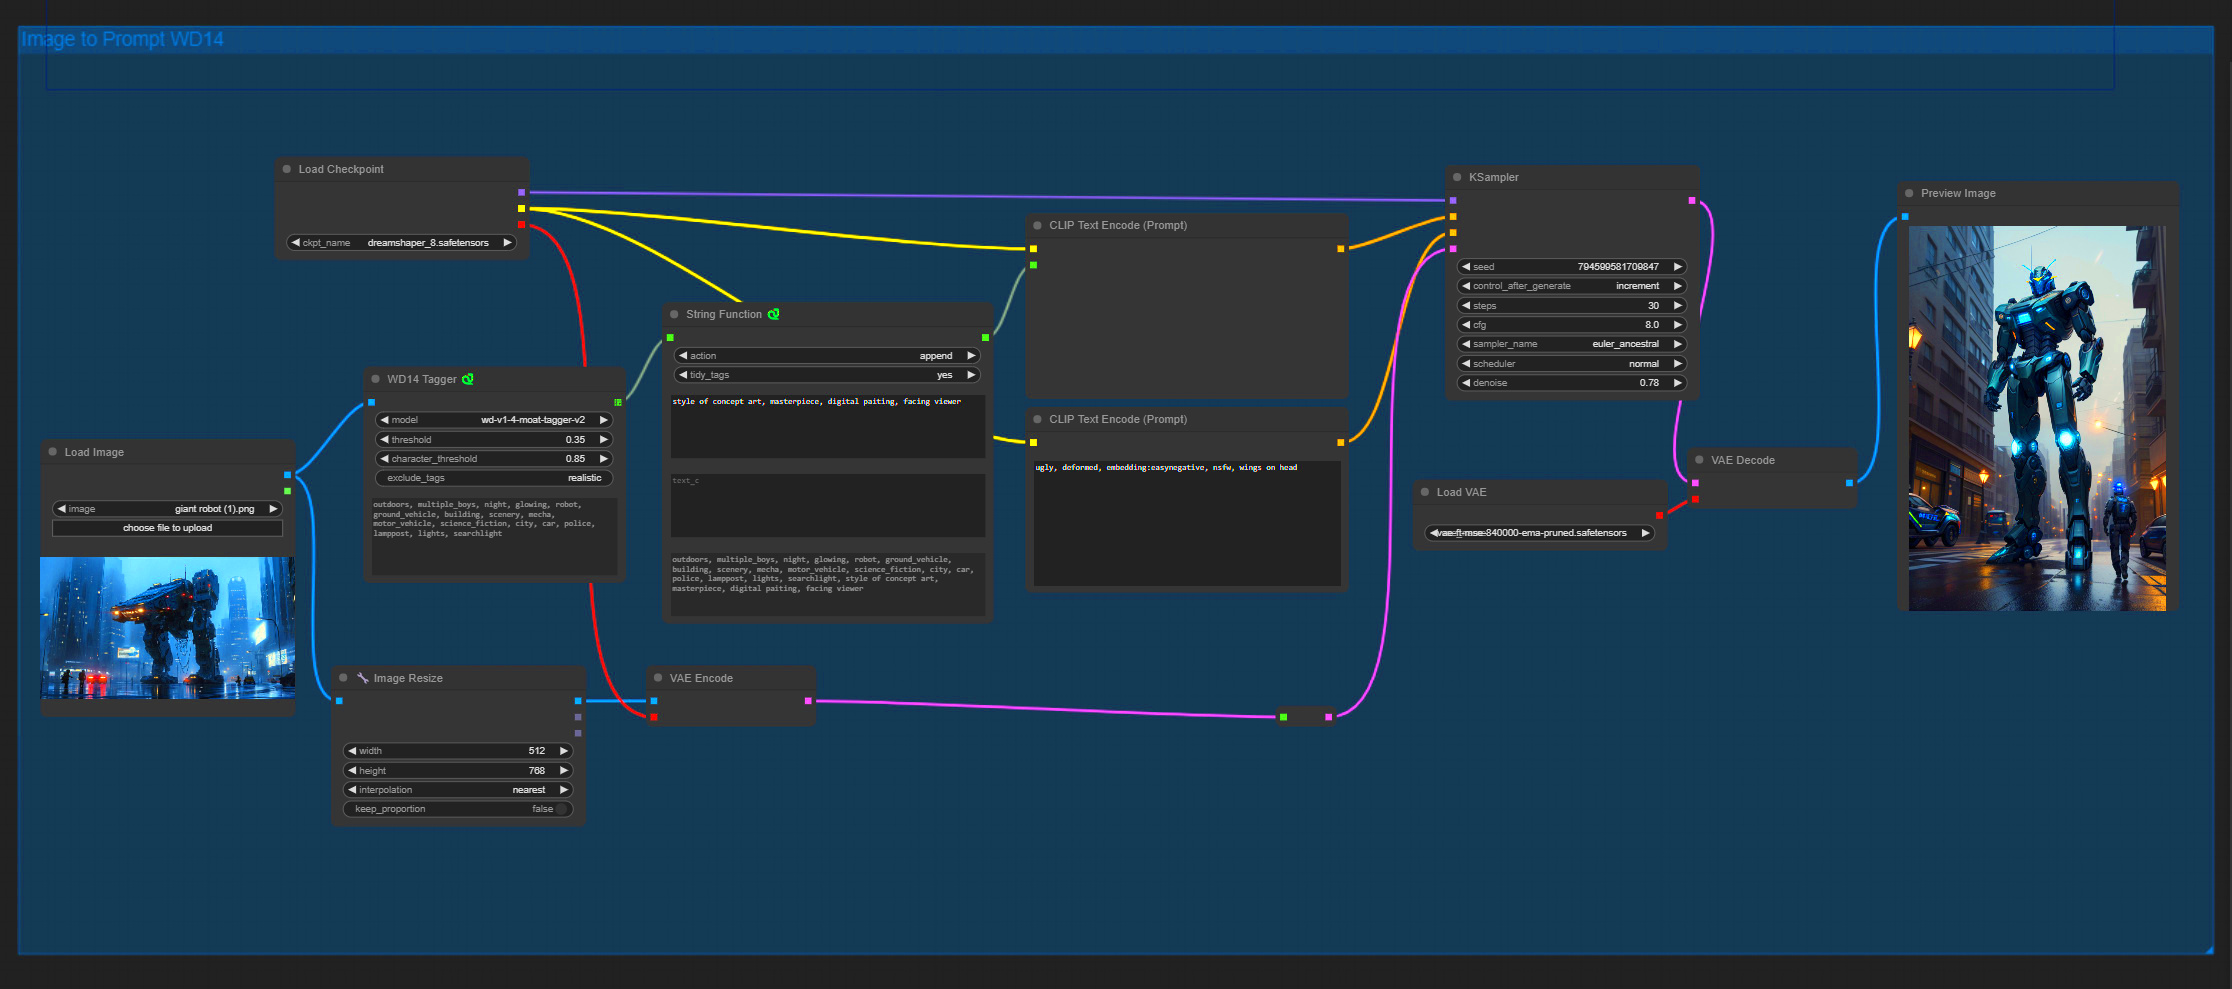
Image sequences are a powerful way to display a series of images in a sequential order, often used in animation and video production. If you've ever seen a time-lapse video or a stop-motion animation, you've witnessed the magic of an image sequence. In this post, we’ll focus on how to render an
Understanding the Basics of ComfyUI

ComfyUI is a graphical user interface (GUI) that helps users easily create and manage their rendering tasks, particularly for tasks like generating images from a sequence. It’s designed to be simple to use yet powerful enough for advanced tasks, making it an ideal tool for both beginners and professionals. The key to ComfyUI is its ability to streamline complex processes, so you don’t have to deal with complicated code or technical jargon.
Here’s why ComfyUI stands out:
- Intuitive Interface: The layout is easy to navigate, allowing even first-time users to jump right into their projects.
- Customization: You can fine-tune every aspect of your render, from output formats to specific sequence details.
- Efficiency: ComfyUI reduces the need for manual tasks by automating certain processes, speeding up your workflow.
- Wide Compatibility: It supports multiple image formats and works seamlessly with various software tools.
With ComfyUI, you don’t need to be an expert to render stunning image sequences. The software handles the technical side while you focus on creativity.
Also Read This: Tech Talk: Updating BBC iPlayer on Your Firestick Made Easy
Preparing Your Images for Rendering in ComfyUI

Before you start rendering, it’s important to ensure your images are ready for the process. This preparation can make a big difference in the quality and efficiency of your final output. Here’s a step-by-step guide on how to prepare your images for rendering in ComfyUI:
- Organize Your Files: Make sure all your images are in the correct order. If the images are not named sequentially, you can rename them to maintain order.
- Check Image Resolution: For a consistent output, ensure that all images have the same resolution. Mixed resolutions can result in distortion or unexpected changes in the final render.
- File Format: ComfyUI supports various image formats such as PNG, JPG, TIFF, etc. Ensure your images are in a supported format.
- Image Quality: Check for any image defects, such as low quality or pixelation, and correct them before proceeding. High-quality images yield better final results.
- Aspect Ratio: Ensure your images maintain the correct aspect ratio throughout the sequence to avoid cropping or stretching in the final render.
Once you’ve got your images organized and in the right format, you’re ready to load them into ComfyUI and begin the rendering process. Proper preparation is key to ensuring smooth and professional results, so don’t skip this step!
Also Read This: How to Make an Image Transparent in Google Slides
Setting Up the Rendering Environment in ComfyUI
Before you can start rendering with ComfyUI, you need to ensure that your environment is properly set up. This involves installing the necessary software, configuring your hardware settings, and making sure everything is in place for a smooth rendering experience. Don’t worry, it’s not as complicated as it sounds! ComfyUI’s setup process is straightforward, and with a few simple steps, you'll be ready to go.
Here’s a step-by-step guide to help you get everything ready:
- Install ComfyUI: First, you need to download and install ComfyUI. Visit the official website or trusted sources for the latest version of the software. Follow the instructions carefully to ensure that the installation process runs smoothly.
- Install Dependencies: Some features of ComfyUI may require additional software or libraries to function properly. For instance, ensure that Python or any necessary packages are installed, as they might be essential for certain tasks within ComfyUI.
- Check Hardware Requirements: Rendering can be resource-intensive, so make sure your computer meets the minimum hardware requirements for smooth performance. This includes a decent GPU for fast image processing and enough RAM to handle large image sequences.
- Set Up File Locations: Organize your image sequences in a folder that’s easy to access. ComfyUI will need to know where to find your files, so make sure you know the location of your images before starting the rendering process.
Once you've completed these steps, you'll be ready to dive into the world of rendering with ComfyUI. The setup is quick and simple, and with everything in place, the rendering process will be smooth and efficient.
Also Read This: How Much Space Does a 1-Meter Image Occupy? Exploring Image Dimensions
Steps to Render an Image Sequence with ComfyUI
Now that your environment is set up, it’s time to render your image sequence. ComfyUI takes care of a lot of the technical work for you, making it an excellent tool for anyone looking to create animations or videos from still images. Let’s break down the steps for rendering an image sequence using ComfyUI:
- Import Your Image Sequence: Open ComfyUI and import the folder containing your images. Ensure that they are in the correct order, as the software will process them sequentially.
- Choose Your Output Settings: Select the format for your rendered file, such as MP4, AVI, or GIF. You can also set the resolution, frame rate, and other output details based on your project requirements.
- Configure Render Options: Depending on the complexity of your project, you can adjust the render quality and speed. ComfyUI provides several options for balancing quality and performance.
- Start the Rendering Process: Once everything is set up, click the render button. ComfyUI will start processing your image sequence and turn it into a video or animation.
- Preview and Export: After the rendering is complete, preview your final product. If everything looks good, export the file in your chosen format and resolution.
It’s as easy as that! With ComfyUI’s simple interface, you can quickly render a high-quality image sequence without getting bogged down in complicated settings. Just follow these steps, and you’ll have your animation or video ready in no time.
Also Read This: Creating Image Cards in Scrivener
Adjusting Render Settings for Better Quality
The quality of your final render depends largely on how you configure the render settings in ComfyUI. If you want a smoother, more polished output, it’s important to tweak a few key settings. Let’s go over some options that can help you enhance the quality of your rendered image sequence.
Here’s what you should consider when adjusting your render settings:
- Resolution: The higher the resolution, the better the image quality. However, higher resolutions require more processing power and time. Choose a resolution that fits your project’s needs while considering your hardware capabilities.
- Frame Rate: A higher frame rate results in smoother playback, but it also increases file size. Common frame rates are 24 fps (frames per second) for film-quality renders and 30 fps for standard video. Choose the frame rate that suits your project.
- Render Quality: ComfyUI offers different render quality settings, such as low, medium, and high. Higher quality settings will take longer to render but will result in better details and less pixelation. Use high-quality settings for professional-grade outputs.
- Compression Settings: When exporting your final file, you can adjust the compression settings. Less compression usually results in higher quality but larger file sizes. For online use, consider using a moderate compression level to balance quality and file size.
- Output Format: The choice of file format can affect the quality of your render. Formats like PNG or TIFF provide high-quality still images, while video formats like MP4 or AVI may involve some compression. Choose the best format based on your project needs.
By taking the time to adjust these settings, you can significantly improve the visual quality of your rendered image sequence. Remember, it’s all about finding the right balance between quality and performance, especially when working with large or complex projects. With ComfyUI, you have the flexibility to experiment with these settings and get the best results possible.
Also Read This: How to Auto-Run a Model in Ollama Docker Image
Common Issues While Rendering and How to Fix Them
Even with a simple interface like ComfyUI, issues can arise during the rendering process. While rendering an image sequence is generally straightforward, understanding the potential problems and knowing how to fix them is essential for a smooth experience. Below are some of the most common issues that users face and solutions to tackle them.
Here are a few common rendering problems and how to resolve them:
- Slow Rendering: If the rendering process is taking longer than expected, consider reducing the resolution or frame rate. Higher settings require more processing power. Additionally, check if your hardware meets the recommended specifications for faster performance.
- Images Out of Order: If your images appear in the wrong sequence, make sure they are named in a sequential manner. Renaming files with numbers (e.g., image001.jpg, image002.jpg) can help maintain proper order during rendering.
- Render Quality Issues: Low-quality output can occur if render settings are too low. Increase the resolution or quality settings for a sharper image. Remember, higher quality takes more time to process.
- Crashing or Freezing: If ComfyUI crashes or freezes during rendering, try closing other applications to free up system resources. You can also update your graphics drivers and ensure that your computer has enough RAM for the task.
- Incorrect File Format: Ensure that your image files are in a format that ComfyUI supports (like PNG or JPEG). If you’re working with raw files, consider converting them to a more standard format before importing them into ComfyUI.
By troubleshooting these common issues, you can ensure a smoother rendering process. Stay patient, and remember that most of these issues have simple fixes that will get you back on track.
Also Read This: Cancel Culture: How to Cancel IMDb Subscription and Pro
Conclusion: Final Thoughts on Rendering Image Sequences
Rendering image sequences with ComfyUI is a powerful and efficient way to turn still images into dynamic animations or videos. Throughout this guide, we’ve walked you through everything from setting up your environment to troubleshooting common issues. With its user-friendly interface and customizable settings, ComfyUI makes rendering accessible for both beginners and experienced users.
Here’s a quick recap of the key takeaways:
- ComfyUI is easy to use: The interface is intuitive, and it simplifies the process of rendering image sequences without sacrificing control over the output.
- Preparation is important: Organizing your images and ensuring they are in the correct format and resolution can save you time and headaches during the rendering process.
- Render settings matter: By adjusting the resolution, frame rate, and quality settings, you can achieve a perfect balance between file size and visual quality.
- Know how to troubleshoot: Familiarize yourself with common rendering issues and their solutions to avoid unnecessary frustration.
With these tips in mind, you’re now ready to dive into rendering your own image sequences using ComfyUI. Enjoy the process, and let your creativity flow!
FAQ
Here are some frequently asked questions about rendering image sequences with ComfyUI:
- What image formats are supported by ComfyUI? ComfyUI supports common image formats like PNG, JPEG, and TIFF. Make sure your images are in one of these formats for smooth rendering.
- Can I render a video instead of an image sequence? Yes! ComfyUI allows you to render your image sequence as a video file (MP4, AVI) once it’s processed. You can select the video format during the output settings.
- Why is my render taking so long? Slow rendering can happen if your project has high resolution, a high frame rate, or a lot of images. Lowering some settings can help speed up the process. Make sure your computer meets the necessary hardware specifications for better performance.
- What if my images are not in sequence? If your images are not ordered correctly, you can rename them to ensure they follow a numerical sequence (e.g., image001, image002, etc.). This helps ComfyUI process them in the right order.
- Can I adjust the render quality after starting the process? Unfortunately, once rendering starts, you cannot change the quality settings. However, you can always stop the render, adjust the settings, and start again if needed.
If you have any more questions, feel free to explore the help section within ComfyUI or reach out to the community for support!

 admin
admin


